Introduction
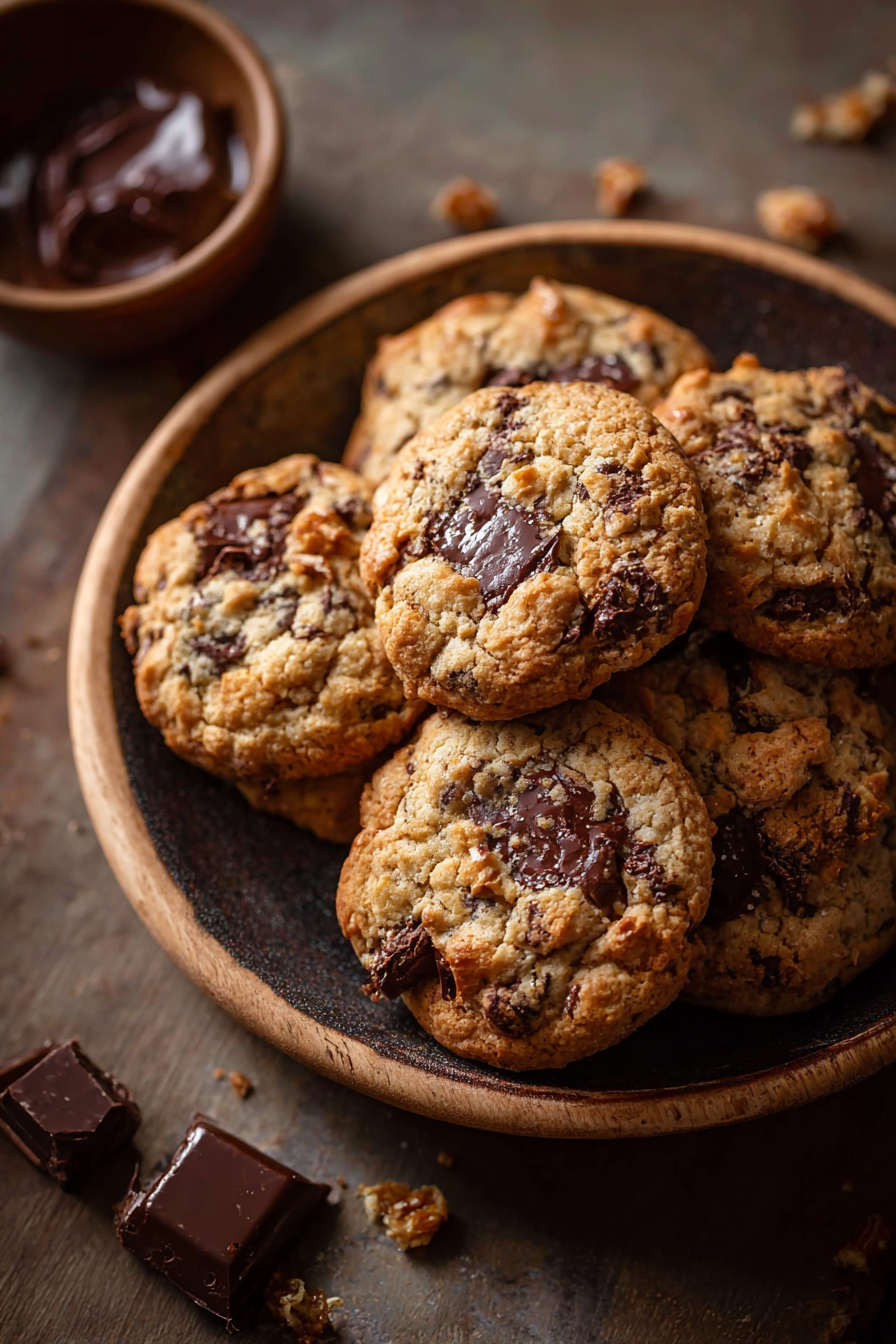
If you’re searching for the ultimate cookie recipe that combines texture, flavor, and pure homemade comfort, then 10-Cup Cookies are exactly what you need. Packed with a variety of ingredients—each bringing its own special touch—these cookies are hearty, chewy, and bursting with goodness. They’re the kind of treat that makes people ask for the recipe the moment they take their first bite. Whether you’re baking for a family gathering, holiday spread, or just because you crave something sweet and satisfying, this recipe will become a go-to in your kitchen.
My Recipe Story
The first time I made 10-Cup Cookies, I was intrigued by the name. The recipe called for exactly ten different ingredients, each measured into a cup. It felt almost magical, like baking alchemy, and the results were nothing short of amazing. These cookies have since become a family tradition, especially around the holidays when everyone wants a taste of something nostalgic yet a little different. The beauty of this recipe is that it’s flexible—you can tweak some of the ingredients while still keeping the overall concept intact. Every batch feels a little special because no two bakers make them exactly the same way.
Why You’ll Love This Recipe
- Loaded with flavor: Each ingredient brings a unique texture and taste, from crunchy nuts to chewy oats.
- Perfectly versatile: Great for holidays, bake sales, lunchboxes, or just a cozy weekend treat.
- Family-friendly: Kids love the mix-ins, and it’s fun to get them involved in measuring the “10 cups.”
- Customizable: You can swap in different nuts, chips, or dried fruits to suit your preferences.
- Freezer-friendly: Make a big batch and save half for another time without losing quality.
Ingredient Breakdown
The magic of 10-Cup Cookies comes from the thoughtful blend of classic baking staples with hearty add-ins that transform them into something extraordinary. Flour, sugar, and butter provide the foundation, while oats, coconut, and nuts give them substance and chew. Then come the fun extras like chocolate chips, raisins, or butterscotch morsels, which keep every bite interesting.
Because each ingredient is measured in “cup” increments, the recipe is easy to remember and doesn’t require precision weighing. This makes it approachable for beginner bakers while still yielding impressive results. The balance of textures—soft, chewy, and crunchy—ensures that these cookies satisfy every craving in a single bite.
What makes these cookies especially unique is that no one flavor dominates. Instead, the ingredients work in harmony, creating a cookie that tastes comforting yet layered with surprises. Once you’ve tried them, you’ll understand why they’ve stood the test of time as a beloved community and family recipe.

Equipment You’ll Need
- Large mixing bowl
- Medium bowl
- Measuring cups and spoons
- Electric mixer or sturdy whisk
- Rubber spatula
- Baking sheets
- Parchment paper or silicone baking mats
- Wire cooling rack
Step-by-Step Directions
- Preheat and prepare: Start by preheating your oven to 350°F (175°C). Line your baking sheets with parchment paper or silicone baking mats to ensure easy cleanup and prevent sticking. This step creates the foundation for evenly baked cookies with a perfectly golden bottom.
- Cream butter and sugars: In a large mixing bowl, beat the softened butter with both brown sugar and granulated sugar until the mixture is light and fluffy. This aeration step is crucial because it helps the cookies spread properly and gives them their tender crumb. An electric mixer makes this easy, but you can also use a strong whisk and some elbow grease.
- Add eggs and vanilla: Crack in the eggs one at a time, mixing well after each addition. Stir in the vanilla extract. These ingredients bind the dough together while adding depth of flavor. Take a moment here to scrape down the sides of the bowl to ensure everything is evenly incorporated.
- Combine dry ingredients: In a separate medium bowl, whisk together the flour, baking soda, baking powder, and salt. Slowly add this dry mixture to the wet ingredients, mixing just until combined. Be careful not to overmix, as doing so can make the cookies tough instead of chewy.
- Stir in the “cups”: Fold in the remaining ingredients one at a time—rolled oats, shredded coconut, chocolate chips, raisins, and chopped nuts. Use a spatula to gently distribute them throughout the dough. This step is what gives the cookies their name and incredible texture.
- Scoop and shape: Using a cookie scoop or tablespoon, drop rounded balls of dough onto the prepared baking sheets, spacing them about two inches apart. The cookies will spread as they bake, so leave enough room to avoid overcrowding.
- Bake to perfection: Place the sheets in the preheated oven and bake for 10–12 minutes, or until the edges are golden brown but the centers still look slightly soft. They’ll firm up as they cool, so resist the urge to overbake.
- Cool and enjoy: Allow the cookies to rest on the baking sheet for 5 minutes before transferring them to a wire rack. This helps them set without falling apart. Once cooled, serve with a glass of milk or package them up for sharing.
Variations & Substitutions
The beauty of 10-Cup Cookies is their adaptability. If you’re not a fan of raisins, try dried cranberries or chopped dates. Swap walnuts for pecans or almonds, or replace some of the chocolate chips with butterscotch or white chocolate morsels. Gluten-free bakers can use a one-to-one gluten-free flour blend with great success, and if you prefer less sugar, you can reduce the amounts slightly without compromising texture.
You can also create a “seasonal” version by adding spices like cinnamon, nutmeg, or even pumpkin spice during autumn. For a more indulgent twist, drizzle cooled cookies with melted chocolate or dip half in white chocolate for a bakery-style finish.
Expert Tips & Troubleshooting
- Don’t overbake: Remove cookies while they still look slightly underdone in the center to ensure they stay soft and chewy.
- Measure carefully: Even though the recipe is forgiving, too much flour can make cookies dense. Use the spoon-and-level method for accuracy.
- Chill if needed: If your dough feels too sticky, refrigerate it for 20–30 minutes to make scooping easier and prevent excessive spreading.
- Mix-ins last: Always add your “cup” ingredients after the base dough is formed so they don’t break down during mixing.
Storage, Freezing & Make-Ahead
Store baked cookies in an airtight container at room temperature for up to five days. If you’d like to make them ahead, prepare the dough and freeze it in pre-portioned scoops on a baking sheet. Once solid, transfer the dough balls to a freezer bag and store for up to three months. When ready to bake, simply add an extra minute or two to the baking time without thawing.
Baked cookies also freeze beautifully. Let them cool completely before layering them with parchment paper in a freezer-safe container. Defrost at room temperature for a few hours or warm them briefly in the microwave for a just-baked taste.
Serving Ideas & Pairings
These cookies are a delight on their own, but they also shine when paired with other treats. Serve them with a cold glass of milk for a classic touch, or pair with hot coffee or tea for a comforting afternoon snack. They make excellent additions to holiday cookie platters, and they’re perfect for packing into lunchboxes as a surprise sweet treat. For a fun dessert idea, sandwich two cookies with a scoop of vanilla ice cream for a homemade ice cream sandwich everyone will love.
FAQ
Can I make 10-Cup Cookies without nuts?
Yes! Simply leave out the nuts or replace them with seeds such as sunflower or pumpkin seeds for a similar crunch.
What type of oats work best?
Old-fashioned rolled oats are ideal because they provide a chewy texture without becoming mushy like quick oats might.
Can I reduce the sugar in the recipe?
Yes, you can cut back on the sugar by about 1/4 cup in both the brown and granulated sugar without affecting texture too much.
How do I keep cookies soft after baking?
Store them in an airtight container with a slice of bread. The bread helps maintain moisture, keeping the cookies chewy for longer.
Can I double the recipe?
Absolutely. This recipe scales well, so doubling works great if you’re baking for a crowd or planning to freeze extras.
Final Thoughts
10-Cup Cookies are more than just a recipe—they’re a tradition, a conversation starter, and a guaranteed crowd-pleaser. Each ingredient contributes something unique, creating a cookie that is both familiar and full of surprises. Whether you bake them exactly as written or add your own twist, these cookies are sure to become a staple in your kitchen. Bake a batch today and discover why so many people treasure this timeless recipe.
Print
10-Cup Cookies
- Total Time: 27 minutes
- Yield: 36 cookies 1x
- Diet: Vegetarian
Description
These 10-Cup Cookies are loaded with flavor and texture, making them chewy, hearty, and perfect for any occasion.
Ingredients
-
1 cup unsalted butter, softened
-
1 cup packed brown sugar
-
1 cup granulated sugar
-
2 large eggs
-
2 tsp vanilla extract
-
2 cups all-purpose flour
-
1 tsp baking soda
-
1 tsp baking powder
-
1/2 tsp salt
-
2 cups rolled oats
-
1 cup shredded coconut
-
1 cup chocolate chips
-
1 cup raisins
-
1 cup chopped nuts (walnuts or pecans)
Instructions
-
Preheat oven to 350°F (175°C) and line baking sheets with parchment paper or silicone mats.
-
In a large bowl, beat butter with brown and granulated sugar until light and fluffy.
-
Add eggs one at a time, then stir in vanilla extract until well combined.
-
In a separate bowl, whisk together flour, baking soda, baking powder, and salt. Gradually add to wet mixture, mixing until just combined.
-
Fold in oats, coconut, chocolate chips, raisins, and nuts evenly throughout the dough.
-
Drop rounded spoonfuls of dough onto prepared baking sheets, spacing 2 inches apart.
-
Bake for 10–12 minutes until edges are golden but centers remain slightly soft.
-
Cool on baking sheet for 5 minutes, then transfer to a wire rack to finish cooling.
Notes
Store in an airtight container at room temperature up to 5 days. Dough can be frozen in portions for up to 3 months. Serve with milk, coffee, or sandwich with ice cream for a fun twist.
- Prep Time: 15 minutes
- Cook Time: 12 minutes
- Category: Dessert
- Method: Baking
- Cuisine: American