1. Introduction to the Recipe
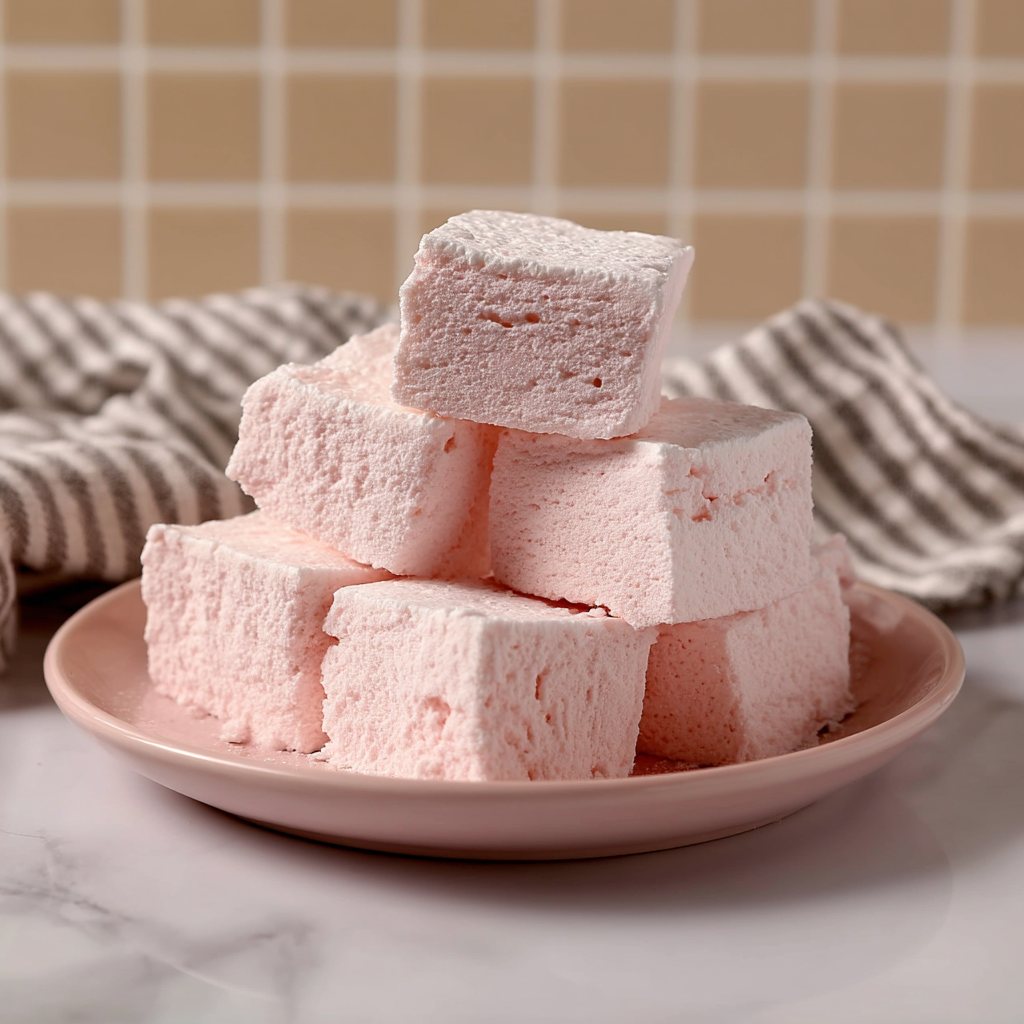
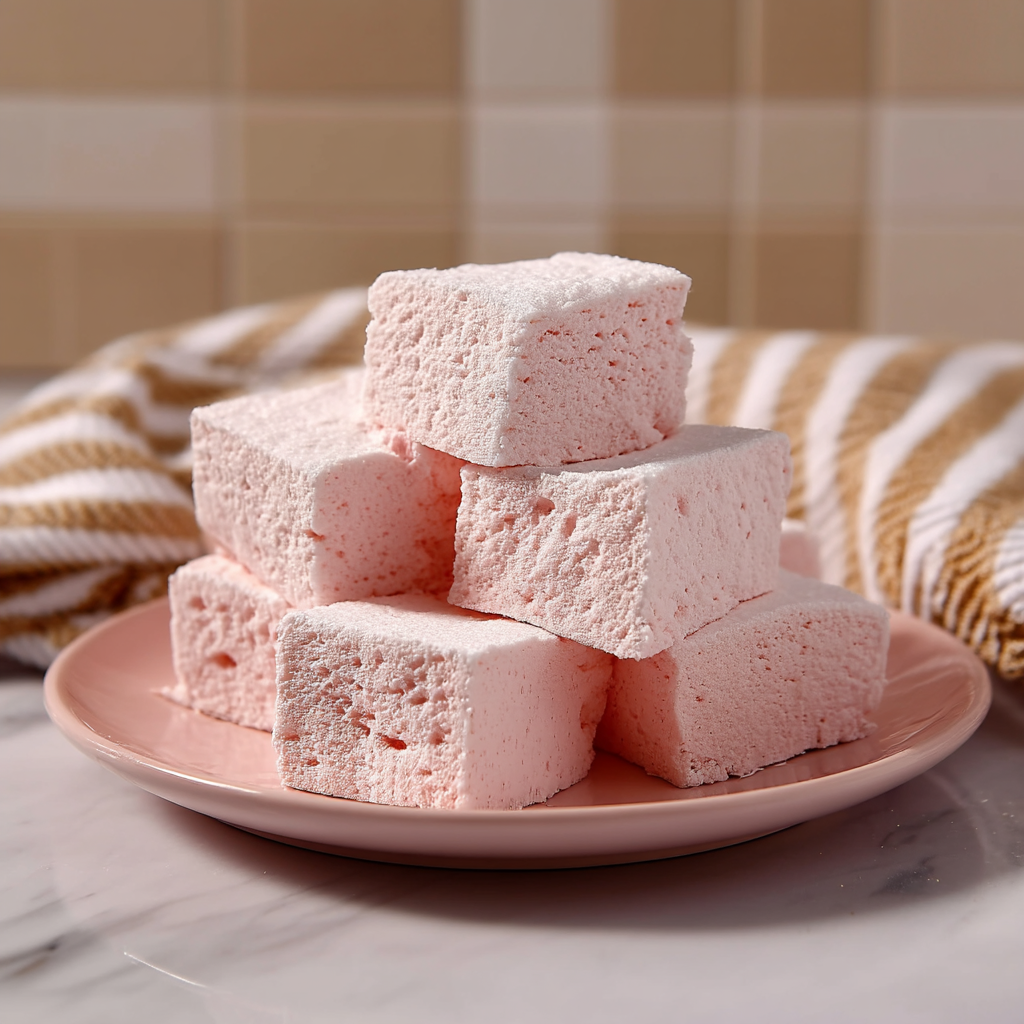
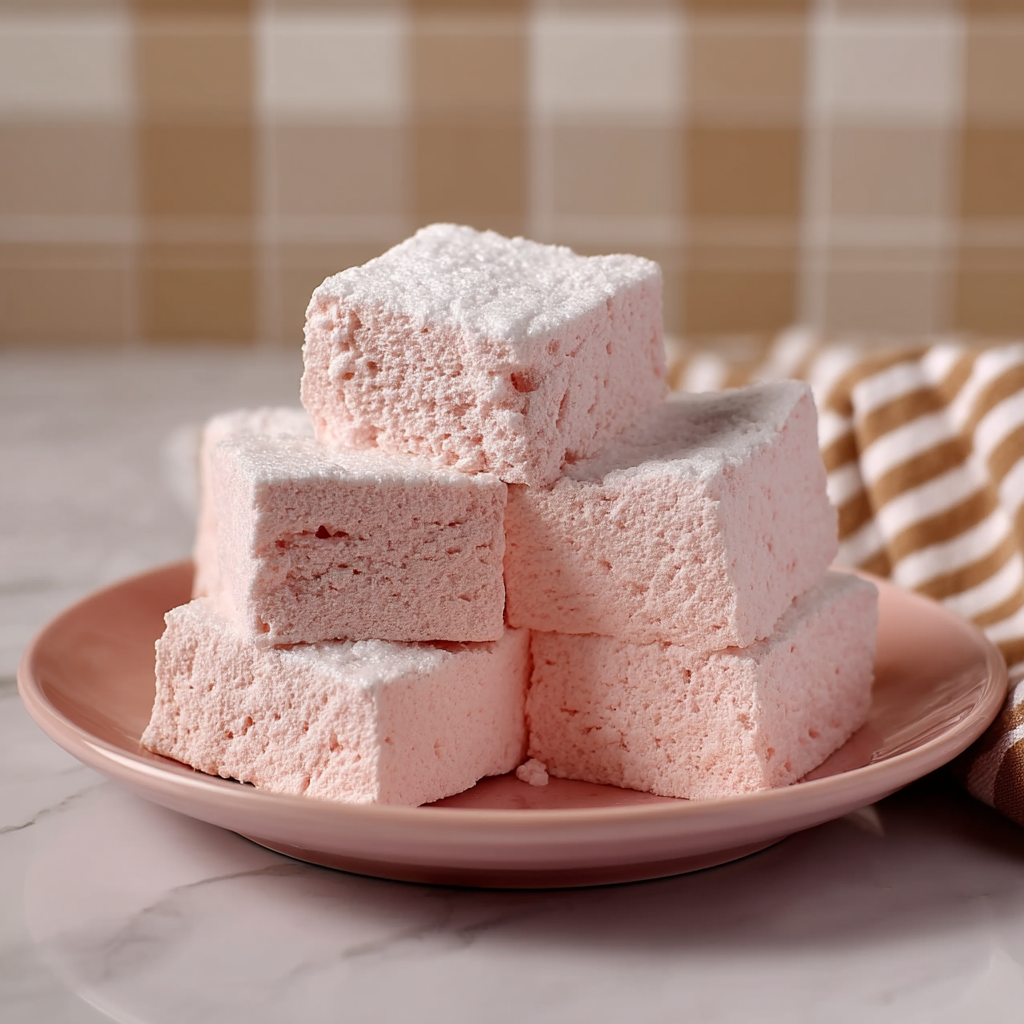
There’s something magical about creating dessert treats with just two ingredients—and the 2‑Ingredient Homemade Marshmallows recipe does exactly that, combining cranberry juice and gelatin sheets to deliver soft, fluffy marshmallows with natural flavor and beautiful color. No refined sugar, no corn syrup, no long list of things you don’t have in your pantry—just real juice and gelatin. Whether you want a healthier marshmallow option, a kid‑friendly snack, or something that looks lovely on a holiday platter, this recipe brings charm and simplicity together.
If you’re curious about other juice‑based marshmallow ideas or want to understand how gelatin works in setting desserts, you might enjoy this guide to real fruit marshmallows with minimal ingredients. Also, for insight into how jelly‑like desserts behave when using juice instead of water, check out this recipe using cranberry juice gelatin cutouts. Both resources help build understanding for what makes simple marshmallow treats succeed. (WELLINGTON BAKEHOUSE)
In this article, we’ll walk you through how to make 2‑Ingredient Homemade Marshmallows with cranberry juice and gelatin. We’ll cover basic ingredients and instructions, plus advanced techniques to improve texture and flavor, storage and shelf life tips to keep them fresh, possible dietary adaptations for various needs, frequently asked questions, and final reflections on why this recipe is special. By the end, you’ll see how just two ingredients can result in a treat that feels indulgent, natural, and customizable.
2. Basic Recipe: Ingredients and Instructions
Print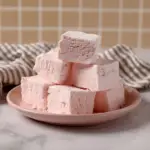
2‑Ingredient Homemade Marshmallows
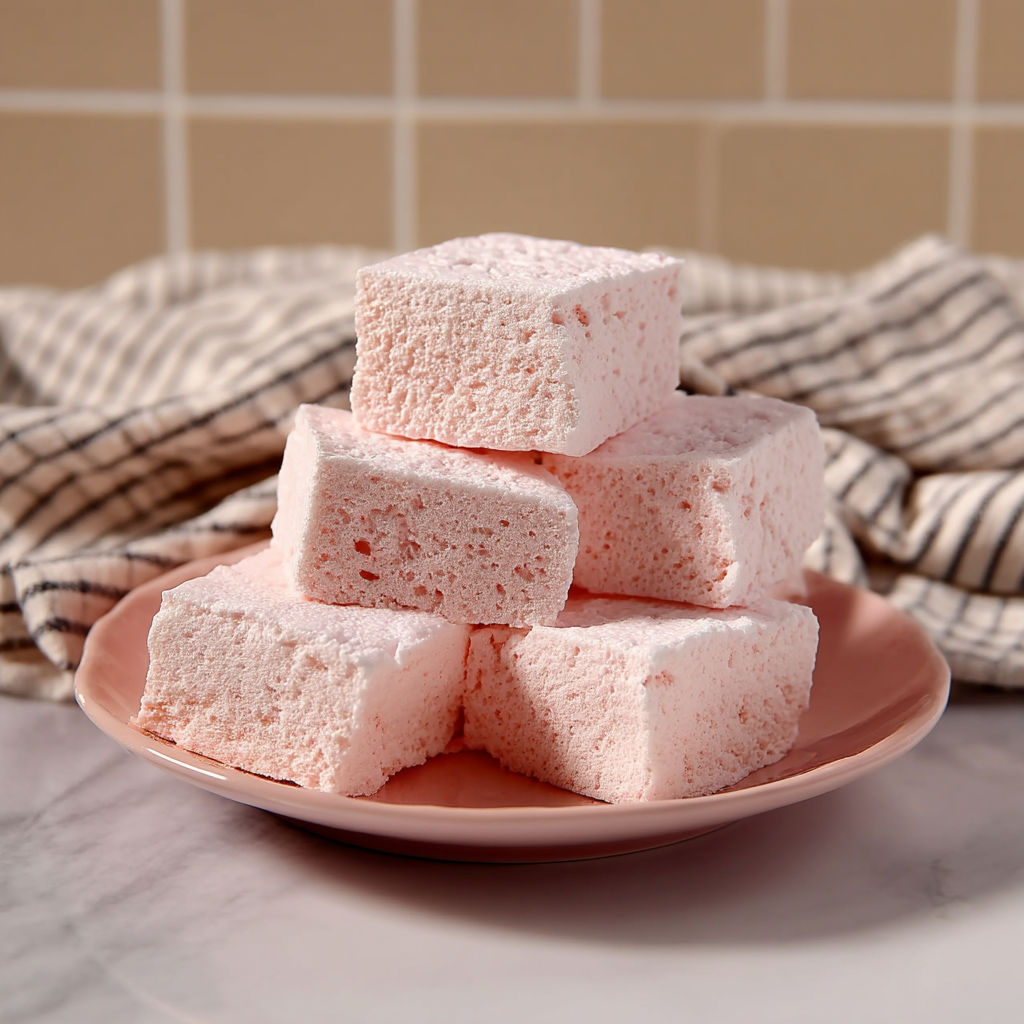
Description
Simple 2‑Ingredient Homemade Marshmallows made with cranberry juice & gelatin—soft, natural, easy treat you’ll love.
Ingredients
- 320 ml (about 1 ¼ cups) cranberry juice (use unsweetened or lightly sweetened depending on preference)
- 8 gelatin sheets
Equipment you’ll need: medium saucepan, bowl for blooming gelatin, whisk or hand mixer, pan or mold lined with parchment paper or lightly oiled.
Instructions
- Prepare the gelatin sheets (blooming)
- Place the gelatin sheets in a bowl of cold water; allow them to soften and bloom—this usually takes about 5 minutes.
- Warm the cranberry juice
- In a saucepan over medium heat, warm the cranberry juice until it is hot but not boiling. Gentle simmer or just under boiling is ideal.
- Combine gelatin with juice
- Remove the bloomed gelatin sheets from their cold water, gently squeezing out excess water, and add them to the hot cranberry juice. Stir continuously until the gelatin is fully dissolved.
- Cool before whipping (if whipping is part of variation)
- Depending on whether you want a light/airy marshmallow or a denser jelly texture, allow the liquid mixture to cool somewhat (but not too much that it starts to set).
- Set in mold
- Pour the dissolved gelatin‑juice mixture into a pan or mold lined with parchment paper (or lightly oiled) to prevent sticking. Smooth the top if needed.
- Chill until set
- Refrigerate for at least 3 hours, or preferably overnight, to ensure full setting.
- Cut and serve
- Once set, remove from mold. Use a sharp knife (lightly oiled or dusted to prevent sticking) to cut into cubes or desired shapes. Serve immediately or follow storage tips below.
Notes
The quality of gelatin matters: stronger gelatin sets firmer; weak or old gelatin may result in marshmallows that won’t set well.
Do not bring the juice + gelatin mix to a rolling boil—high heat can degrade gelatin’s setting ability.
If you like a fluffier texture, some variations whisk or blend the mixture after cooling slightly to incorporate air, though with only juice and gelatin the texture will always differ from sugar‑based marshmallows.
Use molds/pans of appropriate size so the thickness isn’t too large (thicker marshmallows need more time to set).
Keywords: 2‑Ingredient Homemade Marshmallows
3. Advanced Techniques
Here are five advanced techniques to enhance your 2‑Ingredient Homemade Marshmallows recipe:
(1) Achieving Optimal Firmness via Gelatin Strength and Bloom Time
The firmness of your marshmallows depends heavily on gelatin’s bloom strength (the measure of how firm the gel will be after setting) and how well you bloom (soak) the sheets before use. Use fresh, high‑quality gelatin sheets with good bloom value; if the sheets are old or weak, the marshmallow may set too soft or even remain gooey. Ensure you lay the gelatin flat in cold water and allow sufficient time to become pliable. Also, squeeze off any excess water before adding to heated juice so that dilution is minimized. These steps ensure a stable set and good bite, even though there’s no sugar involved to assist structure.
(2) Gentle Heating to Preserve Flavor and Color
Cranberry juice contains delicate flavor compounds and pigments; heating too aggressively (especially boiling) can degrade both. Use medium heat and bring the juice only to just under boiling, then dissolve gelatin. Excess heat can also cause bitter or off flavors. Doing this carefully preserves the bright pink/red hue and tart‑sweet flavor of the juice. Also, avoid long cook times once gelatin is added. Quick dissolving and then setting help maintain brightness.
(3) Textural Variation: Fluff vs Jelly
With only juice and gelatin, texture tends toward a firm jelly rather than classic marshmallow fluff. But you can adjust: after dissolving the gelatin-juice blend and cooling slightly (but before it begins to set), use a whisk or electric mixer to beat or whip the mixture to incorporate air. This results in a lighter, somewhat foamy top layer and a softer mouthfeel. Note this may slightly reduce firmness. If no whipping, you’ll get a clean, glass‑like jelly texture which can also be attractive and useful for cut shapes.
(4) Flavor Boosts and Aromatic Add‑ins
Though the recipe is minimal, adding small extra elements can elevate your marshmallows. Consider stirring in a few drops of vanilla extract just after gelatin dissolves (when mixture has cooled a little) to add warmth. Citrus zest (lemon or orange) finely grated can add brightness. A pinch of salt helps bring out sweetness and balance the tartness of cranberry. These additions must be used sparingly so they don’t overwhelm the juice.
(5) Shape, Mold, and Cut‑out Finishes
The way you mold and cut the marshmallows affects presentation and texture. Line your mold or pan with slick parchment paper (or lightly oil) for easy removal. Once set, to prevent sticking, you can lightly oil or dust the surface/tools. Use sharp knives or cookie cutters for shapes. For clean edges, consider using tools warmed slightly or sprayed lightly with neutral oil. Also, if you want non‑square shapes, silicone molds work well. Presentation can matter a lot especially for gifting or display.
4. Storage, Shelf Life, and Maintenance Tips
Here are five tips for storing your marshmallows, understanding how long they last, and keeping their texture:
(1) Refrigeration for Freshness
Marshmallows made with juice and gelatin should be stored in the refrigerator in an airtight container. Because they lack large amounts of sugar (which in regular marshmallows helps with preservation), they will be more prone to spoilage and softer texture changes at room temperature. In fridge, they will typically remain good for about 3‑5 days. Be sure to prevent moisture entering the container—use sealed lids or cling‑film wrap.
(2) Avoiding Moisture and Stickiness
Because these marshmallows are moist and gelatin‑based, moisture in the air or condensation can make them sticky or degrade texture. After setting, allow marshmallows to dry a little on their surface (within fridge) before covering. When cutting or handling, lightly dust with a non‑reactive powder (if acceptable for your diet, e.g., cornstarch or arrowroot starch) or oil tools lightly to prevent sticking.
(3) Freezing for Longer Storage
If you want to keep these marshmallows longer, you can freeze them. Wrap individual pieces in plastic wrap (to avoid freezer burn and moisture loss), then place in a freezer‑safe, airtight container. In the freezer, they can keep for up to 1‑2 months. When ready to use, thaw in the refrigerator first, then bring to room temperature before serving, to prevent condensation forming on the surface.
(4) Checking for Spoilage
Keep an eye (and nose) on the marshmallows. Signs of spoilage include sour smell (if juice has degraded), sliminess on surface, or color changes beyond normal oxidation. If you see mold or off‑smell, discard immediately. Always use clean utensils. Because there’s no heavy sugar preserving them (or preservatives), they are more delicate.
(5) Serving & Reviving Texture
If marshmallows stored in fridge become overly firm, let them sit at room temperature for 15‑20 minutes before serving to soften slightly. If texture shrinks (due to moisture loss), cover briefly with damp (not wet) cloth or lightly mist air (in clean environment) might help restore some softness. For cut edges that dry out, store cut side downward to reduce air exposure.
5. Dietary Adaptations and Substitutions
Here are ways to adapt this 2‑Ingredient Homemade Marshmallows recipe to suit dietary restrictions or preferences:
(1) Vegan / Plant‑Based Substitute for Gelatin
If you avoid animal gelatin, you can try alternatives like agar‑agar, carrageenan, or some vegan gelling agents. Agar‑agar works particularly well in some juice‑based recipes, though setting behavior differs (firmer, faster set, sometimes more brittle). You’ll need to adjust quantity (agar‑agar often needs more by weight) and temperature (agar needs boiling to activate). Also test small batches because flavor and texture vary. The end result may be more jelly‑like than fluffy.
(2) Gluten‑Free, Dairy‑Free, & Sugar Concerns
This recipe is naturally dairy‑free (no milk, butter) and gluten‑free, assuming your gelatin and juice are pure and uncontaminated. If juice has added sugar, check label for other sweeteners. For lower sugar or sugar‑free options, choose unsweetened or lightly sweetened cranberry juice, or use a juice with natural sweetness. Be aware texture may differ slightly when juice is less sweet.
(3) Low‑Acid Juice Adjustments
Juice acidity can affect gelatin’s setting reliability. Very acidic juices (certain citrus, pineapple, etc.) can interfere with gelatin. Cranberry juice is moderately acidic but works. If experimenting with more acidic juices, reduce acid or use a juice blend. Also ensure gelatin bloom is good. Using juices that are less acidic may yield firmer sets. Sometimes adding a small pinch of baking soda counteracts overly acidic environments.
(4) Flavor & Color Variations
While cranberry juice gives a pretty pink/red color and tart flavor, you can substitute with other non‑carbonated, non‑enzymatic fruit juices (e.g. grape, apple, cherry) to change flavor and hue. Avoid juices like pineapple or kiwi that contain enzymes breaking down gelatin. For more intense colors or flavors, reduce dilution, or concentrate juice by gentle simmer (before adding gelatin), taking care not to degrade flavor.
(5) Allergy‑Friendly & Clean‑Label Modifications
For those with allergies (especially to gelatin or certain juice additives), ensure you use pure, allergen‑free gelatin (or vegan substitute) and juice with no preservatives or artificial flavors. Also avoid cross‑contamination: use clean bowls, knives, and storage containers. If dusting with powders, choose allergen‑safe starches (cornstarch or arrowroot). For clean‑label versions, avoid using artificial color; the juice should provide the natural hue.
6. FAQs About the Recipe
Here are some common questions with answers and troubleshooting for the 2‑Ingredient Homemade Marshmallows recipe:
Why didn’t my marshmallows set properly?
If your marshmallows are still runny or too soft after chilling, likely causes include weak or old gelatin (low bloom), insufficient gelatin sheets, or not blooming them properly (i.e. gelatin not fully softened). Also, if the juice was too hot (boiled), that can degrade the gelatin’s structure. Another point: if the mold is too deep/thick, center may take longer; or chilling time was too short. To fix, ensure you bloom gelatin fully, use enough sheets, avoid boiling, and allow proper setting time in fridge (3+ hours or overnight).
Can I whip the mixture to make them fluffier?
Yes—but with limitations. Since the mixture is just juice + gelatin, whipping after cooling slightly can incorporate air and result in a lighter texture, but it won’t be as lofty as sugar‑and‑egg white marshmallows. Also, whipping too much or too early can cause premature setting or loss of structure. So after gelatin is dissolved and mixture has cooled slightly (but still pourable), use a whisk or mixer for a few minutes until you see soft peaks or some volume increase, then pour into mold to set.
Why does the color or flavor change after setting?
Overheating during the dissolving stage, prolonged exposure to light, or storage conditions (air, oxidation) can cause color darkening or flavor change. Also, if juice has pulps or opaque solids, sedimentation can happen. To preserve color and flavor: use high quality juice, warm gently, store in airtight, opaque containers, keep cold and away from light.
What if I want sweeter marshmallows?
Because this recipe doesn’t include added sugar, the sweetness comes purely from the juice. If you prefer sweeter, you can substitute with a sweeter juice, or lightly brush or dip after cutting in a sugar or powdered sugar/starch mix (if diet allows). Another option is to add a small amount of liquid sweetener (honey, maple syrup) or extract (vanilla) after gelatin is dissolved—though this changes the “two‑ingredient” simplicity slightly.
Can I use other juices or liquids instead of cranberry juice?
Yes. Many non‑carbonated fruit juices work well: grape, cherry, apple, etc. Avoid juices that contain active enzymes (like fresh pineapple or kiwi) unless you process them (heat) to deactivate enzymes, since those can break down gelatin and prevent setting. Also, juice with too much acidity may interfere, so monitor how well the mix sets. Always test small batches when changing juices.
7. Conclusion & Final Thoughts
The 2‑Ingredient Homemade Marshmallows recipe stands out because of its elegance in simplicity. With just cranberry juice and gelatin sheets, you can create a treat that feels special—soft, decorative, naturally flavored—with minimal fuss. Whether you’re seeking a cleaner dessert, something low in processed sugar, a fun project with kids, or a pretty, colorful addition to a dessert platter, this marshmallow variation delivers.
This recipe’s key advantages include how customizable it is—even though you’re working with just two basic ingredients. You can adjust the flavor by trying different juices, tweak texture by how firm or airy you want the set to be, and shape them in molds for presentation. It’s also more natural than many store‑bought marshmallows which often include corn syrup, artificial colors, and stabilizers.
Of course, there are trade‑offs: without sugar, the sweetness and typical marshmallow chewiness are different; the texture will lean more towards a jelly or soft gummy rather than classic fluffy sponginess. But that uniqueness is part of the charm—lighter, more natural, and surprising.
In the end, these marshmallows are perfect for special occasions—holiday platters, snack boxes, gifting—or just satisfying a craving with something homemade and simple. If you follow the tips for gelatin strength, gentle heating, and proper chilling, you’ll get reliable results. And if you experiment (juices, flavors, shapes, maybe even vegan gelatin substitutes), you’ll end up with a version that fits your taste and diet perfectly. Enjoy making—and tasting—these beautiful two‑ingredient marshmallows!