1. Introduction to the Recipe
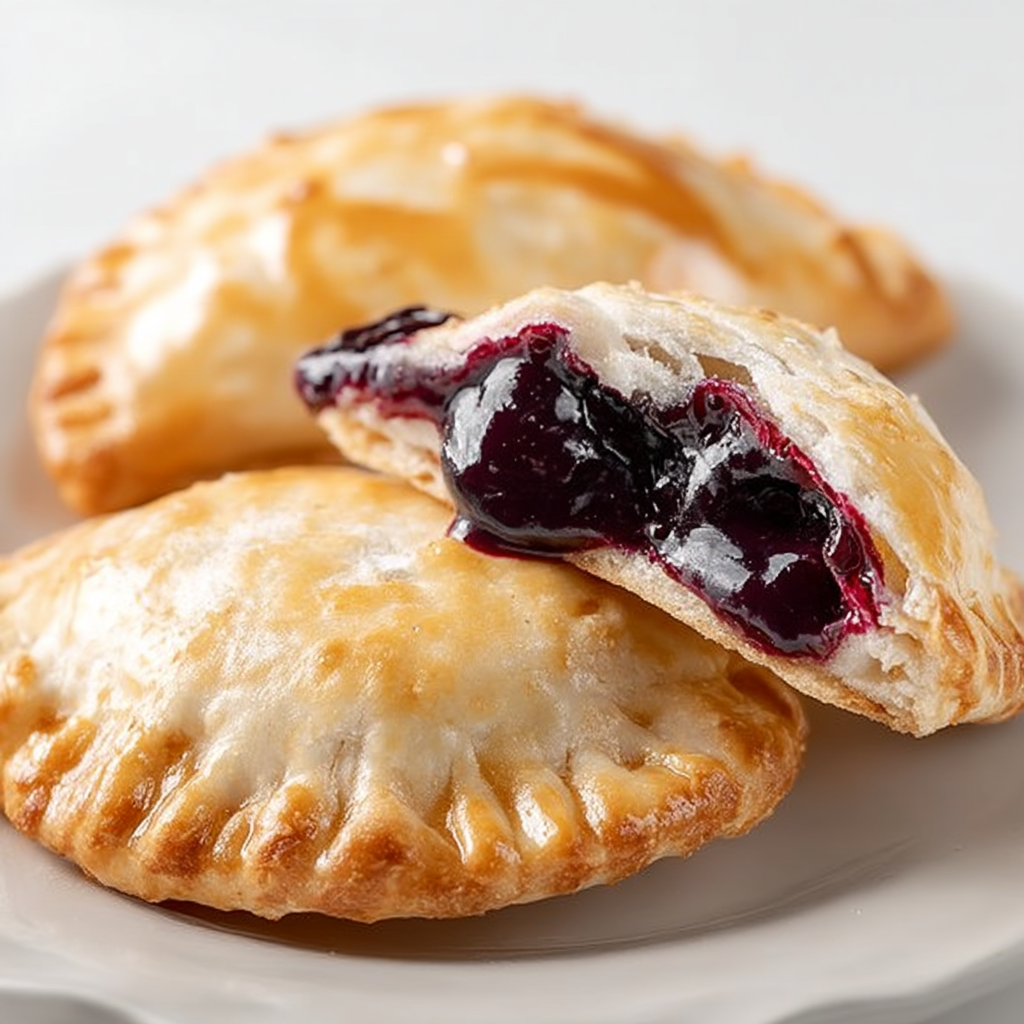
Experience the timeless delight of the Amish Fry Pie, a nostalgic, hand‑held pastry featuring flaky dough encasing sweet fruit filling, all deep‑fried to golden perfection and coated in a crackly glaze. It’s a beloved Amish favorite—easy to prepare, comforting to eat, and wonderfully portable for snacks, gatherings, or breakfast on the run.
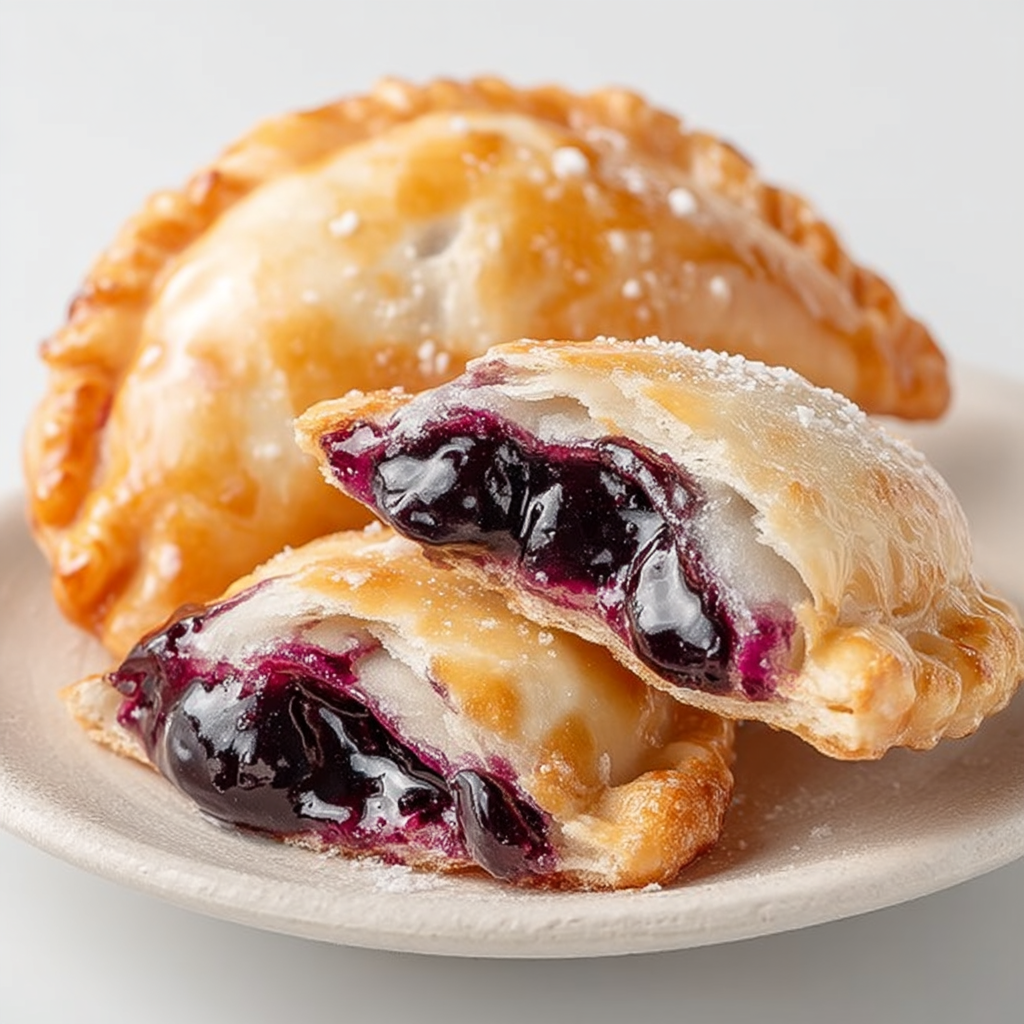
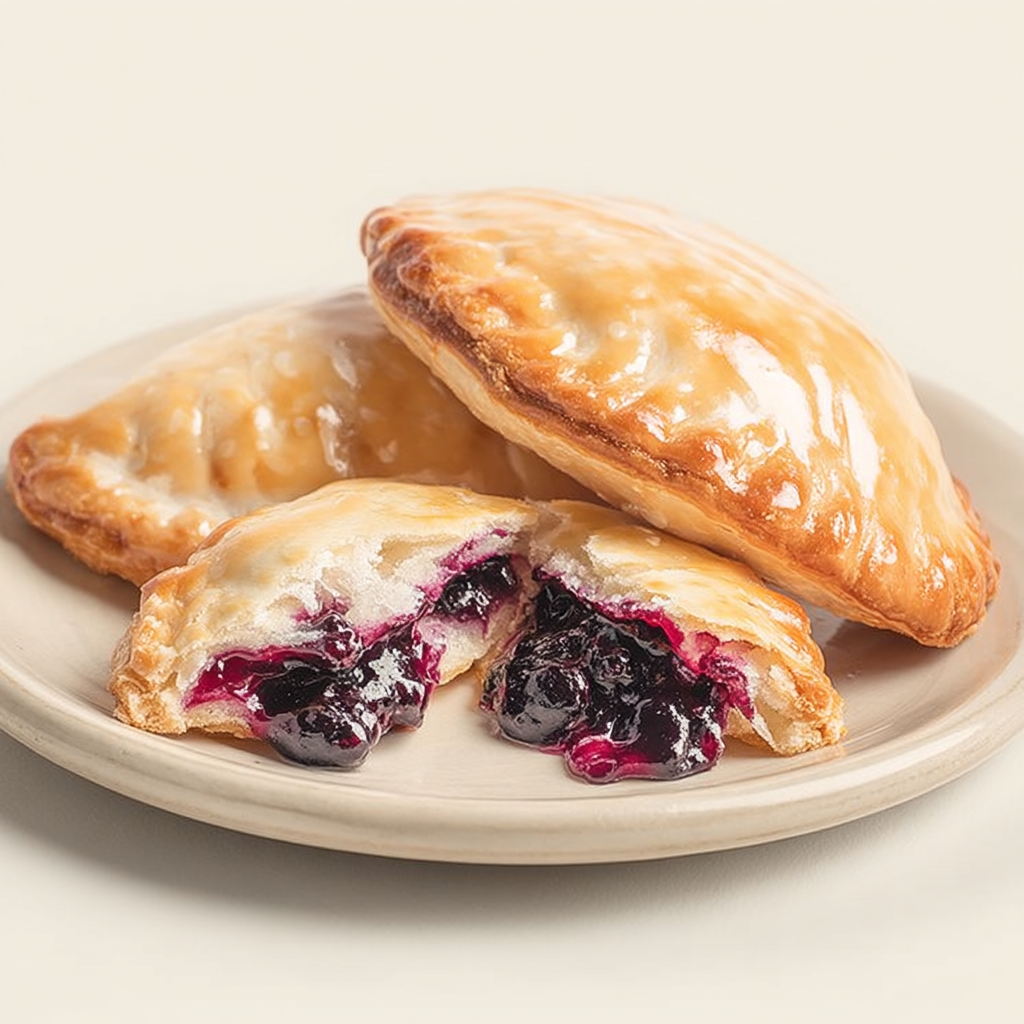
Made with pantry basics like cake flour and Crisco shortening, these pies capture rural simplicity with maximum flavor. The pastry yields a tender yet sturdy crust that crisps beautifully in hot oil, keeping the filling warm and juicy. Once fried, each pie receives a dip in a simple powdered‑sugar glaze that dries with a signature crackle, offering just the right touch of sweetness and nostalgia.
For insights into crafting that delicate balance between crispy crust and smooth glaze, check out this guide on traditional Amish fry pie technique and a breakdown of classic glaze formulas.
Whether you’re recreating a taste from childhood or introducing someone new to this charming classic, the Amish Fry Pie is sure to bring warmth, rich flavor, and irresistible nostalgia.
2. Basic Recipe: Ingredients and Instructions
Print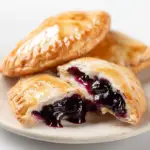
Amish Fry Pie – Flaky Hand‑Held Fried Treat
Description
Golden Amish Fry Pie: flaky dough, fruit filling, and a sweet glaze—perfect as a hand‑held dessert or snack.
Ingredients
- 4½ cups velvet cake flour
- ½ tablespoon salt
- 1 tablespoon sugar
- 1½ cups Crisco shortening
- 1 cup water
- Fruit filling (cherry, peach, or apple)
- Shortening (or neutral oil) for deep‑fat frying
Glaze:
- 4 pounds powdered sugar
- ¼ cup cornstarch
- 2½ tablespoons nonfat dry milk powder
- ½ teaspoon vanilla
- 1¼ cups water
Instructions
-
Make the dough: In a large mixing bowl, combine velvet cake flour, salt, and sugar. Cut in the Crisco shortening until the mixture resembles coarse crumbs. Add the water gradually until just moistened, forming a cohesive dough. Divide into two balls.
-
Shape pies: Divide each dough ball into 10 equal portions. Roll each portion into a thin circle. Place pie filling on half of each circle, moisten edges with water, fold dough over filling, and seal by pressing edges.
-
Fry pies: Heat shortening or oil in a deep pot until hot (around 350°F–375°F). Fry pies in batches until golden—flip once to ensure even color.
-
Prepare glaze: In a bowl, whisk together powdered sugar, cornstarch, dry milk powder, vanilla, and water until smooth.
-
Glaze pies: While pies are still warm, dip or brush them with glaze. Allow the glaze to set on a wire rack before serving.
Keywords: Amish Fry Pie
3. Advanced Techniques
Dough Texture Control
Use velvet cake flour for a tender crust, but if unavailable, sifted cake flour works. Cut shortening until pieces are pea-sized to ensure flakiness, and avoid overhydrating the dough—keeping it just cohesive ensures light, crisp pastry.
Even Pie Sealing for Frying
Moistening the edge with water (or a light slurry) helps seal the pies effectively. Pressing edges with a fork ensures the filling stays contained during frying and prevents oil from seeping in through seams, maintaining both texture and flavor.
Optimal Frying Temperature
Maintain oil around 350°F–375°F; too cool and pies absorb oil and become greasy, too hot and the crust darkens before the filling warms. Monitor temperature and fry in small batches to maintain consistent oil heat.
Glaze Consistency Mastery
Mix glaze until completely smooth; if too runny, it won’t adhere well or will slide off. If too thick, it’ll clump. Thin slightly with water to desired consistency. Dipping pies while warm helps the glaze set with that characteristic crackle.
Cooling for Perfect Texture
Transfer fried pies to a wire rack to drain and cool slightly before glazing. Post-glazing, set them back on the rack until fully dry to preserve crispness, rather than placing them on plates where steam would soften the exterior.
See more advanced recipes at cookingwhite.com

4. Storage, Shelf Life, and Maintenance Tips
Short-Term Storage
Store leftover pies at room temperature in a loosely covered container for up to 2 days. Too-tight covering traps moisture and softens the crust.
Freezing Options
Freeze unfried, filled pies on a tray, then transfer to bags. When ready, fry directly from frozen, adding a couple extra minutes to frying time for full crispiness.
Reheating for Freshness
To refresh fried pies, reheat in a preheated oven at 325°F for 5–10 minutes until warm and crisp again. Avoid microwaving, which softens the crust.
Avoiding Soggy Glaze
Store pies without stacking—use single layers separated by parchment. Airtight containers can trap moisture; vent the box slightly or use a paper towel layer to absorb excess humidity.
Maintaining Filling Integrity
If the filling is too loose, pies can burst during frying. Use chilled, thickened fillings to prevent soggy leakage and ensure easy shaping and frying.
5. Dietary Adaptations and Substitutions
Gluten-Free Version
Substitute cake flour with a 1:1 gluten-free baking blend containing xanthan gum. Fry pies carefully, as gluten-free dough may be more fragile; chill dough slightly before shaping for stability.
Lower-Sugar Glaze Alternative
Use powdered erythritol or a sugar-alternative blend in place of powdered sugar for the glaze. Adjust water for similar consistency, noting that texture may vary slightly.
Vegan Adaptation
Replace Crisco with a vegan shortening, and use plant-based fillings. The glaze can be made with plant-based milk powder or omitted entirely for a lighter finish.
Mini Hand-Pie Variation
For smaller servings, divide dough pieces smaller and fry mini-sized pies (about 3–4 inches). Reduce frying time accordingly (1–2 minutes per side) for bite-size treats.
Baked Version for Lower Fat
Bake pies at 425°F for 12–15 minutes instead of frying. Turn halfway for even browning. After baking, brush lightly with glaze for a lighter, oven-baked option.
6. FAQs About the Recipe
Can I prep pies ahead?
Yes—assemble uncooked pies and freeze them on a tray. Once solid, transfer to bags. Fry directly from frozen as needed; this is great for batch prep and timely servings.
Why is my glaze too runny or thick?
Glaze needs smooth consistency. If too runny, add more powdered sugar or cornstarch. If too thick, thin with small splashes of warm water until it flows yet adheres when dipped.
How many pies does this recipe make?
Using the ingredient amounts listed, this yields about 20 pies, depending on size. Adjust dough portioning if you prefer fewer or smaller pies.
Can I use other fats instead of Crisco?
Yes—traditional recipes may use lard or butter. Butter yields richer flavor but softer crust; lard gives excellent crispiness. Keep fat cold when blending into dry ingredients for best results.
Can I bake instead of fry?
Absolutely—bake at 425°F until golden, brushing lightly with oil. While crust isn’t as crisp as fried, you still get the satisfying filling and glaze.
7. Conclusion & Final Thoughts
The Amish Fry Pie marries simplicity and indulgence in a hand‑held pastry loved across generations. Its crisp, tender crust, luscious fruit center, and sweet, crackly glaze deliver comfort in every bite. This recipe showcases resourcefulness—made with staple ingredients and adaptable techniques, it fits both celebratory and everyday baking alike.
Beyond flavor, it’s nostalgic and communal: pies prep fast, fry quickly, and are versatile for breakfasts, after‑school snacks, or potlucks. The recipe’s flexibility allows for gluten‑free tweaks, vegan iterations, or baked versions, making it inclusive of many dietary preferences.
Mastering this recipe teaches foundational techniques: gentle dough mixing, temperature‑controlled frying, and glaze perfection. Once comfortable, you can customize fillings—from classic apple to cherry, peach, or even savory variants.
Keep batches ready and frozen, and you’ll have a delightful treat anytime. Whether sharing with family or enjoying your own slice of tradition, the Amish Fry Pie remains a beloved, flaky, sweet treasure—simple to make, unforgettable to taste.