1. Introduction to the Recipe
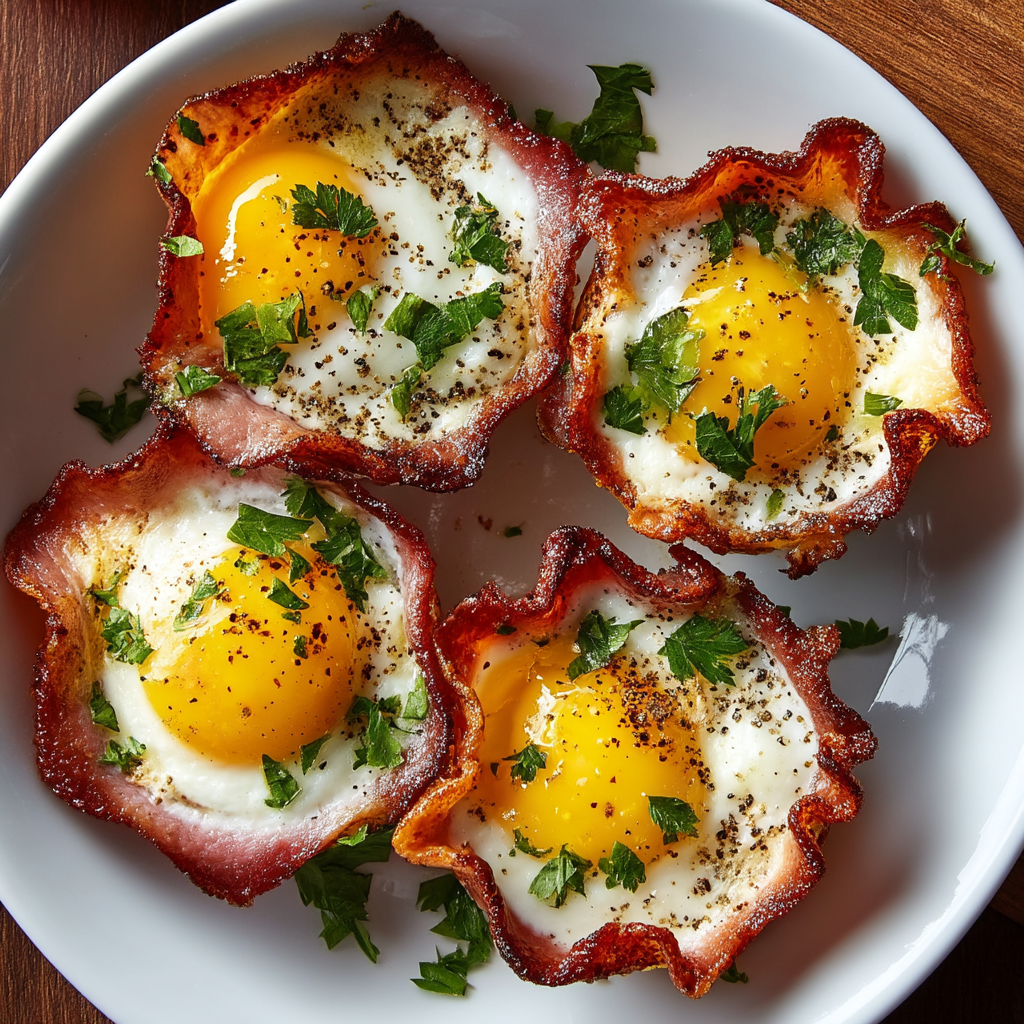
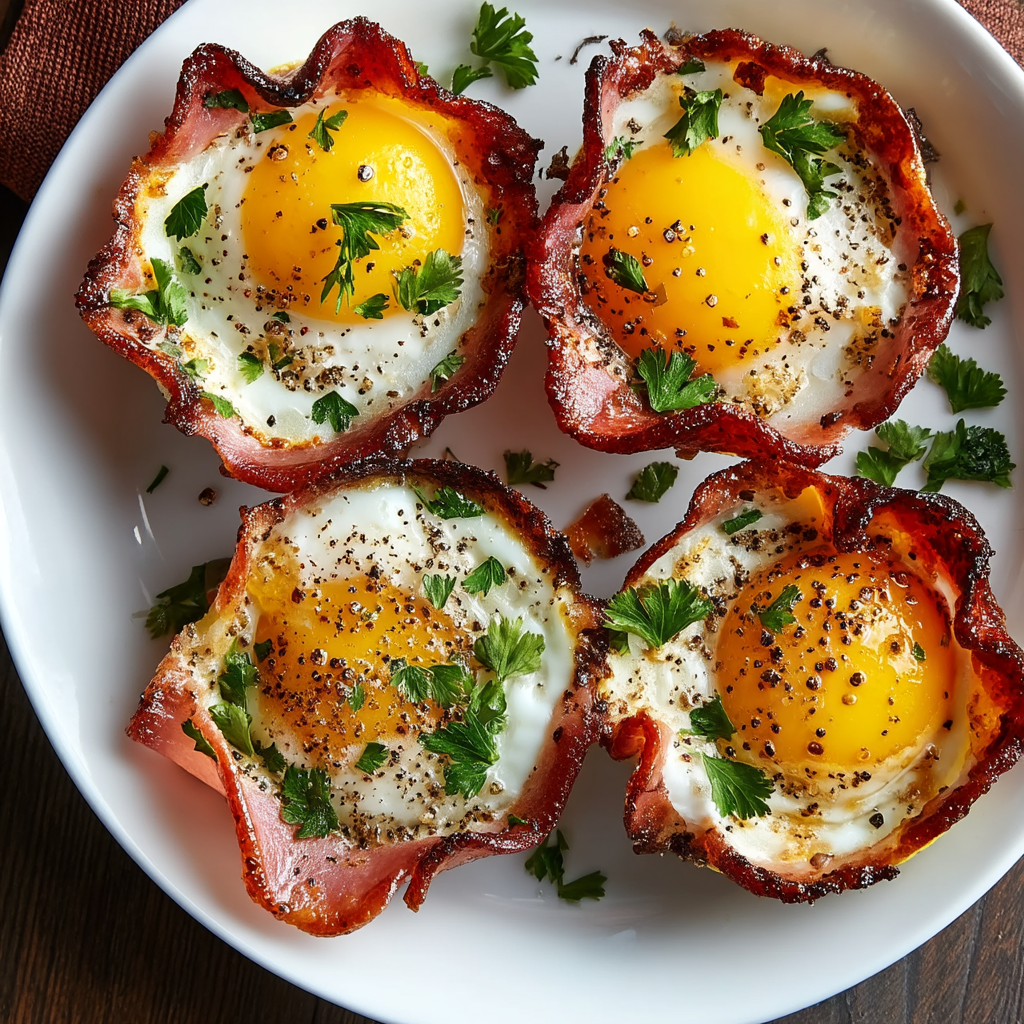
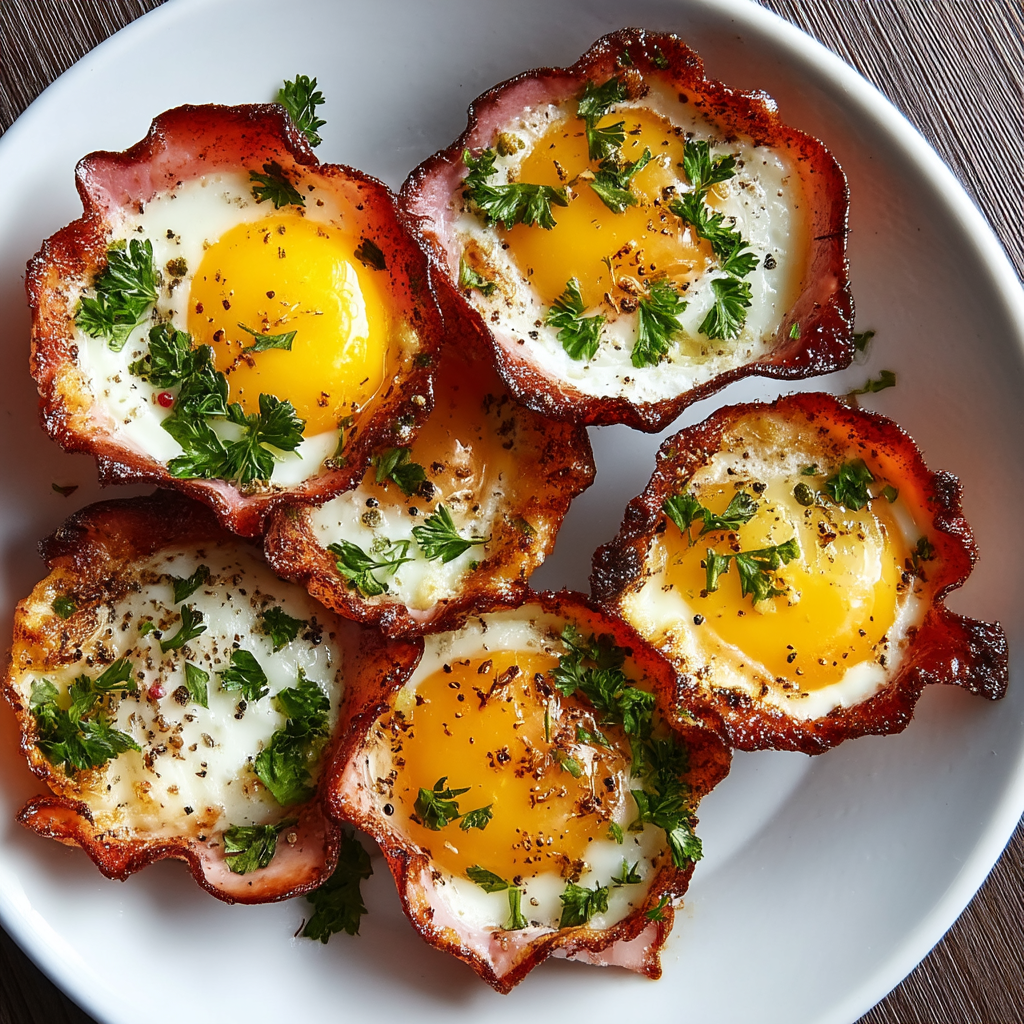
Looking for a fast, protein-packed breakfast that’s as convenient as it is delicious? Enter Baked Ham and Egg Cups. These handheld mini frittatas are built inside slices of ham, baked in a muffin tin, and topped with gooey cheese and crisp green onions. They’re low-carb, keto-friendly, gluten-free, and ready in under 30 minutes — making them a go-to for busy mornings, meal prep, or brunches with guests.
This simple recipe requires only five main ingredients: sliced ham (your edible cup!), eggs, shredded cheddar cheese, green onions, and a little seasoning. The preparation is as easy as layering ham in a muffin pan, cracking in an egg, topping it, and baking until just set. The result? A satisfying, savory breakfast bite that feels indulgent but is actually quite balanced.
You can customize Baked Ham and Egg Cups endlessly — swap in turkey slices, add sautéed vegetables, try different cheeses, or sprinkle with herbs for variety. They store well in the fridge and reheat beautifully, which makes them ideal for weekly meal prep.
For more breakfast inspiration, try these bacon egg breakfast muffins or learn about how to meal prep breakfast like a pro. Whether you’re on a low-carb diet or just trying to start the day with something savory and satisfying, Baked Ham and Egg Cups are a breakfast win.
2. Basic Recipe: Ingredients and Instructions
Print
Ingredients
- 1 pound sliced ham (about 10 slices, round or oval)
- 10 large eggs
- 1 cup shredded cheddar cheese
- ½ cup sliced green onions
- Salt and pepper, to taste
Instructions
- Preheat Oven and Prepare Muffin Tin
Preheat your oven to 375°F (190°C). Lightly grease a standard muffin tin with oil or cooking spray. - Form the Ham Cups
Press one slice of ham into each muffin cup, gently folding to fit and form a “cup.” Ensure there are no large gaps for eggs to leak through. - Crack the Eggs
Crack one egg into each ham cup. It’s okay if the yolk breaks. Season each with a little salt and pepper. - Add Cheese and Green Onions
Sprinkle cheddar cheese on top of each egg, followed by a few green onion slices. You can press the toppings in slightly to help them bake in. - Bake
Place the muffin tin in the oven and bake for 12–15 minutes, or until egg whites are set but yolks are still slightly runny (bake longer for firm yolks). - Cool and Serve
Remove from the oven and let sit for 2–3 minutes. Use a spoon to gently lift the ham and egg cups out. Serve warm or allow to cool for storage.
Notes
Use deli-style ham that’s round or oval and not too thin.
Sharp cheddar melts well but try pepper jack, Swiss, or feta for variety.
For firm egg yolks, bake 17–18 minutes.
These are excellent with hot sauce, salsa, or a dollop of Greek yogurt on top.
3. Advanced Techniques
Choosing the Right Ham Slices
Not all deli ham is created equal. Go for thicker, round-style ham slices that can hold shape in the muffin tin. Thin ham may tear or curl. Smoked, honey, or black forest ham all work well — just avoid highly watery or low-quality options which release too much moisture when baked.
How to Get Perfect Egg Texture
Soft, jammy yolks? Bake for 12–13 minutes. Firm, fully cooked yolks? Go for 17–18. Cover loosely with foil halfway if you want less browning on top. Also, try cracking the eggs into a bowl first to remove any shell bits or for easier pouring.
Adding Veggies or Fillings
Sautéed spinach, mushrooms, bell peppers, or diced tomatoes can be added under the egg or stirred into the whites for extra nutrition. Cook veggies first to reduce moisture. You can even mix the eggs for a more frittata-style texture.
Meal Prepping Like a Pro
Bake a full batch on Sunday, refrigerate in containers, and microwave throughout the week. They stay fresh for 4–5 days and are great with avocado toast, yogurt, or fruit on the side. For crispier edges, reheat in a toaster oven or air fryer.
Flavor Boosting with Seasonings
Beyond salt and pepper, try smoked paprika, garlic powder, or dried herbs. Add a dash of hot sauce or sprinkle everything bagel seasoning on top before baking. The cheese also adds flavor, so don’t be afraid to mix up blends.
See more advanced recipes at cookingwhite.com

4. Storage, Shelf Life, and Maintenance Tips
Refrigeration Tips
Let cups cool completely, then store in airtight containers in the fridge for up to 5 days. Place a paper towel in the container to absorb excess moisture and keep texture intact.
Freezing & Reheating
Wrap each ham and egg cup individually in foil or plastic wrap, then store in a freezer-safe bag for up to 2 months. Reheat directly from frozen in the microwave for 1–2 minutes, or in the oven at 350°F until warmed through.
Avoiding Sogginess
If your ham slices are thin or watery, they can make the base soggy. Use thicker cuts or pat slices dry with paper towels before baking. Avoid adding raw watery vegetables like zucchini or raw spinach directly to the cups.
Transporting On-the-Go
Great for work or school lunches! Let them cool fully before packing. Store with a cold pack and reheat briefly when ready to eat. They’re also tasty at room temperature, especially for brunch picnics or events.
Refreshing the Cups
Reheat gently in the microwave (30 seconds at a time) to avoid overcooking. For crispier results, pop into a preheated toaster oven or air fryer for a few minutes to revive the ham edges and melt the cheese again.
5. Dietary Adaptations and Substitutions
Low-Fat Version
Use lean ham and egg whites or a mix of whole eggs and whites. Use low-fat cheese or skip the cheese altogether and add chopped veggies instead for flavor and texture.
Dairy-Free Option
Simply omit the cheese or use a dairy-free shredded alternative. Nutritional yeast is another flavorful, cheese-like topping that keeps it dairy-free.
Vegetarian Adaptation
Skip the ham and line muffin cups with sautéed greens or use a tortilla, potato slice, or even a baked bell pepper ring as the base. Add egg, cheese, and other fillings as desired.
Keto-Friendly Modifications
This recipe is naturally keto! For ultra-low-carb needs, ensure your ham is sugar-free or labeled keto. Add high-fat toppings like avocado or shredded cheese blends for more richness.
Egg Alternatives
If you’re avoiding eggs, this recipe isn’t ideal — but a vegan scramble (like JUST Egg or tofu scramble) can be poured into veggie cups or silicone molds as a plant-based alternative.
6. FAQs About the Recipe
Can I scramble the eggs before baking?
Yes! Scrambling the eggs first creates a mini frittata texture. You can add seasonings, chopped veggies, and cheese directly into the mix before pouring into the ham cups. This also ensures even cooking.
What if my ham curls up while baking?
Ham curling happens with thin slices or high oven heat. Use thicker ham and press firmly into the muffin cups. You can also pre-bake empty ham cups for 5 minutes and then add eggs to help them hold shape better.
Can I use other deli meats?
Yes — turkey, roast beef, or prosciutto work well. Prosciutto will crisp more and can become salty, so reduce added salt if using it. Turkey tends to be leaner but slightly drier when baked.
Do I need to grease the muffin tin?
Yes, even though the ham adds a barrier, lightly greasing the tin helps prevent sticking. Nonstick pans or silicone muffin molds work best for easy release.
Can kids eat these?
Absolutely! They’re high in protein, low in sugar, and finger-friendly. For picky eaters, try using milder cheese and skipping green onions. You can even “hide” finely diced veggies under the eggs.
7. Conclusion & Final Thoughts
When breakfast needs to be fast, nourishing, and delicious, Baked Ham and Egg Cups hit the sweet spot. They’re portable, protein-rich, and endlessly customizable — making them a favorite among low-carb eaters, busy parents, and meal prep enthusiasts alike.
With minimal prep time and only five core ingredients, this recipe simplifies your morning routine without sacrificing flavor. Whether you’re making a double batch for the week or a tray for a weekend brunch, these ham and egg cups bring satisfaction to the table in just the right portion.
Even better? They’re adaptable to nearly any dietary need, freeze beautifully, and provide a solid base for whatever flavors or ingredients you enjoy most. Think of them as your breakfast blank canvas — just waiting to be filled with everything you love.