Introduction
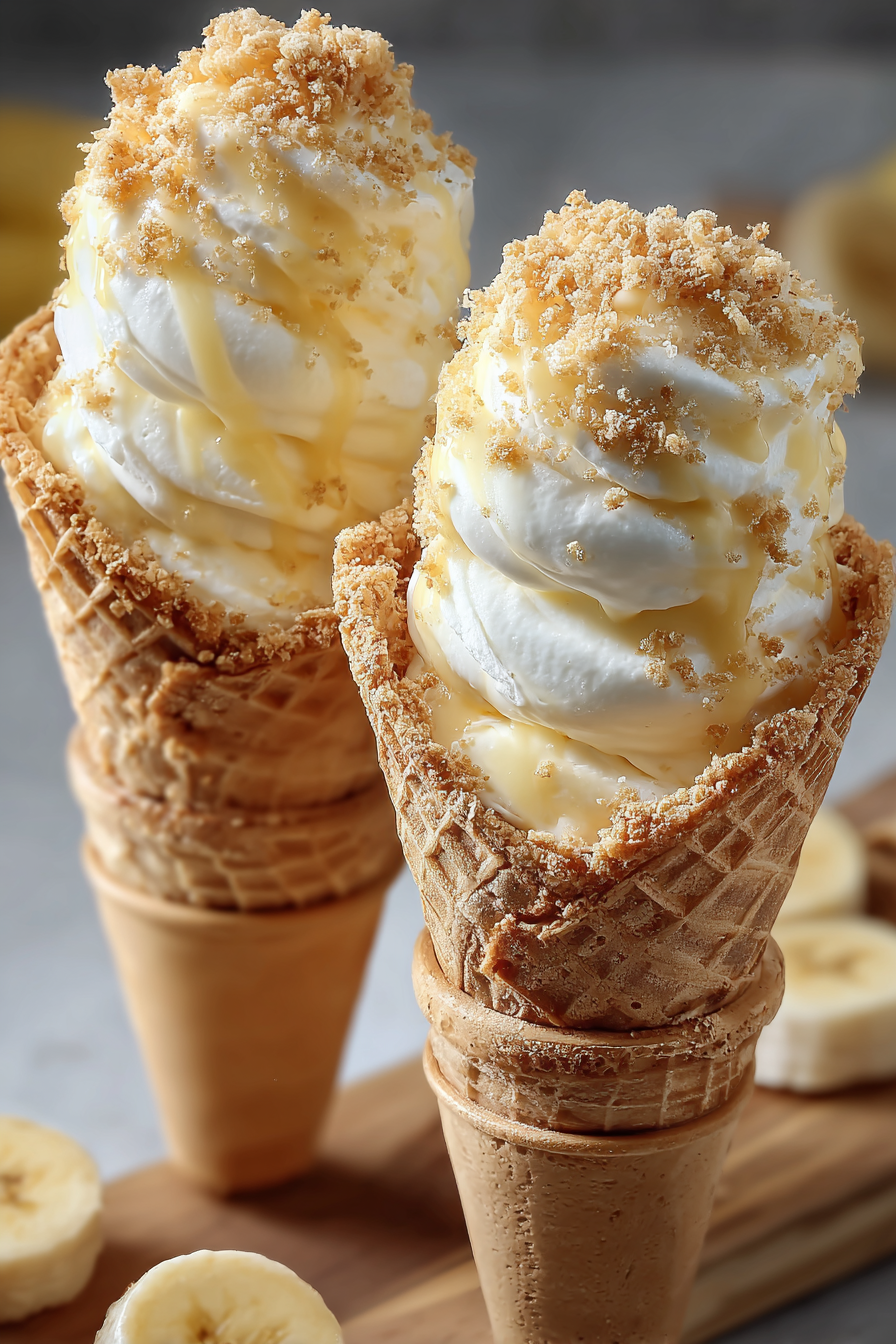
Cheesecake lovers and banana pudding fans, get ready to celebrate! This Banana Pudding Cheesecake Cones recipe brings together two classic desserts in one delicious bite-sized creation. Imagine crunchy waffle cones filled with a smooth, tangy cheesecake filling, layered with banana slices, vanilla wafers, and topped with whipped cream. It’s a modern twist on banana pudding with an extra touch of elegance that makes it perfect for special occasions or even casual snacking.
My recipe story
This recipe was born out of a craving for banana pudding but with a desire to make it more portable and visually exciting. Traditional banana pudding is comforting, but I wanted something that could be shared easily at parties without needing plates and spoons. Cheesecake cones had already been a trend, so combining them with the Southern classic banana pudding seemed like the perfect idea. The result is a dessert that’s fun, eye-catching, and deliciously satisfying.
💡 Why You’ll Love This Recipe
- Fun, handheld dessert perfect for parties, picnics, and gatherings.
- No-bake recipe that saves time and keeps your kitchen cool.
- Classic flavors of banana pudding with a creamy cheesecake twist.
- Customizable with toppings like caramel drizzle, crushed cookies, or chocolate.
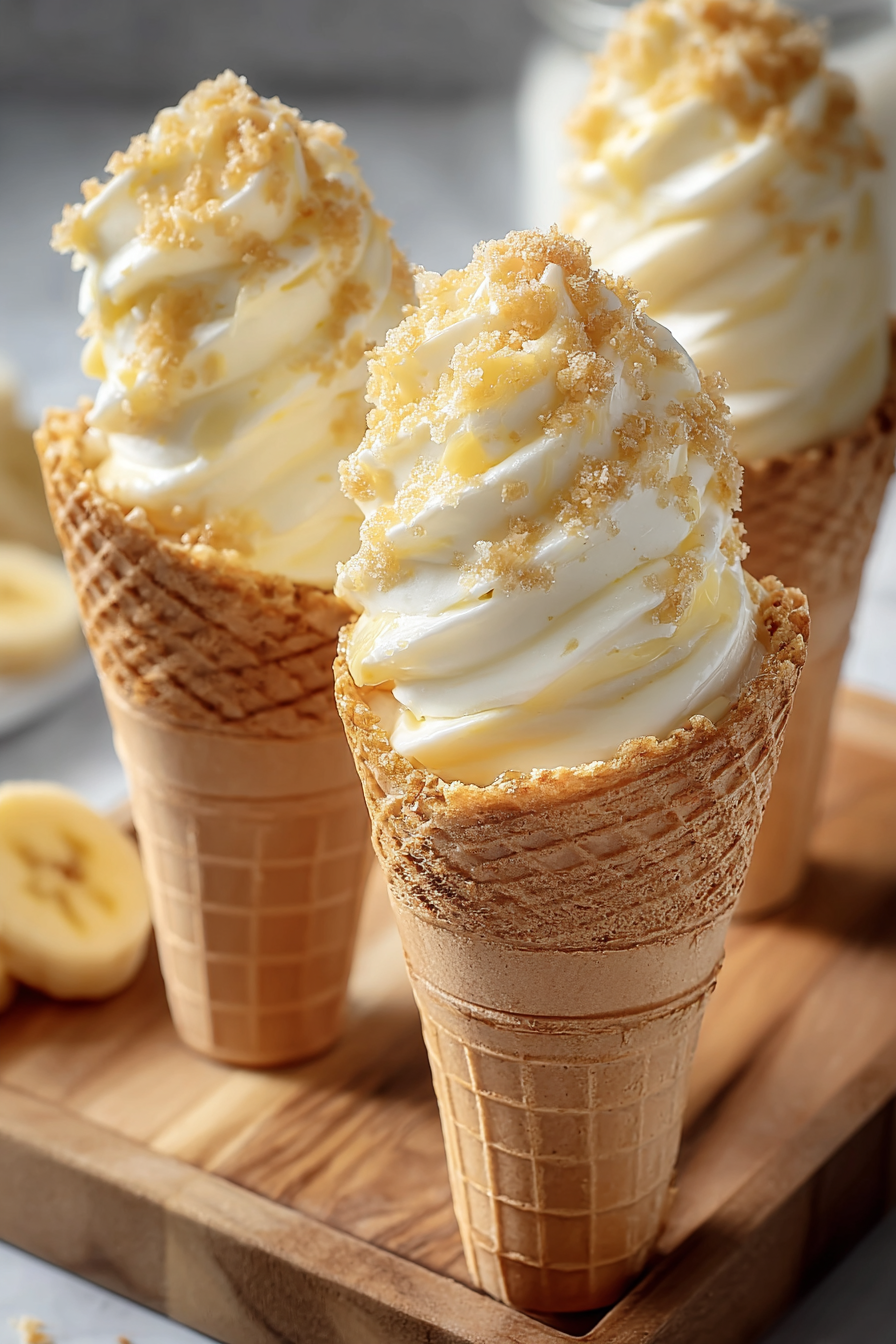
- Beautiful presentation that looks like it came straight from a bakery.
Ingredient breakdown
The star of this recipe is the cheesecake filling, made from cream cheese, powdered sugar, and heavy whipping cream. Cream cheese provides the rich, tangy base, while powdered sugar adds sweetness without graininess. Heavy cream whips up into a luscious, airy texture that balances out the density of the cream cheese, making every bite velvety smooth.
Banana slices and vanilla wafers bring in the nostalgic flavors of banana pudding. The bananas add natural sweetness and a soft bite, while vanilla wafers provide that familiar crunch and depth. Waffle cones replace the typical casserole dish, transforming this dessert into a handheld treat. A finishing touch of whipped cream and optional garnishes like crushed wafers, caramel drizzle, or banana chips make them as beautiful as they are tasty.
Equipment you’ll need
- Large mixing bowl
- Electric hand mixer or stand mixer
- Rubber spatula
- Piping bag (or zip-top bag with a corner cut off)
- Measuring cups and spoons
- Serving tray for cones
Step-by-step directions
Step 1: Prepare the cheesecake filling. In a large mixing bowl, beat the softened cream cheese with an electric mixer until smooth and lump-free. Add powdered sugar and mix until well incorporated. Slowly pour in the heavy cream and continue mixing until the filling is thick, fluffy, and holds its shape. This will serve as the luscious base of your cones.
Step 2: Get your cones ready. Place waffle cones upright in a serving tray or cone stand to make assembly easier. If you don’t have a stand, use a muffin tin to hold the cones upright while filling. Make sure they are stable, as you’ll be layering multiple ingredients.
Step 3: Add the first layer. Use a piping bag to pipe a swirl of cheesecake filling into the bottom of each cone. This prevents the bananas from making the cone soggy and creates a creamy foundation for the layers to come.
Step 4: Layer bananas and wafers. Add a few slices of banana and some crushed vanilla wafers on top of the cheesecake layer. This adds texture and balances the richness of the cream with natural fruitiness and crunch.
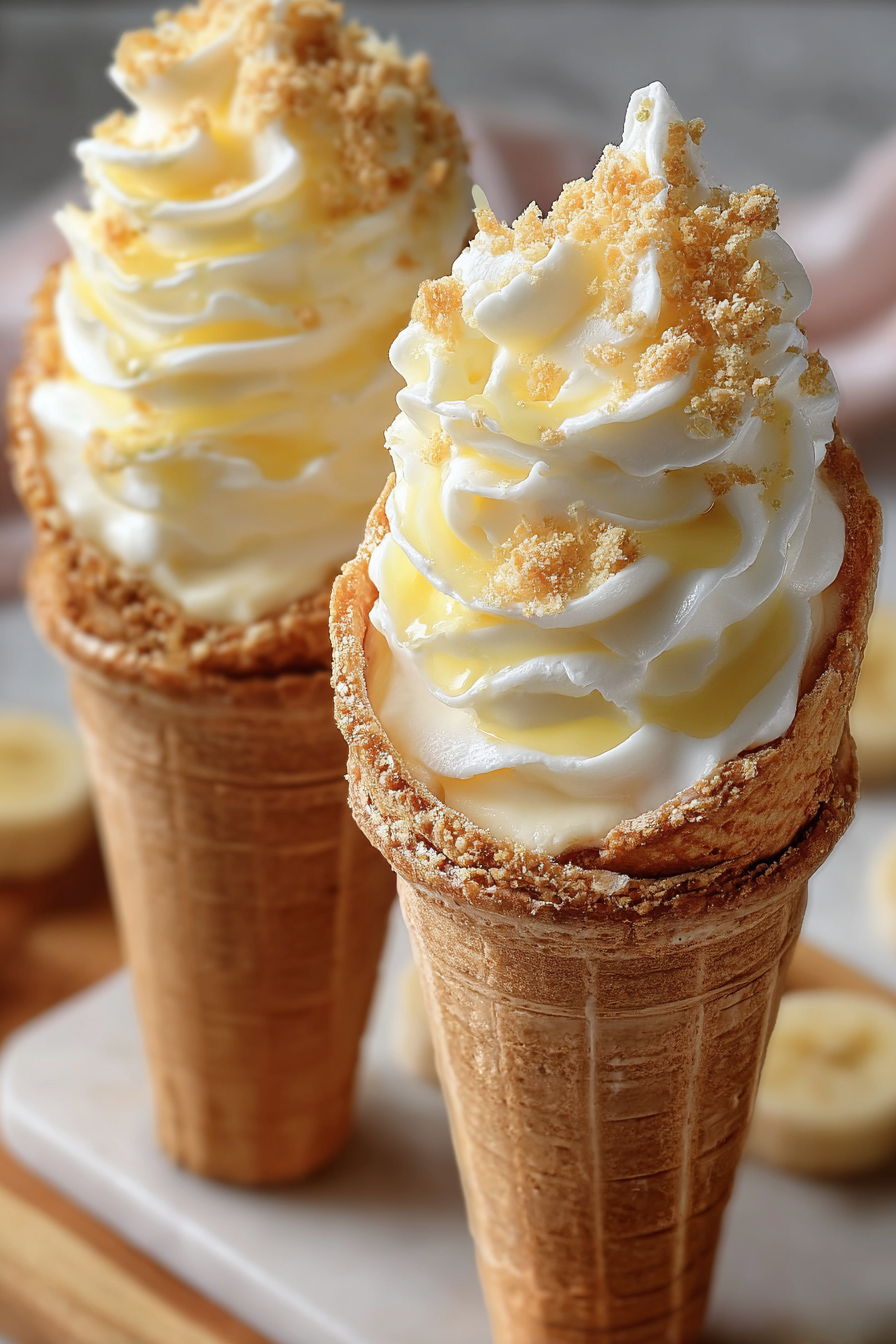
Step 5: Repeat and fill. Continue layering cheesecake filling, bananas, and wafers until you reach the top of the cone. Finish with a generous swirl of cheesecake filling to give the cone a bakery-style look.
Step 6: Garnish and serve. Top each cone with whipped cream, crushed wafers, banana slices, or a drizzle of caramel sauce. Serve immediately or refrigerate for 30 minutes if you prefer them chilled. Enjoy these cones as a show-stopping dessert for any occasion!
Variations & substitutions
If you’re looking to change things up, swap the vanilla wafers for graham crackers or shortbread cookies for a different texture. Chocolate lovers can add mini chocolate chips or drizzle melted chocolate over the top. For a tropical twist, replace bananas with sliced strawberries or pineapple. Dairy-free? Use plant-based cream cheese and coconut cream instead of heavy cream. The cones can also be made with sugar cones or even chocolate-dipped cones for extra decadence.
💡 Expert Tips & Troubleshooting
- Use fully ripened bananas for the best flavor and natural sweetness.
- Chill the cheesecake filling for 15–20 minutes before piping to make it firmer.
- Assemble cones just before serving to prevent sogginess from bananas.
- If cones aren’t standing up straight, use a muffin tin lined with foil to hold them upright.
- For extra stability, dip the inside of cones in melted chocolate before filling.
Storage, freezing & make-ahead
These cheesecake cones are best enjoyed fresh, but you can prepare the filling in advance. Store the cheesecake mixture in an airtight container in the refrigerator for up to 3 days. Assemble the cones right before serving for the best texture. If you want to freeze the filling, transfer it into a freezer-safe container for up to 1 month, then thaw in the fridge overnight. Avoid freezing the assembled cones, as the bananas and cones will lose their texture.
Serving ideas & pairings
These cones pair beautifully with iced coffee, sweet tea, or a glass of chilled milk. For a dessert buffet, serve them alongside other handheld treats like brownies, cake pops, or mini cupcakes. You can even create a DIY dessert station where guests assemble their own cones with a variety of toppings and fruits. They’re also fantastic for summer cookouts, birthday parties, or as a sweet ending to a family dinner.
FAQ
Can I make these cones a day ahead?
It’s best to assemble them the day of serving to avoid sogginess, but the filling can be made up to 3 days ahead and stored in the fridge.
What kind of cones work best?
Waffle cones are ideal because they’re sturdier and hold more filling, but sugar cones or dipped cones also work.
Can I use instant pudding mix?
Yes, you can fold in instant banana pudding for added flavor, though it may change the consistency slightly.
How do I prevent the cones from getting soggy?
Pipe a layer of cheesecake filling at the bottom first, or dip the inside in chocolate to create a barrier.
Can I make these without bananas?
Absolutely! Swap in strawberries, peaches, or even mango for a fresh twist.
Final thoughts
Banana Pudding Cheesecake Cones are the perfect blend of creativity, flavor, and convenience. With their no-bake filling, nostalgic ingredients, and stunning presentation, they’re guaranteed to become a crowd favorite at any event. Whether you make them for a birthday party, family dinner, or just because, these cones are a reminder that desserts can be both fun and indulgent. Give them a try—you’ll fall in love with every creamy, crunchy bite!
Print
Banana Pudding Cheesecake Cones
- Total Time: 20 minutes
- Yield: 8 cones
- Diet: Vegetarian
Description
A fun no-bake dessert featuring creamy cheesecake filling, bananas, and vanilla wafers layered in crisp waffle cones. Perfect for parties or gatherings.
Ingredients
- 16 oz cream cheese, softened
- 1 cup powdered sugar
- 1/2 cup heavy whipping cream
- 1 teaspoon vanilla extract
- 4 ripe bananas, sliced
- 1 1/2 cups crushed vanilla wafers
- 8 waffle cones
- Whipped cream, for topping
- Caramel sauce or extra crushed wafers, optional garnish
Instructions
- In a large mixing bowl, beat the softened cream cheese until smooth. Add powdered sugar and vanilla extract, mixing until creamy.
- Gradually pour in the heavy cream and continue whipping until the mixture is fluffy and holds its shape.
- Set waffle cones upright in a tray or muffin tin for easy filling. Pipe or spoon a small layer of cheesecake filling into the bottom of each cone.
- Add banana slices and a sprinkle of crushed vanilla wafers on top of the filling.
- Continue layering cheesecake filling, bananas, and wafers until the cones are filled to the top.
- Finish with a swirl of cheesecake filling, whipped cream, and optional garnishes like caramel drizzle or extra cookie crumbs. Serve immediately.
Notes
Best enjoyed fresh. If preparing ahead, make the cheesecake filling up to 3 days in advance and store in the fridge. Assemble cones just before serving to prevent sogginess.
- Prep Time: 20 minutes
- Cook Time: 0 minutes
- Category: Dessert
- Method: No-Bake
- Cuisine: American