1. Introduction to the Recipe
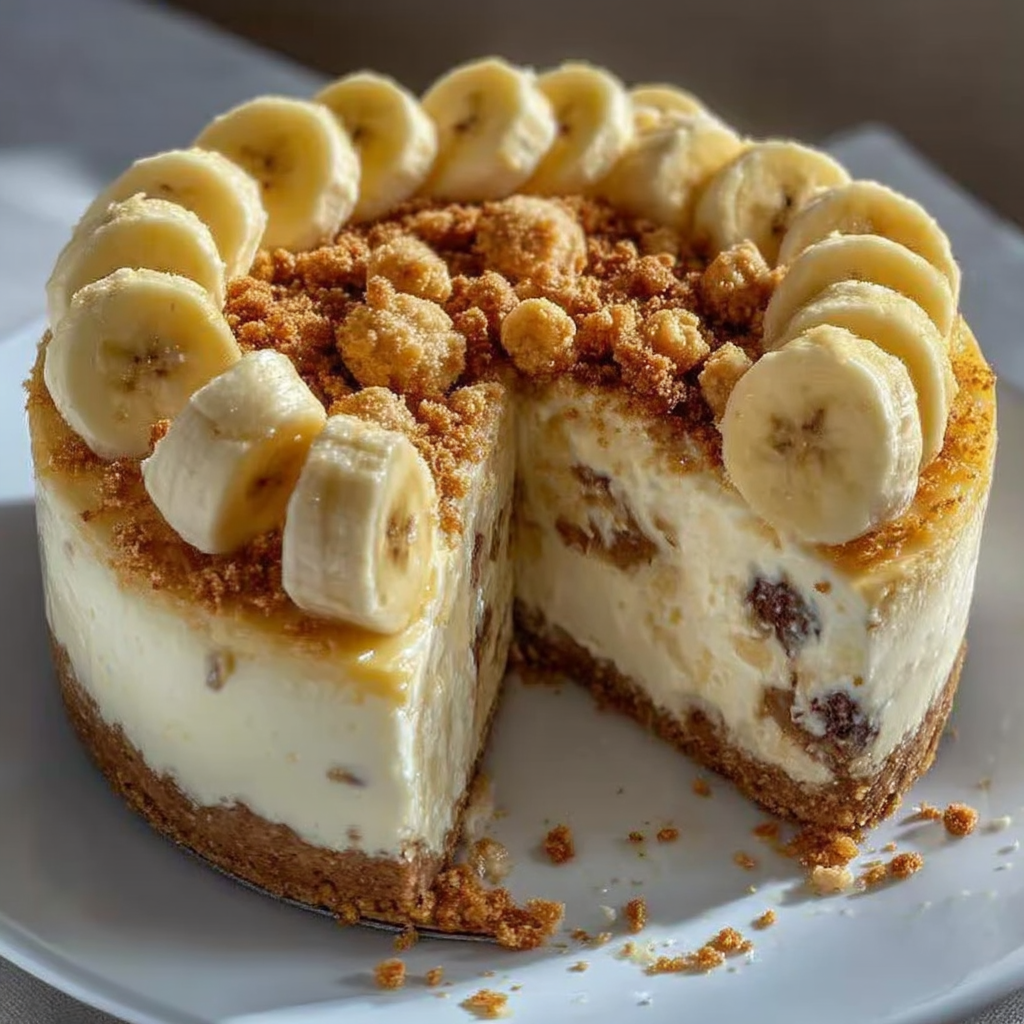
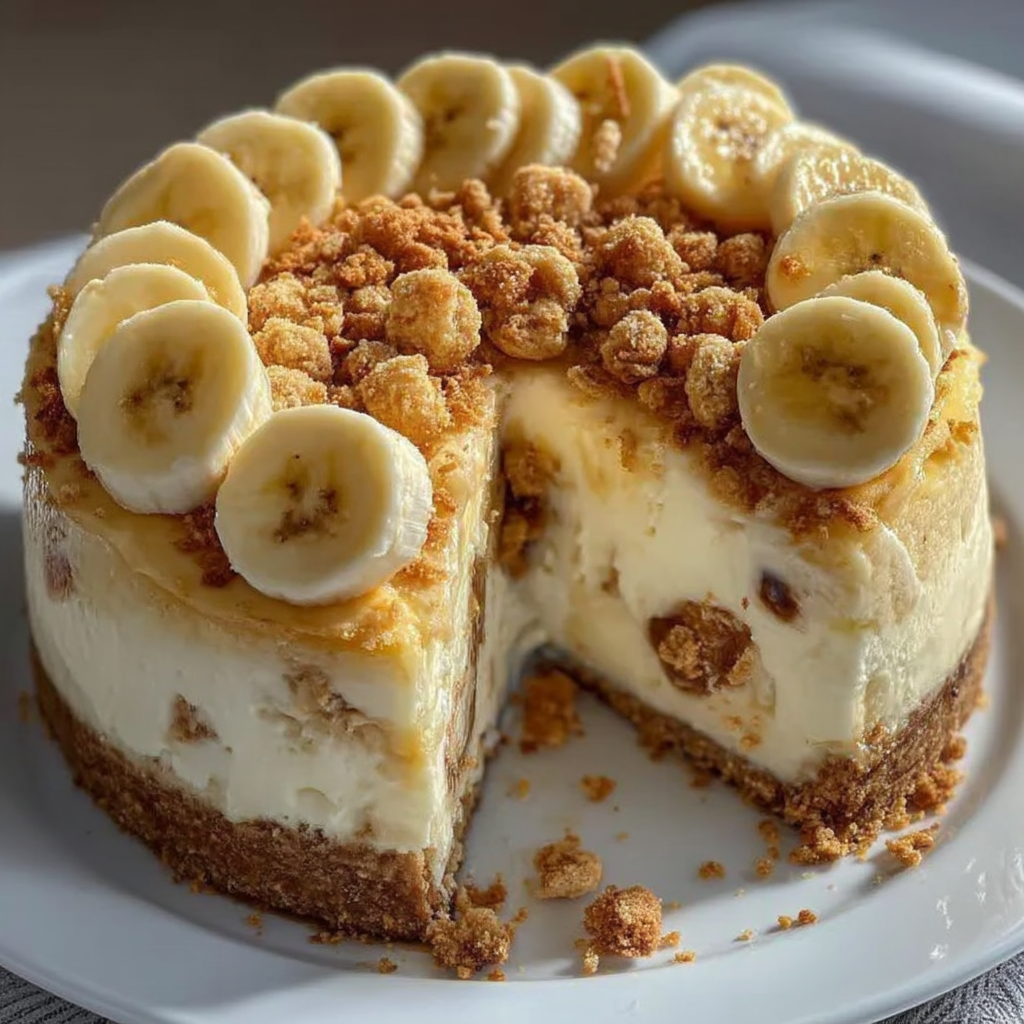
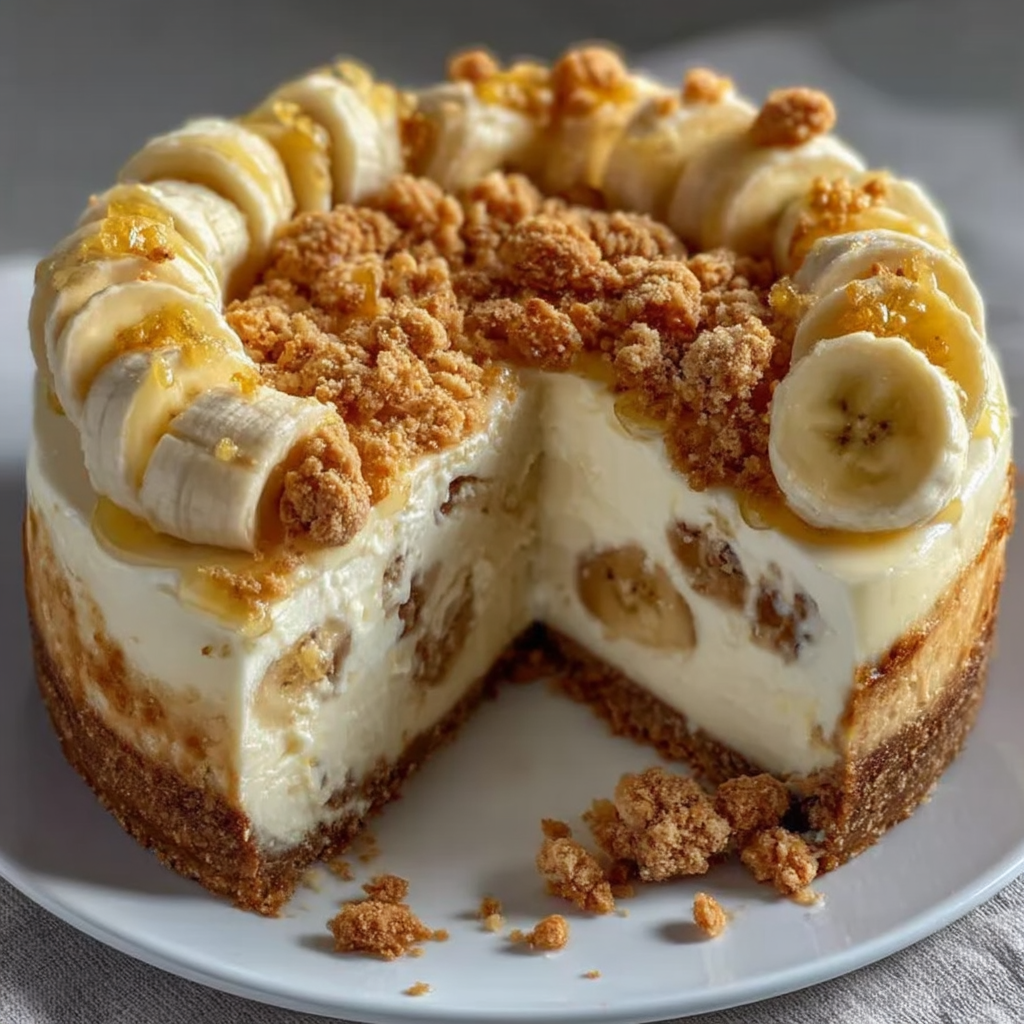
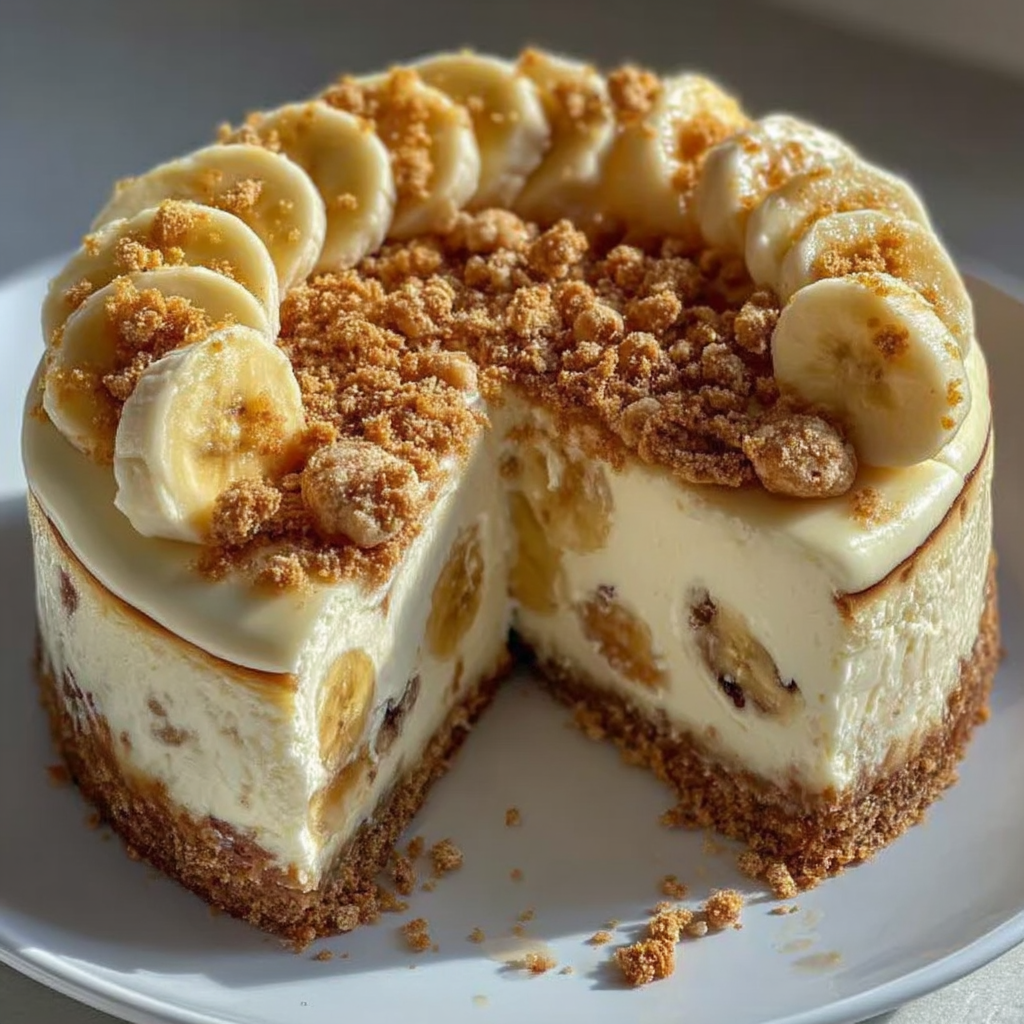
If you love the classic comfort of banana pudding but crave something richer and more decadent, the Banana Pudding Crunch Cheesecake is your new go-to dessert. This luscious cheesecake marries the creamy, smooth texture of traditional cheesecake with the nostalgic flavors of ripe bananas and vanilla wafers, topped with a satisfying crunch from pecans and extra wafer crumbs.
The recipe starts with a buttery vanilla wafer crust, providing a perfect base that holds the cheesecake filling beautifully. The filling itself blends ripe bananas with cream cheese, sugar, eggs, sour cream, and a touch of vanilla to balance the flavors. A bit of flour helps give it structure, resulting in a silky yet firm cheesecake that slices cleanly.
This cheesecake is ideal for special occasions, potlucks, or anytime you want to impress with a dessert that tastes as good as it looks. For inspiration and a great overview of how to perfectly bake cheesecakes, or to explore banana dessert recipes, check out those helpful resources.
The combination of creamy banana flavor and crunchy elements in this cheesecake makes it a memorable dessert that will delight family and friends. Let’s dive into the ingredients and step-by-step instructions so you can make this show-stopping treat at home.
2. Basic Recipe: Ingredients and Instructions
Print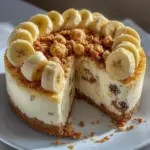
Banana Pudding Crunch Cheesecake
Description
Rich Banana Pudding Crunch Cheesecake with creamy filling, crunchy vanilla wafer crust, and a pecan topping for perfect texture.
Ingredients
For the Crust:
-
1 ½ cups crushed vanilla wafers
-
¼ cup granulated sugar
-
¼ cup unsalted butter, melted
For the Cheesecake Filling:
-
24 oz cream cheese, softened
-
1 cup granulated sugar
-
3 ripe bananas, mashed
-
3 large eggs
-
1 tsp vanilla extract
-
¼ cup sour cream
-
¼ cup all-purpose flour
For the Topping:
-
1 cup crushed vanilla wafers
-
¼ cup chopped pecans
-
2 tbsp unsalted butter, melted
Instructions
-
Prepare the Crust
Preheat the oven to 325°F (160°C). In a medium bowl, mix the crushed vanilla wafers, sugar, and melted butter until well combined. Press the mixture firmly into the bottom of a 9-inch springform pan to create an even crust layer. Bake for 10 minutes, then set aside to cool. -
Make the Cheesecake Filling
In a large mixing bowl, beat the softened cream cheese until smooth and creamy. Gradually add the sugar, beating until fully incorporated. Mix in the mashed bananas, followed by the eggs one at a time, mixing well after each addition. Stir in vanilla extract and sour cream. -
Add Flour for Structure
Gradually add the flour, mixing just until combined. This helps the cheesecake hold together without becoming too dense. -
Bake the Cheesecake
Pour the filling over the cooled crust in the springform pan. Bake for 55-65 minutes, or until the center is almost set but still slightly jiggly. Turn off the oven and let the cheesecake sit inside for 1 hour to prevent cracking. -
Prepare the Topping
While the cheesecake is baking, mix crushed vanilla wafers, chopped pecans, and melted butter in a small bowl. Set aside. -
Add the Crunchy Topping
After the cheesecake has cooled slightly, sprinkle the wafer-pecan mixture evenly over the top. -
Chill Completely
Refrigerate the cheesecake for at least 4 hours, preferably overnight, before serving. This allows the flavors to meld and the cheesecake to firm up perfectly.
Notes
Use very ripe bananas for the best natural sweetness and flavor.
Soften cream cheese at room temperature to avoid lumps in the batter.
Don’t overmix once you add the flour to prevent a tough texture.
Baking times may vary; watch for the jiggle in the center to know when it’s done.
The crunchy topping adds texture contrast but can be omitted if preferred.
Keywords: Banana Pudding Crunch Cheesecake
3. Advanced Techniques
Achieve a Creamy Texture by Tempering Eggs
To avoid curdling or lumps, add eggs one at a time and mix slowly. Consider tempering the eggs by adding a small amount of the cream cheese mixture to the beaten eggs before folding them back in. This helps keep the filling silky.
Prevent Cracks with a Water Bath
Baking your cheesecake in a water bath creates steam that prevents cracking by maintaining moisture. Wrap the springform pan in foil and place it in a larger pan with hot water halfway up the sides before baking.
Use Room Temperature Ingredients
Ensure cream cheese, eggs, and sour cream are at room temperature before mixing. This improves emulsion and results in a smoother batter with fewer air bubbles.
Customize Your Toppings
Swap pecans for toasted walnuts, almonds, or even coconut flakes for different crunch profiles. For extra flair, drizzle caramel or chocolate sauce on top after baking.
Chill Properly for Clean Slices
Chill the cheesecake overnight for best slicing results. When serving, dip a sharp knife in hot water, wipe it dry, and slice cleanly through the cheesecake for perfect presentation.
See more advanced recipes at cookingwhite.com
4. Storage, Shelf Life, and Maintenance Tips
Store in the Refrigerator
Keep the cheesecake covered tightly with plastic wrap or in an airtight container. It stays fresh for up to 5 days when refrigerated.
Freeze for Longer Storage
Wrap the cheesecake tightly with plastic wrap and then aluminum foil to prevent freezer burn. Freeze for up to 3 months. Thaw overnight in the fridge before serving.
Avoid Moisture on the Topping
To keep the crunchy topping crisp, add it only after the cheesecake has cooled. Avoid storing cheesecake uncovered as moisture softens the topping.
Use a Cake Carrier for Transport
For potlucks or parties, transport your cheesecake in a cake carrier to keep the crust and topping intact.
Refresh Leftover Slices
If the topping softens over time, sprinkle fresh crushed vanilla wafers or pecans just before serving to revive the crunch.
5. Dietary Adaptations and Substitutions
Gluten-Free Version
Use gluten-free vanilla wafer cookies or substitute with gluten-free graham cracker crumbs for the crust and topping. Ensure the flour in the filling is gluten-free (like tapioca or rice flour).
Lower Sugar Option
Reduce sugar in the filling to ¾ cup and use ripe bananas to maintain sweetness. You can also use a sugar substitute suitable for baking, like erythritol or monk fruit sweetener.
Dairy-Free Alternative
Replace cream cheese and sour cream with dairy-free alternatives, such as cashew cream cheese or coconut-based sour cream. Use vegan butter for the crust and topping.
Nut-Free Topping
Omit pecans or substitute with toasted seeds such as pumpkin or sunflower seeds for those with nut allergies.
Add Protein Boost
Incorporate a tablespoon of vanilla or unflavored protein powder into the filling to give this dessert a protein boost without affecting flavor significantly.
6. FAQs About the Recipe
Can I Make This Cheesecake Without Bananas?
Yes! You can omit bananas for a classic vanilla cheesecake or substitute with other mashed fruits like strawberries or cooked pumpkin for seasonal variations.
Why Is My Cheesecake Cracking?
Cracking usually happens due to rapid temperature changes or overbaking. Using a water bath and letting the cheesecake cool slowly inside the oven helps prevent cracks.
Can I Use Frozen Bananas?
Yes, but thaw and drain excess moisture from frozen bananas before mashing to avoid a watery filling.
How Do I Know When the Cheesecake is Done?
The edges should be set and the center slightly jiggly when you gently shake the pan. It will firm up as it cools.
Can I Prepare This in Advance?
Absolutely! Cheesecake often tastes better after resting overnight. You can prepare it a day ahead for convenience.
7. Conclusion & Final Thoughts
The Banana Pudding Crunch Cheesecake combines the creamy richness of cheesecake with the nostalgic flavors of banana pudding, elevated by the crunch of vanilla wafers and pecans. Its harmonious textures and sweet, fruity flavor make it a perfect dessert for any occasion—from family dinners to festive celebrations.
This recipe’s balance of creamy and crunchy, soft and crisp, and sweet and tangy makes it irresistibly satisfying. It’s a wonderful way to impress guests or indulge yourself with a homemade treat that’s easier to make than you think.
With options for dietary adaptations, make-ahead convenience, and easy storage, this cheesecake can fit your lifestyle and taste preferences. So grab your mixer, ripe bananas, and vanilla wafers—this dessert is sure to become a staple in your recipe collection!