Introduction
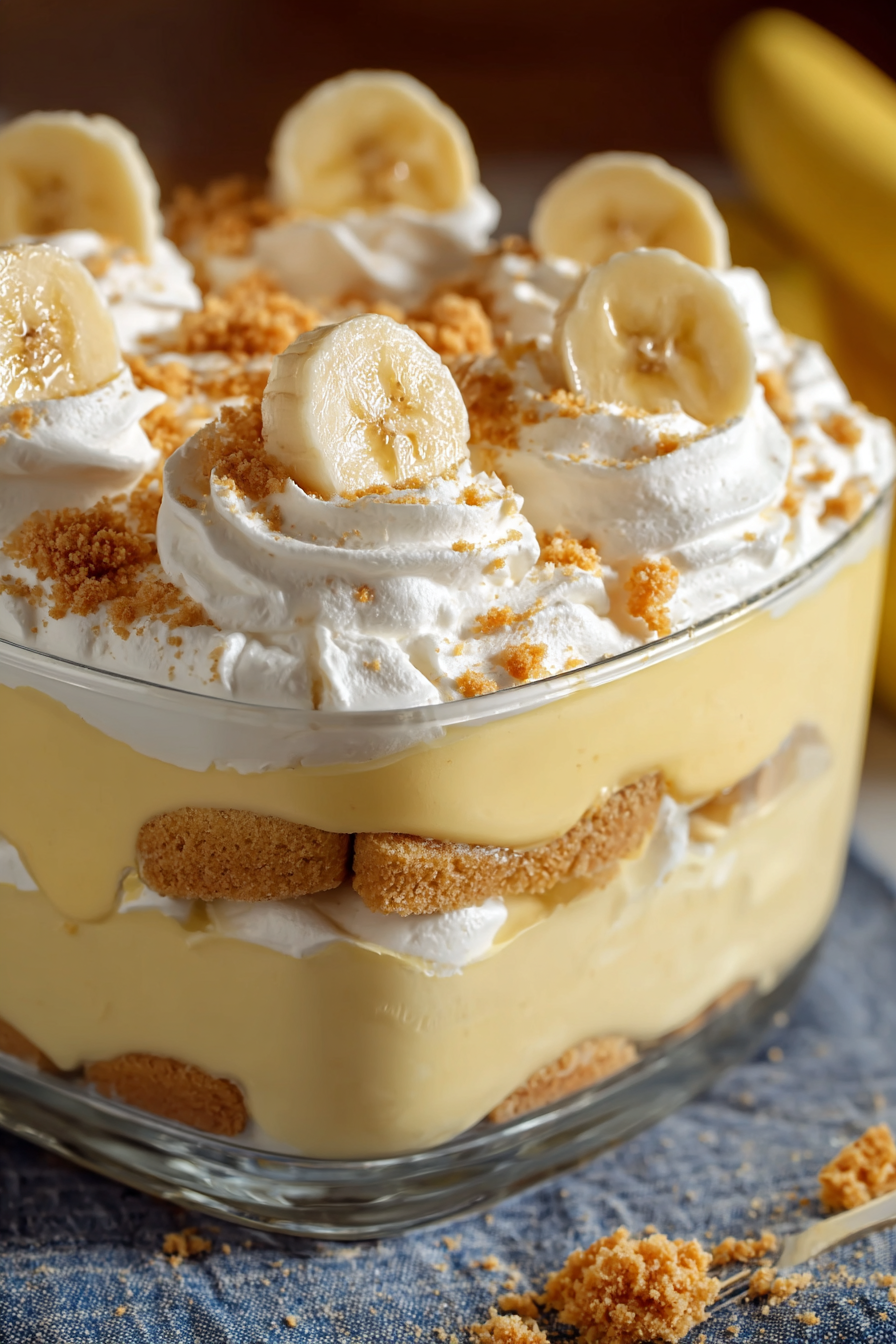
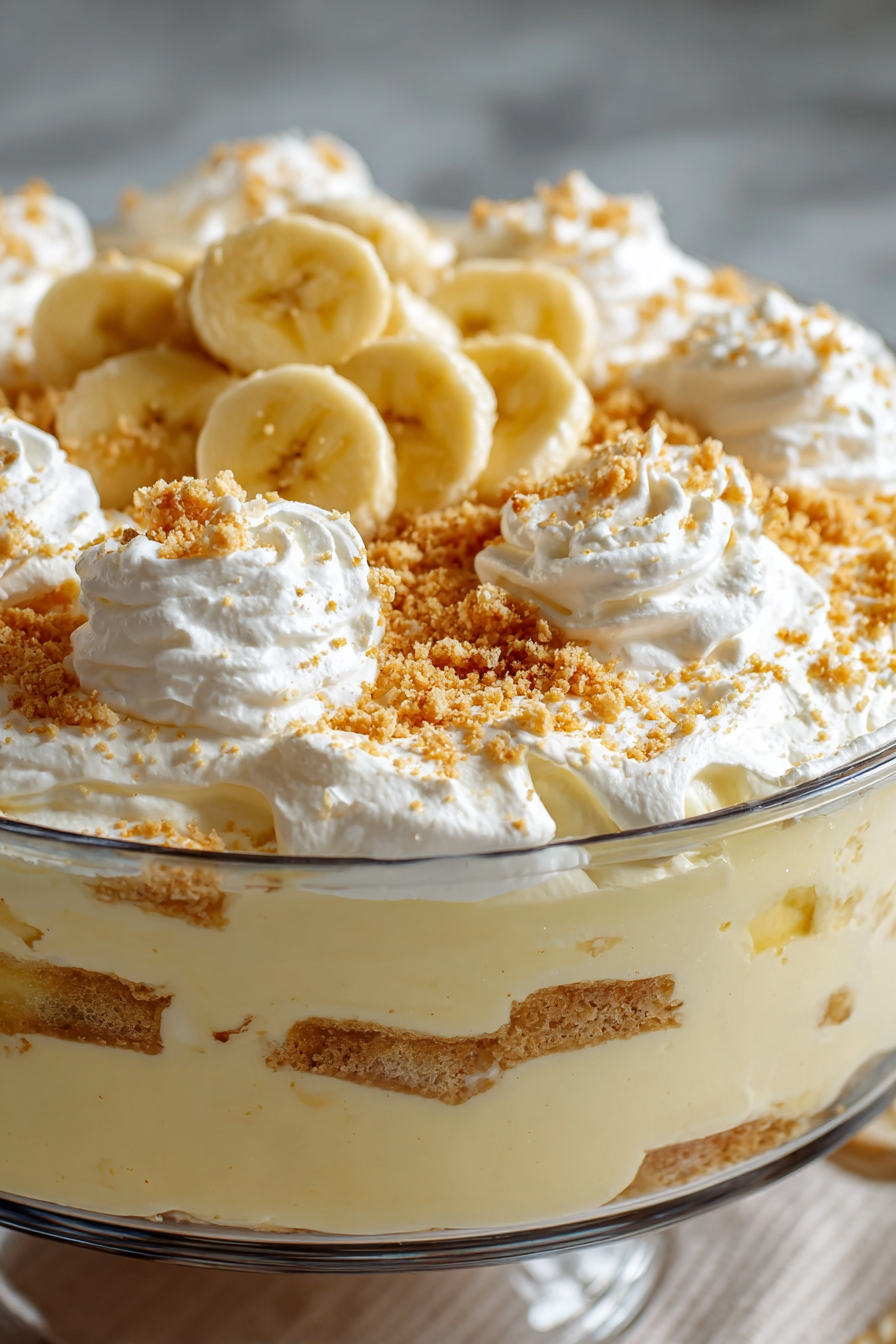
If you love banana pudding but want something with a touch more flair, this Banana Pudding Lush is about to become your new favorite treat. With its luscious layers of crushed vanilla wafers, creamy banana pudding, tangy cream cheese, and whipped topping, this dessert is both nostalgic and indulgent. The best part? It’s a no-bake recipe, making it quick, easy, and stress-free. Whether you’re serving it at a summer BBQ, potluck, or holiday dinner, Banana Pudding Lush always gets rave reviews.
My recipe story
Banana pudding has always held a special place in my heart. Growing up, it was the dessert my grandmother always brought to family gatherings. But when I started cooking on my own, I wanted a version that felt a little more modern, easy to make, and elegant enough to serve at dinner parties. That’s how this Banana Pudding Lush was born. It takes the best parts of traditional southern banana pudding and layers them into a dessert that looks like it took hours—but in reality, it comes together in no time. Every spoonful is creamy, fruity, and just the right amount of sweet, making it a recipe I return to again and again.
💡 Why You’ll Love This Recipe
- No-bake dessert that saves time and oven space.
- Perfect balance of creamy, crunchy, and fruity layers.
- A crowd-pleaser for potlucks, picnics, and family gatherings.
- Easy to customize with different pudding flavors or toppings.
- Make-ahead friendly, so you can prep it the night before serving.
Ingredient breakdown
Every layer in this Banana Pudding Lush plays a role in creating the perfect bite. Starting with crushed vanilla wafers, they provide a sweet, buttery base with a satisfying crunch that softens just enough as it chills. If you prefer, graham crackers or shortbread cookies could be used, but vanilla wafers keep it authentic to southern banana pudding traditions.
The banana pudding mix is the star of the show—rich, smooth, and bursting with banana flavor. Using instant pudding mix keeps this recipe fast and foolproof. Paired with softened cream cheese, it balances the sweetness with a slight tang and adds a luscious texture. Whipped topping brings it all together with light, airy creaminess, making the dessert feel indulgent yet refreshing.
Fresh bananas are essential for that signature flavor. Sliced bananas are layered into the dish, offering freshness and natural sweetness. Finally, a sprinkling of crushed cookies or extra whipped topping on top adds the finishing touch, making each serving picture-perfect.
Equipment you’ll need
- 9×13-inch baking dish
- Mixing bowls
- Hand mixer or stand mixer
- Rubber spatula
- Whisk
- Measuring cups and spoons
- Sharp knife for slicing bananas
Step-by-step directions
Step 1: Prepare the crust
Start by crushing your vanilla wafers into fine crumbs. Mix them with melted butter until evenly coated. Press the mixture firmly into the bottom of your baking dish to form the crust. This step gives the lush its structure, so make sure it’s well-packed. Place the dish in the fridge to chill while you prepare the filling.
Step 2: Make the cream cheese layer
In a large bowl, beat the softened cream cheese until smooth and creamy. Add powdered sugar and continue mixing until fluffy. Gently fold in half of the whipped topping. Spread this layer evenly over the chilled crust. This tangy-sweet base keeps the crust from getting soggy and adds a creamy contrast to the banana pudding layer.
Step 3: Prepare the banana pudding
Whisk together the instant banana pudding mix with cold milk until smooth and thickened. Allow it to set for a few minutes before spreading over the cream cheese layer. This step ensures your pudding won’t be runny, keeping the layers distinct and beautiful when served.
Step 4: Add the bananas
Slice fresh bananas into thin, even rounds and layer them over the pudding mixture. This adds bursts of real banana flavor and a refreshing bite that complements the creamy filling.
Step 5: Finish with whipped topping
Spread the remaining whipped topping across the top, covering the bananas completely. This not only makes the dessert look polished but also helps keep the bananas from browning. Sprinkle crushed wafers on top for a finishing touch.
Step 6: Chill and serve
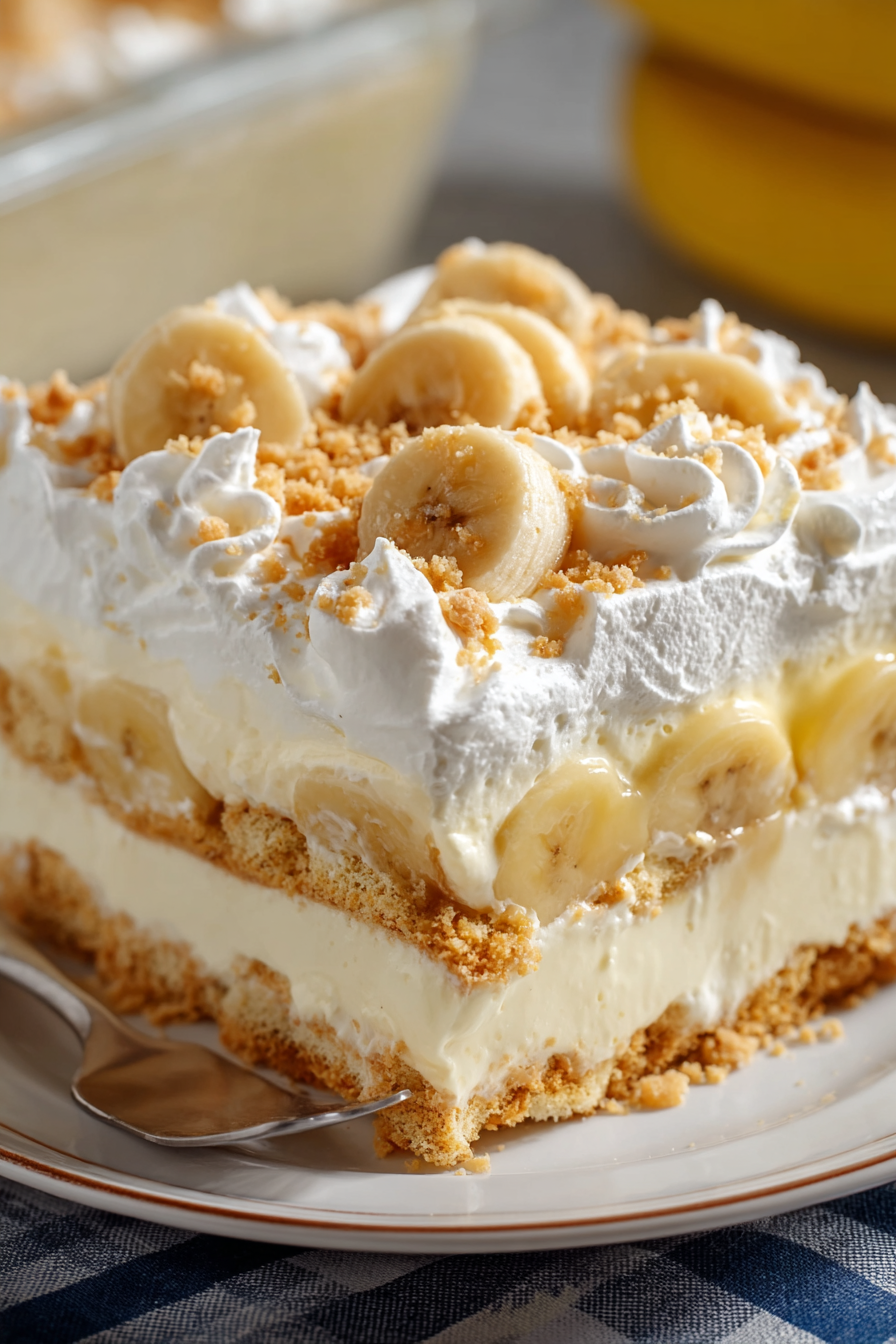
Cover the dish with plastic wrap and refrigerate for at least 4 hours, or overnight if possible. The chilling time allows the layers to firm up and the flavors to meld together. When ready to serve, cut into squares and enjoy!
Variations & substitutions
This recipe is versatile and can be adapted to your preferences. Swap the banana pudding for vanilla, coconut, or even chocolate pudding for a new flavor twist. Graham crackers or shortbread can stand in for vanilla wafers if that’s what you have on hand. For a lighter version, try using reduced-fat cream cheese and sugar-free pudding mix. You can even add an extra layer of sliced strawberries or blueberries for a fruity variation.
💡 Expert Tips & Troubleshooting
- Make sure cream cheese is softened to avoid lumps in the filling.
- Whisk the pudding thoroughly and let it thicken before layering to prevent a runny dessert.
- Cover bananas completely with pudding or whipped topping to prevent browning.
- Chill for at least 4 hours to allow flavors to meld and layers to set properly.
- For clean slices, wipe your knife between cuts.
Storage, freezing & make-ahead
This Banana Pudding Lush is best enjoyed within 2–3 days, as the bananas can start to soften. Store it covered in the refrigerator to keep it fresh. If you want to make it ahead, assemble the dessert up to 24 hours in advance and keep it chilled until serving. Freezing isn’t recommended, as the pudding and bananas don’t thaw well, but you can freeze just the crust and cream cheese layers for up to 1 month, then finish layering before serving.
Serving ideas & pairings
Banana Pudding Lush is delightful on its own, but it pairs beautifully with other southern-inspired dishes. Serve it after fried chicken, BBQ ribs, or pulled pork for a true comfort-food feast. A drizzle of caramel sauce or a sprinkle of toasted coconut makes it extra indulgent. Pair with a cup of hot coffee, sweet tea, or a chilled glass of milk for the ultimate southern treat.
FAQ
Can I use homemade pudding instead of instant?
Yes! Homemade pudding works beautifully, though it will take longer to prepare. Just make sure it’s fully cooled before layering.
How do I keep the bananas from turning brown?
Covering the banana slices completely with pudding or whipped topping helps prevent browning. You can also lightly toss them in lemon juice before layering.
Can I make this dessert gluten-free?
Yes, simply swap the vanilla wafers for a gluten-free cookie option, and ensure your pudding mix is gluten-free.
What can I use instead of whipped topping?
Freshly whipped cream works as a substitute, though it won’t hold its shape as long as stabilized whipped topping.
Can I make individual servings instead of one large dish?
Absolutely! Layer the ingredients into small cups or jars for a fun, portable, and party-friendly presentation.
Final thoughts
Banana Pudding Lush is proof that desserts don’t need to be complicated to be extraordinary. With its irresistible layers of crunch, creaminess, and fresh banana flavor, it’s a dish that’s guaranteed to impress guests and satisfy your sweet tooth. Whether you’re bringing it to a potluck, serving it at a holiday gathering, or making it just for yourself, this no-bake delight delivers southern comfort with every bite. Once you try it, you’ll find yourself making it again and again—it’s that good!
Print
Banana Pudding Lush
- Total Time: 4 hours 20 minutes (including chilling)
- Yield: 12 servings
- Diet: Vegetarian
Description
A creamy, layered no-bake dessert with vanilla wafers, banana pudding, and whipped topping. Perfect for gatherings or potlucks!
Ingredients
- 1 box vanilla wafers, crushed (about 2½ cups crumbs)
- ½ cup unsalted butter, melted
- 8 oz cream cheese, softened
- 1 cup powdered sugar
- 16 oz whipped topping, divided
- 2 (3.4 oz) boxes instant banana pudding mix
- 4 cups cold milk
- 4 medium ripe bananas, sliced
- Extra crushed wafers for garnish
Instructions
- Combine crushed wafers with melted butter and press firmly into a 9×13-inch dish to form the crust. Chill while preparing the filling.
- Beat softened cream cheese with powdered sugar until smooth. Fold in half of the whipped topping, then spread evenly over the crust.
- Whisk banana pudding mix with cold milk until thickened. Spread pudding over the cream cheese layer.
- Arrange sliced bananas evenly on top of the pudding.
- Spread the remaining whipped topping across the top, then garnish with extra crushed wafers.
- Cover and refrigerate for at least 4 hours or overnight before serving.
Notes
Best enjoyed within 2–3 days. To prevent bananas from browning, ensure they are completely covered with pudding or whipped topping. For a fun twist, try adding sliced strawberries or drizzle with caramel sauce before serving.
- Prep Time: 20 minutes
- Cook Time: 0 minutes
- Category: Dessert
- Method: No-Bake
- Cuisine: American