Introduction
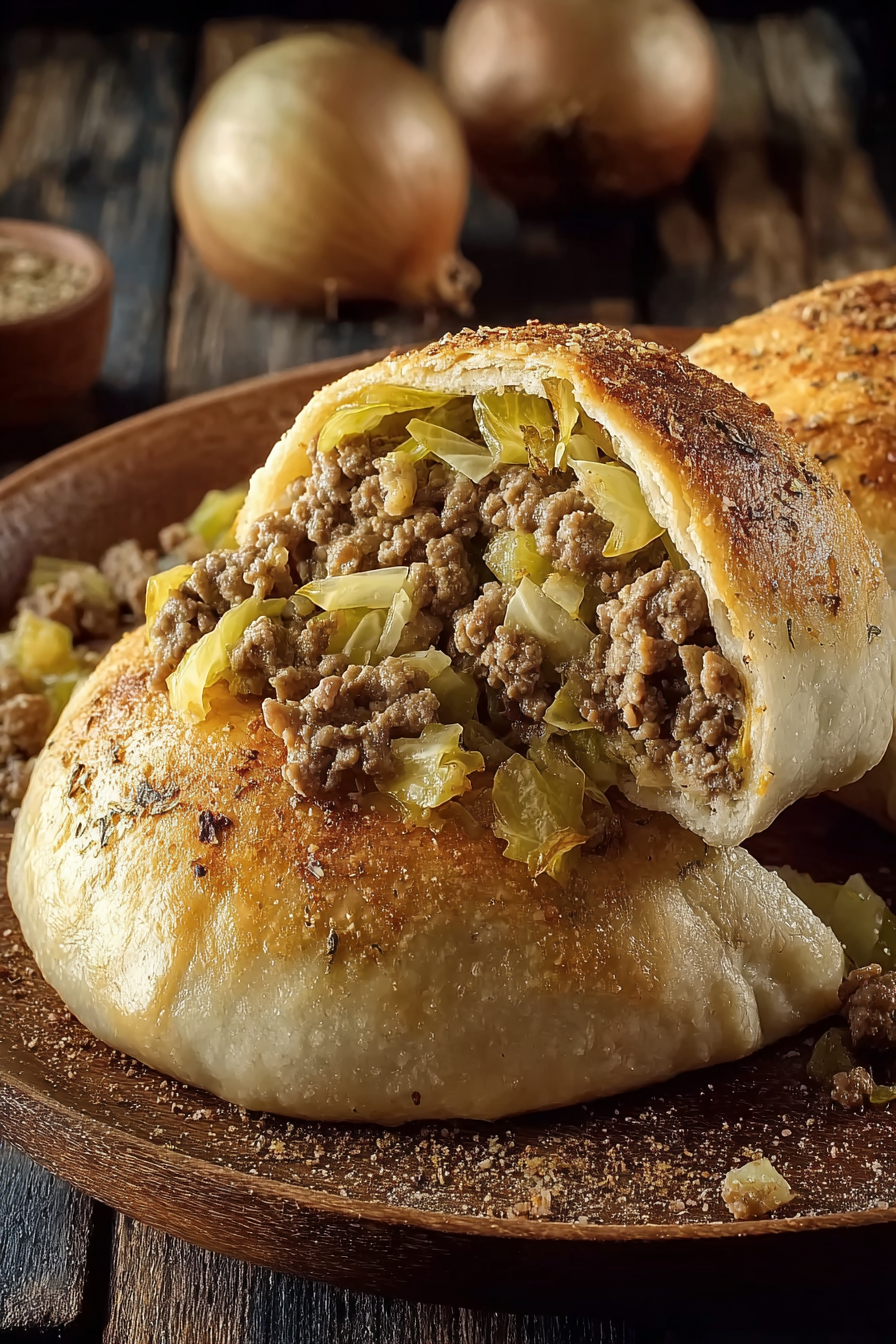
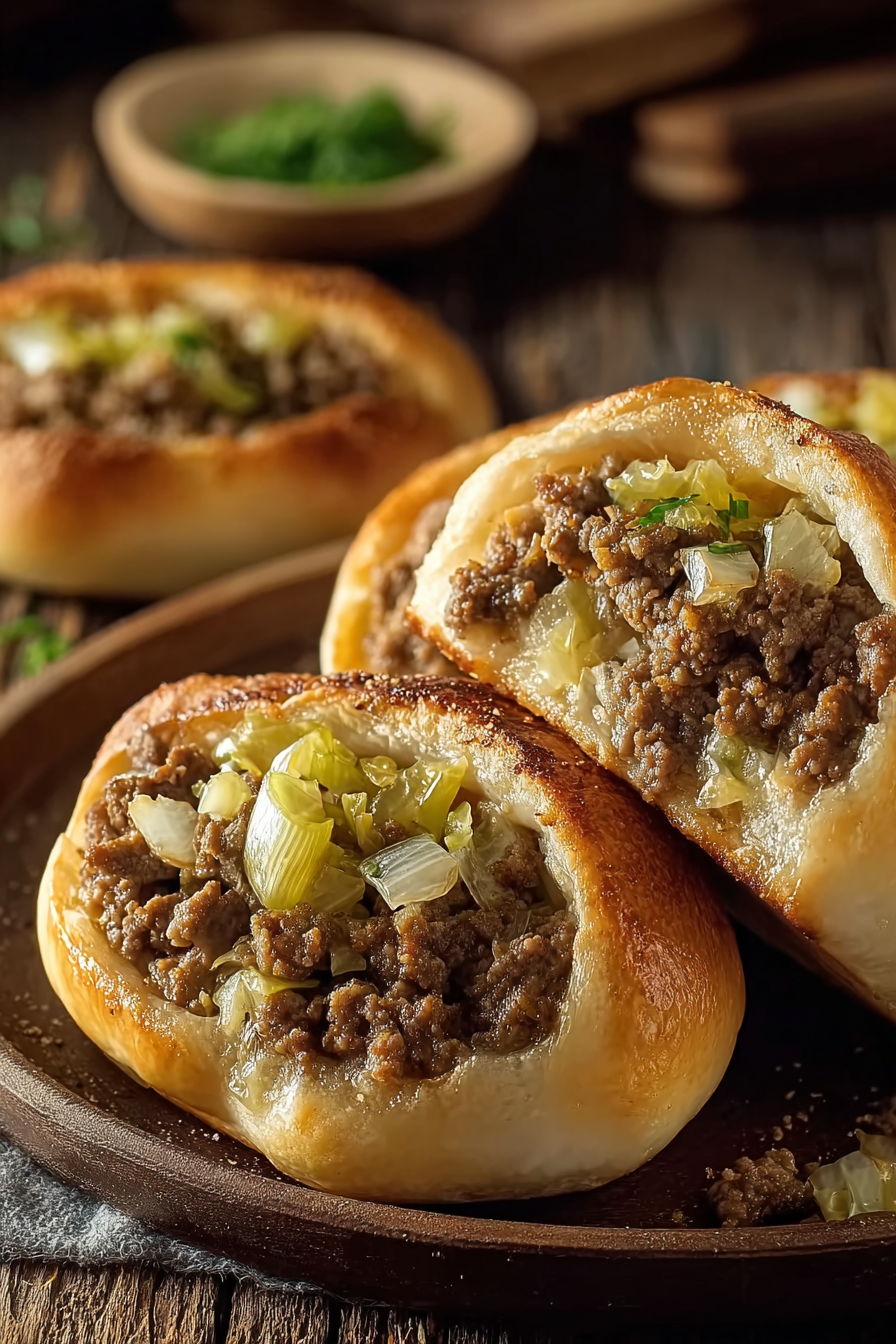
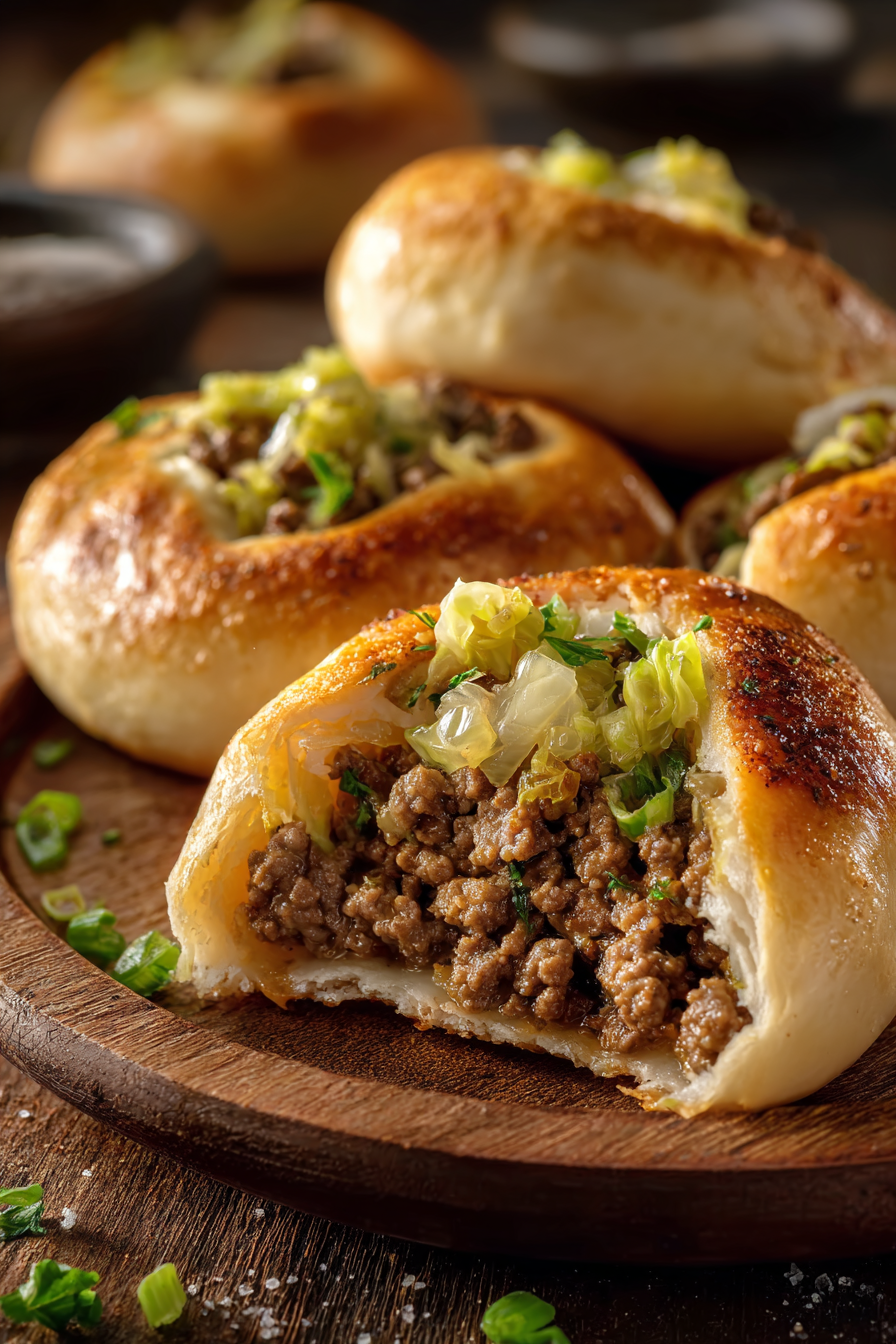
There’s nothing more comforting than warm, golden-baked bread filled with a savory beef and cabbage mixture. This recipe takes the magic of frozen bread dough and turns it into hearty hand-held rolls that are perfect for family dinners, game days, or even make-ahead lunches. With just a handful of simple ingredients—frozen Rhodes rolls, ground beef, onion, and cabbage—you’ll create a delicious dish that’s as budget-friendly as it is satisfying. Whether you grew up eating stuffed rolls or you’re trying them for the first time, these savory pockets are sure to become a favorite.
My recipe story
This recipe has a special place in my heart because it reminds me of family gatherings where bread, beef, and cabbage were always on the table in one form or another. My grandmother used to make a version of these stuffed rolls completely from scratch, kneading dough by hand and simmering cabbage until tender. As much as I loved her traditional recipe, I wanted a shortcut for busy weeknights. That’s when I discovered frozen bread dough. It allows me to skip hours of dough preparation while still enjoying the same comforting flavors. Over the years, I’ve refined this method, making it foolproof and easy for anyone to recreate at home.
💡 Why You’ll Love This Recipe
- Quick and convenient thanks to frozen bread dough—no kneading required.
- Perfectly portioned individual rolls that are easy to serve or pack for lunch.
- Classic beef and cabbage filling seasoned simply for hearty flavor.
- Budget-friendly ingredients make this an economical family meal.
- Versatile enough to customize with different fillings or seasonings.
Ingredient breakdown
The beauty of this recipe lies in its simplicity. Each ingredient serves a purpose in creating rolls that are flavorful, filling, and comforting. You only need a handful of pantry and freezer staples to bring it all together.
Frozen bread dough: Rhodes frozen rolls are a lifesaver in this recipe. They allow you to skip the labor-intensive step of making dough from scratch while still providing soft, fluffy bread that bakes to golden perfection. Be sure to allow enough time for the rolls to thaw and rise according to package directions.
Ground beef: Lean ground beef works best, as it won’t make the filling overly greasy. It provides the savory backbone of the recipe and pairs beautifully with cabbage. You could use ground turkey or pork if you’d like a variation.
Onion and cabbage: Together, these vegetables bring sweetness and earthiness to the filling. When sautéed, they soften and meld into the beef, creating a flavorful mixture that balances the richness of the meat with light freshness.
Seasoning: Sometimes simple is best. Salt and pepper are all you need to let the flavors of the beef and cabbage shine. If you want more complexity, you can add garlic powder, smoked paprika, or caraway seeds for a nod to traditional cabbage rolls.
Butter: A little butter brushed on top of the rolls after baking makes them extra golden and adds a touch of richness. It also helps give the rolls that irresistible bakery-style finish.
Equipment you’ll need
- Large skillet or sauté pan
- Mixing spoon or spatula
- Baking sheet
- Rolling pin (optional, for flattening dough)
- Parchment paper or nonstick spray
- Pastry brush for butter
Step-by-step directions
Step 1: Prepare the dough
Remove 16 frozen rolls from the package and place them on a greased baking sheet. Cover loosely with plastic wrap and let them thaw and rise until doubled in size, following the package directions. This usually takes 3–5 hours, so plan ahead. The rolls should be soft, puffy, and easy to work with once ready.
Step 2: Cook the filling
In a large skillet over medium heat, brown the ground beef until no longer pink, breaking it up into crumbles as it cooks. Drain excess fat if necessary. Add chopped onion and shredded cabbage to the pan and continue cooking until the vegetables are tender, about 7–10 minutes. Season generously with salt and pepper to taste. Allow the filling to cool slightly before assembling.
Step 3: Shape the dough
Once the rolls have risen, lightly flour your work surface. Flatten each roll into a circle about 4–5 inches across using your hands or a rolling pin. Place a heaping spoonful of the beef and cabbage filling in the center of each circle, being careful not to overfill to avoid tearing the dough.
Step 4: Seal the rolls
Bring the edges of the dough together over the filling and pinch tightly to seal. Make sure the seams are well-closed so the filling doesn’t leak during baking. Place the sealed rolls seam-side down on a parchment-lined baking sheet, leaving space between them to rise slightly as they bake.
Step 5: Bake to perfection
Preheat your oven to 375°F (190°C). Bake the rolls for 15–20 minutes, or until they are golden brown and puffed. Remove from the oven and immediately brush the tops with melted butter for a glossy, flavorful finish.
Step 6: Cool and serve
Let the rolls cool slightly before serving. These are best enjoyed warm, when the bread is soft and the filling is savory and aromatic. Serve them with your favorite dipping sauce or alongside a simple salad.
Variations & substitutions
This recipe is wonderfully versatile. Here are a few ways you can switch things up to suit your taste or pantry:
- Use ground turkey, chicken, or pork instead of beef for a lighter variation.
- Add shredded cheese inside each roll for a gooey surprise.
- Season the filling with garlic powder, paprika, or Italian seasoning for extra flavor.
- Swap cabbage with spinach, kale, or even sauerkraut for a tangy twist.
- Top baked rolls with sesame seeds or everything bagel seasoning before baking for added crunch.
💡 Expert Tips & Troubleshooting
- Make sure the filling has cooled slightly before sealing the rolls to prevent the dough from becoming soggy.
- If your dough circles tear, pinch the dough back together and let it rest for a few minutes before reshaping.
- Don’t overstuff the rolls; a heaping spoonful of filling is plenty.
- If the rolls brown too quickly, tent them with foil during the last few minutes of baking.
- For extra golden tops, brush the rolls with an egg wash before baking instead of butter.
Storage, freezing & make-ahead
These rolls store beautifully, making them a perfect make-ahead option. Leftovers can be stored in an airtight container in the refrigerator for up to 3 days. To reheat, place in a 350°F oven for about 10 minutes or microwave gently until warmed through.
For freezing, bake the rolls completely, let them cool, and then freeze in a single layer on a baking sheet. Once frozen, transfer to a freezer bag. They will keep well for up to 3 months. Reheat straight from frozen in a 350°F oven for 20 minutes.
If you’d like to prepare ahead, you can make the filling one day in advance and keep it refrigerated. When ready, assemble and bake fresh for best results.
Serving ideas & pairings
These stuffed bread rolls are satisfying on their own, but they also shine when paired with side dishes and sauces. Serve them with a tangy mustard dip, creamy ranch, or a marinara sauce for dunking. They pair beautifully with a crisp green salad, roasted vegetables, or even a hearty soup like tomato basil or potato leek. For a fun appetizer spread, serve alongside pickles, chips, and other finger foods.
FAQ
Can I use homemade dough instead of frozen?
Absolutely! If you enjoy making dough from scratch, you can use your favorite bread recipe. Just portion it into 16 balls before filling and baking.
Do I need to cook the filling before baking?
Yes, the filling should be fully cooked before stuffing the rolls to ensure the beef is safe to eat and the vegetables are tender.
Can I add cheese to the filling?
Yes! Adding shredded cheddar, mozzarella, or Swiss cheese makes the rolls even more indulgent and flavorful.
How do I prevent the rolls from opening during baking?
Be sure to pinch the seams of the dough tightly when sealing. Placing them seam-side down on the baking sheet also helps keep them closed.
Can I make mini versions of these rolls?
Yes, simply use half the dough portion and less filling to create bite-sized versions perfect for appetizers or parties.
Final thoughts
These beef and cabbage stuffed rolls made with frozen bread dough are proof that comfort food doesn’t have to be complicated. With minimal effort and a short ingredient list, you can create a warm, satisfying meal that brings smiles to the table. Whether you’re serving them for dinner, packing them for lunch, or freezing them for later, these rolls are versatile, hearty, and simply delicious. Try them once, and they just might become a family tradition in your own home, just like they are in mine.
Print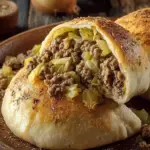
Beef and Cabbage Stuffed Bread Rolls
- Total Time: bout 4–5 hours
- Yield: 16 stuffed rolls 1x
- Diet: Gluten Free
Description
Warm, golden bread rolls stuffed with savory ground beef, onion, and cabbage. A simple, comforting meal perfect for family dinners.
Ingredients
-
16 frozen Rhodes rolls (unbaked dough)
-
1 lb lean ground beef
-
1 medium onion, chopped
-
2 cups cabbage, shredded
-
2 tablespoons butter, melted
-
1 teaspoon salt
-
1/2 teaspoon black pepper
Instructions
-
Place frozen rolls on a greased baking sheet, cover lightly, and let thaw and rise until doubled in size, about 3–5 hours.
-
In a large skillet, cook ground beef over medium heat until no longer pink. Drain excess fat.
-
Add onion and cabbage to the skillet, cooking until tender, about 7–10 minutes. Season with salt and pepper. Let cool slightly.
-
Flatten each dough ball into a 4–5 inch circle. Add a spoonful of filling to the center.
-
Pinch edges of dough to seal and place seam-side down on a parchment-lined baking sheet.
-
Bake at 375°F (190°C) for 15–20 minutes, until golden brown. Brush with melted butter and serve warm.
Notes
These rolls reheat well in the oven or microwave. For make-ahead, freeze baked rolls and reheat directly from frozen. Serve with mustard, ranch, or marinara dipping sauce.
- Prep Time: 20 minutes (plus 3–5 hours dough rising)
- Cook Time: 20 minutes
- Category: Main Course
- Method: Baking
- Cuisine: American