Unwrapping the Flavors: The Tale of Beef and Cheese Chimichangas
The delightful crispiness of a chimichanga is more than just a culinary experience; it’s a savory slice of the fusion between culture and creativity. Originating from the vibrant kitchens of the American Southwest, the chimichanga is rumored to be an accidental creation, born from a serendipitous slip of the hand that sent a burrito flying into a vat of sizzling oil. While the true beginnings of the chimichanga are a matter of culinary folklore, with claims from both Arizona and Mexico, its essence remains a testament to the imaginative spirit of chefs past and present.
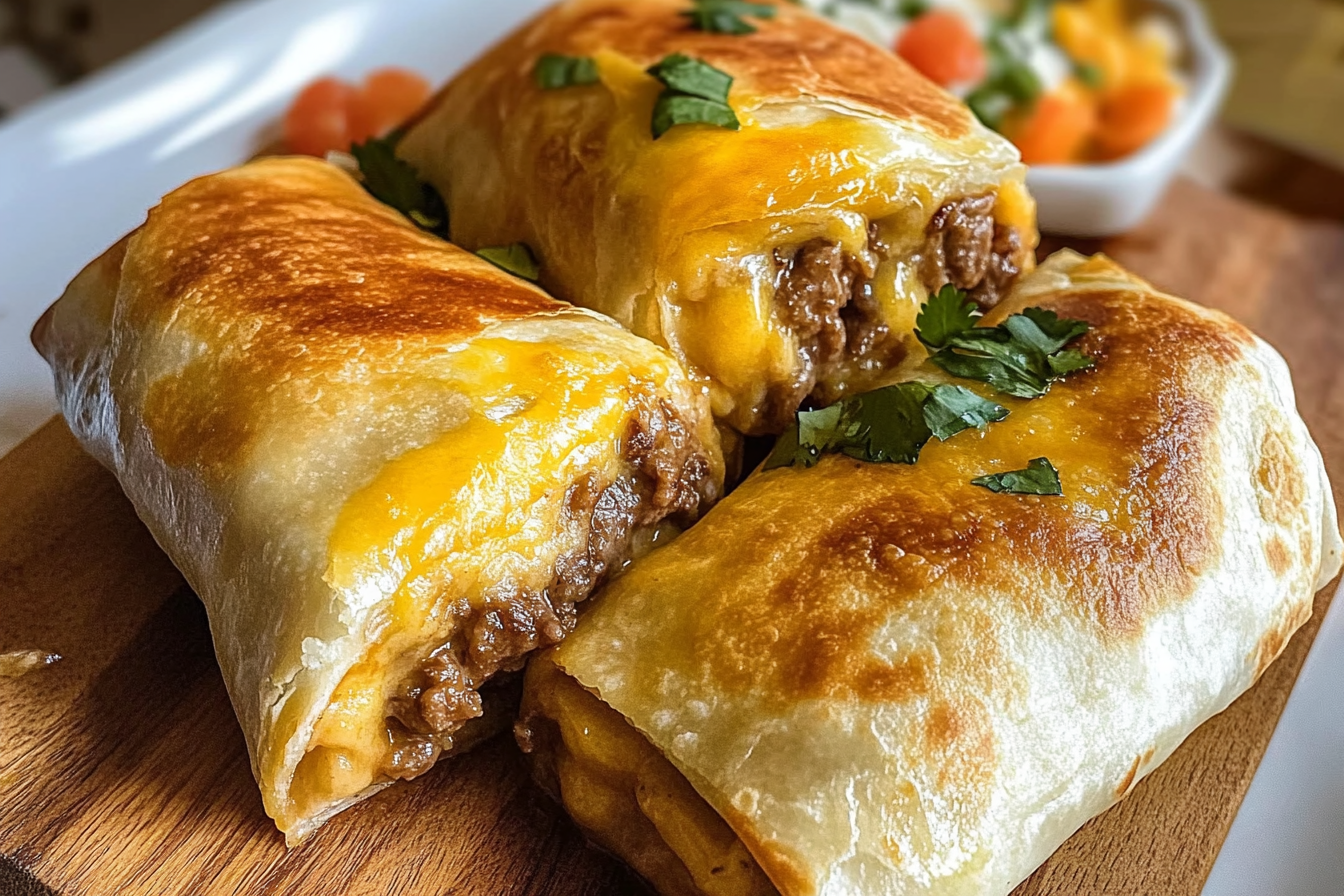
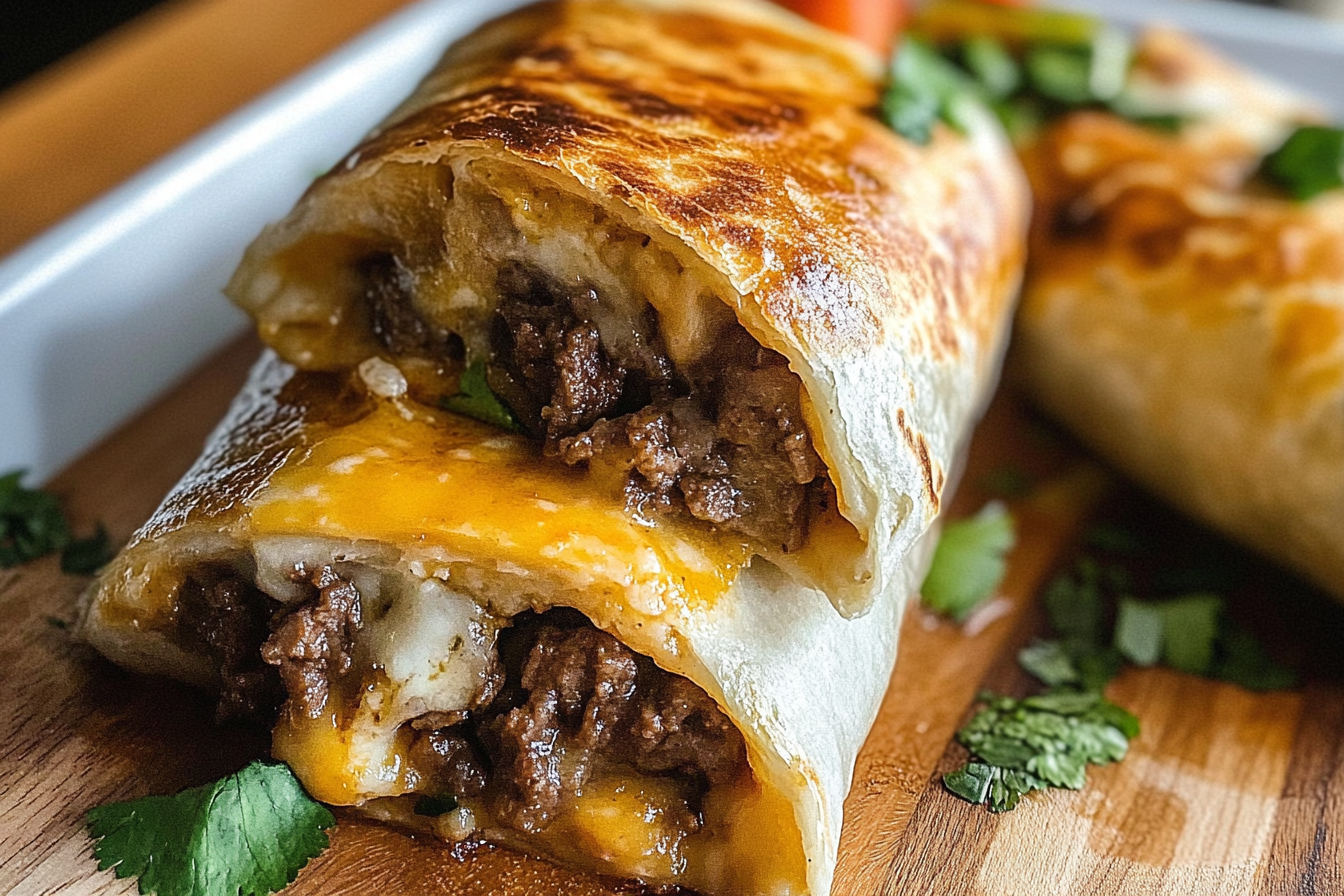
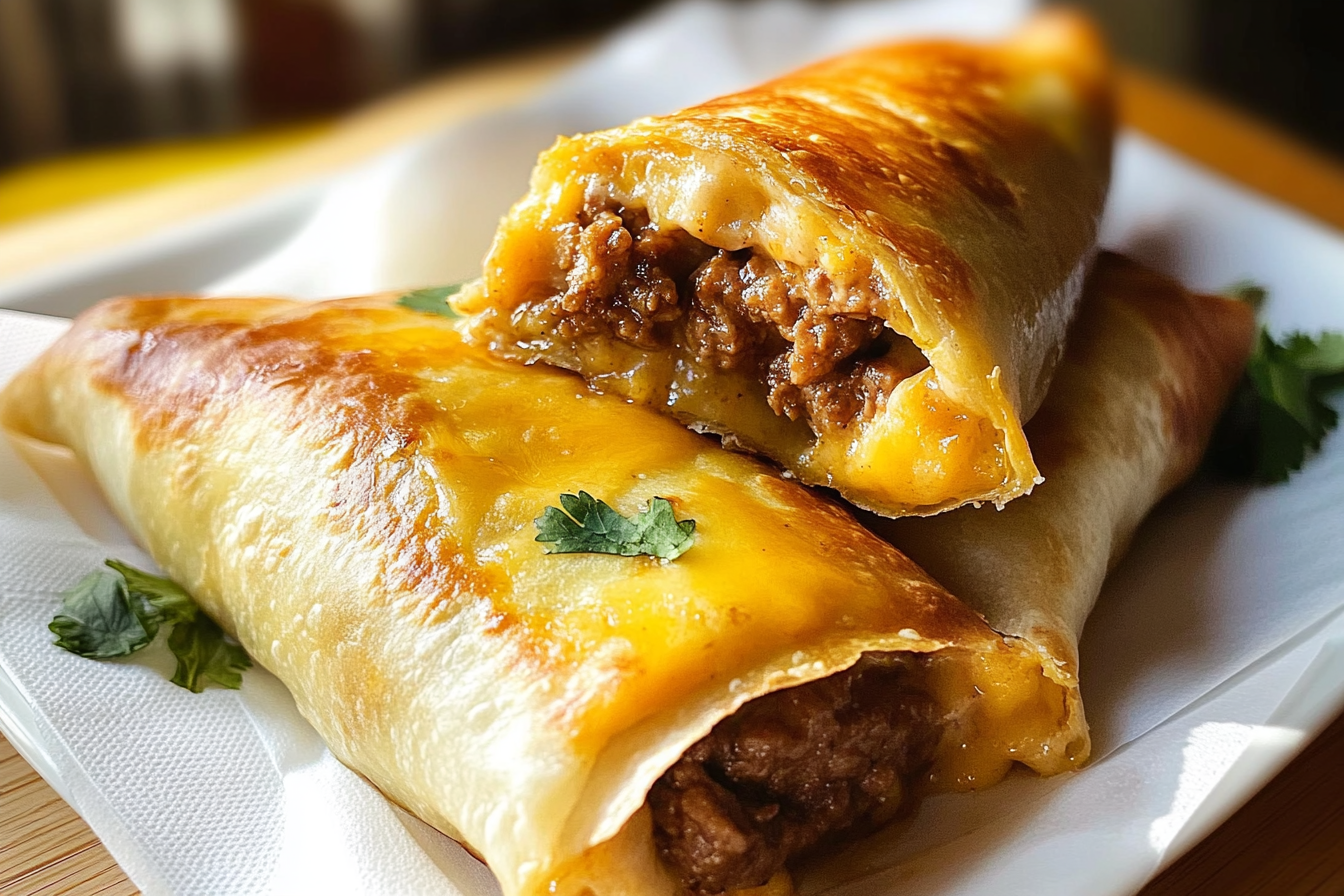
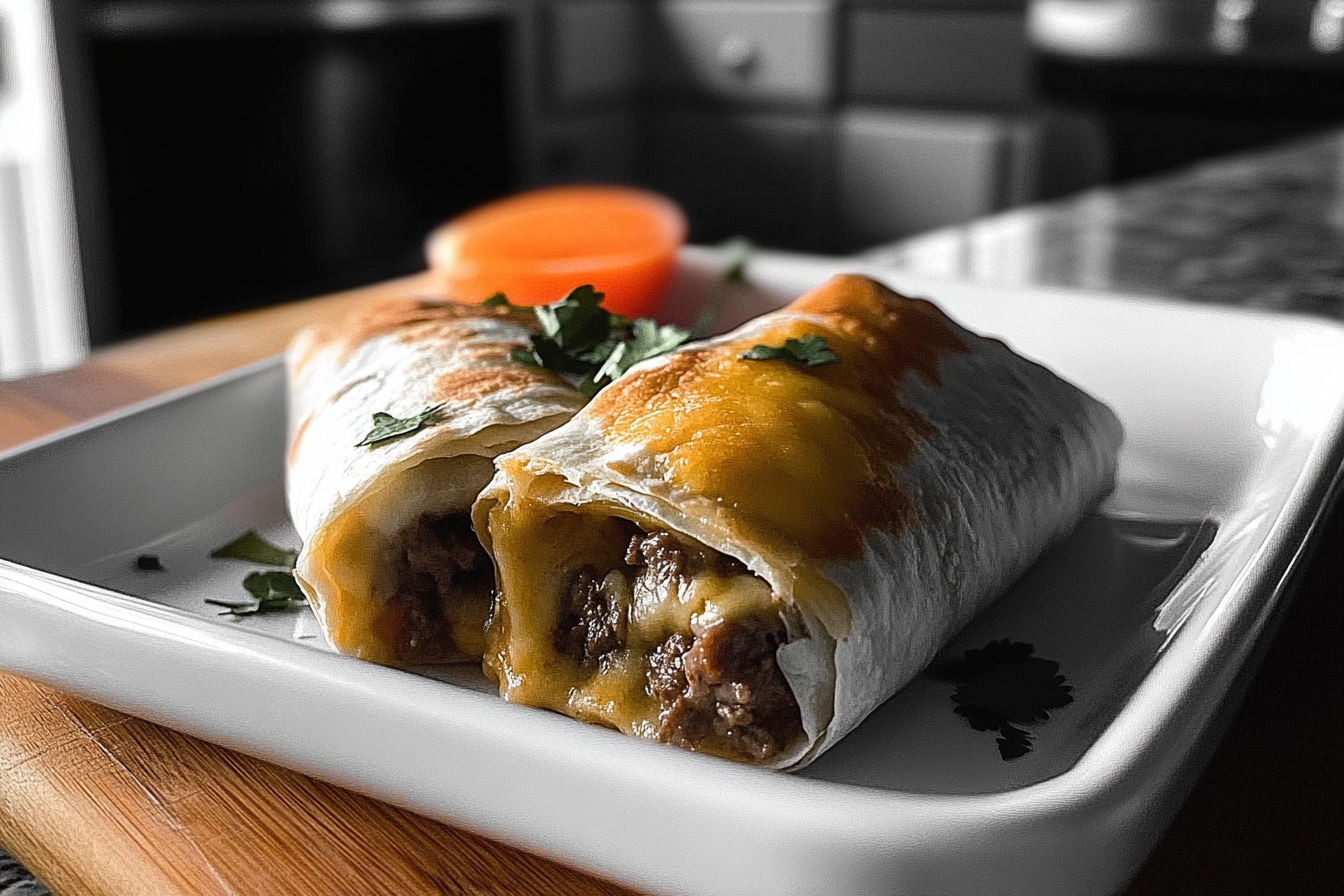
Beef and Cheese Chimichangas, with their golden, crunchy exterior enveloping a hearty blend of seasoned beef and gooey cheese, stand as a beacon of comfort food at its finest. This dish captures the heart of Tex-Mex cuisine—a cuisine known for its bold flavors and addictive combinations. Jean Baca, a writer who explored the roots of this deep-fried delight, noted the appeal of chimichangas in the nostalgic connection they evoke. They remind us not only of regional flavors but also of shared adventures and the memorable meals that become cherished traditions with family and friends.
For those seeking to bring a little culinary adventure into their home kitchens, Beef and Cheese Chimichangas offer an enticing invitation. They’re not only delicious, but they’re also versatile and surprisingly straightforward to make. Whether you’re crafting a weeknight dinner or entertaining guests, this dish brings a satisfying crunch and a burst of flavor with each bite. Making chimichangas at home allows you to get creative with fillings, customize spice levels to suit your palate, and enjoy an interactive cooking experience that brings everyone into the fold. Moreover, there’s a simple joy in creating something so delectable with your own hands, transforming basic ingredients into a fiesta on your plate.
So, gather around your skillet and prepare to explore the crunchy, cheesy delight that has captured hearts across the Americas. The Beef and Cheese Chimichanga isn’t just a meal; it’s an invitation to partake in a storied tradition, one that wraps you in warmth and welcome from the very first bite.

“`html
Ingredients for Beef and Cheese Chimichangas
- 500 grams ground beef
- 1 cup chopped onions
- 2 cloves garlic, minced
- 1 teaspoon ground cumin
- 1 teaspoon chili powder
- 1/2 teaspoon salt
- 1/4 teaspoon black pepper
- 2 cups shredded cheddar cheese (optional: use Monterey Jack or a blend of both)
- 1/4 cup chopped fresh cilantro
- 2 cups refried beans (optional: use black beans, mashed)
- 8 large flour tortillas
- 1/2 cup vegetable oil for frying (optional: use canola or avocado oil)
- 1 cup salsa for serving (optional: use pico de gallo or hot sauce)
- 1/2 cup sour cream for serving (optional: use Greek yogurt)
- 1/4 cup sliced green onions for garnish (optional)
“`
“`html
Step-by-Step Guide to Preparing Beef and Cheese Chimichangas
- Preheat your oven to 400°F (200°C).
- In a large skillet, heat 1 tablespoon of vegetable oil over medium heat.
- Add 1 pound of ground beef to the skillet and cook it until it is browned, breaking it apart with a spatula as it cooks. This should take about 6 to 8 minutes.
- Once the beef is browned, drain any excess fat from the skillet.
- Add 1 cup of diced onions to the skillet and sauté for 3 to 4 minutes until they become translucent.
- Stir in 2 teaspoons of minced garlic and cook for an additional 30 seconds.
- Mix in 1 tablespoon of chili powder, 1 teaspoon of ground cumin, 1 teaspoon of paprika, and 1/2 teaspoon of salt. Stir well to combine the spices with the beef mixture.
- Add 1/2 cup of beef broth and 1/2 cup of tomato sauce to the skillet. Stir well to combine.
- Reduce the heat to low and let the mixture simmer for about 5 minutes, allowing the flavors to meld together.
- Remove the skillet from the heat and stir in 1 cup of shredded cheddar cheese until it’s melted and fully incorporated into the beef mixture.
- Place 8 large flour tortillas on a clean work surface.
- Spoon approximately 1/3 cup of the beef and cheese mixture onto the center of each tortilla.
- Fold each side of the tortilla over the filling, then roll it from the bottom to the top, securing the filling inside to form a tight wrap.
- Brush the tops of the rolled tortillas with 2 tablespoons of melted butter or oil to help them crisp up while baking.
- Place the chimichangas seam-side down on a baking sheet lined with parchment paper.
- Bake in the preheated oven for 20 to 25 minutes, or until the chimichangas are golden brown and crispy.
- Once baked, remove from the oven and let them cool slightly before serving.
“`
Advanced Tips for Successfully Preparing Beef and Cheese Chimichangas
- Flavor Enhancement:
For a deeper flavor profile, marinate the beef with a mix of cumin, smoked paprika, and chipotle powder for at least 2 hours before cooking. Adding a splash of lime juice to the marinade will also enhance the beef’s natural flavors.
- Perfectly Crispy Texture:
To achieve an ultra-crispy finish, briefly brush the chimichangas with a light coat of melted butter or spray them with cooking spray just before frying or air-frying.
- Useful Tools:
Invest in a deep-fry thermometer to accurately monitor oil temperature. For air-frying, a perforated parchment paper can help improve air circulation while preventing sticking.
- Alternative Cooking Techniques:
Consider using an air fryer to reduce the fat content while maintaining crispiness. Preheat the air fryer to 400°F (200°C) and cook the chimichangas for 10-12 minutes, flipping halfway through.
- Presentation:
Serve the chimichangas with fresh garnishes, such as chopped cilantro, sliced avocado, and a dollop of sour cream. Arrange them on a platter with a sprinkle of cotija cheese for an authentic touch.
Common Mistakes and How to Avoid Them
- Overstuffing:
Overstuffing can lead to tearing and uneven cooking. Ensure that the chimichangas are filled but can still be easily folded and sealed. Use toothpicks to secure them if necessary, removing the picks before serving.
- Oil Temperature Control:
If the oil is too hot, the outsides will burn before the inside is warm. Too cool, and the chimichangas will be greasy. Aim for a steady oil temperature of 350°F (175°C).
- Soggy Chimichangas:
To prevent sogginess, ensure that the beef mixture is not too wet before filling the tortillas. Draining excess liquid and letting the mixture cool slightly helps maintain the right texture.

“`html
Storing Leftovers
To properly store leftover beef and cheese chimichangas, first allow them to cool to room temperature. Once cooled, place the chimichangas in an airtight container. You can separate layers with parchment paper to prevent them from sticking together. Store the container in the refrigerator if you plan to consume them within the next few days.
If you’d like to keep the chimichangas for a longer period, consider freezing them. Wrap each chimichanga individually in plastic wrap or aluminum foil, ensuring they are sealed tightly. Place the wrapped chimichangas in a freezer-safe bag or container to protect them from freezer burn.
How Long It Stays Fresh
In the refrigerator, beef and cheese chimichangas will stay fresh for up to 3 to 4 days. If stored properly in the freezer, they can maintain their quality for up to 2 months. Always make sure to note the storage date to keep track of freshness.
Reheating Instructions
To reheat from the refrigerator, preheat your oven to 350°F (175°C). Place the chimichangas on a baking sheet and heat for about 15 to 20 minutes, or until warmed through. If reheating from frozen, extend the baking time to 25 to 30 minutes. For a crispier texture, you can reheat them in an air fryer set at 375°F (190°C) for 8 to 10 minutes. Alternatively, use a microwave on medium power for 2 to 3 minutes, but note that the texture may be softer.
Serving Suggestions
Once reheated, serve the chimichangas with your choice of toppings such as sour cream, guacamole, salsa, or pico de gallo. You can also add a side of Mexican rice or refried beans for a more complete meal. Enjoy your chimichangas with a fresh salad or a corn salad to complement their rich flavors.
“`
“`html
Adapting Beef and Cheese Chimichangas for Different Diets
-
Vegan Alternative:
- Replace beef with a plant-based ground meat alternative or crumbled tofu for a similar texture and protein content.
- Use vegan cheese, or if unavailable, nutritional yeast for a cheesy flavor without dairy.
- Substitute butter with coconut oil or a plant-based butter alternative.
- The overall flavor might be slightly different due to the plant-based protein, but season well with spices to maintain a robust taste.
-
Gluten-Free Option:
- Select certified gluten-free tortillas, often made with corn or a blend of alternative flours such as rice or almond flour.
- Ensure other condiments and sauces used are also gluten-free, checking labels accordingly.
- The texture might differ slightly depending on the type of gluten-free tortilla chosen, as some might be more brittle.
-
Low-Carb Version:
- Use low-carb tortillas, which are usually made with coconut or almond flour.
- Consider using more cheese and beef filling to compensate for the reduced carb content, enhancing the dish’s richness.
- Replace any sugary or carb-dense sauces with sugar-free alternatives or use spices and herbs for flavor.
- The taste is expected to be heartier and richer due to a higher fat content from cheese and beef.
“`

Frequently Asked Questions about Beef and Cheese Chimichangas
Can I use ground turkey instead of beef?
Yes, ground turkey is a leaner substitute that works well. Just be aware that it might alter the flavor slightly but will still be delicious.
What type of cheese is best for chimichangas?
Cheddar and Monterey Jack are popular choices, but you can use any melting cheese you prefer, like Oaxaca or Pepper Jack for added spice.
How do I prevent the chimichangas from falling apart during frying?
Tightly roll the tortillas and secure them with toothpicks. Ensuring the oil is hot enough before frying will help them stay intact.
Can I bake the chimichangas instead of frying them?
Yes, bake them at 400°F (200°C) for 20-25 minutes until golden brown, brushing them with a little oil for crispiness.
Are flour tortillas the only option?
Flour tortillas are ideal because they crisp up nicely, but you can try using corn tortillas. Just be gentle as they may break more easily.
What can I use as a vegetarian filling?
You can use a mix of beans, rice, and vegetables like peppers or mushrooms. Add spices and cheese for flavor.
Why are my chimichangas greasy?
This could happen if the oil isn’t hot enough. Ensure the oil is heated to 350°F (175°C) so they fry quickly without absorbing excess oil.
What dips go well with chimichangas?
Sour cream, guacamole, salsa, and queso dip are all great options to serve on the side with chimichangas.
How do I store and reheat leftovers?
Store them in an airtight container in the refrigerator for up to 3 days. Reheat in the oven at 350°F (175°C) for 10-15 minutes for best results.
Conclusion
The Beef and Cheese Chimichangas recipe is a delightful culinary adventure that brings together the satisfying flavors of juicy beef, creamy cheese, and a crispy exterior. Perfect for both casual dinners and special occasions, this dish is sure to impress your family and friends. Its simple preparation contrasts beautifully with the explosion of taste in every bite, making it a must-try for anyone who loves a hearty, flavorful meal.
We would love to hear about your experience with this recipe. Did you make any delicious modifications, or do you have a serving suggestion that’s too good not to share? Your feedback can inspire others to get creative with their own cooking.
Enjoy your meal! Try this recipe and let us know your thoughts in the comments. 🍽️

