1. Introduction to the Recipe
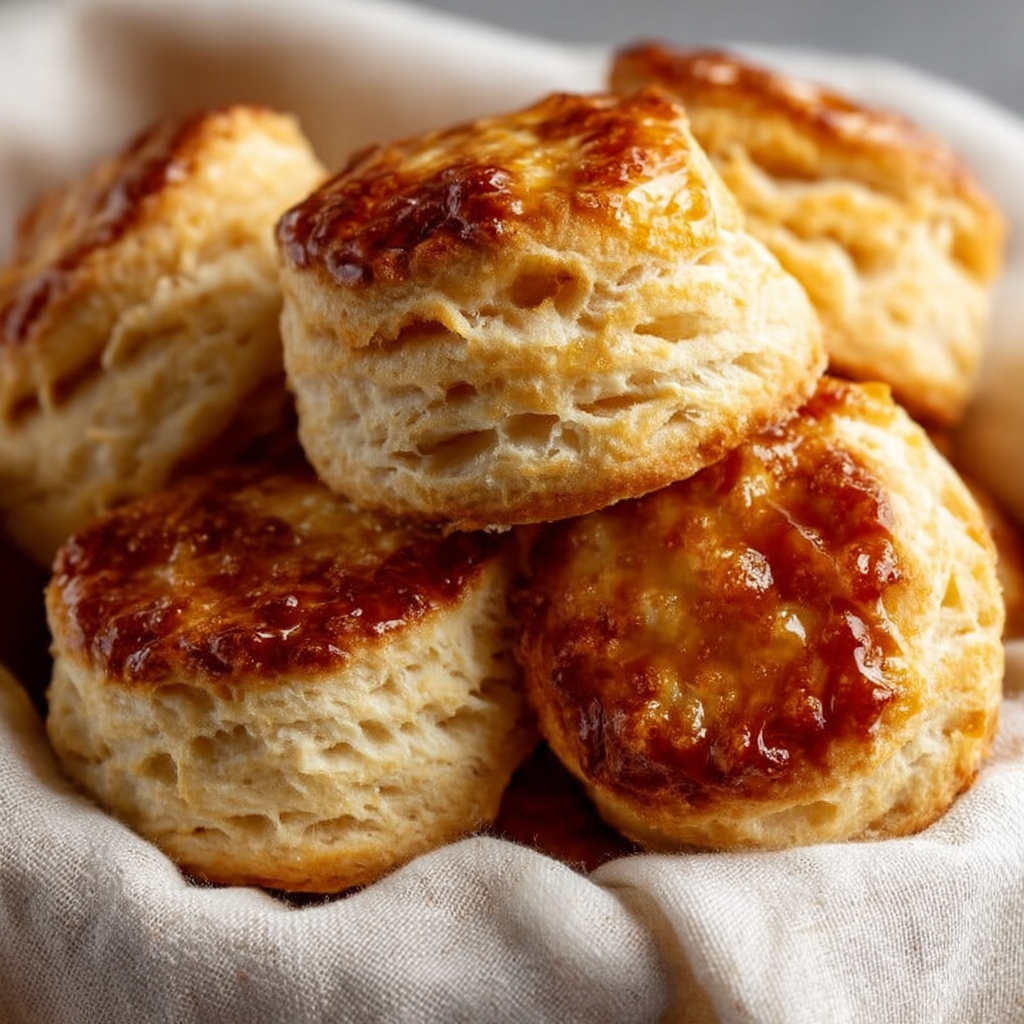
There’s nothing quite as comforting as a warm, flaky biscuit slathered with butter — perfectly embodied in these Best Buttermilk Biscuits. Made with self-rising flour, shortening, and tangy buttermilk, these biscuits strike an ideal balance between tenderness, rise, and flavor. The simplicity of the ingredients allows the buttery flavor to shine while the buttermilk adds subtle tang and tenderness.
This timeless recipe is a staple in homes across the country because it’s surprisingly easy yet yields bakery-quality results. The use of shortening, particularly a butter-flavored type like Crisco, ensures a crisp, flaky texture without overpowering the delicate crumb. The buttermilk enhances both texture and flavor, reacting with the flour for a soft, pillowy interior.
For techniques on getting the perfect biscuit rise, see this guide on biscuit layering methods, and for insight into how buttermilk affects baking texture, check out this baking chemistry overview of buttermilk in biscuits.
Whether you want a reliable side for breakfast, a partner for soups and stews, or a base for biscuits and gravy, these Best Buttermilk Biscuits deliver consistently delicious results.
2. Basic Recipe: Ingredients and Instructions
Print
Best Flaky Buttermilk Biscuits
Description
Light, flaky Buttermilk Biscuits made with self-rising flour, shortening, and buttermilk—perfectly tender and irresistibly traditional.
Ingredients
-
2¼ cups self-rising flour
-
¼ teaspoon baking soda
-
½ cup butter-flavored shortening (e.g., Crisco)
-
1 cup buttermilk
Instructions
-
Preheat the oven to 425°F (220°C). Line a baking sheet with parchment paper.
-
Combine dry ingredients: In a bowl, whisk together the self-rising flour and baking soda.
-
Cut in shortening: Add the shortening and use a pastry cutter or your fingers to work it into the flour until the mixture resembles coarse crumbs.
-
Add buttermilk: Pour in the buttermilk and stir gently with a spatula until just combined—some lumps are fine.
-
Shape the dough: Lightly flour your work surface and turn out the dough. Pat it out to about ½-inch thick. Fold it over once or twice to create layers. Press again to ½-inch thickness.
-
Cut biscuits: Use a floured biscuit cutter to press straight down—no twisting—to cut 8–10 biscuits. Re-roll scraps as needed.
-
Bake: Place biscuits on the baking sheet so edges are almost touching for soft sides or spaced for crispier edges. Bake for 12–15 minutes until golden.
-
Serve warm: Brush with melted butter if desired before serving. Enjoy immediately for fluffiest texture.
Notes
Keep ingredients cold for maximal flakiness.
Handle the dough gently—overworking compresses layers.
Straight, firm cuts help biscuits rise higher; twisting seals edges and limits lift.
Keywords: Buttermilk Biscuits
3. Advanced Techniques
Achieving Flakiness Through Laminated Layers
After mixing, folding the dough once or twice before cutting creates layers like a simple pastry. These layers separate during baking, producing a tender, flaky texture that sets these biscuits apart from denser versions.
Maximizing Rise with Cold Ingredients
Cold shortening and chilled buttermilk reduce premature melting during mixing—even when skipped, chilling the assembled dough in the fridge for 10 minutes can amplify flakiness.
Optimal Biscuit Cutter Technique
Use a sharp, floured biscuit cutter and press straight down—no twisting—to preserve dough structure. This ensures the biscuits seize up immediately, aiding vertical rise and a light crumb.
Edge Strategy for Contrast
Placing biscuits close together yields tender sides through shared thermal insulation; spacing them apart gives even browning and crisp edges. Choose based on your texture preference.
Moist Heat Boost for a Golden Top
For a soft, golden top, spritz the oven with a burst of water or place a small oven-safe dish of water on the rack below just before baking. The steam encourages a beautiful crust and moist crumb.
See more advanced recipes at cookingwhite.com
4. Storage, Shelf Life, and Maintenance Tips
Short-Term Storage
Store leftover biscuits in an airtight container at room temperature for up to 2 days. If stored while warm, allow to cool slightly first to avoid condensation.
Reheating for Freshness
Reheat biscuits in a 350°F (175°C) oven for 5–7 minutes until warm and flaky—skip the microwave, which can make them rubbery.
Freezing Tips
Freeze fully cooled biscuits in an airtight bag for up to 1 month. Rewarm frozen biscuits directly in the oven at 350°F for about 10 minutes for fresh-baked texture.
Avoiding Dry Edges
Store with a slice of bread in the container to maintain moisture. For reheating, cover lightly with foil to protect from drying out.
Refreshing Older Biscuits
Rewarm biscuits covered with foil for 5 minutes in a 300°F oven, then uncover for the final minute to restore surface crispiness.

5. Dietary Adaptations and Substitutions
Gluten-Free Version
Use a gluten-free self-rising flour blend with xanthan gum. Ensure distribution of ingredients and avoid overworking to retain rise; texture may be slightly denser.
Dairy-Free Approach
Replace buttermilk with a plant-based alternative such as almond or oat “buttermilk” made by adding 1 tsp vinegar per cup. Use dairy-free shortening to keep the flavor and texture intact.
Whole Wheat Biscuit Twist
Substitute up to half of the self-rising flour with whole wheat self-rising flour for a nuttier, rustic biscuit. Add 2 tablespoons extra buttermilk if the dough seems dry.
Lower-Fat Option
Replace half the shortening with cold low-fat butter or applesauce. Bake for slightly longer—around 15 minutes—to ensure full cooking without dryness.
Buttermilk Substitute Clarification
Mix 1 cup milk (dairy or plant-based) with 1 Tbsp vinegar or lemon juice, let rest for 5 minutes. Use as a convenient stand-in for true buttermilk.

6. FAQs About the Recipe
Can I use all-purpose flour instead of self-rising?
Yes—add 1½ teaspoons baking powder and a pinch of salt for each cup of all-purpose flour used to mimic self-rising properties.
Why didn’t my biscuits rise?
Overworking the dough flattens the layers. Make sure the shortening is cold and the oven is well preheated to create steam that helps lift the biscuits.
Can I make them smaller or larger?
Absolutely! Adjust the cutter size—larger biscuits may need 2–3 more minutes of baking time, while mini biscuits bake faster.
Why are my biscuits tough?
Overmixing leads to gluten development and dense texture. Mix just until ingredients hold together. Too much flour can also dry out the dough—add extra buttermilk if needed.
How do I store leftover biscuits to stay soft?
Wrap them in foil while still warm and store in an airtight container at room temperature. They remain tender and flaky this way for up to 2 days.
7. Conclusion & Final Thoughts
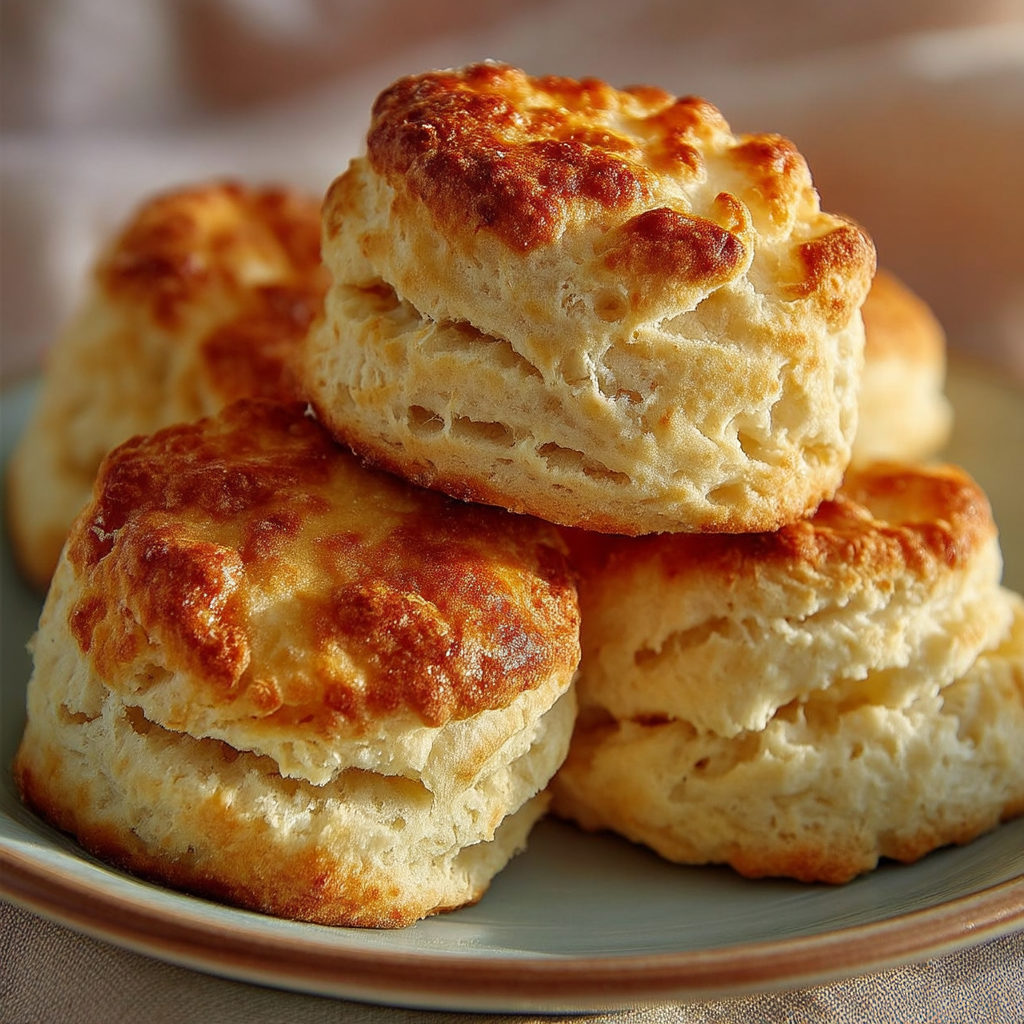
These Best Buttermilk Biscuits are a timeless favorite—perfectly flaky, tender, and with a hint of tang from the buttermilk that defines classic Southern-style biscuits. Whether served at breakfast with jam and honey, alongside hearty soups and stews, or as a side for dinner, they deliver comfort and nostalgia in every bite.
Simple, forgiving, and quick to whip up, this recipe suits busy cooks and baking enthusiasts alike. It’s flexible, freezer-friendly, and endlessly adaptable—whether you’re adjusting for dietary needs or experimenting with whole grains. Plus, learning layering and cold-handling techniques here builds your foundational baking skills.
Bake them warm, butter them generously, and cherish the golden, flaky layers that make life—or any meal—a little more lovely.