Introduction
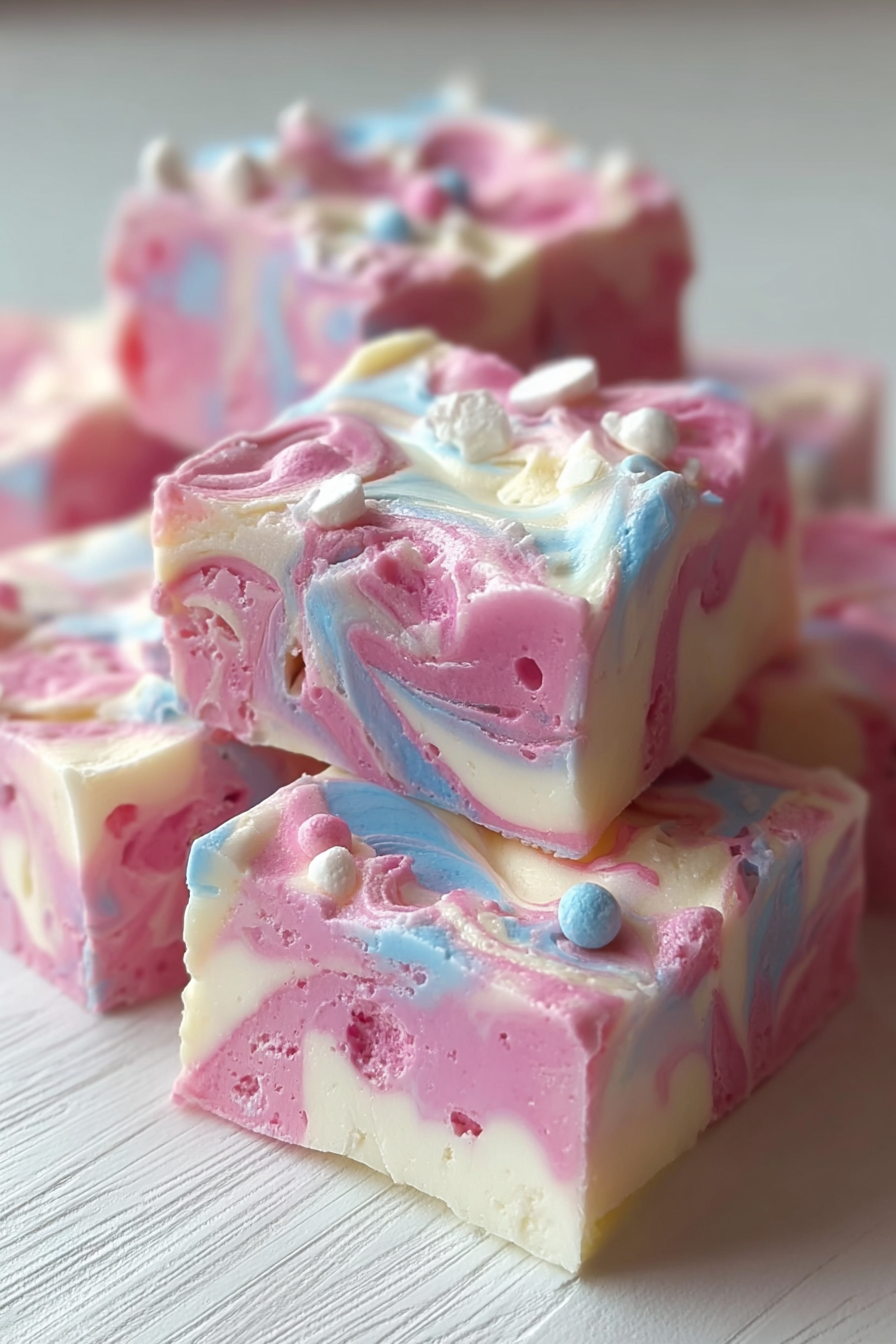
There’s something magical about fudge—it’s rich, smooth, and always manages to bring smiles to those who taste it. But what if you could take classic fudge to a whole new level of fun and whimsy? Enter Bubblegum Cloud Fudge, a delightful twist on traditional fudge that combines the creamy decadence of white chocolate with the playful flavor of bubblegum. The result is a colorful, cloud-like confection that’s perfect for birthday parties, baby showers, holidays, or whenever you want to brighten someone’s day with a sweet surprise.
This recipe is incredibly simple, requiring just a handful of ingredients and minimal cooking time. Whether you’re an experienced baker or a beginner, you’ll be amazed at how quickly you can whip up a batch of this dreamy fudge. Plus, it’s a recipe that doubles as a creative activity—you can add food coloring, sprinkles, or swirls to make your fudge uniquely yours.
My recipe story
I first stumbled upon the idea for Bubblegum Cloud Fudge when I was planning a candy-themed birthday party for my niece. She’s a huge fan of bubblegum, but obviously, I wanted something more creative and less sticky than handing out pieces of gum. That’s when the inspiration struck—why not incorporate bubblegum flavoring into fudge?
The first batch was a hit, and I quickly realized that this recipe had a special charm. The soft pastel colors reminded me of cotton candy clouds, and the nostalgic flavor of bubblegum instantly transported everyone back to childhood. Since then, I’ve made it for bake sales, baby showers, and even wrapped it up in cellophane bags as holiday gifts. It’s always a conversation starter, and kids especially love the playful flavor and colors. This recipe is now a family tradition whenever we want to make something fun, festive, and a little out of the ordinary.
💡 Why You’ll Love This Recipe
- Fun, whimsical flavor that appeals to kids and adults alike.
- Requires just a few simple ingredients and minimal prep time.
- Customizable with food coloring, sprinkles, or candy decorations.
- Perfect for parties, holidays, and homemade gifts.
- No candy thermometer required—easy enough for beginners.
Ingredient breakdown
One of the reasons this fudge is so approachable is that it relies on simple pantry ingredients. Yet, when combined, they create a luxurious and creamy treat that tastes anything but ordinary.
White chocolate chips or chopped white chocolate (3 cups) – This is the base of the fudge, providing structure and sweetness. White chocolate has a naturally creamy and mellow flavor that pairs beautifully with the bubblegum essence. Opt for high-quality white chocolate if possible, as it melts smoother and produces a richer flavor.
Sweetened condensed milk (1 can, 14 oz) – The secret to fuss-free fudge! Sweetened condensed milk gives the fudge its dense, creamy texture and ensures that it sets properly without needing a candy thermometer. It also adds just the right amount of sweetness to balance the chocolate.
Unsalted butter (2 tbsp) – Butter adds richness and silkiness, helping the fudge hold together while also preventing it from becoming overly dry. The unsalted variety ensures you’re in full control of the flavor balance.
Bubblegum flavoring extract – This is the magic ingredient that transforms the fudge from ordinary to extraordinary. Bubblegum extract is widely available online or at specialty baking stores. A small amount goes a long way, so use it sparingly to achieve the perfect nostalgic flavor.
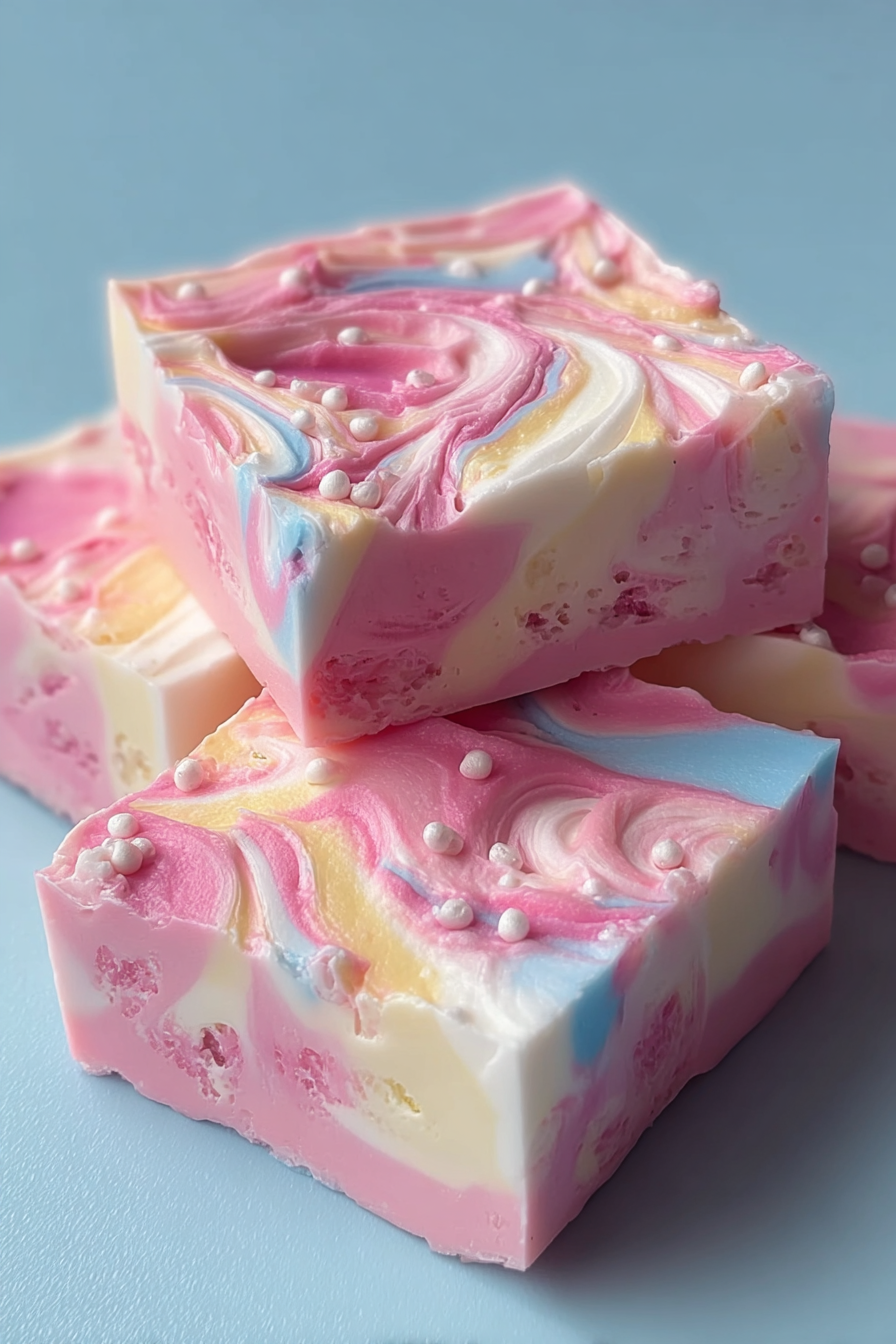
Optional food coloring and sprinkles – To achieve that whimsical “cloud” look, you can swirl in pastel pinks, blues, or purples. Sprinkles add a playful finishing touch, making the fudge extra festive and eye-catching.
Equipment you’ll need
- Medium saucepan
- Heat-resistant spatula or wooden spoon
- 8×8-inch baking dish
- Parchment paper
- Mixing bowls
- Measuring cups and spoons
- Sharp knife for cutting squares
Step-by-step directions
Step 1: Prepare your baking dish.
Line an 8×8-inch baking dish with parchment paper, leaving enough overhang on the sides to lift the fudge out later. Lightly grease the paper with nonstick spray or a thin layer of butter. This will ensure the fudge releases easily once set, giving you clean, sharp edges when cutting.
Step 2: Melt the base ingredients.
In a medium saucepan over low heat, combine the white chocolate chips, sweetened condensed milk, and unsalted butter. Stir continuously with a heat-resistant spatula until the chocolate melts completely and the mixture becomes smooth and glossy. Be careful not to overheat, as white chocolate can scorch quickly.
Step 3: Add the bubblegum flavoring.
Once the mixture is fully melted and silky, remove it from the heat. Stir in a few drops of bubblegum extract, tasting as you go to ensure the flavor is strong but not overpowering. If you’d like to add pastel swirls of food coloring, gently fold them in at this stage for a dreamy, cloud-like effect.
Step 4: Transfer and smooth.
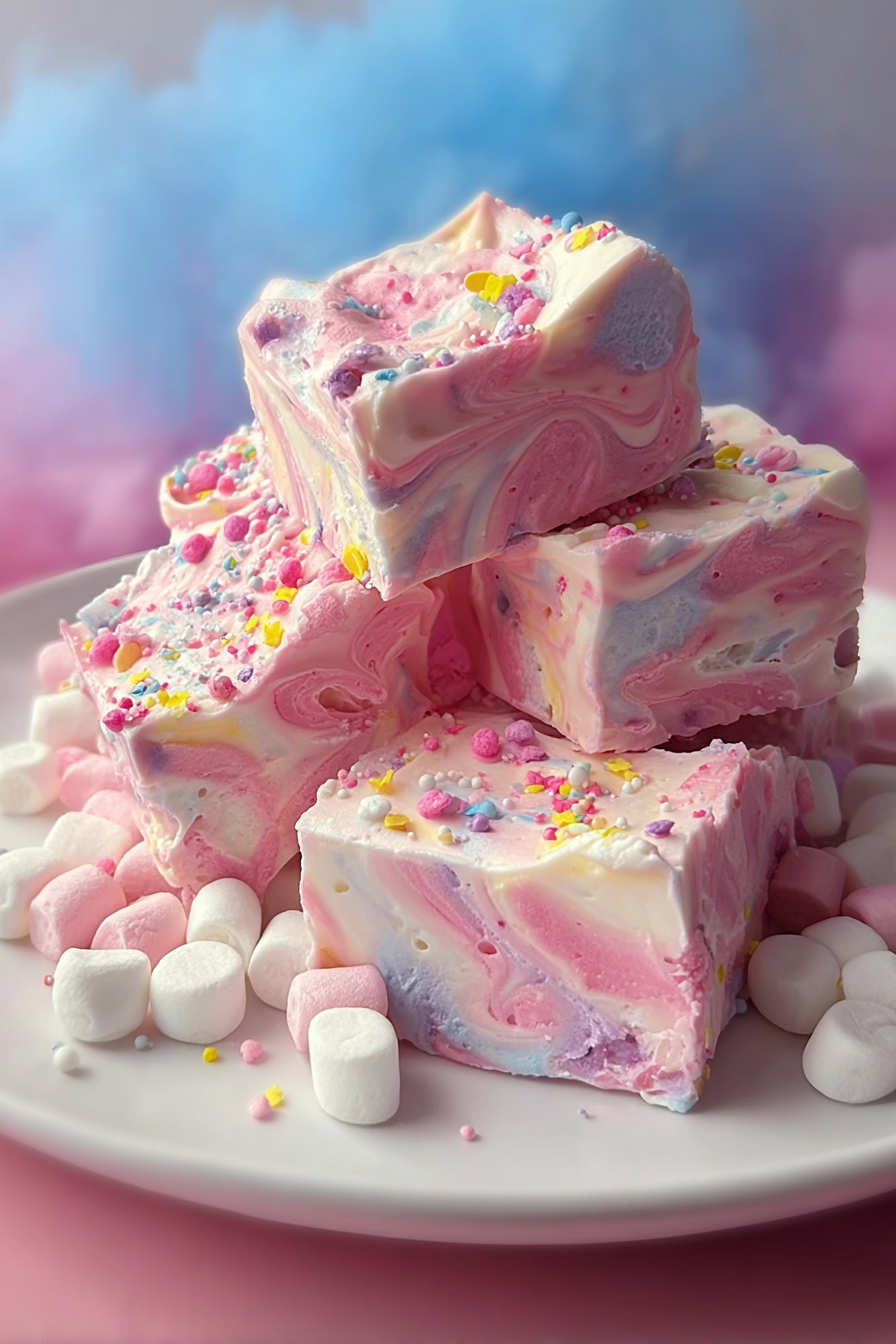
Pour the fudge mixture into your prepared baking dish, spreading it evenly with a spatula. If you’re using sprinkles, scatter them across the top now for extra visual flair. Tap the dish gently on the counter to release any air bubbles and level the surface.
Step 5: Chill and set.
Place the dish in the refrigerator for at least 2–3 hours, or until the fudge is firm to the touch. For best results, let it chill overnight. The longer it sets, the cleaner your cuts will be later.
Step 6: Cut and enjoy.
Lift the fudge out of the pan using the parchment paper overhang. Transfer it to a cutting board and slice into small squares with a sharp knife. Wipe the knife between cuts to keep the edges neat. Serve immediately, or store for later enjoyment.
Variations & substitutions
This recipe is flexible and fun to customize. If you don’t have bubblegum flavoring, you can substitute it with cotton candy or even a fruity extract for a playful twist. Want a two-toned fudge? Divide the mixture in half, color each batch differently, and swirl them together in the pan. You can also mix in mini marshmallows, candy bits, or edible glitter for extra texture and sparkle. For those who prefer a slightly less sweet version, reduce the white chocolate slightly and add a splash of cream cheese for tanginess.
💡 Expert Tips & Troubleshooting
- Always melt chocolate over low heat to avoid scorching or seizing.
- If the fudge seems too soft after chilling, freeze it briefly for firmer cuts.
- Use gel food coloring instead of liquid for more vibrant swirls without altering texture.
- Taste-test your bubblegum extract—different brands can vary in strength.
Storage, freezing & make-ahead
Bubblegum Cloud Fudge keeps well when stored properly. Place the squares in an airtight container, separating layers with parchment paper to prevent sticking. Store in the refrigerator for up to 2 weeks. If you want to freeze it, wrap individual pieces tightly in plastic wrap and then place them in a freezer-safe bag or container. Frozen fudge lasts up to 3 months. When ready to serve, let it thaw in the fridge overnight. This also makes it an excellent make-ahead recipe for parties or holiday gift-giving.
Serving ideas & pairings
This fudge is so versatile that it can shine in many different settings. For children’s parties, serve it alongside other candy-themed treats like lollipops and cotton candy. For adults, pair it with coffee, hot chocolate, or even a glass of sparkling rosé for a playful contrast. You can also package it in colorful boxes or jars as party favors or holiday gifts. During Easter or baby showers, use pastel coloring to match the theme and place squares inside decorative cupcake liners for an extra touch of charm.
FAQ
Can I make this fudge without bubblegum flavoring?
Yes! Substitute with cotton candy, vanilla, or fruity extracts for a similar whimsical taste.
How do I prevent my fudge from becoming grainy?
Stir continuously over low heat, and make sure all chocolate melts smoothly before adding flavoring.
Can I use evaporated milk instead of sweetened condensed milk?
No, evaporated milk does not have the same sweetness or texture. Sweetened condensed milk is essential for proper setting.
How do I get clean, sharp edges when cutting?
Use a sharp knife and wipe it clean between cuts. Chilling the fudge overnight also helps with neat slicing.
Can I make this recipe dairy-free?
Yes, swap the white chocolate and condensed milk with dairy-free alternatives. Many vegan white chocolates and condensed milk substitutes are available online.
Final thoughts
Bubblegum Cloud Fudge is more than just a dessert—it’s an experience. From the playful flavor to the dreamy colors, this fudge has the power to delight guests of all ages. It’s simple enough to make with kids but impressive enough to serve at special events or give as gifts. With endless opportunities to customize and decorate, this recipe is a canvas for your creativity. So the next time you want to add a touch of magic to your dessert table, whip up a batch of this enchanting fudge and watch as it brings joy with every bite.
Print
Bubblegum Cloud Fudge
- Total Time: 2 hours 20 minutes (includes chilling)
- Yield: 25 squares
- Diet: Vegetarian
Description
A whimsical, creamy fudge bursting with bubblegum flavor and pastel colors. Perfect for parties, gifts, or a fun treat anytime.
Ingredients
- 3 cups white chocolate chips or chopped white chocolate
- 1 can (14 oz) sweetened condensed milk
- 2 tbsp unsalted butter
- 1/2 tsp bubblegum flavoring extract
- Food coloring (optional, pastel shades)
- Sprinkles (optional, for topping)
Instructions
- Line an 8×8-inch baking dish with parchment paper, leaving overhang for easy removal.
- In a saucepan, melt the white chocolate, sweetened condensed milk, and butter over low heat, stirring until smooth.
- Remove from heat and stir in the bubblegum extract. Add food coloring if desired, swirling gently for a cloud effect.
- Pour the mixture into the prepared dish, spreading evenly. Add sprinkles on top if using.
- Refrigerate for 2–3 hours, or until fully set.
- Lift out the fudge, cut into squares, and serve.
Notes
Store in an airtight container in the refrigerator for up to 2 weeks. For longer storage, freeze for up to 3 months. This recipe makes a great edible gift when wrapped in decorative boxes or bags.
- Prep Time: 10 minutes
- Cook Time: 10 minutes
- Category: Dessert
- Method: Stovetop
- Cuisine: American