Introduction
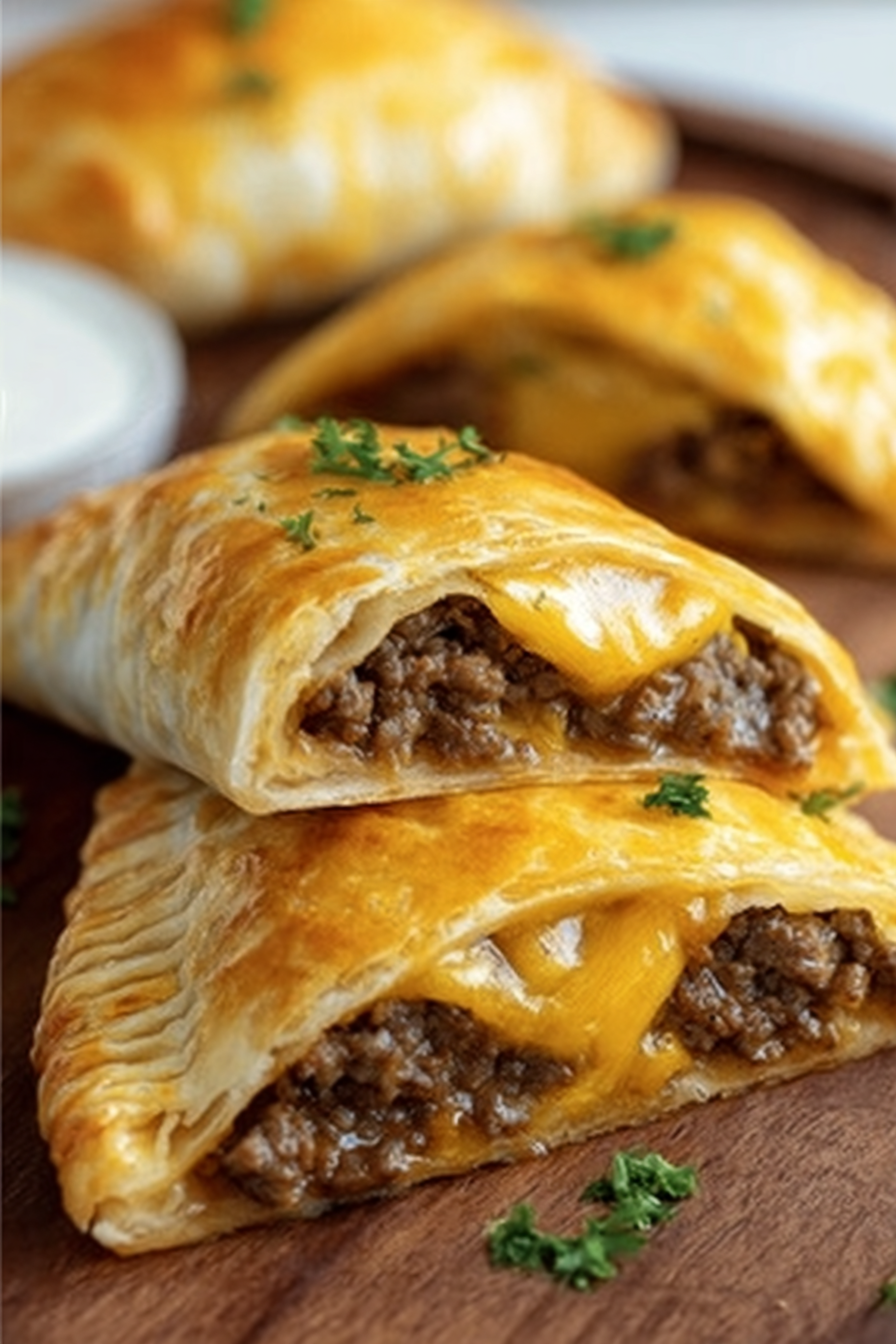
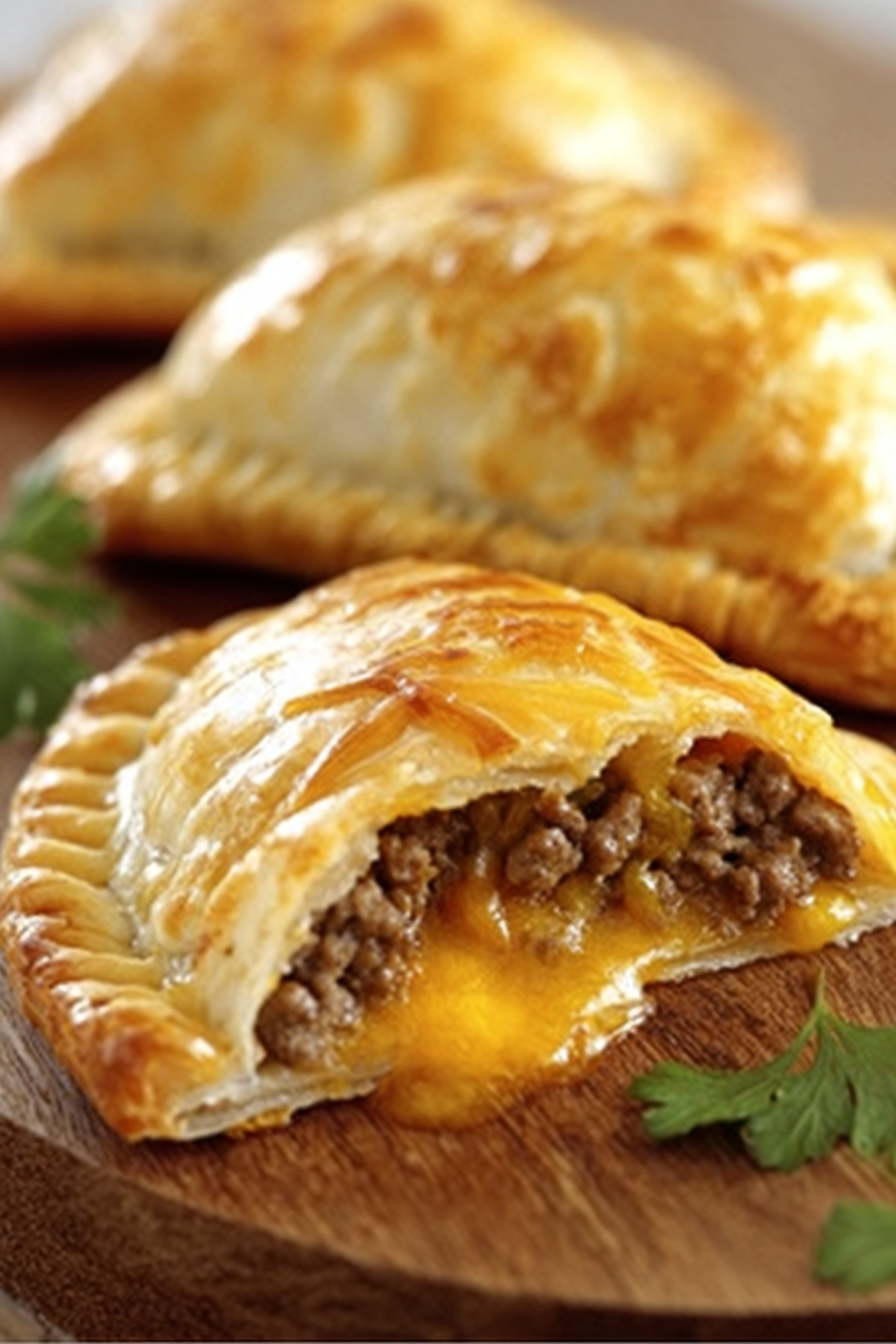
If you’re a fan of cheeseburgers but want something a little different, cheeseburger pockets are a must-try recipe. Imagine all the delicious flavors of a juicy cheeseburger—seasoned beef, melted cheese, onions, and pickles—sealed inside a soft, golden pocket of dough. They’re portable, less messy, and incredibly versatile. Whether you’re planning a casual dinner, a fun family cooking activity, or meal prep for the week, cheeseburger pockets offer convenience without sacrificing taste.
My recipe story
I first stumbled upon cheeseburger pockets during a family gathering when I wanted to serve something hearty yet easy to eat without all the burger fixings falling apart. Traditional burgers are always a hit, but they can be messy at parties, especially with kids around. Wrapping the beef and cheese inside dough turned out to be the perfect solution. Over time, I refined the recipe by experimenting with different cheeses, sauces, and seasonings until I landed on a version that balanced flavor, texture, and convenience. Now, these pockets have become a regular in my home, and every time I make them, they’re gone in minutes!
💡 Why You’ll Love This Recipe
- They’re portable and easy to pack for school lunches, road trips, or work snacks.
- No messy toppings spilling out like a traditional burger.
- Kid-friendly and perfect for picky eaters who love classic flavors.
- Customizable with different cheeses, veggies, or even plant-based proteins.
- They freeze beautifully, making them a great make-ahead meal option.
Ingredient breakdown
The beauty of cheeseburger pockets lies in their simplicity. You’ll need a handful of pantry staples and fresh ingredients to create something satisfying. Ground beef is the star here, but the flavor layers build with the addition of onions, garlic, pickles, mustard, ketchup, and of course, gooey melted cheese. Using shredded cheddar or American cheese gives you that familiar cheeseburger taste, while experimenting with pepper jack or mozzarella can add a twist.
For the crust, refrigerated biscuit dough or pizza dough makes this recipe incredibly approachable for busy cooks. The dough bakes up golden brown and slightly crisp on the outside while staying tender inside, perfectly holding the beef and cheese filling. If you’re more adventurous, you can prepare homemade bread dough to give the pockets a personal, artisanal touch.
Condiments like mustard and ketchup are added inside the filling to bring out the burger flavor in every bite. This keeps the pocket moist and flavorful without requiring extra dipping sauces—although serving them with a side of ranch or barbecue sauce is always a good idea!
Equipment you’ll need
- Large skillet (for browning ground beef)
- Wooden spoon or spatula
- Mixing bowl
- Baking sheet
- Parchment paper or silicone baking mat
- Rolling pin (optional if using dough that needs flattening)
- Pastry brush (for egg wash)
Step-by-step directions
Step 1: Prepare the beef filling. Heat a large skillet over medium-high heat and add your ground beef. Break it apart using a wooden spoon and cook until browned, about 7–8 minutes. Drain any excess fat. Add diced onions, garlic, ketchup, mustard, salt, and pepper. Stir well until the onions soften and the mixture is fragrant. Remove from heat and let the filling cool slightly before assembling the pockets.
Step 2: Roll out the dough. If you’re using refrigerated biscuit dough, separate each biscuit and roll them into 5–6 inch circles with a rolling pin. If using pizza dough, divide it into equal portions and roll each one flat. Lightly flour your surface to prevent sticking. The dough should be large enough to hold 2–3 tablespoons of filling with space to seal the edges.
Step 3: Assemble the pockets. Place a spoonful of beef mixture in the center of each dough round, followed by a generous sprinkle of shredded cheese and optional chopped pickles. Fold the dough over the filling into a half-moon shape, pressing the edges with your fingers or a fork to seal tightly. Make sure there are no gaps, or the filling may leak out during baking.
Step 4: Prepare for baking. Arrange the sealed pockets on a parchment-lined baking sheet, leaving space between each. Brush the tops lightly with beaten egg to give them a shiny, golden finish. For extra flavor, you can sprinkle sesame seeds or garlic powder on top before baking.
Step 5: Bake to perfection. Preheat your oven to 375°F (190°C). Bake the cheeseburger pockets for 15–20 minutes, or until the tops are golden brown and slightly crisp. Keep an eye on them during the last few minutes to avoid overbaking. Once done, remove from the oven and let them rest for 5 minutes before serving—they’ll be hot and gooey inside!
Variations & substitutions
Cheeseburger pockets are endlessly adaptable. Swap the ground beef for ground turkey, chicken, or even plant-based crumbles for a lighter version. Add sautéed mushrooms, bell peppers, or jalapeños to the filling for extra texture and flavor. For cheese, experiment with gouda, provolone, or Swiss to create unique taste profiles. You can also replace the ketchup and mustard with barbecue sauce or spicy sriracha mayo for a bold twist.
If you’re making these for breakfast, swap the beef with scrambled eggs and breakfast sausage, then add cheddar or mozzarella for a morning-friendly version. The possibilities are limited only by your imagination!
💡 Expert Tips & Troubleshooting
- Cool the filling slightly before adding to the dough to prevent soggy pockets.
- Don’t overstuff—2–3 tablespoons of filling is the sweet spot for even cooking.
- Seal edges firmly with a fork to avoid leakage during baking.
- If the dough tears, patch it with a small piece of extra dough before baking.
- For an extra-crisp crust, bake on a preheated pizza stone instead of a baking sheet.
Storage, freezing & make-ahead
Cheeseburger pockets store well and can easily be made ahead. To store leftovers, place cooled pockets in an airtight container in the refrigerator for up to 4 days. Reheat them in the oven or air fryer at 350°F (175°C) for about 8–10 minutes to regain crispness. Avoid microwaving if possible, as it can make the dough chewy.
For freezing, let the baked pockets cool completely, then wrap them individually in foil or plastic wrap before placing in a freezer-safe bag. They can be frozen for up to 2 months. To reheat, bake directly from frozen at 350°F (175°C) for 15–20 minutes until heated through.
If you’d like to prep ahead, assemble the pockets and refrigerate them (unbaked) for up to 24 hours before baking. This is perfect for parties or busy weeknights when you want fresh, hot pockets straight from the oven.
Serving ideas & pairings
Cheeseburger pockets are delicious on their own, but they pair beautifully with sides and dips. Serve them alongside a crisp garden salad, roasted potato wedges, or classic coleslaw for a complete meal. For dipping, try ranch, barbecue sauce, honey mustard, or even sriracha mayo for a spicy kick. If serving at a party, offer a platter of cheeseburger pockets with a variety of dipping sauces to keep guests happy and satisfied.
For a kid-friendly meal, pair them with carrot sticks, apple slices, or baked sweet potato fries. If you’re entertaining adults, complement them with a chilled beer or a refreshing iced tea. They’re versatile enough to fit into both casual dinners and special occasions.
FAQ
Can I use puff pastry instead of biscuit dough?
Yes! Puff pastry will give you a flakier, buttery crust. Just be sure to seal the edges tightly and adjust baking time slightly.
How do I prevent the pockets from bursting open?
Make sure not to overfill, and press the edges firmly with a fork. An egg wash along the seams can also help create a tighter seal.
Can I make these vegetarian?
Absolutely. Use plant-based ground beef alternatives or a mix of sautéed vegetables like mushrooms, peppers, and zucchini for a hearty filling.
Do I have to cook the beef before baking?
Yes, cooking the beef first ensures it’s fully cooked, flavorful, and won’t release excess grease that could make the dough soggy.
What’s the best cheese to use?
Cheddar and American cheese are classics, but mozzarella, provolone, or pepper jack add fun twists. Use your favorite!
Final thoughts
Cheeseburger pockets combine the best parts of a cheeseburger with the convenience of handheld comfort food. They’re fun, flavorful, and versatile enough to fit into weeknight dinners, meal prep routines, or party spreads. With endless customization options, you can make them your own—whether you stick to classic cheeseburger flavors or experiment with bold new fillings. Once you try them, you’ll see why they’ve become a favorite in so many households. So gather your ingredients, roll up your sleeves, and enjoy making a batch of these golden, cheesy pockets that everyone will love.
Cheeseburger Pockets
- Total Time: 40 minutes
- Yield: 8 pockets 1x
Description
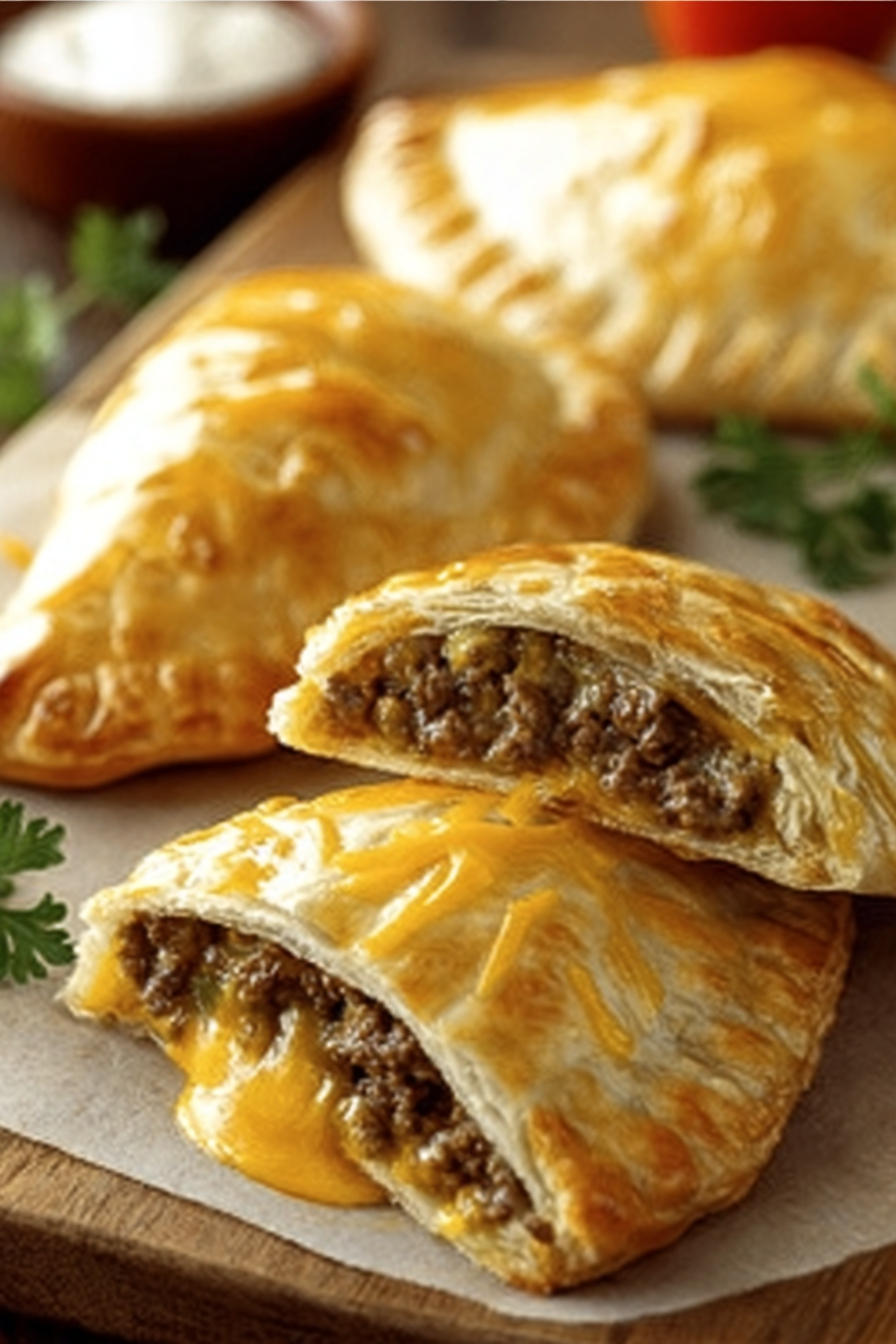
All the flavors of a juicy cheeseburger wrapped in golden dough. Perfect for weeknight dinners, meal prep, or party snacks.
Ingredients
- 1 lb ground beef
- 1 small onion, finely diced
- 2 cloves garlic, minced
- 2 tablespoons ketchup
- 1 tablespoon mustard
- Salt and black pepper, to taste
- 1 cup shredded cheddar cheese
- 1/4 cup chopped pickles (optional)
- 1 can refrigerated biscuit dough or pizza dough
- 1 egg, beaten (for egg wash)
Instructions
- Preheat oven to 375°F (190°C) and line a baking sheet with parchment paper.
- In a skillet, cook ground beef over medium heat until browned, then drain excess fat. Add onion, garlic, ketchup, mustard, salt, and pepper. Stir until onions are soft, then remove from heat.
- Roll out dough rounds into 5–6 inch circles. Place 2–3 tablespoons of beef filling in the center, sprinkle with cheese, and add pickles if using.
- Fold dough over filling into a half-moon shape and seal edges with a fork. Brush tops with beaten egg.
- Bake for 15–20 minutes until golden brown. Let cool for 5 minutes before serving.
Notes
Cool filling before assembling to avoid soggy dough. Store leftovers in an airtight container in the fridge for up to 4 days. Reheat in oven or air fryer.
- Prep Time: 20 minutes
- Cook Time: 20 minutes
- Category: Main Course
- Method: Baking
- Cuisine: American