Cheeseburger Skulls: A Frightfully Delicious Halloween Dinner Idea
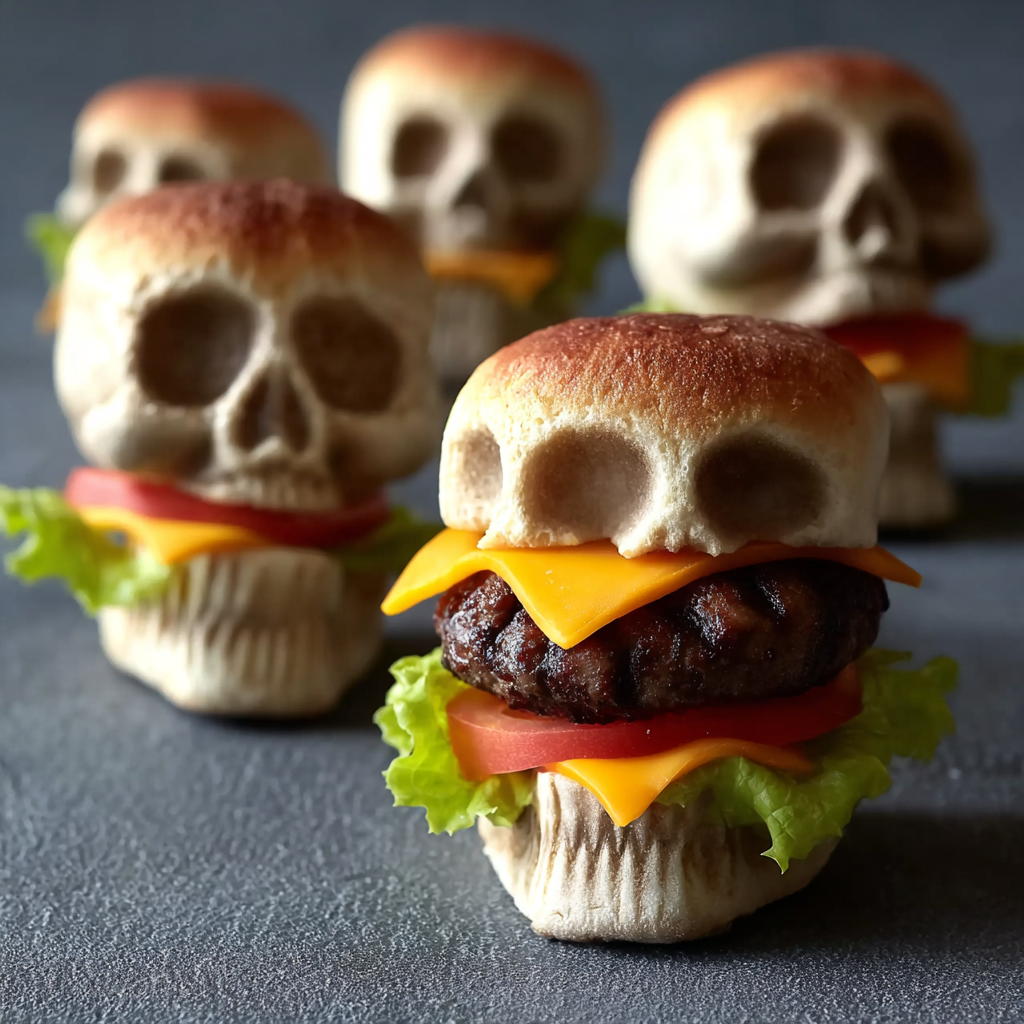
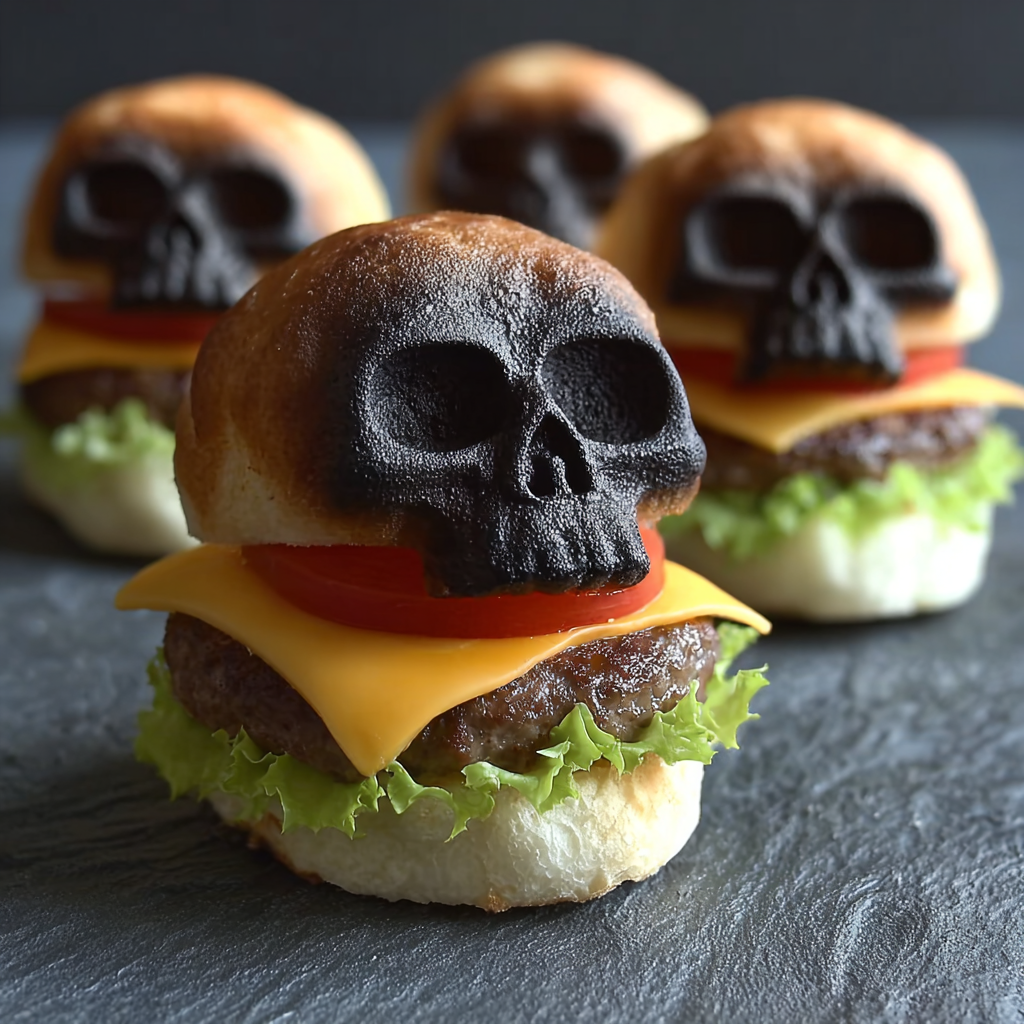
If you’re searching for the ultimate savory Halloween meal that’s equal parts spooky and satisfying, look no further than Cheeseburger Skulls. Imagine juicy, seasoned beef and melted cheese tucked inside a soft, golden skull-shaped bun — every bite bursting with classic cheeseburger flavor and Halloween flair. They’re creepy on the outside, ooey-gooey on the inside, and guaranteed to steal the show at your haunted feast!
These skull-shaped burgers are baked using a skull pan (like the Nordic Ware 3D pan), which gives them an eerie, realistic look — perfect for Halloween parties, movie nights, or themed dinners. Instead of assembling a regular burger, the dough becomes the “bun” and the skull face, while the filling stays tucked inside, hot and cheesy. When you pull one apart, melted cheese oozes out like edible monster goo.
The best part? You can fill these Cheeseburger Skulls however you like — from classic American cheese and pickles to spicy jalapeños and pepper jack. They’re portable, fun, and a little bit horrifying (in the best way possible). Kids absolutely love them, and adults can’t resist their comfort-food nostalgia mixed with Halloween mischief.
If you’ve made other savory Halloween recipes like Halloween Pizza Skulls or Mummy Hot Dogs, these are a natural next step. For more inspiration, check out creative themed dinners like Bloody Burger Bites or Jack-o’-Lantern Stuffed Peppers. But for now, let’s bring these spooky cheeseburger skulls to life — or rather, back from the dead!
Recipe Card
Print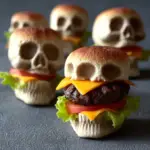
Cheeseburger Skulls – Spooky Halloween Dinner Surprise
Description
These Cheeseburger Skulls are soft, golden skull-shaped buns filled with juicy beef and melted cheese — a hauntingly delicious twist on the classic cheeseburger. Perfect for Halloween parties, family dinners, or any night you want to serve up spooky fun!
Ingredients
For the Dough:
- 5 tablespoons (56 g) salted butter, softened
- 3½ cups (420 g) all-purpose flour
- 1 large egg
- ¼ cup (50 g) granulated sugar
- 1 teaspoon salt
- 1 tablespoon (9 g) instant yeast
- ¾ cup (170 g) lukewarm water (100–110°F)
For the Filling:
- 32 ounces (2 lbs) ground beef (80/20 blend recommended)
- Salt and pepper, to taste
- 1 tablespoon butter, lard, or vegetable oil
For Assembly:
- 8 slices cheese (American, Cheddar, Havarti, or your favorite melting cheese)
- Optional toppings: tomato slices, lettuce, pickles, ketchup, mustard, mayonnaise, onions
Instructions
- Make the Dough:
In a large bowl or stand mixer, combine flour, sugar, salt, and yeast. Add softened butter, egg, and lukewarm water. Mix on medium speed until a soft dough forms. Knead for 5–7 minutes until smooth and elastic. - Let It Rise:
Cover the dough with a clean towel and let it rise in a warm place for 1 hour, or until doubled in size. Meanwhile, prepare the burger filling. - Cook the Beef Filling:
In a large skillet over medium-high heat, melt 1 tablespoon of butter or oil. Add the ground beef and season with salt and pepper. Cook until browned and crumbly, about 6–8 minutes. Drain excess fat and let the mixture cool slightly. - Prepare the Skull Molds:
Preheat oven to 375°F (190°C). Grease your skull molds generously with butter or nonstick spray, making sure to coat all the crevices so the skull details stay intact after baking. - Shape and Fill the Skulls:
Divide the dough into 8 equal portions. Roll each into a ball, then flatten into a circle large enough to line one skull cavity. Press the dough into the mold, leaving some overhang around the edges.Add a spoonful of cooked beef into the center, top with a slice of cheese (folded to fit), and add optional toppings if desired (pickles or onions work great). - Seal and Cover:
Fold the overhanging dough over the filling and pinch to seal. You want the seam tight so the filling stays inside. - Bake:
Bake for 20–25 minutes, or until golden brown on top and firm to the touch. - Cool and Unmold:
Let the skulls cool in the pan for 5–10 minutes, then carefully remove. Serve warm, with ketchup or special sauce for “blood.”
Notes
Active time: 45 minutes
Rise time: 1 hour
Baking time: 25 minutes
Total: ~2 hours
You can prepare the dough earlier in the day and refrigerate it after the first rise. Let it come to room temperature before shaping.
Advanced Techniques
Perfecting the Skull Shape
The secret to skulls that hold their shape is cold dough and well-greased molds. Chill your dough for 10 minutes before pressing it into the pan so it’s easier to handle. Press firmly into every ridge — especially around the eyes and jawline — for clear, creepy details once baked.
Creating Ultra-Moist Burger Filling
Overcooked ground beef can make the skulls dry. To keep it juicy, don’t fully cook the meat — stop just before it’s done since it will finish cooking inside the dough. You can even stir in a tablespoon of ketchup or mayo to lock in moisture and flavor.
Layering Cheese for Maximum Melt
For that perfect ooze when you bite in, use two half-slices of cheese — one under and one over the beef. The double layer ensures creamy, molten goodness that stretches beautifully when you pull the skull apart.
Adding “Bloody” Finishing Touches
For extra Halloween drama, drizzle ketchup or sriracha around the eye sockets or serve each skull sitting in a pool of “blood” (marinara sauce works great!). It’s a fun presentation trick that delights kids and creeps out guests in equal measure.
Using Different Fillings
You can fill the skulls with more than just classic cheeseburger mix! Try barbecue pulled pork, sloppy joe filling, or even breakfast sausage and scrambled eggs for a morning-after Halloween brunch version.
Storage, Shelf Life, and Maintenance Tips
Refrigerating for Later
Store leftover Cheeseburger Skulls in an airtight container in the refrigerator for up to 3 days. Reheat in the oven at 350°F (175°C) for 10–12 minutes, or until warmed through. Avoid microwaving too long or the dough can get tough.
Freezing for Future Meals
These skulls freeze beautifully. Once cooled completely, wrap each individually in plastic wrap and place them in a freezer-safe bag. Freeze for up to 2 months. Reheat from frozen at 350°F for about 20–25 minutes.
Keeping the Crust Soft
To maintain a soft, tender crust, brush each skull lightly with melted butter right after baking. This also gives them a nice shine and enhances flavor.
Transporting to Parties
If you’re making these for a Halloween event, bake them fully at home, then reheat in the oven for 10 minutes before serving. Transport them in a covered baking dish lined with parchment to keep them from sticking or sweating.
Turning Leftovers into Mini Burgers
If any skulls survive the party, slice them in half and reheat the insides on a skillet for a quick “grilled skull burger.” Add fresh lettuce and tomato between halves for a fresh take the next day.
Dietary Adaptations and Substitutions
Gluten-Free Cheeseburger Skulls
Use your favorite gluten-free flour blend or pre-made gluten-free dough. Make sure to add an extra tablespoon of butter or a teaspoon of xanthan gum if your dough feels too crumbly — this helps it stretch and hold the filling without tearing.
Dairy-Free Version
Swap the butter for vegan margarine and use dairy-free cheese slices (brands like Violife or Daiya work well). The result is still golden, cheesy, and just as delicious.
Low-Carb/Keto Adaptation
Replace the flour-based dough with a “fathead dough” (made from mozzarella, almond flour, cream cheese, and egg). Stuff it with cooked beef and cheddar, and you’ve got a keto-friendly skull that’s savory and satisfying without the carbs.
Vegetarian Twist
Skip the beef and use plant-based ground meat or crumbled veggie burger patties. Season as you would real beef and layer with cheese or vegan cheese for a fully meatless but equally spooky version.
Kid-Friendly Mini Skulls
Use smaller molds or roll the dough thinner to make mini cheeseburger bites. They bake faster (around 12–15 minutes) and are perfect for little hands — or appetizer platters at Halloween parties.
FAQs About Cheeseburger Skulls
Can I Use Store-Bought Dough?
Yes! Refrigerated pizza dough or crescent roll dough works great in a pinch. It saves time and still bakes up golden and delicious.
Do I Need a Special Pan?
A skull-shaped baking pan is ideal, but you can also use large muffin tins or silicone molds for smaller “head-shaped” burgers. Just adjust baking time depending on size.
Can I Add Toppings Inside the Skulls?
Definitely! Just keep the layers balanced so they don’t overfill. Pickles, caramelized onions, or a spoonful of special sauce add amazing flavor without making the dough soggy.
How Do I Keep the Skulls from Sticking?
Grease generously! Butter is best for rich flavor, but cooking spray works too. You can also dust the pan lightly with flour after greasing for extra insurance.
Can I Prepare These Ahead of Time?
Yes — assemble the filled dough in the molds and refrigerate for up to 6 hours before baking. When ready, bring them to room temperature and bake as directed.
Conclusion & Final Thoughts
There’s nothing quite like pulling a batch of Cheeseburger Skulls out of the oven — golden, grinning, and oozing with cheese. They’re equal parts creepy and comforting, blending classic cheeseburger flavors with the spooky fun of Halloween. Whether you serve them as the main dish at your haunted dinner party or as a surprise for your family before trick-or-treating, they’re guaranteed to become a seasonal favorite.
I love how versatile this recipe is — it’s easy to make ahead, simple to customize, and absolutely delicious no matter what you stuff inside. Plus, there’s something so satisfying about biting into a warm, cheesy “skull” and watching the filling ooze out like edible monster goo.
From their soft, buttery dough to the juicy beef and melty cheese center, these skulls bring the perfect balance of creativity and comfort food. They’re the kind of dish that makes Halloween memorable for everyone around the table — both spooky and heartwarming at once.
So dust off your skull pan, fire up the oven, and sink your teeth into these Cheeseburger Skulls. They’re frightfully fun, fiendishly flavorful, and the best way to bring a little culinary mischief to your Halloween feast!