Introduction to the Recipe
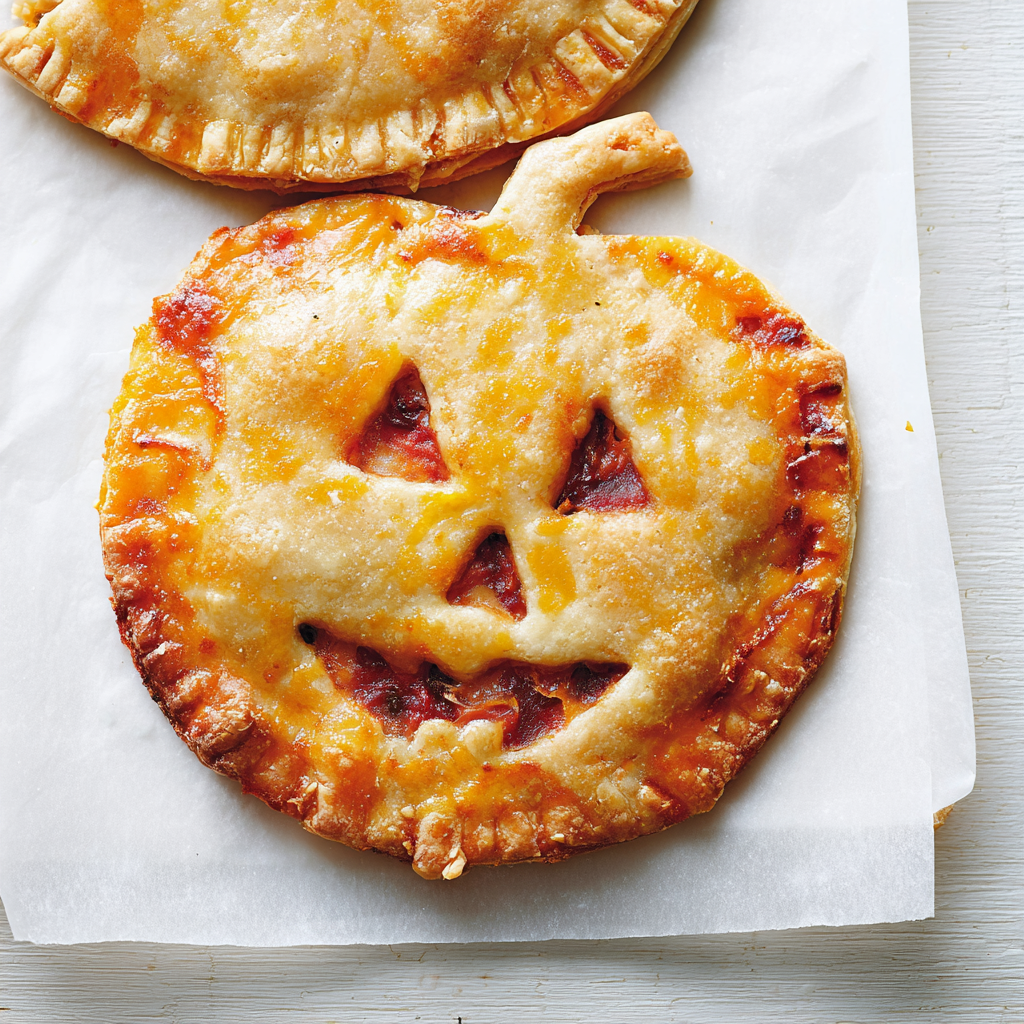
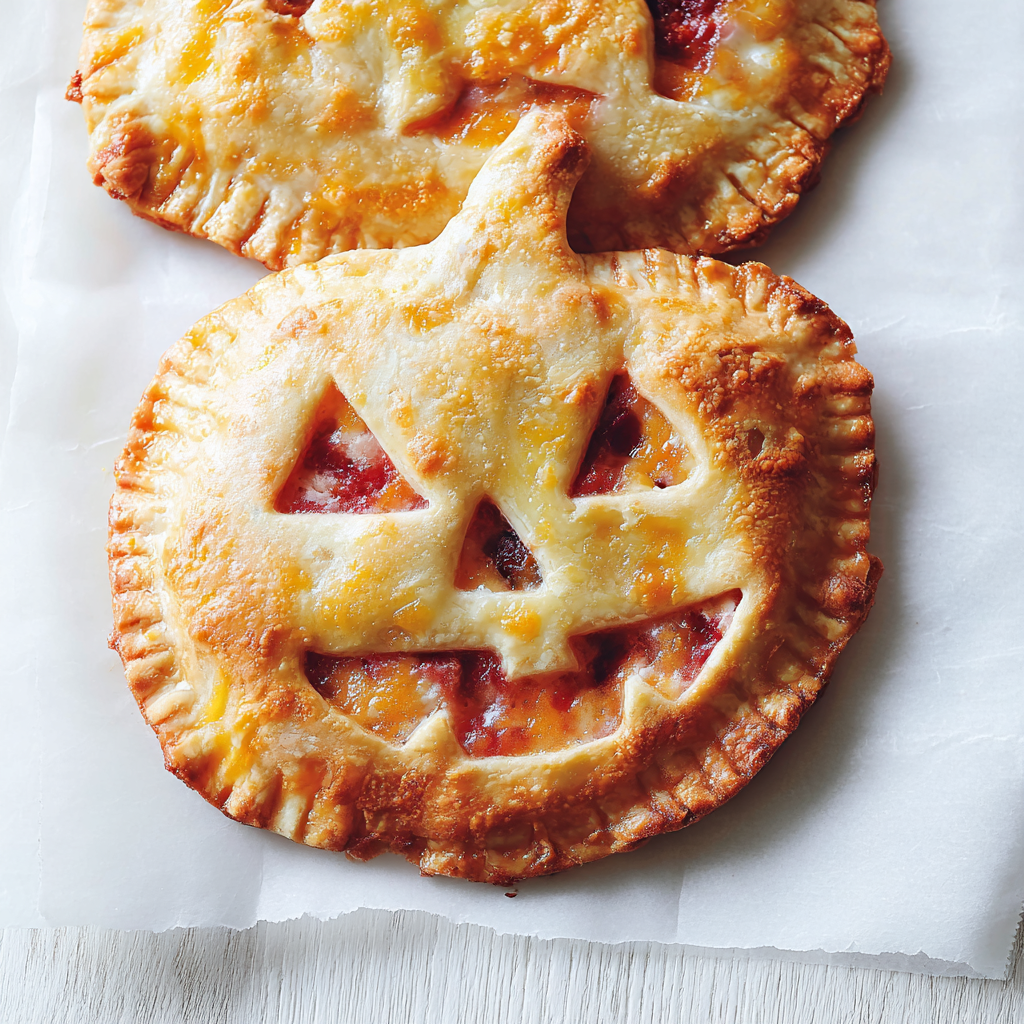
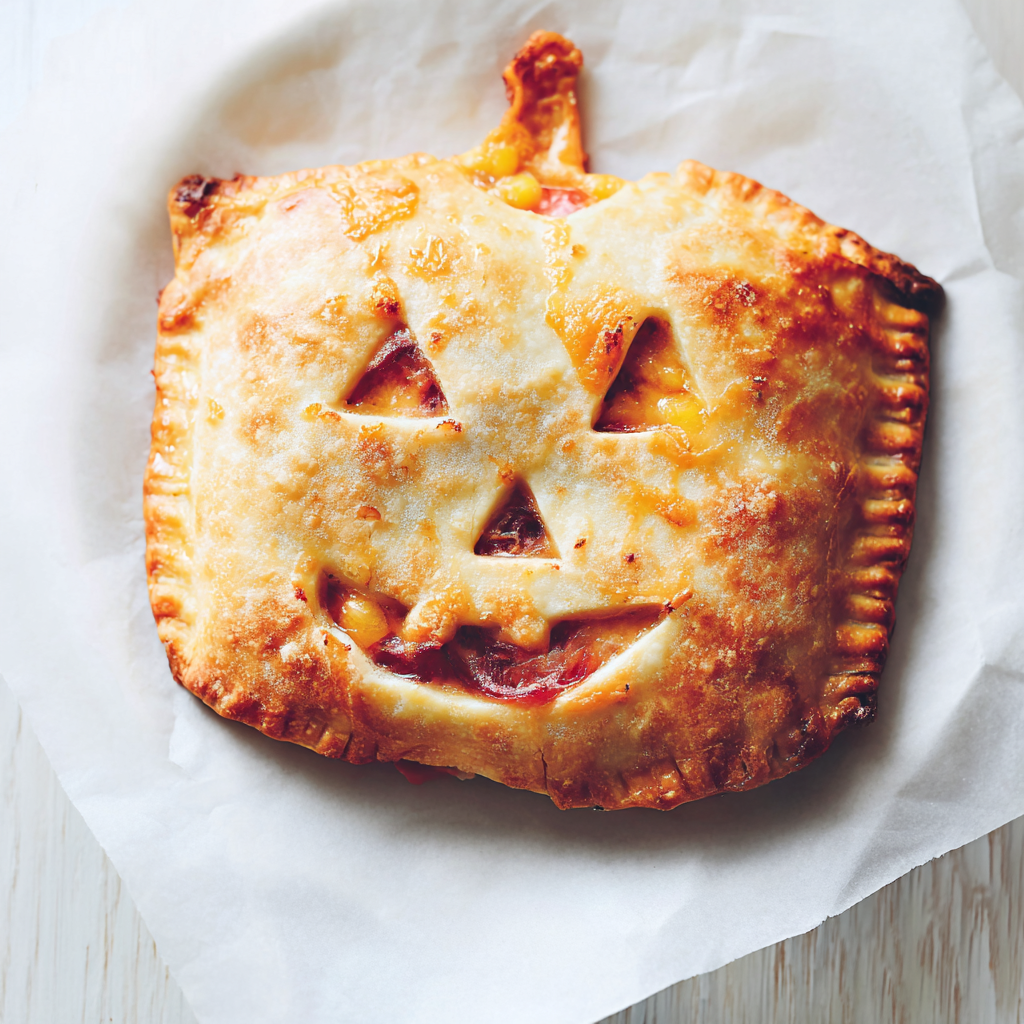
When Halloween rolls around, it’s easy to get stuck in a candy rut — but not everything spooky has to be sweet. Enter Halloween Pumpkin Pizza: mini pizzas made from crispy tortilla wraps, melty mozzarella, and topped with creepy-cute salami faces. These personal-size bites are festive, fun to make with kids, and easy to whip up for parties, lunchboxes, or themed dinners during October.
This recipe is brilliantly simple: just a handful of ingredients and about 15 minutes from prep to plate. The base uses flour tortillas, which crisp up perfectly in the oven and hold their shape. Tomato passata brings a fresh, rich flavor without being overpowering, and the generous layer of mozzarella gets bubbly and golden under the grill. But the real fun? Designing spooky pumpkin faces from salami slices. Think jack-o’-lanterns, ghosts, or monster mouths — it’s like edible arts and crafts.
These mini pizzas are endlessly customizable. Swap the salami for pepperoni, mushrooms, olives, or even cut-up bell peppers to build faces. You can even make them vegetarian or gluten-free with simple ingredient swaps. Whether you’re planning a Halloween party or just want to make dinner a little more festive, these Halloween Pumpkin Pizzas are a guaranteed hit.
Want more savory Halloween ideas? Try these creepy Halloween quesadillas or check out this guide to Halloween party snacks.
Basic Recipe: Ingredients and Instructions
Print
Cheesy Halloween Pumpkin Pizza
Description
Halloween Pumpkin Pizza is a fun, easy treat perfect for spooky season — crispy tortilla crusts, gooey cheese, and salami faces.
Ingredients
- 8 mini flour tortilla wraps
- ⅓ cup (90g) tomato passata
- 2 cups (200g) grated mozzarella
- 120g thinly sliced salami
- Extra-virgin olive oil, for brushing
Instructions
- Preheat your oven to 400°F (200°C). Line a baking sheet with parchment paper.
- Place tortillas on the baking sheet. Brush lightly with olive oil to help them crisp.
- Spread 1–2 teaspoons of tomato passata on each tortilla, leaving a small border around the edge.
- Sprinkle a generous layer of grated mozzarella over the sauce.
- Cut salami slices into spooky face shapes — eyes, mouths, or pumpkin-style features — and place on top of the cheese.
- Bake for 8–10 minutes, or until the cheese is melted and bubbling, and the tortillas are lightly golden on the edges.
- Let cool slightly before serving. The mini pizzas will crisp further as they rest.
Notes
Use cookie cutters or kitchen scissors for precise face designs in the salami.
For extra flavor, season the passata with garlic powder, oregano, or chili flakes.
For crispier bases, pre-bake tortillas for 2 minutes before adding toppings.
Keywords: Halloween Pumpkin Pizza
Advanced Techniques
1. Shape the Tortillas into Pumpkins
Before baking, cut the tortillas into pumpkin shapes using a large cookie cutter or kitchen scissors. Add a small notch at the top for a “stem” look. This adds extra Halloween charm and makes the presentation even more themed.
2. Layer Cheese for Better Melt
Combine half grated mozzarella with a handful of shredded cheddar or fontina for extra meltiness and flavor. The cheddar adds a subtle orange hue that enhances the pumpkin look.
3. Roast the Salami Beforehand
Want extra crisp salami faces? Bake the salami slices on a parchment-lined tray for 5 minutes before adding them to the pizzas. This gives them a slightly crunchy texture and prevents greasiness.
4. Use a Broiler Finish
After baking, turn on your oven’s broiler and place the pizzas under it for 1–2 minutes to get that perfect bubbly golden top. Watch carefully to avoid burning.
5. Create a DIY Pizza Station
Let kids (or guests) decorate their own pizzas using different toppings to create custom spooky faces. Provide sliced olives, diced bell peppers, mushrooms, and mini pepperoni for variety.
Storage, Shelf Life, and Maintenance Tips
1. Store Leftovers in the Fridge
Let pizzas cool, then store in an airtight container in the fridge for up to 3 days. Reheat in the oven or air fryer to bring back crispiness.
2. Freeze for Future Snacking
Cool completely and freeze in a single layer. Once frozen, stack with parchment paper between. Reheat in a 375°F oven for 8–10 minutes — perfect for prepping ahead.
3. Reheat for Best Texture
Skip the microwave if possible — it softens the tortillas. Use a skillet, toaster oven, or air fryer to keep the crust crisp and the cheese melty.
4. Avoid Soggy Bases
If storing, place a paper towel under the pizzas in the container to absorb moisture. It helps keep the base from going limp.
5. Make Pizza Components Ahead
Make and cut the salami faces, pre-shred the cheese, and portion the sauce in advance. Then just assemble and bake when ready to serve — ideal for party prep.

Dietary Adaptations and Substitutions
1. Make It Vegetarian
Skip the salami and use sliced black olives, mushrooms, or red pepper strips to make your spooky faces. You’ll still get great flavor and festive flair.
2. Use Gluten-Free Tortillas
Substitute the flour tortillas with certified gluten-free wraps. Choose a sturdy variety so it holds up during baking and gets crispy on the edges.
3. Dairy-Free Version
Use plant-based shredded mozzarella and double-check that your wraps are dairy-free. Top with veggies or dairy-free pepperoni alternatives.
4. Spice It Up
Add sliced jalapeños or drizzle with hot honey before serving for an adult-friendly version with a kick.
5. Low-Carb Option
Swap the tortilla with a low-carb wrap or thinly sliced zucchini rounds. Bake at a slightly lower temperature and keep an eye on crisping time.
FAQs About the Recipe
1. Can I make these ahead of time?
Yes. Assemble the pizzas (without baking) and refrigerate for up to 6 hours. Bake right before serving. You can also bake ahead and reheat for a quick option.
2. How do I cut the salami into faces?
Use kitchen scissors or small cookie cutters. Fold the salami gently and snip out triangle eyes or toothy mouths for jack-o’-lantern vibes. Precision isn’t required — the rustic look works.
3. Can I use regular-sized tortillas?
Absolutely. Just increase the amount of sauce and cheese per pizza, and adjust bake time to 10–12 minutes. You can slice them into wedges after baking for easy serving.
4. What if I don’t have tomato passata?
Use pizza sauce, marinara, or even a mix of tomato paste and water seasoned with garlic and herbs. The goal is a smooth, spreadable tomato base.
5. Are these freezer-friendly?
Yes! Cool fully, then freeze on a tray before transferring to a bag. Reheat in the oven or toaster oven for a quick, crispy snack anytime.
Conclusion & Final Thoughts
Halloween Pumpkin Pizza is everything you want in a festive snack — fast, flavorful, and fun to make. It’s the perfect recipe to break up the sugar overload of the spooky season, and it brings a little joy to anyone who sees those silly salami faces smiling up from their plate.
Beyond the cute presentation, this recipe is smart and efficient. Using flour tortillas means you skip the fuss of homemade dough, and it keeps the crust thin and crispy. With just a handful of ingredients and endless room for customization, this dish easily becomes a Halloween staple — whether you’re feeding a crowd, entertaining kids, or just feeling a little festive for lunch.
It’s the kind of food that makes people smile — and not just because of the faces. The cheese, the crunch, the savory satisfaction of a mini pizza done right. Once you try these, they’ll become a go-to recipe every October.