Introduction
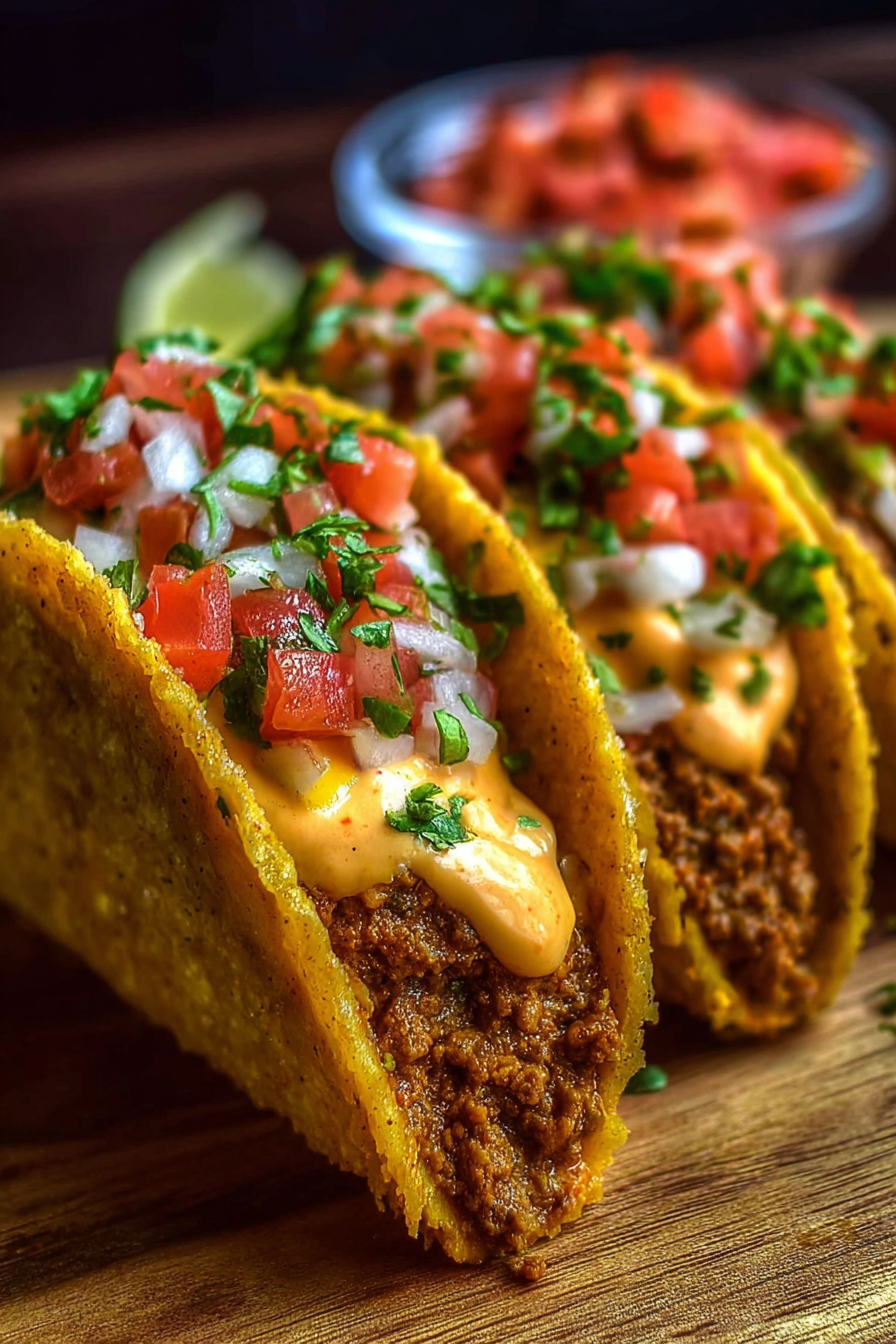
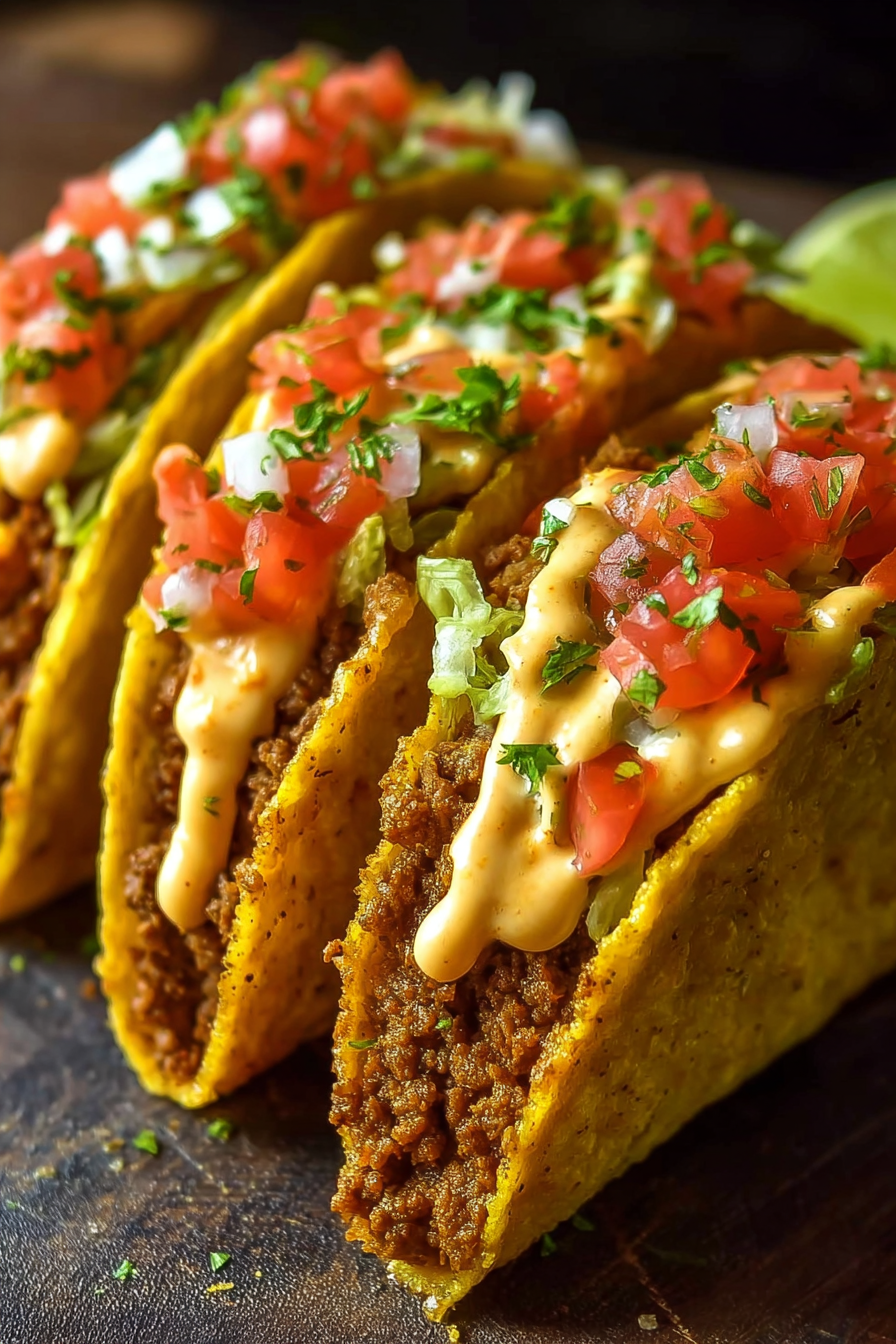
Taco Tuesday just got a delicious upgrade with these Cheesy Rotel Tacos. Packed with juicy ground beef, spicy Rotel tomatoes with green chilies, and creamy melted cheese, this recipe is a guaranteed crowd-pleaser. Whether you’re serving a quick family dinner or feeding friends at a game night, these tacos strike the perfect balance of flavor, texture, and spice. The best part? They come together in under 30 minutes, making them ideal for busy weeknights when you want maximum flavor with minimal effort.
My recipe story
Growing up, Taco Tuesday was one of the most anticipated nights of the week in our household. But instead of sticking to the same old taco recipe, I loved experimenting with different flavors. One day, I added a can of Rotel tomatoes with green chilies to our ground beef and sprinkled in shredded cheese, letting it all melt together into a rich, cheesy taco filling. The result was an instant hit—spicy, creamy, and absolutely irresistible. Since then, Cheesy Rotel Tacos have become a family tradition and a go-to recipe I share with friends whenever they ask for something quick, easy, and satisfying.
What makes this recipe so special is how versatile it is. You can keep it classic with crunchy taco shells or go bold with soft tortillas, lettuce wraps, or even baked taco boats. It’s the kind of recipe that adapts beautifully to any setting, whether it’s a casual weeknight dinner, a tailgate party, or a festive Cinco de Mayo celebration.
💡 Why You’ll Love This Recipe
- Quick and easy to make—ready in under 30 minutes.
- Perfect for Taco Tuesday, parties, or family dinners.
- Made with simple pantry ingredients like ground beef, Rotel, and cheese.
- Customizable with different toppings and shells.
- A crowd-pleaser that’s both kid-friendly and adult-approved.
Ingredient breakdown
At the heart of this recipe is ground beef, which provides a rich and savory base for the tacos. Using 80/20 beef gives just the right balance of flavor and juiciness without being too greasy. If you prefer a leaner option, you can swap in ground turkey or chicken, though you may need a touch of olive oil for added moisture.
The real star is the can of Rotel tomatoes with green chilies. This ingredient adds a bold, zesty kick while also infusing the beef with just the right amount of heat and acidity. It eliminates the need for chopping extra vegetables, saving time without sacrificing flavor. Combined with taco seasoning—whether store-bought or homemade—you’ll achieve that classic Tex-Mex taste we all love.
Cheese is what takes these tacos to the next level. Melting shredded cheddar or a Mexican blend into the beef filling creates a creamy, gooey texture that holds everything together. It’s comfort food at its best, transforming simple ingredients into a crave-worthy meal.
Finally, taco shells or tortillas complete the dish. Crunchy shells provide a satisfying bite, while soft flour or corn tortillas offer a more tender, handheld experience. Don’t forget your favorite toppings—think shredded lettuce, sour cream, jalapeños, avocado, or salsa—for that perfect finishing touch.
Equipment you’ll need
- Large skillet or sauté pan
- Wooden spoon or spatula
- Measuring cups and spoons
- Cheese grater (if shredding fresh cheese)
- Taco shells or tortillas
- Serving bowls for toppings
Step-by-step directions
- Cook the ground beef: Heat a large skillet over medium-high heat. Add the ground beef and break it up with a wooden spoon as it cooks. Continue cooking until the beef is browned and no pink remains, about 7–8 minutes. Drain excess grease if necessary to prevent a greasy filling.
- Add the Rotel and seasoning: Pour the entire can of Rotel tomatoes with green chilies into the skillet, juices included. Stir in the taco seasoning and mix well until the beef is evenly coated and the mixture is bubbling. Reduce heat to medium and let it simmer for 5 minutes to allow the flavors to meld together.
- Stir in the cheese: Sprinkle shredded cheddar or Mexican blend cheese directly into the skillet. Stir gently until the cheese is melted and creamy, creating a rich, cheesy beef mixture. This step transforms the filling into the ultimate taco base.
- Warm the taco shells: While the beef mixture simmers, heat your taco shells or tortillas. For crunchy shells, bake them in the oven for 2–3 minutes until crisp. For soft tortillas, wrap them in foil and warm them in the oven, or heat them directly on a skillet for about 30 seconds per side.
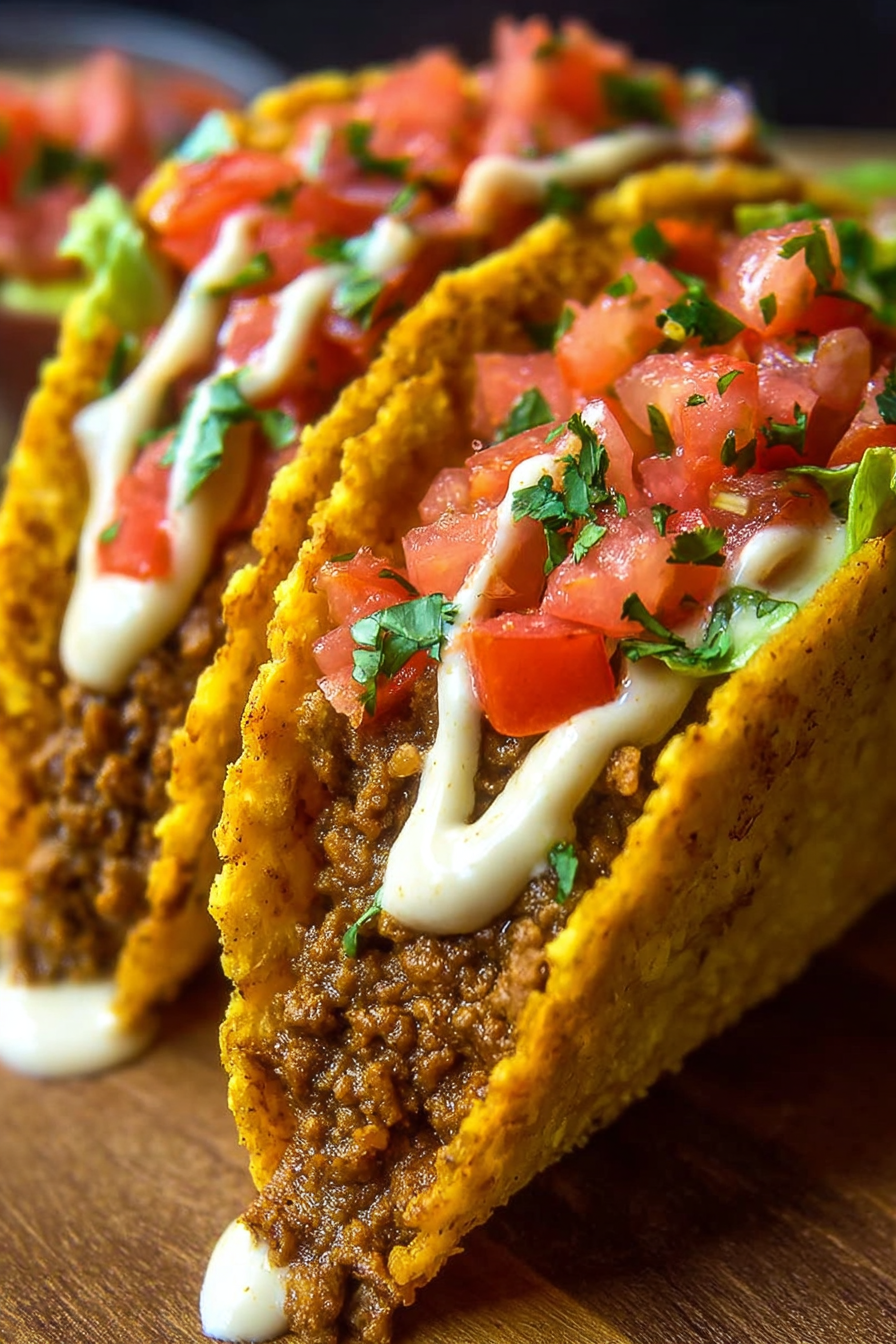
- Assemble the tacos: Spoon the cheesy Rotel beef filling into your taco shells or tortillas. Add your favorite toppings such as shredded lettuce, sour cream, avocado slices, jalapeños, or salsa. Serve immediately while warm and melty.

Variations & substitutions
This recipe is endlessly adaptable. For a lighter option, swap beef for ground turkey or chicken. If you want vegetarian tacos, use black beans or lentils in place of meat. Love extra spice? Add a diced jalapeño or a dash of cayenne pepper when browning the meat. For a creamier filling, stir in a few spoonfuls of cream cheese or sour cream along with the shredded cheese. You can also try different cheeses like pepper jack for heat or Monterey Jack for a milder melt.
Switching up the shells can also change the vibe of the dish—try soft corn tortillas for an authentic touch, flour tortillas for a classic Tex-Mex feel, or even lettuce wraps for a low-carb option. The beauty of these Cheesy Rotel Tacos is that they work with whatever you have on hand, making them a pantry-friendly meal you’ll come back to again and again.
💡 Expert Tips & Troubleshooting
- Drain excess grease from the beef to avoid a heavy, oily taco filling.
- Use freshly grated cheese for the best melt and creaminess.
- If your filling is too runny, let it simmer uncovered for a few extra minutes to thicken.
- Warm tortillas before serving to prevent them from breaking when filled.
- Double the batch and freeze for quick weeknight meals later on.
Storage, freezing & make-ahead
Store leftover cheesy beef filling in an airtight container in the refrigerator for up to 4 days. To reheat, simply warm it in a skillet over medium heat, stirring occasionally until hot. You can also microwave it for 1–2 minutes, though stovetop reheating preserves the best texture.
This filling also freezes beautifully. Allow it to cool completely, then transfer it to a freezer-safe bag or container. Freeze for up to 3 months. To use, thaw overnight in the refrigerator and reheat in a skillet until warmed through. For make-ahead, prepare the filling a day in advance and store it in the fridge. When ready to serve, just reheat and assemble fresh tacos with warmed shells and toppings.
Serving ideas & pairings
Cheesy Rotel Tacos are delicious on their own, but they shine even brighter with the right sides and drinks. Pair them with classic Mexican rice, cilantro-lime rice, or refried beans for a complete meal. Fresh sides like guacamole, pico de gallo, or corn salad bring balance and freshness to the richness of the cheesy filling. For drinks, try a tangy margarita, refreshing agua fresca, or an ice-cold Mexican soda to complement the spicy, cheesy flavors.
These tacos are also fantastic for parties. Set up a DIY taco bar with various toppings, shells, and sides so everyone can customize their plate. It’s a fun, interactive way to enjoy Taco Tuesday or game night while keeping everyone happy and satisfied.

FAQ
Can I make these tacos vegetarian?
Yes! Swap the beef with black beans, lentils, or plant-based crumbles for a hearty vegetarian option.
Can I use homemade taco seasoning?
Absolutely. A blend of chili powder, cumin, paprika, garlic powder, onion powder, oregano, salt, and pepper works beautifully.
What’s the best cheese for these tacos?
Shredded cheddar, Monterey Jack, or a Mexican cheese blend melt perfectly and add great flavor.
How do I prevent tacos from getting soggy?
Drain excess liquid from the beef mixture and serve immediately in warmed shells or tortillas.
Can I make this recipe in advance?
Yes, you can prepare the filling up to 24 hours ahead. Store it in the refrigerator, then reheat and assemble when ready to serve.
Final thoughts
Cheesy Rotel Tacos are proof that simple ingredients can create extraordinary meals. With just ground beef, Rotel tomatoes, taco seasoning, and cheese, you can whip up a flavorful, satisfying dinner in no time. These tacos are endlessly customizable, making them perfect for family dinners, gatherings, or weeknight meals. Whether you stick to the classic version or add your own twist, this recipe is sure to become a regular in your kitchen. So go ahead—bring some cheesy, spicy goodness to your Taco Tuesday and watch everyone come back for seconds.
Print
Cheesy Rotel Tacos for Taco Tuesday
- Total Time: 25 minutes
- Yield: 10 tacos 1x
- Diet: Gluten Free
Description
Juicy ground beef, spicy Rotel tomatoes, and melted cheese make these tacos a quick, crowd-pleasing favorite for Taco Tuesday or any night.
Ingredients
- 1 lb (450 g) ground beef (80/20 for juiciness)
- 1 can (10 oz) Rotel tomatoes with green chilies, undrained
- 1 packet taco seasoning (or 3 tbsp homemade blend)
- 1 cup shredded cheddar or Mexican blend cheese
- 10 taco shells or small flour tortillas
- Optional toppings: shredded lettuce, sour cream, diced avocado, jalapeños, salsa
Instructions
- In a large skillet, cook the ground beef over medium-high heat until browned, about 7–8 minutes. Drain excess grease.
- Stir in the Rotel tomatoes with their juices and the taco seasoning. Mix well and simmer for 5 minutes.
- Add the shredded cheese to the skillet and stir until melted and creamy.
- Warm taco shells or tortillas in the oven or skillet.
- Spoon the cheesy beef filling into each shell and top with your favorite garnishes. Serve immediately.
Notes
For a spicier kick, add diced jalapeños or extra chili powder. Store leftover filling in an airtight container in the fridge for up to 4 days. Freeze for up to 3 months and reheat before serving.
- Prep Time: 10 minutes
- Cook Time: 15 minutes
- Category: Main Course
- Method: Stovetop
- Cuisine: American, Tex-Mex

