1. Introduction to the Recipe
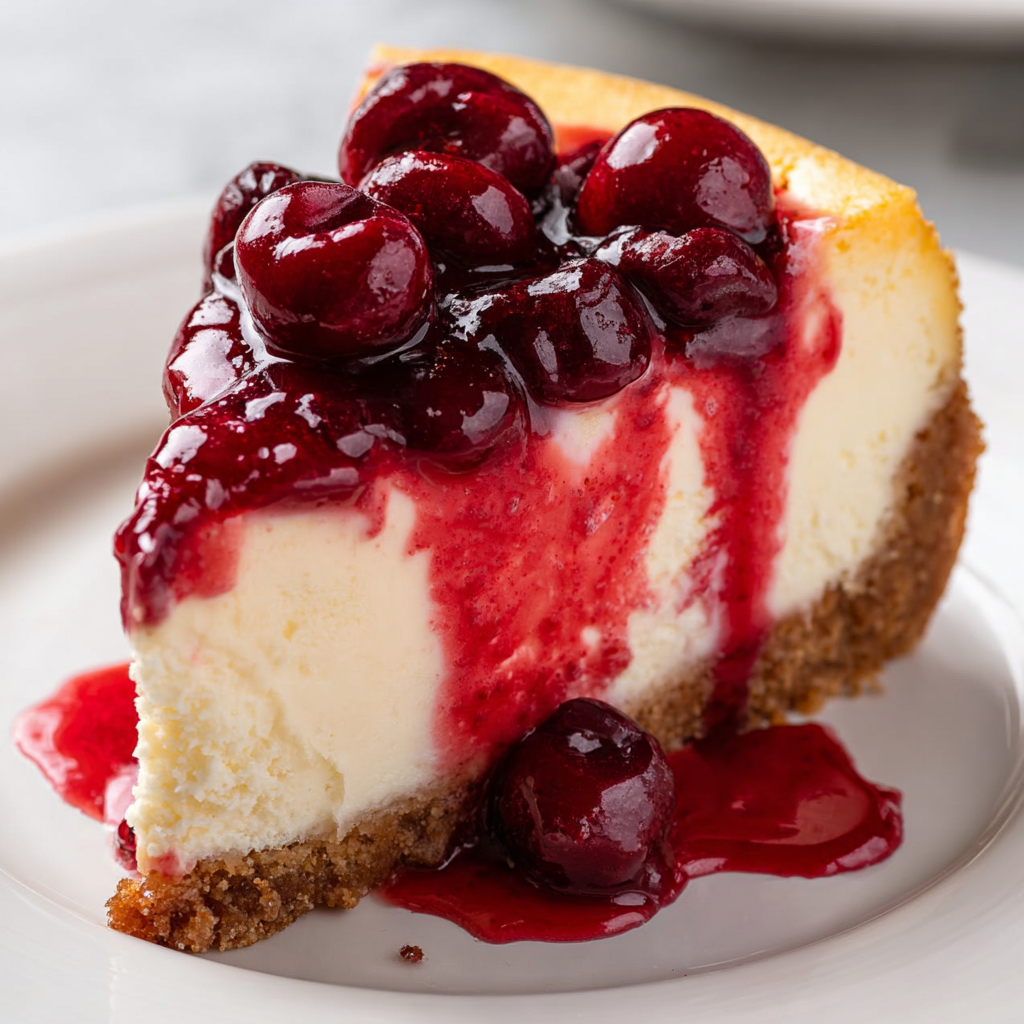
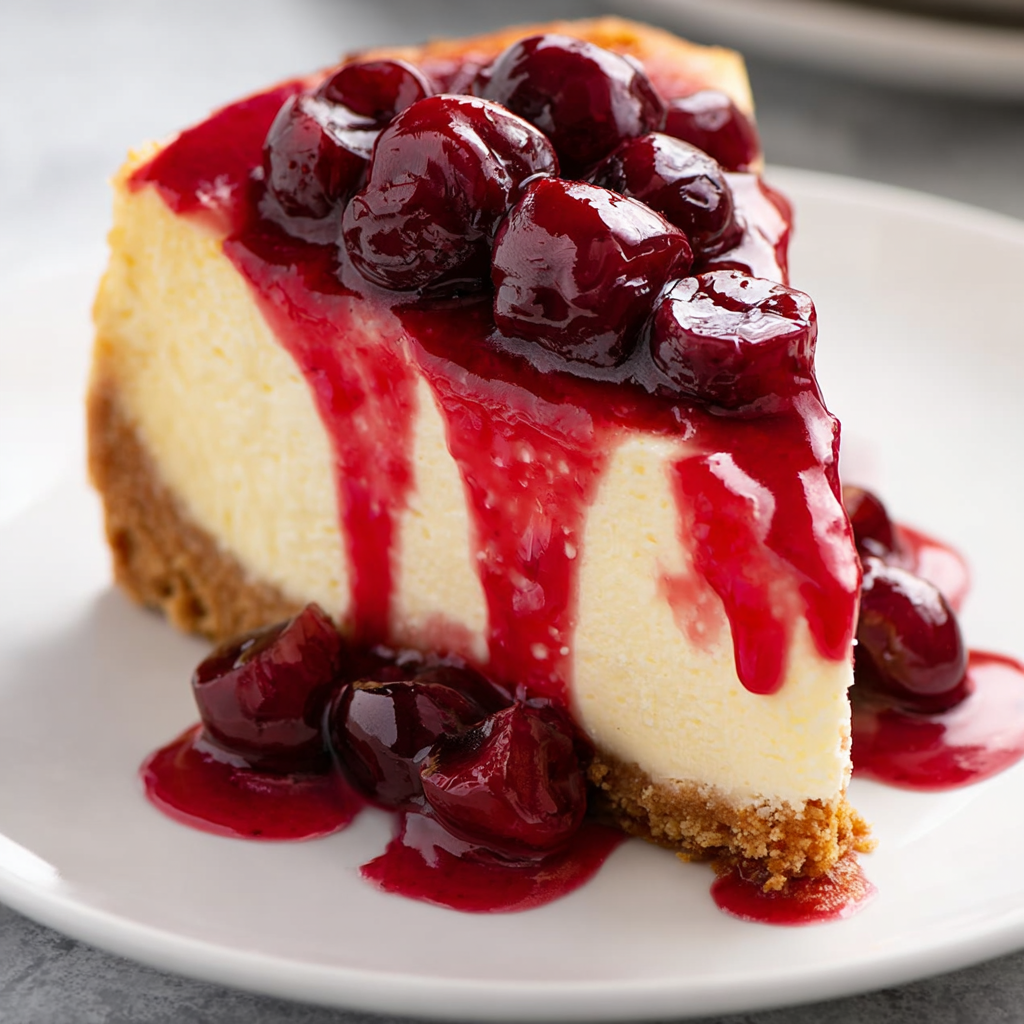
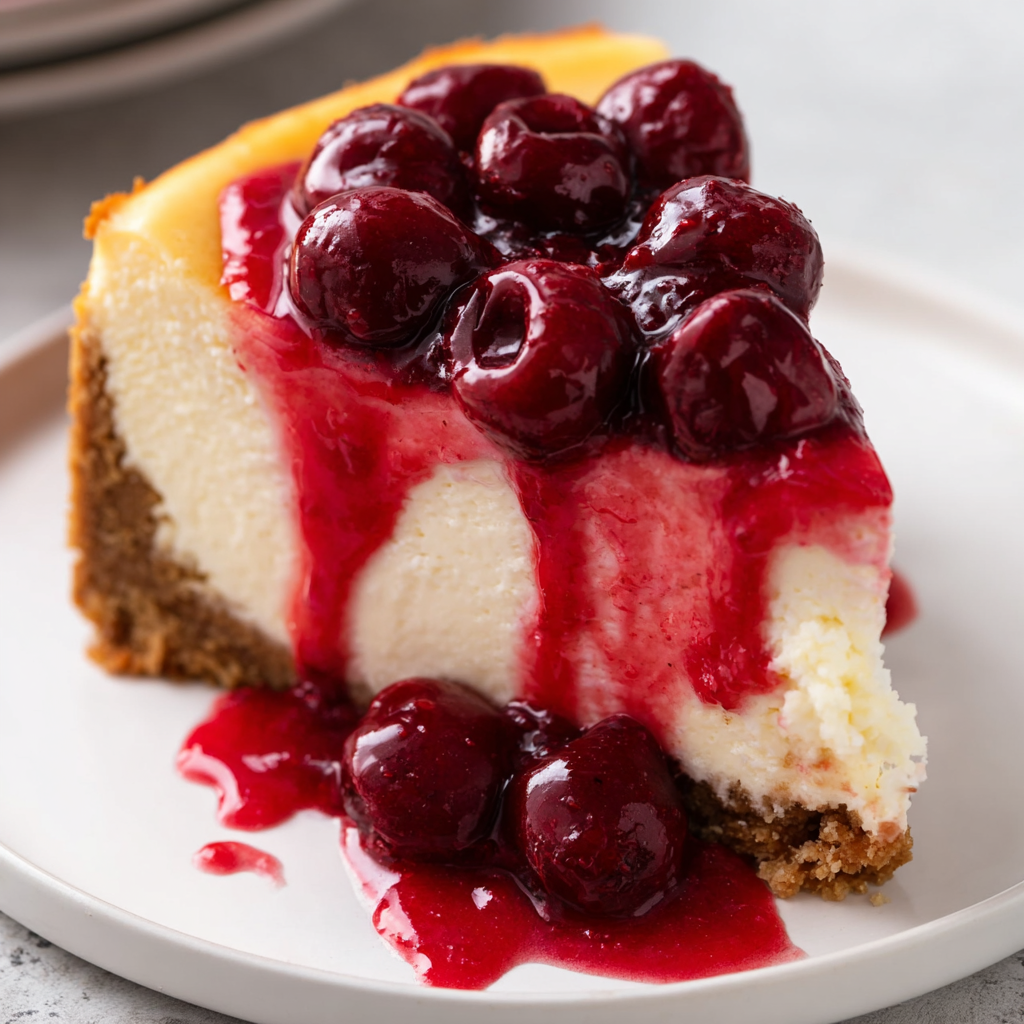
If you’re looking for a timeless dessert that delivers both visual impact and unforgettable flavor, this Cherry Cheesecake hits every mark. Built on a buttery graham cracker and walnut crust, filled with a rich, creamy cheesecake center, and topped with a tangy cherry-lemon glaze, this dessert is a crowd-pleaser from top to bottom.
The contrast of textures and flavors is what makes it truly special. The crust brings crunch and nuttiness, the filling is dense yet velvety smooth, and the topping adds bright, fruity balance. It’s a dessert that’s elegant enough for holiday gatherings but comforting enough for Sunday dinner.
You don’t need any fancy equipment or hard-to-find ingredients to pull this off. Just some cream cheese, eggs, and a few pantry staples. The added lemon zest and juice in the cherry topping add a little something extra that lifts the whole dessert.
Want to brush up on cheesecake techniques? Check out this no-crack cheesecake guide or this cherry topping inspiration.
Let’s bake a cheesecake that’s as satisfying to serve as it is to eat.
2. Basic Recipe: Ingredients and Instructions
Print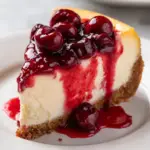
Cherry Cheesecake Recipe – Creamy, Tangy, and Classic
Description
This Cherry Cheesecake recipe features a walnut-graham crust, rich filling, and bright cherry topping—perfect for holidays or year-round indulgence.
Ingredients
Crust
- 1 cup graham cracker crumbs
- 1/2 cup finely chopped California walnuts
- 1/3 cup butter, melted and cooled
- 1/4 cup sugar (from the divided sugar)
Filling
- 24 oz cream cheese (three 8-oz packages), softened
- 1 1/2 cups sugar (remaining from divided)
- 6 large eggs
- 2 cups sour cream
- 2 tablespoons cornstarch
- 1 tablespoon lemon juice
- 2 teaspoons vanilla extract
Topping
- 21 oz can cherry pie filling
- 1 tablespoon grated lemon peel
- 1/2 teaspoon lemon juice
Instructions
- Preheat oven: Preheat to 325°F. Grease a 9-inch springform pan or line with parchment if preferred.
- Make the crust: In a bowl, mix graham cracker crumbs, chopped walnuts, melted butter, and 1/4 cup sugar. Press into the bottom of the prepared pan. Bake for 8–10 minutes. Let cool while you prepare the filling.
- Make the filling: In a large bowl, beat cream cheese and sugar until smooth and fluffy. Add eggs one at a time, mixing after each. Beat in sour cream, cornstarch, lemon juice, and vanilla until fully combined.
- Pour and bake: Pour filling over the cooled crust. Smooth the top. Bake for 55–65 minutes or until the center is just set and the edges are lightly golden.
- Cool and chill: Turn off the oven and crack the door open. Let cheesecake cool in the oven for 1 hour. Then refrigerate for at least 4 hours, preferably overnight.
- Make the topping: In a small bowl, stir together cherry pie filling, grated lemon peel, and lemon juice.
- Assemble: Just before serving, spoon cherry topping over the chilled cheesecake. Slice and serve.
Notes
Room temp ingredients blend more smoothly and evenly.
To avoid cracks, don’t overmix the eggs and use a water bath if desired.
Cheesecake improves in flav&or and texture after chilling overnight.
3. Advanced Techniques
Use a Water Bath to Prevent Cracks
Bake your cheesecake in a water bath by placing your springform pan in a larger baking dish filled with hot water. Wrap the bottom in foil to prevent leaks. This helps the cake bake evenly and reduces cracking.
Make a Homemade Cherry Topping
Skip the canned filling by simmering fresh or frozen cherries with sugar, lemon juice, and a cornstarch slurry until thick. It creates a fresher, more vibrant topping with adjustable sweetness.
Toast the Walnuts for More Flavor
Before mixing into the crust, lightly toast the walnuts in a dry skillet over medium heat for 3–5 minutes. It enhances their nutty flavor and adds crunch.
Add a Sour Cream Layer
After baking the cheesecake, spread a thin layer of sweetened sour cream (1 cup sour cream + 2 tbsp sugar) over the top and return to the oven for 10 minutes. It gives a smooth finish and tangy kick.
Pipe Whipped Cream for Presentation
Top your cheesecake with piped whipped cream rosettes around the edges and fill the center with cherry topping. It adds height and a polished look perfect for events.
4. Storage, Shelf Life, and Maintenance Tips
Refrigeration
Store cheesecake in the fridge, covered, for up to 5 days. Keep it in the springform pan or transfer to an airtight container.
Freezing
Freeze whole or sliced cheesecake (without topping) for up to 1 month. Wrap in plastic and foil. Thaw overnight in the fridge. Add topping after thawing.
Prepping in Advance
Cheesecake can be fully made 1–2 days ahead. The flavors deepen as it rests. Add cherry topping just before serving for best appearance.
Slicing Cleanly
Use a hot knife wiped clean between each slice to get perfect, bakery-style pieces. Dip in hot water and wipe with a towel.
Storing Topping Separately
To prevent soggy topping, store cherry mixture in a separate container and spoon over each slice as you serve.
5. Dietary Adaptations and Substitutions
Gluten-Free Option
Use gluten-free graham crackers for the crust. Ensure all other ingredients, especially the cherry filling, are certified gluten-free.
Dairy-Free Version
Use dairy-free cream cheese, sour cream, and butter. Several brands offer plant-based alternatives. You may need to adjust bake time slightly.
Low-Sugar Variation
Use a sugar substitute like erythritol or monk fruit for the crust and filling. Look for no-sugar-added pie filling or make your own fruit topping.
Nut-Free Crust
Skip the walnuts or substitute with extra graham cracker crumbs. Add a pinch of cinnamon for extra flavor if omitting the nuts.
Egg-Free Cheesecake
Use a vegan egg replacer or blend of cornstarch and water. Keep in mind that the texture may vary, and chilling time may need to be extended.
6. FAQs About the Recipe
Why did my cheesecake crack?
Cracks often occur from overbaking, overmixing eggs, or drastic cooling. Use room temp ingredients and allow the cake to cool slowly. A water bath helps, too.
Can I use low-fat cream cheese?
You can, but it may affect the texture and richness. For best results, use full-fat cream cheese. You can lighten up other elements instead.
Can I use different fruit toppings?
Absolutely! Swap cherry with blueberry, strawberry, or raspberry pie filling. You can even mix berries for a custom topping.
Do I need a springform pan?
It’s ideal for easy removal, but you can use a deep 9-inch cake pan lined with parchment. Serve directly from the pan if needed.
Can I make mini cheesecakes instead?
Yes! Use a muffin tin with liners. Bake for 20–25 minutes and top each one individually with the cherry mixture.
7. Conclusion & Final Thoughts
This Cherry Cheesecake recipe is a showstopper—beautiful to look at and even better to eat. With a nutty, buttery crust, smooth cheesecake filling, and bright cherry topping kissed with lemon, it’s a dessert that balances richness with freshness perfectly.
It’s versatile, easy to prepare in advance, and adapts to dietary needs with a few tweaks. From casual dinners to formal holidays, this cheesecake rises to the occasion every time.
So whether you’re a cheesecake purist or new to baking, this recipe is a foolproof foundation that delivers wow-worthy results. Whip it up, chill it down, and get ready to serve a dessert that always gets a standing ovation.