Introduction to the Recipe
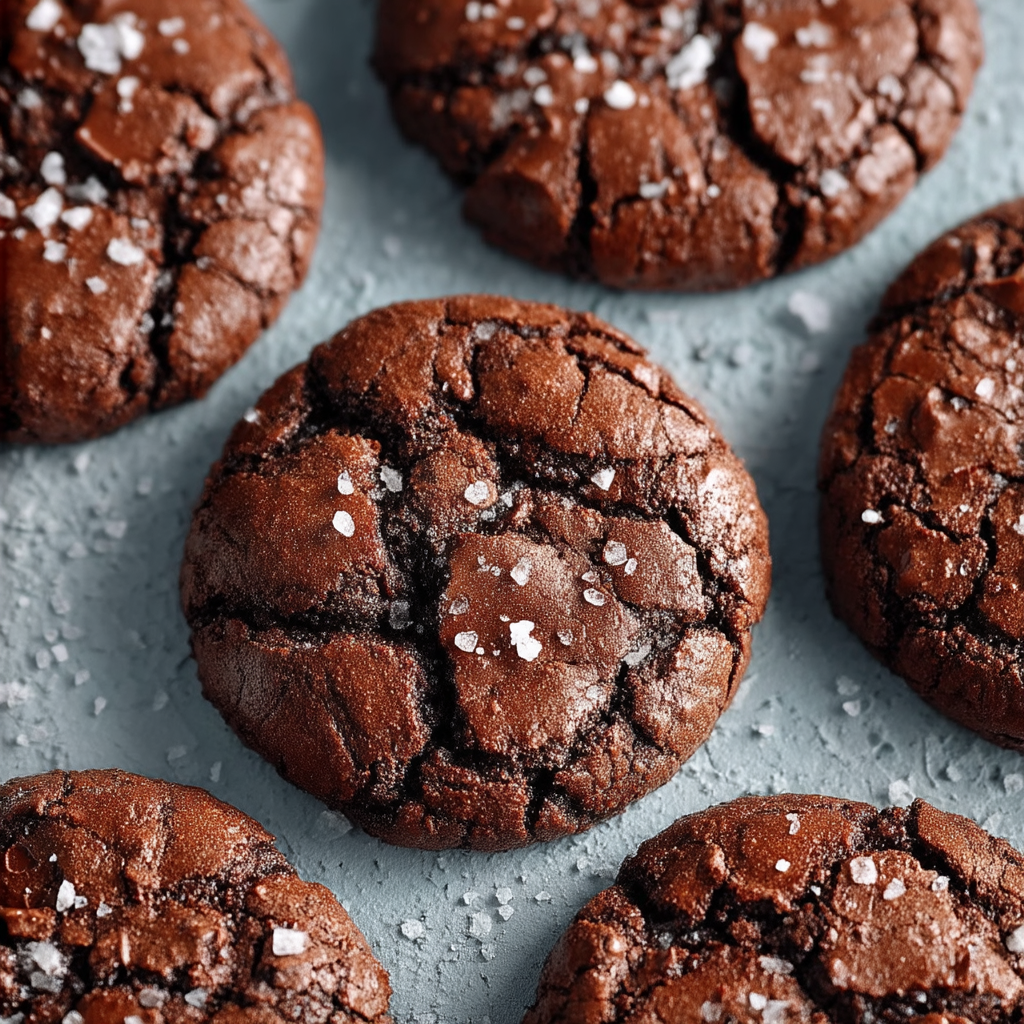
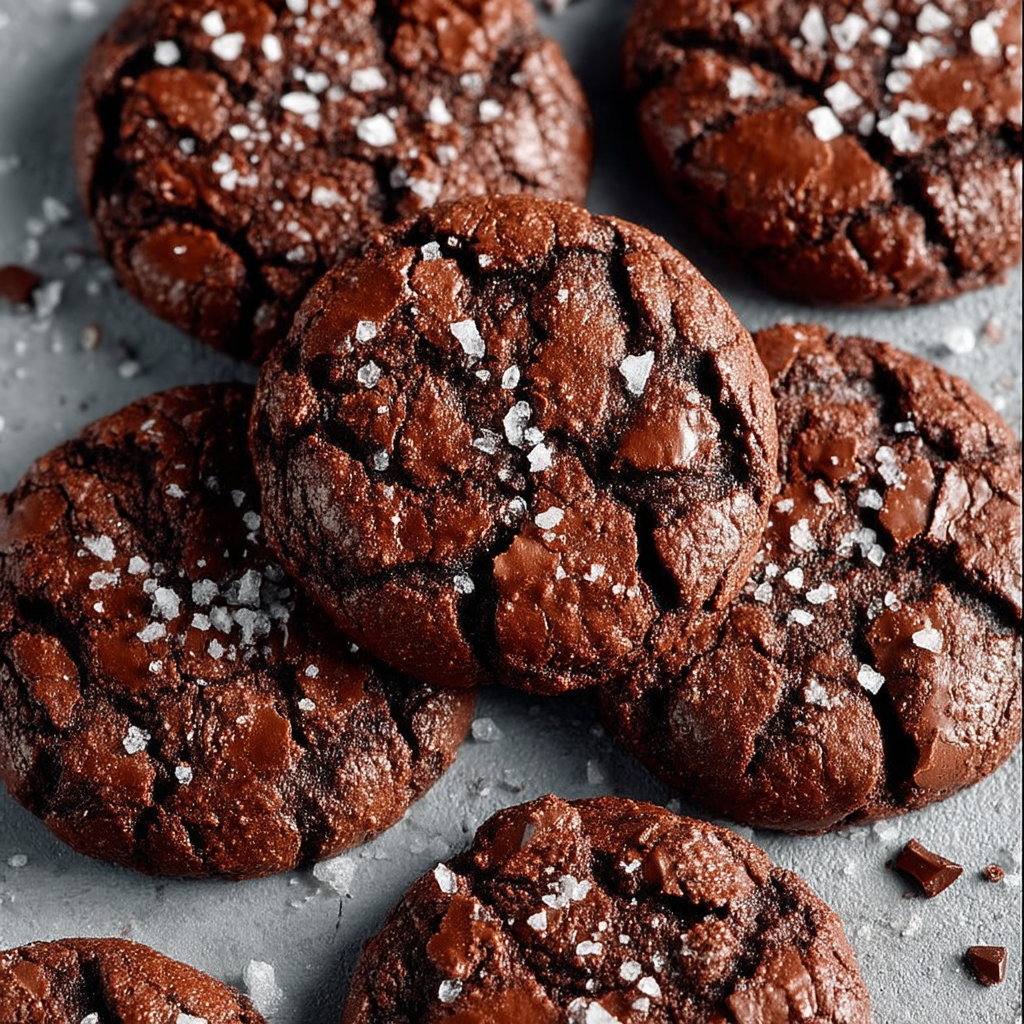
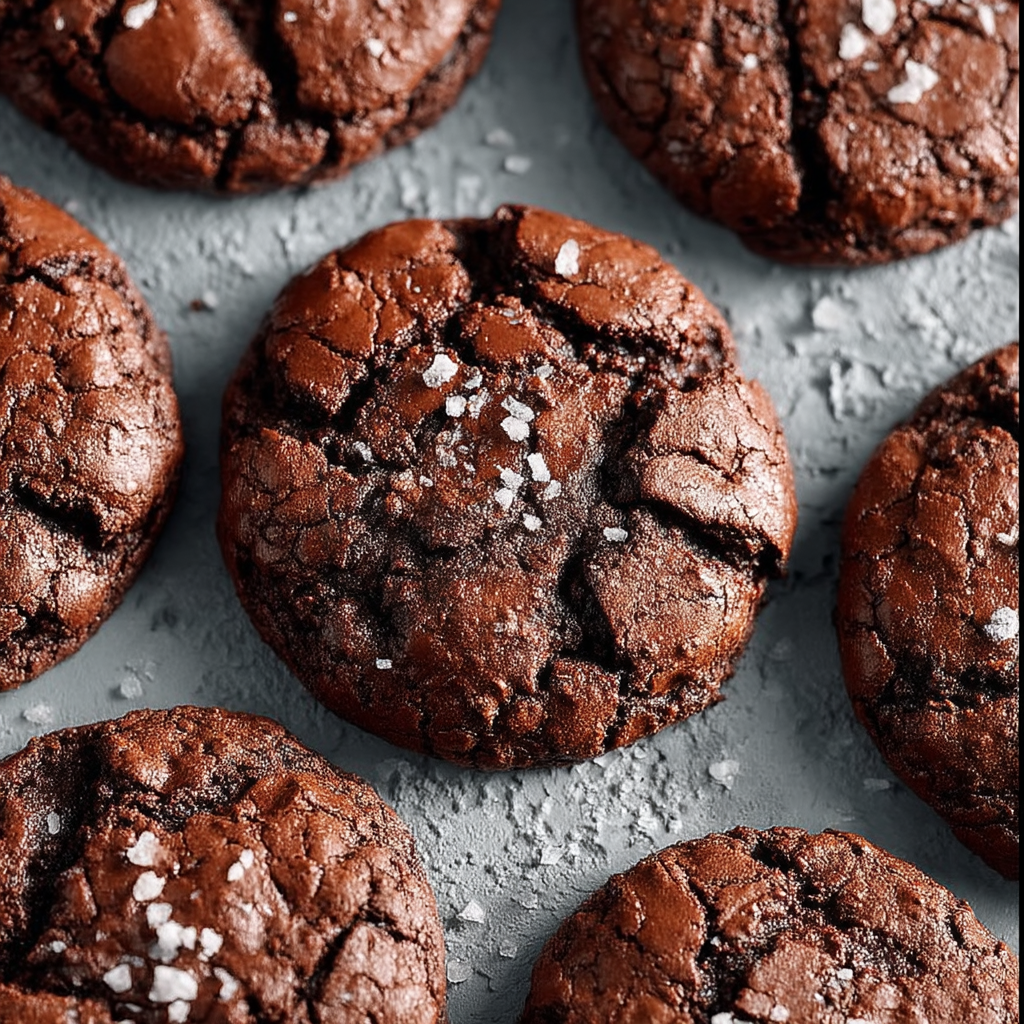
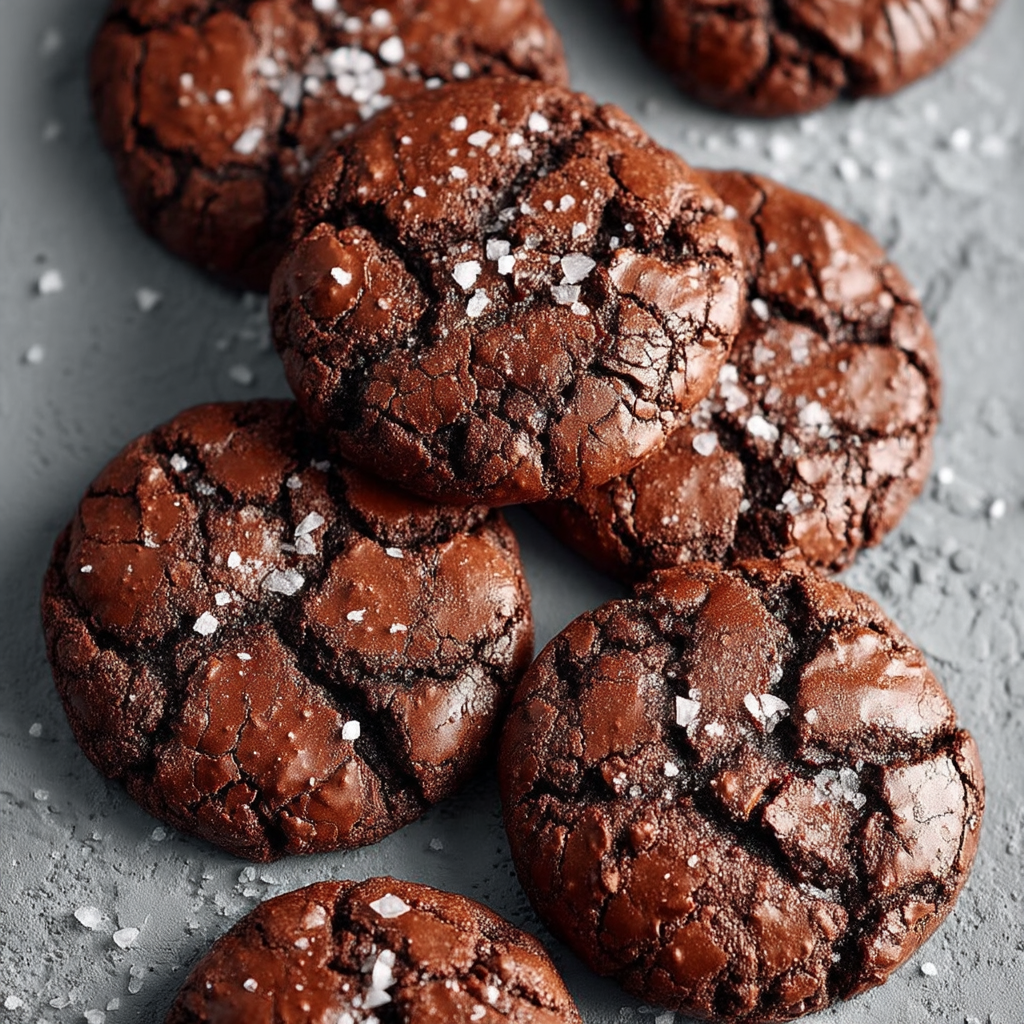
There’s something undeniably magical about biting into a Chocolate Brownie Cookie—the perfect hybrid between a rich, gooey brownie and a crisp-edged cookie. These decadent treats deliver everything a chocolate lover could ask for: a deep cocoa flavor, crackly tops, a soft and chewy center, and that irresistible balance of sweet and salty. If you’ve ever wished your favorite brownie could be picked up and eaten like a cookie, this recipe is your dream come true.
At the heart of this recipe are quality ingredients: finely chopped semisweet chocolate (66–70% cacao), Dutch-processed cocoa powder for intense flavor, and a duo of granulated and brown sugars that work together to create a moist, fudgy texture. A touch of flaky sea salt on top brings out the depth of the chocolate and elevates the overall experience.
This cookie is not only easy to make but incredibly versatile. You can enjoy it as-is, customize it with spices or extracts, or make it gluten-free or vegan. The best part? They come together in under an hour and store beautifully—perfect for make-ahead batches or indulgent last-minute cravings.
If you’re looking to brush up on your chocolate knowledge, check out this guide to types of chocolate or explore how cocoa powder impacts baking. These resources can deepen your understanding and help you make better, bolder choices when baking.
Whether you’re whipping up a batch for a cozy night in or planning to wow guests at a dinner party, Chocolate Brownie Cookies are a foolproof, crowd-pleasing choice that will keep everyone coming back for more.
Basic Recipe: Ingredients and Instructions
Print
Chocolate brownie cookies
Description
Soft, fudgy Chocolate Brownie Cookies bursting with chocolate—easy to bake at home and perfect for brownie lovers craving cookie form!
Ingredients
-
2/3 cup (94 g) all-purpose flour
-
2 tablespoons (12 g) Dutch-process unsweetened cocoa powder, sifted
-
1 teaspoon (4 g) baking powder
-
1/4 teaspoon (1.5 g) salt
-
8 ounces (226 g) semisweet chocolate (66–70%), finely chopped
-
1/4 cup (56 g) unsalted butter, cubed
-
2 large eggs (100 g), at room temperature
-
1/2 cup (100 g) granulated sugar
-
1/2 cup (92 g) light brown sugar
-
1 teaspoon (4 g) vanilla extract
-
1/2 cup (85 g) semisweet chocolate chips
-
Flaky sea salt, for topping
Instructions
-
Preheat oven to 350°F (175°C) and line two baking sheets with parchment paper.
-
Melt the chopped chocolate and butter in a heatproof bowl over simmering water (double boiler method), stirring until smooth. Let cool slightly.
-
In a separate bowl, whisk together the flour, sifted cocoa powder, baking powder, and salt.
-
In a large bowl, whisk the eggs with the granulated and brown sugars until thickened and pale.
-
Stir the melted chocolate mixture into the eggs and sugars. Add the vanilla extract and mix until combined.
-
Fold in the dry ingredients just until no flour streaks remain.
-
Stir in the chocolate chips.
-
Scoop 2-tablespoon portions of dough onto the baking sheets, spacing them about 2 inches apart.
-
Sprinkle each cookie with a pinch of flaky sea salt.
-
Bake for 10–12 minutes until edges are set and tops begin to crack.
-
Let cookies cool on the baking sheet for 5 minutes before transferring to a wire rack.
Notes
Chill dough slightly for thicker cookies.
Use high-quality chocolate for optimal flavor.
Cookies should appear slightly underbaked when removed—they’ll firm up while cooling.
Advanced Techniques
Swiss Meringue-Style Egg Integration
Whisking the eggs and sugars over gentle heat until just warm (around 110°F) dissolves the sugar and aerates the mixture. This method, similar to a Swiss meringue base, adds volume and results in a slightly lighter texture while still maintaining chewiness. Ensure the chocolate mixture has cooled enough before combining, or you risk scrambling the eggs.
Bloomed Cocoa for Intense Flavor
Blooming your cocoa powder by mixing it with a small amount of hot water (or espresso) before incorporating can significantly deepen the chocolate flavor. This step helps release aromatic compounds and intensifies the richness of the cookies without altering the dough’s texture.
Brown Butter for Nutty Depth
Browning the butter adds a nutty, caramelized flavor that pairs beautifully with dark chocolate. Melt and cook the butter until golden brown and fragrant, then cool slightly before combining with the chocolate. This adds a subtle complexity to each bite.
Controlled Spread with Cold Dough
Refrigerating the dough for 30–60 minutes before baking helps control spread, leading to thicker cookies with a chewy center and crisp edges. It also allows the flavors to meld, producing a more developed chocolate profile.
Topping Technique for Bakery-Style Finish
Reserve a few chocolate chips to press into the tops of each dough scoop before baking. This creates visible chocolate pools and a bakery-style finish. For extra texture, sprinkle flaky sea salt before or after baking depending on how much crunch you want.
See more advanced recipes at cookingwhite.com
Storage, Shelf Life, and Maintenance Tips
Room-Temperature Storage
Store cookies in an airtight container for up to 3 days. Layer them with parchment paper and place a slice of bread in the container to retain moisture. Replace the bread daily to maintain freshness.
Refrigerator Storage
Refrigerated cookies can last up to 1 week. Store them in an airtight container and allow them to come to room temperature before serving, or reheat gently in the oven for a freshly baked texture.
Freezing Baked Cookies
To freeze baked cookies, cool them completely and lay them flat in a single layer until firm. Transfer to a freezer-safe bag and store for up to 3 months. Thaw at room temperature or warm in the oven to restore texture.
Freezing Cookie Dough
Scoop dough into balls and freeze on a baking sheet. Once frozen, transfer to a freezer-safe bag. Bake from frozen, adding an extra 1–2 minutes to the baking time for perfect results anytime.
Reviving Stale Cookies
To refresh stale cookies, warm them briefly in a 325°F oven for 4–5 minutes. You can also microwave them with a damp paper towel to restore softness, though oven-warming preserves texture better.
Dietary Adaptations and Substitutions
Gluten-Free Adaptation
Use a 1:1 gluten-free flour blend containing xanthan gum. Ensure all other ingredients, especially chocolate, are certified gluten-free. You may need to chill the dough slightly before baking to help with structure.
Vegan Adaptation
Swap butter with vegan butter or refined coconut oil. Replace eggs with flax eggs (1 tbsp flaxseed meal + 3 tbsp water per egg). Use dairy-free chocolate chips. Chill the dough before baking to prevent over-spreading.
Low-Sugar Option
Use a sugar substitute like coconut sugar or a baking stevia blend. Reducing the sugar slightly (by about 25%) won’t affect texture too much, though sweetness and softness will vary.
Nut-Free and Allergen-Safe Version
Double-check all ingredients for cross-contamination. This recipe is naturally nut-free, but if adding mix-ins, use seeds like sunflower or pumpkin instead of nuts for a safe crunch.
Paleo-Friendly Variation
Use almond flour instead of all-purpose flour, and sweeten with coconut sugar or maple syrup (adjust dry ingredients if using liquid). Use paleo-compliant chocolate. Expect a slightly softer, nuttier cookie.
FAQs About the Recipe
Why did my cookies spread too much?
This usually happens if the butter or chocolate was too warm when mixed or the dough wasn’t chilled. Let your melted mixture cool to lukewarm and chill the dough for 10–30 minutes if it’s too soft.
Why are my cookies cakey instead of chewy?
Too much flour or overbaking leads to a cakier texture. Use a kitchen scale for accuracy, and take the cookies out when they still look a bit soft in the center. They’ll firm up as they cool.
Can I make the dough ahead of time?
Yes! The dough can be made 1–2 days in advance and stored in the fridge. Let it sit at room temperature briefly before scooping. You can also freeze the dough balls for longer storage.
Do I really need to sift the cocoa powder?
Absolutely. Cocoa powder tends to clump, and sifting it ensures an even, lump-free batter. It also helps it mix better with the dry ingredients for more consistent cookies.
How do I know when they’re done baking?
Look for set edges and shiny, cracked tops. The centers should look slightly underbaked—this is the secret to that fudgy texture. Don’t overbake, or you’ll lose the gooey center.
Conclusion & Final Thoughts
Why Chocolate Brownie Cookies Are a Must-Try
Chocolate Brownie Cookies combine the best qualities of two beloved desserts—rich, fudgy brownies and chewy, crisp-edged cookies—into one irresistible treat. Their deep chocolate flavor, balanced sweetness, and touch of flaky salt make every bite a moment of pure indulgence. Whether you’re baking for yourself, family, or friends, these cookies deliver comfort and satisfaction with minimal fuss.
Their versatility also means you can easily tailor them to fit your dietary needs or flavor preferences, making them an excellent staple recipe in any baker’s repertoire. Plus, with simple ingredients and straightforward steps, they’re accessible for bakers of all skill levels.
Perfect for cozy evenings, celebrations, or gifting, Chocolate Brownie Cookies are sure to become a favorite crowd-pleaser. So next time you crave something chocolatey and chewy, reach for this recipe—you won’t be disappointed.
