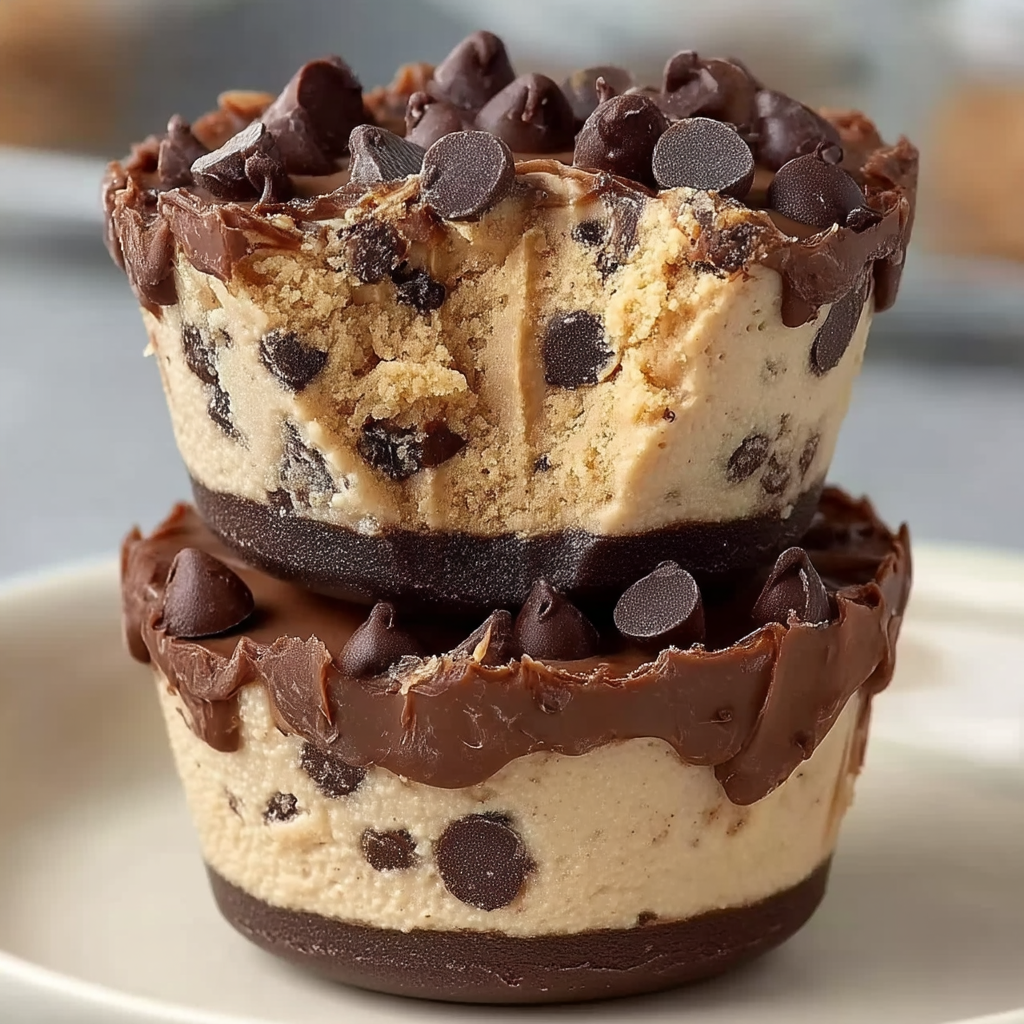
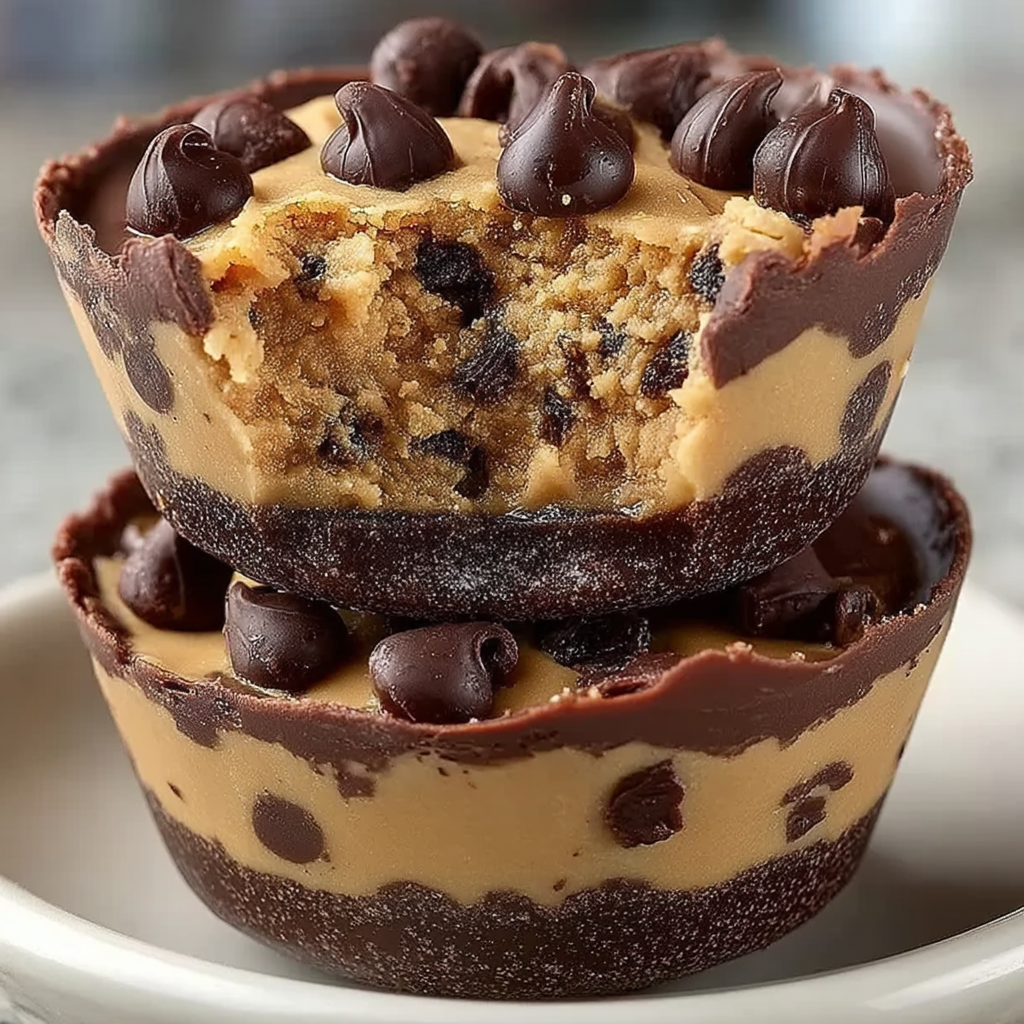
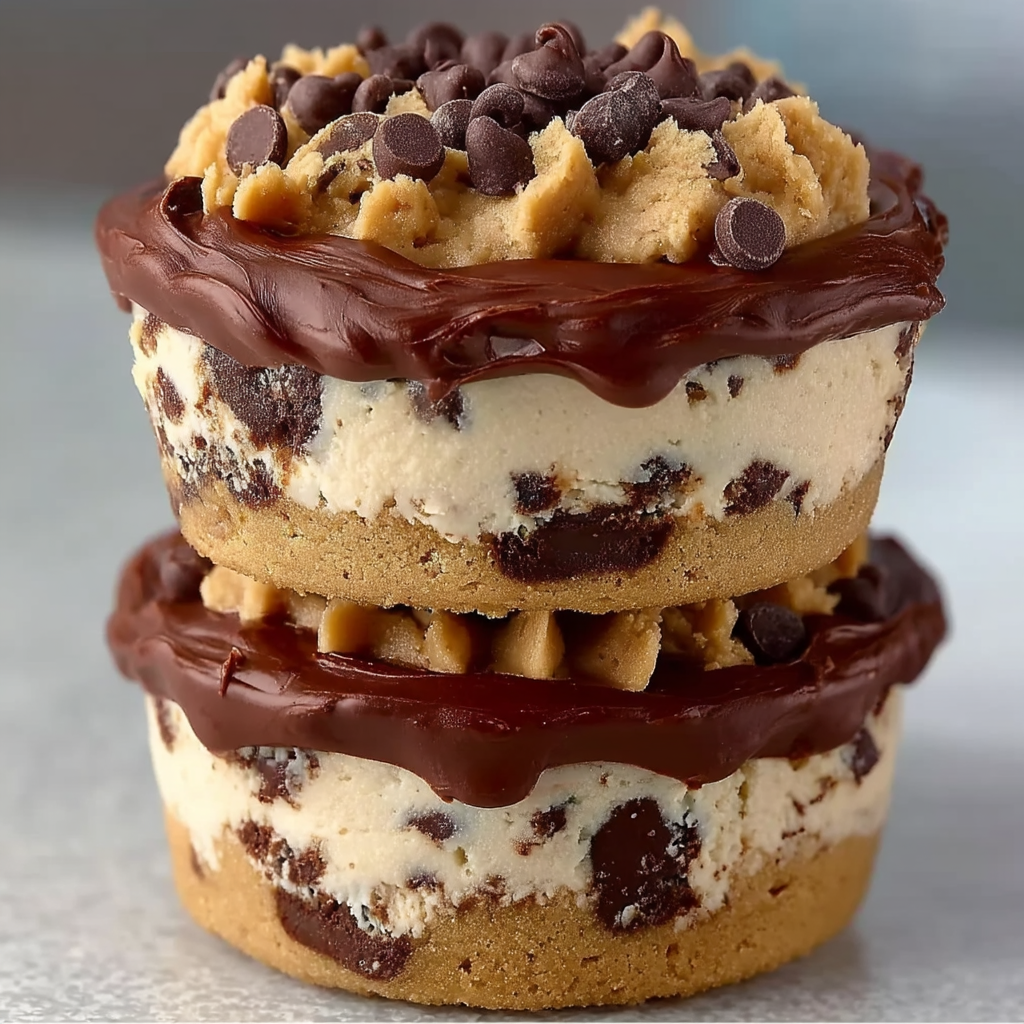
If you’re a cookie lover (and who isn’t?), these Chocolate Chip Cookie Dough Cups will be your new obsession. Imagine rich, buttery cookie dough packed with gooey chocolate chips, baked into perfectly bite-sized cups—crispy on the outside, soft in the center, and absolutely irresistible. These are not your average cookies. They’re a fun, handheld treat that delivers the best parts of a chocolate chip cookie, but with a clever twist in shape and texture.
This recipe combines pantry staples—flour, butter, sugar, chocolate chips—into a comforting, nostalgic flavor that’s hard to beat. The use of muffin tins gives these cookie dough cups their unique shape, making them look just as good as they taste. They’re perfect for parties, lunchbox treats, gifting, or even freezing for when you need a little pick-me-up.
If you’ve never baked cookies in a muffin tin before, don’t worry—it’s easy and foolproof. Want to take it even further? Read this helpful guide to mastering the perfect cookie dough, or explore this resource on types of chocolate chips to choose the best one for your baking style.
Whether you prefer your cookie cups chewy or crispy, this recipe is endlessly customizable and undeniably delicious. Let’s get started!
Basic Recipe: Ingredients and Instructions
Print
Chocolate Chip Cookie Dough Cups
Description
Soft, rich Chocolate Chip Cookie Dough Cups baked in muffin tins—fun, bite-sized, and perfect for every occasion.
Ingredients
-
1 cup (226g) unsalted butter, softened
-
¾ cup (150g) brown sugar, packed
-
¼ cup (50g) granulated sugar
-
2 large eggs
-
2 teaspoons vanilla extract
-
2¼ cups (280g) all-purpose flour
-
1 teaspoon baking soda
-
½ teaspoon salt
-
1½ cups (270g) semi-sweet chocolate chips
Instructions
-
Preheat and Prepare:
Preheat oven to 350°F (175°C). Lightly grease or line a mini or standard muffin tin. -
Cream the Butter and Sugars:
In a large bowl, cream the softened butter, brown sugar, and granulated sugar until light and fluffy (about 2-3 minutes). -
Add Wet Ingredients:
Beat in the eggs one at a time, followed by the vanilla extract. -
Mix the Dry Ingredients:
In a separate bowl, whisk together flour, baking soda, and salt. Gradually add the dry mixture to the wet ingredients. -
Stir in Chocolate Chips:
Fold in the chocolate chips until evenly distributed throughout the dough. -
Scoop Into Muffin Tins:
Scoop about 1 to 1½ tablespoons of dough into each muffin cup. Slightly press the dough down to create a flat top. -
Bake:
Bake for 10–12 minutes (mini tins) or 13–15 minutes (standard tins) until edges are golden but centers are soft. -
Cool and Remove:
Let the cookie cups cool in the pan for 5 minutes before transferring to a wire rack. Use a butter knife to gently lift them out.
Notes
Don’t overbake—cookie cups will continue cooking in the tin after removal from the oven.
Use different chocolate varieties (milk, white, or dark) for unique flavor twists.
Add chopped nuts or toffee bits for crunch.
Store at room temperature in an airtight container for up to 4 days.
Keywords: Chocolate Chip Cookie Dough Cups
Advanced Techniques
1. Using Browned Butter for Richer Flavor
If you want to level up the flavor, try browning the butter before mixing it in. Brown butter adds nutty depth and intensifies the cookie’s caramel notes. Let it cool before creaming with sugars.
2. Chilling the Dough for Texture Control
Refrigerating the dough for 30 minutes to an hour helps solidify the fats, which prevents spreading and gives a thicker, chewier center with crispy edges.
3. Mixing by Hand vs. Mixer
Hand mixing gives you more control and avoids overworking the dough. Over-mixed dough can lead to tough cookies. Stir just until the flour disappears.
4. Creating a Filling Pocket
Before baking, press the dough into the muffin tin, then create a small well in the center. Fill it with Nutella, caramel, or peanut butter for a surprise center.
5. Freezing Unbaked Dough Cups
You can scoop the dough into muffin tins, freeze them until solid, and then store in a freezer bag. Bake straight from frozen—just add 1–2 minutes to the bake time.
See more advanced recipes at cookingwhite.com
Storage, Shelf Life, and Maintenance Tips
1. Room Temperature Storage
Store cooled cookie cups in an airtight container at room temp for up to 4 days. A slice of bread inside the container keeps them soft.
2. Freezing After Baking
Let cookie cups cool fully, then freeze in a single layer before transferring to bags. To enjoy, thaw at room temp or warm for 10 seconds in the microwave.
3. Avoiding Sogginess
Make sure the cups are completely cool before storing. Warm cookies sealed too early will become soggy due to trapped steam.
4. Refreshing Stale Cookie Cups
Revive cookie cups in a 300°F oven for 4–5 minutes to restore crisp edges. Let cool slightly before serving.
5. Best Storage Containers
Use BPA-free airtight containers or reusable silicone bags to maintain freshness and avoid flavor transfer from plastic.
Dietary Adaptations and Substitutions
1. Gluten-Free Adaptation
Use a 1:1 gluten-free flour blend (with xanthan gum) to maintain structure. Let dough rest longer to hydrate flour evenly.
2. Dairy-Free Version
Substitute butter with a high-quality plant-based alternative. Choose dairy-free chocolate chips to keep it completely non-dairy.
3. Low-Sugar or Sugar-Free Option
Replace granulated and brown sugars with monk fruit sweetener or a sugar substitute blend. Flavor and texture may vary slightly.
4. Vegan Adaptation
Use flax eggs (1 tbsp flaxseed + 3 tbsp water per egg), plant-based butter, and vegan chocolate chips. Dough may be slightly looser, so chill before baking.
5. Nut-Free for Allergy-Friendly Baking
This recipe is naturally nut-free but always check your chocolate chips and other ingredients for cross-contamination warnings.

FAQs About the Recipe
1. Can I make these without a muffin tin?
You can bake them as regular cookies on a sheet, but the “cup” shape helps hold fillings and gives a soft center with crispy edges.
2. Why did my cookie cups sink in the center?
A slight sink is normal and ideal for adding fillings. If they collapse completely, the oven may have been too hot or the dough overmixed.
3. Can I use mini muffin tins?
Yes! Reduce the bake time to around 9–11 minutes. Perfect for bite-sized treats and party platters.
4. What other mix-ins can I add?
Try toffee bits, peanut butter chips, white chocolate, or chopped pretzels for texture and flavor variety.
5. Can I make the dough ahead of time?
Absolutely. Refrigerate dough for up to 3 days or freeze pre-portioned scoops for fresh baking anytime.
Conclusion & Final Thoughts
Chocolate Chip Cookie Dough Cups are everything you love about classic chocolate chip cookies—just with a creative, elevated twist. Their unique cup shape makes them perfect for holding toppings or fillings, and the rich, buttery dough loaded with chocolate chips is universally adored.
With their easy preparation, kid-friendly appeal, and adaptability for different diets, these cookie cups are a go-to dessert or snack option. From holidays and birthdays to cozy weekends at home, they’re an ideal way to impress without stress.
So, go ahead—whip up a batch, share them with friends (or not), and experience how these little cups can bring big smiles.