Introduction to the Recipe
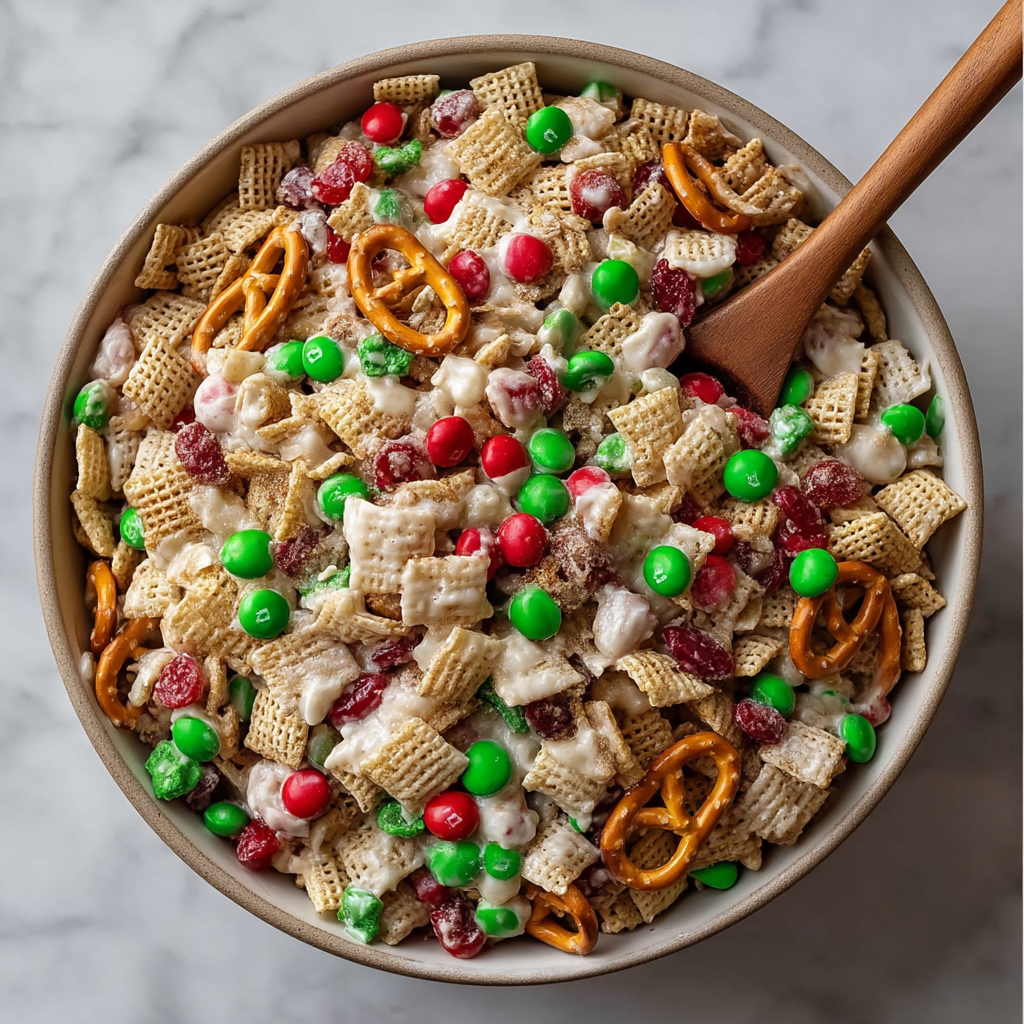
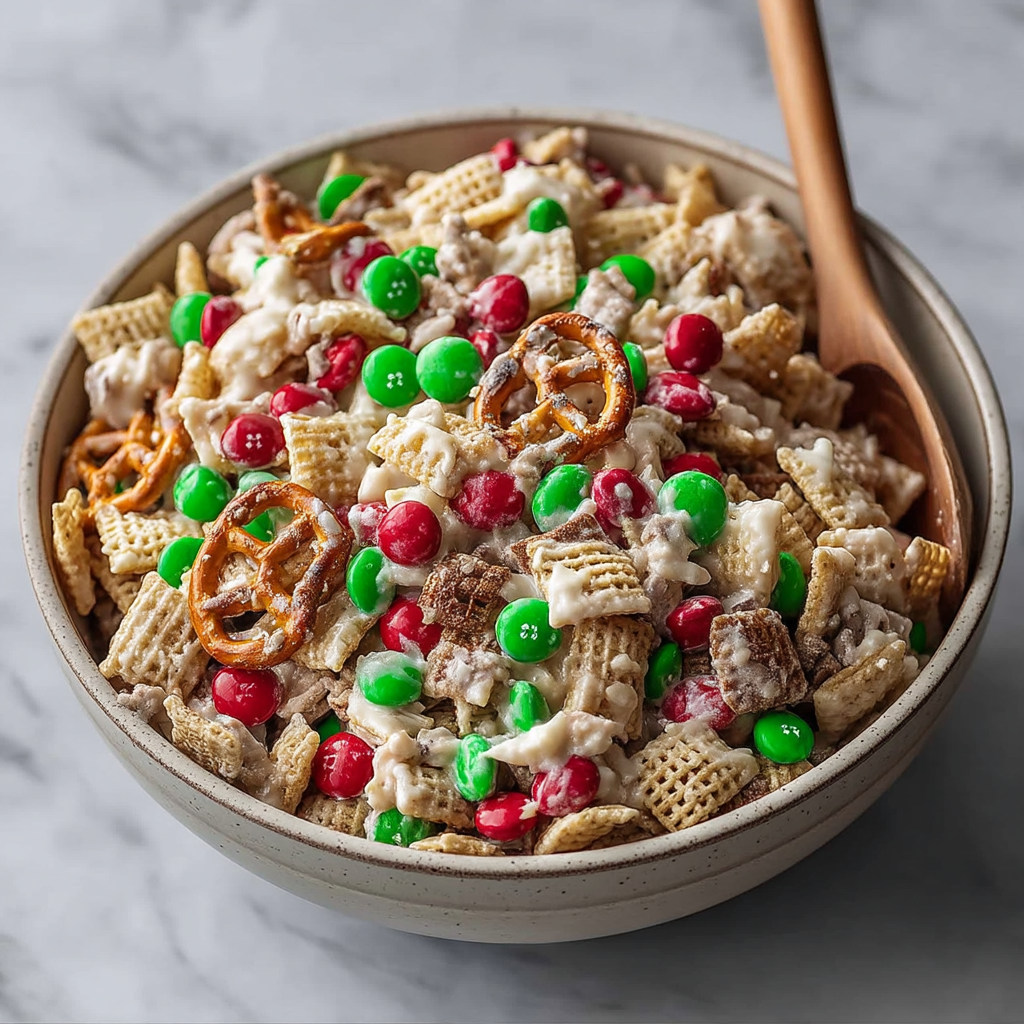
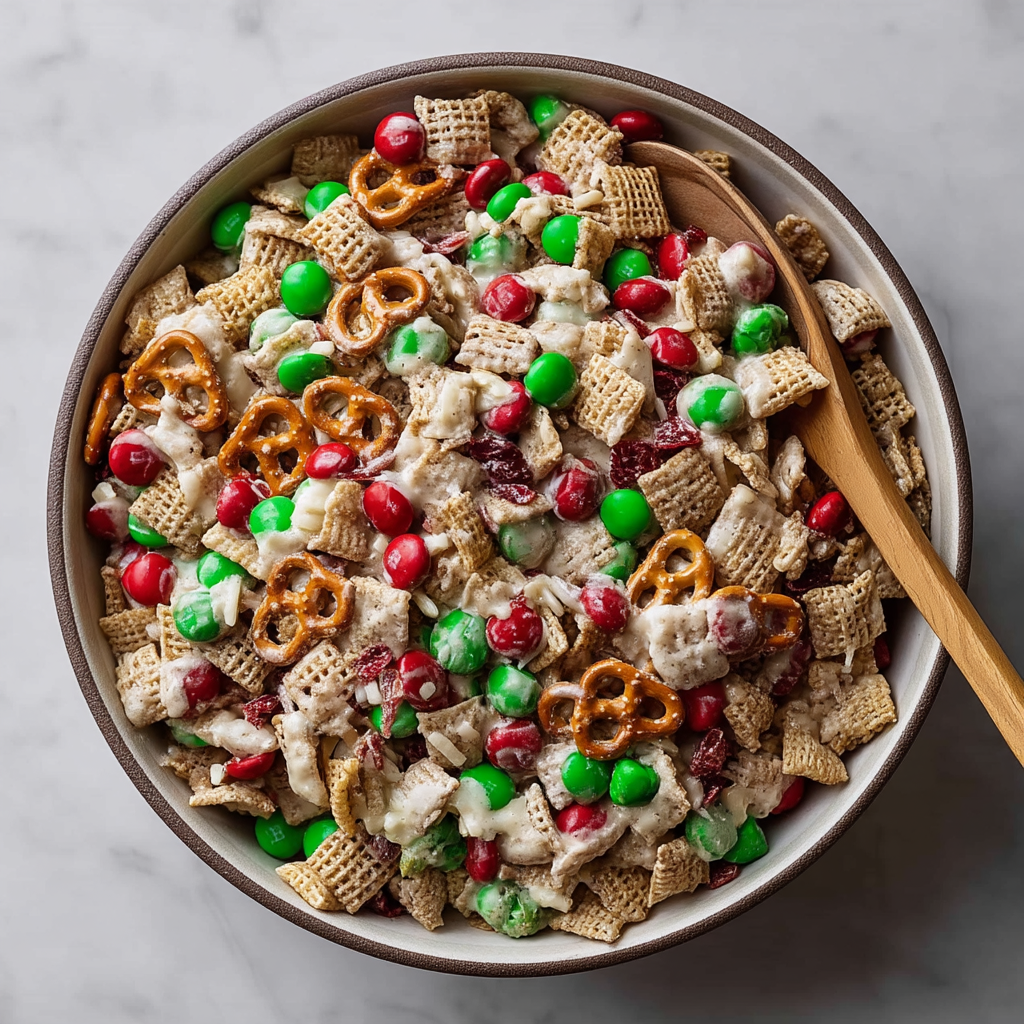
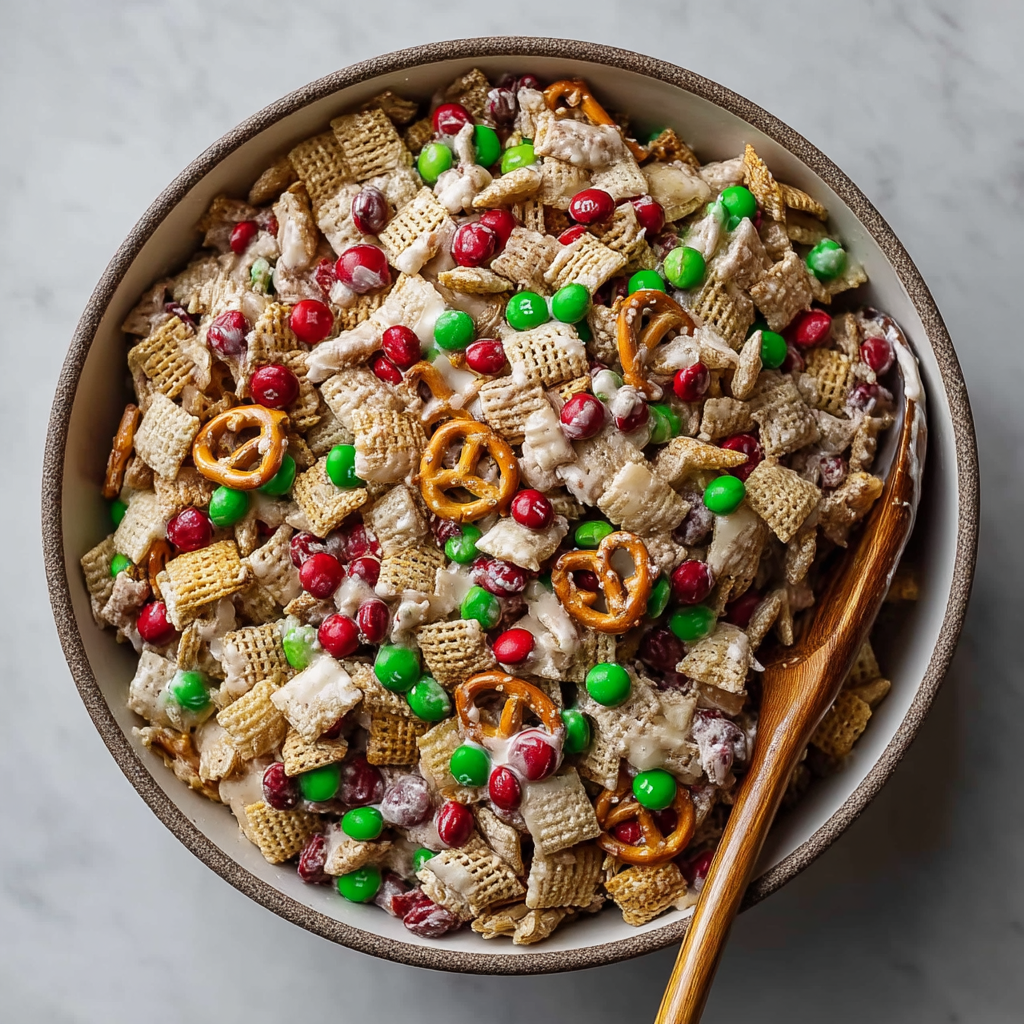
The holiday season calls for treats that are bold, festive, and totally irresistible—and this Christmas Party Mix (often nicknamed Christmas Crack) absolutely delivers. Imagine a sweet‑and‑salty medley of Rice Chex, Cheerios, Cinnamon Crunch cereal, animal crackers, Crunch N’ Munch caramel popcorn, pretzels, and chow mein noodles, all bound together by a ribbon of white candy melt and maple syrup, then dusted with powdered sugar and sprinkled with holiday colors. The result is a crunchy, chewy, flavorful party snack that people can’t stop picking from the bowl.
This version of Christmas Party Mix leans into maximum texture contrast—light cereals, crunchy popcorn, crunchy pretzels, and even crispy chow mein noodles—all coated in a sweet, vanilla‑y glaze. The optional mix‑ins (mini marshmallows, M&Ms, red & green sprinkles, and chocolate drizzle) bring bursts of color, chew, and festive flair. Because it’s more than just a snack—it’s a holiday experience in a bowl.
If you like variations on themed snack mixes, check out this holiday snack mix inspiration guide or this tips for candy melt coating to help you get a smooth, stable coating for your mix.
In the following sections, I’ll provide you with a clear ingredients list, step‑by‑step instructions, advanced techniques to perfect texture and appearance, tips for storing and keeping it fresh, adaptations for various diets, and answers to frequently asked questions. Whether you’re making this for a cookie swap, an office gift, or just holiday snacking, you’ll have everything you need to create a showstopper mix that disappears fast.
Basic Recipe: Ingredients and Instructions
Print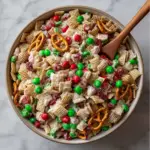
Christmas Party Mix Recipe
Description
Make this festive Christmas Party Mix (“Christmas Crack”) with cereal, caramel popcorn, candy melts & more—perfect holiday treat.
Ingredients
Base Mix
- 6 cups Rice Chex cereal
- 3 cups Cheerios
- 3 cups Cinnamon Crunch cereal (or similarly spiced cereal)
- 2 cups animal crackers
- 3 cups Crunch N’ Munch caramel popcorn
- 2 cups pretzels
- 1 cup chow mein noodles
Binder & Coating
- ¼ cup pure maple syrup
- 1 cup white candy melts (vanilla)
- 1½ cups powdered sugar
Optional Add‑Ins
- 2 cups mini marshmallows
- 1 cup mini M&Ms
- ½ cup red and green candy Dots
- ¼ cup red sprinkles
- ¼ cup green sprinkles
- ¼ cup chocolate bark, melted (for drizzle)
Instructions
- Prepare a large mixing container and tray.
Line a large baking sheet or tray with parchment paper or waxed paper. Have a very large mixing bowl or roasting pan ready to hold the cereal mix. - Combine the dry base ingredients.
In the mixing bowl, gently stir together the Rice Chex, Cheerios, Cinnamon Crunch cereal, animal crackers, Crunch N’ Munch, pretzels, and chow mein noodles until evenly distributed. - Melt the candy coating with maple syrup.
In a microwave‑safe bowl, combine the 1 cup white candy melts and ¼ cup maple syrup. Microwave in 20‑ to 30‑second bursts, stirring between, until the mixture is smooth and fully melted. Be careful not to overheat or burn. Alternatively, use a double boiler. The maple syrup helps thin the coating and adds flavor. - Coat the cereal mix.
Immediately pour the melted candy/melt mixture over the dry mix. Use a large spatula or spoon to gently fold and stir, coating as evenly as possible. Work quickly before the coating begins to set. - Dust with powdered sugar.
Transfer the coated mix in batches to a large zip‑top bag (or two). Add the 1½ cups of powdered sugar, seal, and gently shake until the pieces are lightly dusted. If you prefer, you can do this step over the lined tray: sprinkle powdered sugar and gently toss on the tray. - Spread to set.
Spread the coated and sugared mix onto the prepared baking sheet/tray in a thin single or double layer. This allows air to circulate and helps prevent clumping. - Add optional mix‑ins and drizzle.
While the mix is still slightly tacky (but not fully firm), sprinkle on optional mini marshmallows, mini M&Ms, red/green Dots, and sprinkles. If using the melted chocolate bark drizzle, lightly drizzle it over the top in thin lines using a spoon or piping bag. - Allow to fully set.
Let the party mix rest at room temperature until fully set—typically 30–60 minutes. In warmer homes, you may refrigerate for 10–15 minutes to speed setting, but avoid condensation. - Break up and serve.
Once hardened, gently break apart any clumps into bite‑size clusters. Transfer the mix to serving bowls or into gift containers. - Store or gift.
Store in airtight containers or gift bags (see storage tips below).
Notes
The key is to work quickly when folding in the coating, before it starts to harden.
Use the parchment‑lined tray to help break up clusters without sticking.
If the coating thickens as you go, gently warm it again in short bursts.
If parts of the mix are undercoated, dusting with powdered sugar helps fill in.
Adjust thickness of the coating by varying the amount of candy melts or syrup slightly—but don’t overdo it or the mix becomes overly heavy.
Advanced Techniques
Here are five advanced techniques to help you perfect your Christmas Party Mix in flavor, texture, and presentation:
1. Layered Coating for Optimal Crunch and Uniform Coverage
Instead of applying one thick coating of candy melt, you can do two lighter passes. First, coat about half the mix lightly and allow it to set slightly. Then add the remaining mix and do a second coat. This layering helps ensure every piece has candy coverage without saturating heavier pieces (like pretzels or chow mein) and reduces overcoating that leads to clumping. The results are lighter, crisper pieces with even distribution.
2. Temperature Tapering to Prevent Bloom or Softening
When melting your candy melts, monitor temperature carefully. Overheating can degrade texture or cause bloom (whitish film forming later). Use gentle heating and stir often. After coating, allow gradual cooling at room temperature rather than shocking in the fridge—this helps maintain crispness and avoid moisture condensation. If ambient kitchen heat is high, lower temperature or use an air‑conditioned space to control setting speed.
3. Pre‑Portioning and Uniform Clusters
To make serving and gifting easier, you can pre‑portion clusters as you spread them onto the tray. Use an ice cream scoop or spoon to drop uniform mounds spaced apart. Then lightly press the top so the coating binds the bits together. This technique ensures even cluster size, attractive presentation in treat bags, and easier snacking. After full setting, the clusters remain intact.
4. Flavor Enhancements via Extracts or Spices
To elevate the basic sweet profile, you can incorporate flavor accents. Add ½ teaspoon vanilla or almond extract to the melted candy mixture before coating. Or stir in a small pinch of ground cinnamon, nutmeg, or ginger for a spiced twist. For minty notes, a drop of peppermint extract works nicely (start very small). Always add extracts after melting, when mixture is slightly cooled, to avoid affecting chocolate stability.
5. Decorative Drizzle and Finishing Touches
Beyond the basic sprinkle additions, you can apply a fine drizzle of contrasting melted chocolate (milk or dark) over the set pieces for a professional, decorative touch. Use a piping bag or fork to create thin zigzag lines. You can also dust with edible glitter, snowflake sugar shapes, crushed candy canes, or crushed red & green candies right after drizzling, while chocolate is still tacky, to add texture and holiday sparkle.
Storage, Shelf Life, and Maintenance Tips
Here are five tips to help you store your Christmas Party Mix properly and keep it fresh, crispy, and delicious:
1. Airtight Containers at Room Temperature
Store your party mix in airtight containers or jars, lined with parchment or waxed paper, and sealed tightly. Keep them in a cool, dry area away from heat sources. Under these conditions, it stays fresh for about 5 to 7 days. Avoid exposure to humidity or direct sunlight, which can soften the coating.
2. Layer Separation to Prevent Sticking
When layering the mix inside containers, place sheets of parchment or wax paper between layers. This prevents pieces from sticking to each other or the lid. Also, avoid compressing the mix when sealing—gentle placement helps maintain cluster integrity.
3. Refrigeration for Hot or Humid Climates
If your home is warm or overly humid, you may store the mix in the refrigerator in airtight containers. However, allow the mix to come nearly to room temperature before opening the container to avoid condensation forming on the candies. Serve soon after opening to preserve texture.
4. Freezing for Long-Term Storage
You can freeze the mix to extend shelf life. Place the mix in freezer‑safe bags or containers, using parchment layers. Freeze for up to 4–6 weeks. When ready to use, thaw in the refrigerator first, then allow to come to room temperature fully before opening the package.
5. Avoiding Moisture & Maintaining Crispness
Because the coating is sugar‑based, it can absorb moisture. To reduce this risk, keep the storage environment stable and sealed, avoid repeated opening, and place a silica gel food-safe packet or a small piece of dry bread (wrapped separately) in the container to absorb excess humidity. Do not store alongside highly aromatic or moist foods.
Dietary Adaptations and Substitutions
Here are five ways to adapt this Christmas Party Mix for dietary preferences or restrictions:
1. Gluten-Free Version
Substitute gluten-free cereals and crackers (Rice Chex often has a gluten‑free version). Use gluten‑free animal crackers, pretzels, and verify that the candy melts, chocolate, and mix-ins are certified gluten-free. With those swaps, the rest of the method remains the same.
2. Dairy‑Free / Vegan Adaptation
Use vegan white candy melts or coatings (made with plant-based fats), and ensure any optional chocolate bark or drizzle is dairy-free. Use vegan versions of mix-ins (mini M&Ms, marshmallows, etc.) that are dairy-free. The rest of the ingredients—cereals, syrups—are typically vegan already.
3. Reduced‑Sugar or Sugar‑Free Option
You can try sugar-free or reduced-sugar versions of white chocolate or candy melts and opt for sugar-free powdered sugar substitutes (like erythritol blends). Be cautious—sugar-free chocolate behaves differently when melting and setting. Do small test batches first to adjust coating consistency.
4. Nut‑Free & Allergy‑Safe Recipe
This base recipe is essentially nut-free if no nut-based add-ins are used. But to ensure safety, choose all ingredient brands that are labeled nut-free or processed in nut-free facilities. Avoid adding nut toppings or mix-ins if serving to those with nut allergies.
5. Lighter / Healthier Variation
To lighten the snack, you can reduce the quantity of candy coating or reduce density (i.e. stretch more cereal with less coating). You might also omit or reduce the Crunch N’ Munch and pretzel quantities in favor of extra cereal. The resulting mix is less sweet but still festive and crunchy.
FAQs About the Recipe
1. Why is my coating too thick or clumpy?
If your coating becomes overly thick or clumps, it likely cooled too much before applying or you used too much candy melt relative to the mix. To avoid this, maintain the coating’s fluidity by reheating gently in short bursts, stir often, and pour while warm. You can also thin with a small amount of neutral oil (vegetable or coconut), but add sparingly so you don’t overly loosen the final texture.
2. Why did some pieces remain undercoated or powdery?
Uneven coating often results from pouring rather than folding or from insufficient stirring. Spread the coating in successive passes, and ensure you fold evenly so that every piece gets touched. Also, after initial coating, the powdered sugar shake helps fill thinner spots—a second dusting can help even out coverage.
3. The mix is too sticky or clumps irreversibly—what went wrong?
Stickiness may be due to excess moisture (high humidity, condensation) or too much coating. To salvage, spread the mix immediately, let it set fully, then break apart as soon as possible. If humidity is high, consider refrigerating briefly once set. For future batches, reduce syrup a bit or ensure a dry environment.
4. The coating turned dull or bloomed—why?
Bloom or sheen loss happens when chocolate or candy coatings age poorly, are exposed to temperature fluctuations, or absorb moisture. Use fresh candy melts, temper gently, store in consistent cool conditions, and avoid exposing to humidity or heat shifts. Proper sealing helps too.
5. Can I make this mix ahead of time for a party or gifting?
Yes—this mix is ideal for preparing in advance. You can make it 1–2 days ahead and store in airtight containers (with the storage tips above). If gifting, package in sealed bags or decorative jars. For longer storage, freeze as described. Just be cautious of moisture or condensation when transporting or storing.
Conclusion & Final Thoughts
This festive Christmas Party Mix (a.k.a. “Christmas Crack”) is the kind of snack that evokes delight at first glance and disappears even faster once people start munching. With a medley of cereals, crunchy popcorn, pretzels, chow mein noodles, and animal crackers coated in a sweet vanilla maple glaze and dusted with powdered sugar, it’s a holiday treat built on satisfying contrasts—sweet, salty, crunchy, chewy. The optional mix-ins—marshmallows, colored candies, drizzled chocolate, sprinkles—bring holiday color, texture, and fun.
The beauty of this recipe lies in its flexibility. You can scale it up for a crowd, package portions for gifting, or customize it to dietary needs (gluten-free, vegan, reduced-sugar). The advanced techniques elevate your outcome—layered coating for even coverage, temperature management to avoid bloom, cluster forming for gift-ready portions, and decorative finishing touches. The storage guidance ensures your mix stays crisp, fresh, and beautiful for days or weeks when stored properly.
FAQs and troubleshooting help you navigate common pitfalls—coating issues, clumps, stickiness, bloom, or storage woes. As long as you work efficiently, maintain control of temperature, and handle the coated mix gently, you’ll end up with a snack that looks spectacular and tastes addictive.
Whether you’re prepping for a holiday party, filling gift bags, joining a cookie swap, or simply treating your family, this Christmas Party Mix delivers in both visual appeal and taste. Each bite is a festive collage of crunch, sweetness, and holiday spirit. Try making one batch and watch how quickly it becomes a holiday favorite. If you’d like help scaling it for a crowd, adapting it to special dietary needs, or designing packaging labels, just let me know. Happy munching and merry holidays!