Classic Hard Candy Recipe: A Sweet, Shiny Throwback to Homemade Candy-Making
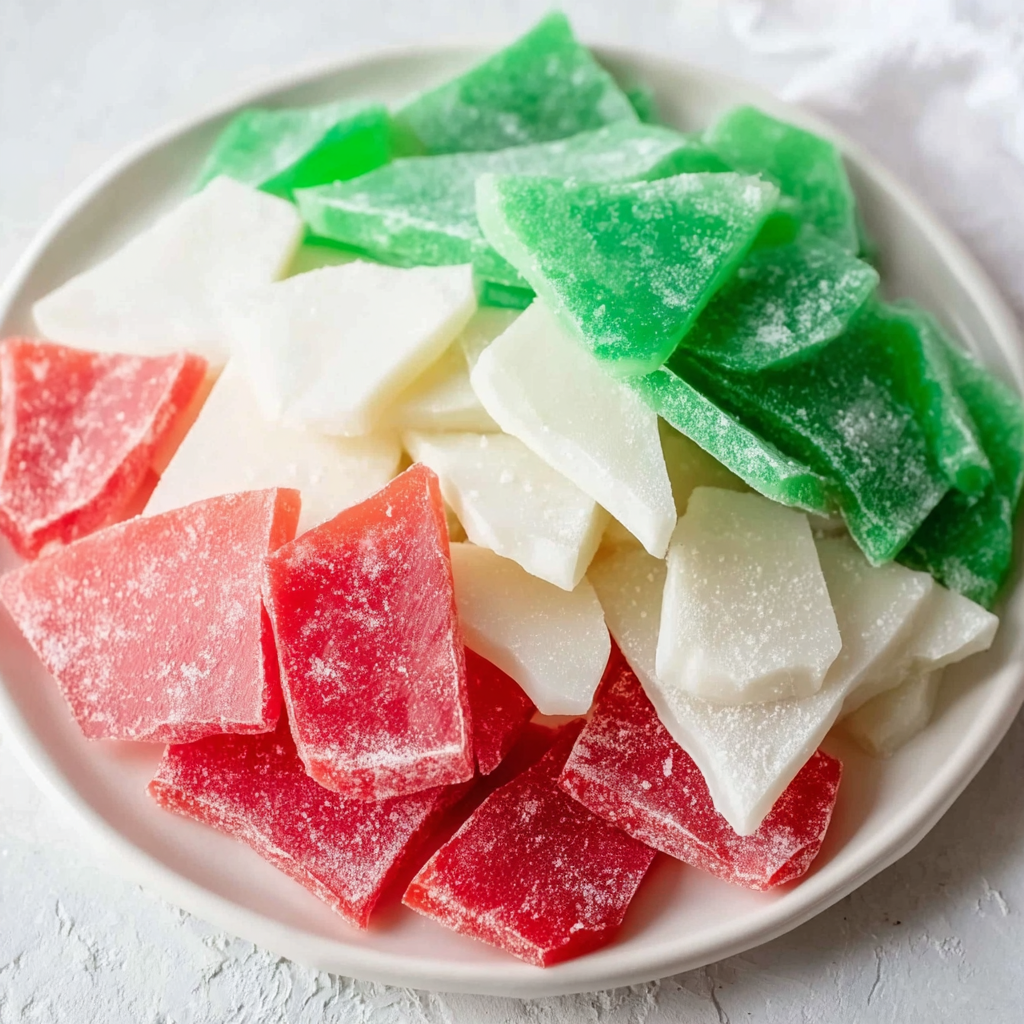
There’s something wonderfully nostalgic about homemade hard candy. Maybe it’s the glossy shine, the satisfying crack as it breaks apart, or the vivid colors that sparkle like stained glass. Whatever it is, this Hard Candy Recipe captures that childhood magic perfectly — and it’s surprisingly easy to make right at home. Whether you’re making peppermint shards for Christmas, fruity lollipops for parties, or cotton candy-flavored treats just for fun, this recipe gives you endless flavor and color options.
I remember my grandmother making hard candy every December. Her kitchen would fill with the sweet scent of peppermint as we’d watch sugar syrup bubble on the stove. Once it cooled, we’d dust the shimmering pieces with powdered sugar and fill jars to give away as gifts. Those jars — tied with ribbons and love — always disappeared quickly.
The beauty of this recipe is how adaptable it is. With just a few basic ingredients — sugar, corn syrup, and water — you can create candies in any color or flavor you like. It’s the perfect mix of science and creativity, a little kitchen chemistry experiment that ends with something delicious and beautiful.
If you want to dive deeper into the fascinating world of candy-making, check out Serious Eats’ Guide to Sugar Stages for detailed explanations on sugar temperatures, or explore The Spruce Eats’ Homemade Candy Tutorials for inspiration. Once you understand how sugar behaves, making your own hard candy feels almost magical.
Hard Candy Recipe
Print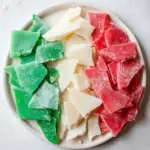
Classic Hard Candy Recipe – Easy Homemade Holiday Candy
Description
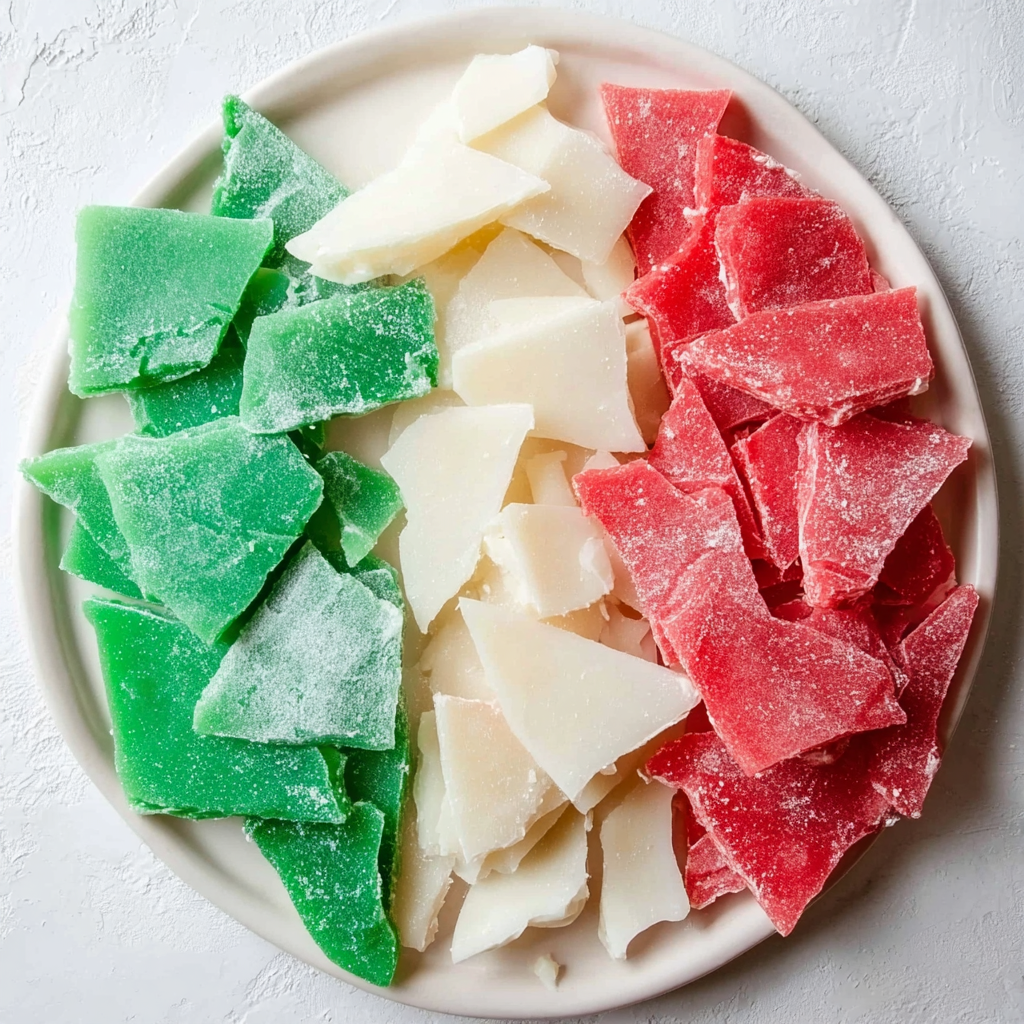
This classic Hard Candy Recipe creates glossy, jewel-like pieces in any color or flavor you choose. Made from sugar, corn syrup, and flavor extracts, it’s perfect for holidays, parties, or edible gifts — and easier than you think!
Ingredients
- 1 cup granulated sugar
- ⅓ cup water
- ⅓ cup clear corn syrup
- 42 drops food coloring (liquid works best) — about 22 drops green, 20 drops red
- Flavoring extract (peppermint, vanilla, etc.) or flavor oil (strawberry, cotton candy, etc.)
- Powdered sugar, for coating
Instructions
- Prepare your equipment: Line a baking sheet with parchment paper or lightly greased foil. Dust it with a little powdered sugar to prevent sticking. You can also use silicone candy molds for shaped candies.
- Combine the ingredients: In a medium, heavy-bottomed saucepan, mix sugar, corn syrup, and water. Stir over medium heat until the sugar dissolves completely.
- Boil the mixture: Attach a candy thermometer to the side of the pan. Bring the syrup to a steady boil without stirring once dissolved. Continue cooking until the temperature reaches 300°F (hard crack stage) — this takes about 15–20 minutes.
- Add color and flavor: Remove the pan from heat immediately. Wait a few seconds for bubbling to subside, then carefully stir in your chosen food coloring and flavor extract. (Be cautious — it will steam and sizzle slightly.)
- Pour and cool: Quickly pour the mixture onto your prepared baking sheet or into molds. Tilt the pan slightly if needed to spread the candy evenly.
- Cool completely: Let the candy cool and harden at room temperature for about 30–45 minutes.
- Break and coat: Once hardened, crack the candy into pieces using a knife or the back of a spoon. Toss lightly in powdered sugar to prevent sticking, and store in airtight containers.
Notes
Active time: 10 minutes; passive time: about 20 minutes for boiling and cooling.
Use a candy thermometer for best results. The “hard crack” stage (300°F) ensures your candy sets perfectly.
Avoid stirring once the syrup boils — this can cause crystallization.
Always add flavoring after removing from heat, as high temperatures can dull the flavor.
Be extremely careful — hot sugar syrup can cause severe burns.
Advanced Techniques
Mastering the Hard Crack Stage
The hallmark of perfect hard candy is reaching that ideal temperature: 300°F (150°C). At this point, the syrup solidifies into a crisp, glassy texture when cooled. Too low, and the candy will be sticky; too high, and it may taste burnt. Use a reliable candy thermometer and resist the temptation to multitask — sugar transitions fast in those final degrees!
Using Flavor Oils for Intense Taste
Flavor oils (like LorAnn’s) are more concentrated than extracts, so you only need a few drops for a powerful flavor. They’re ideal for flavors that might fade with heat, such as watermelon or cotton candy. Always add them after removing the pan from heat to preserve their aromatic strength.
Creating Swirled or Multi-Colored Candy
For a fun effect, divide your cooked syrup into separate bowls and add different colors before pouring. Swirl two colors together with a skewer for a marbled look — think red and white for peppermint or green and gold for a festive twist. Work quickly, as the syrup cools fast.
Shaping Candy with Silicone Molds
Silicone molds let you create themed candies — hearts, stars, snowflakes, or Christmas trees. Lightly spray molds with nonstick spray before pouring the syrup. Allow them to cool completely before popping them out for perfectly shaped sweets that double as edible decorations.
Preventing Sugar Crystallization
The enemy of smooth candy is crystallized sugar. To avoid it, make sure all sugar dissolves completely before boiling. Brush down the sides of the pan with a damp pastry brush during the first few minutes to wash away stray crystals. Once boiling, don’t stir — just let the syrup do its magic.
Storage, Shelf Life, and Maintenance Tips
Keeping Hard Candy Crisp and Shiny
Humidity is the biggest threat to hard candy. Store the pieces in airtight containers or resealable bags with a food-safe silica gel packet to absorb moisture. Avoid refrigerating — condensation can make the candy sticky.
Long-Term Storage for Gift Giving
Properly stored, hard candy lasts up to two months! Layer pieces with wax paper in tins or glass jars, seal tightly, and keep them in a cool, dry spot. They make beautiful homemade gifts when wrapped in cellophane and tied with ribbon.
Reviving Sticky Candy
If your candy softens, place the pieces on a parchment-lined baking sheet and bake at 200°F (93°C) for 10 minutes. This helps drive out moisture and restore that signature snap. Just be sure not to melt them entirely.
Avoiding Flavor Fading Over Time
For long-lasting flavor, store the candy away from sunlight and heat. Certain extracts, like citrus or mint, can lose potency after a few weeks — so make smaller batches if using delicate flavors.
Packaging Ideas for the Holidays
Layer colorful hard candy in mason jars or clear bags tied with festive ribbon. Add personalized tags for a lovely handmade touch. They’re perfect for stocking stuffers, teacher gifts, or office treats.
Dietary Adaptations and Substitutions
Making Sugar-Free Hard Candy
You can make hard candy without traditional sugar by using isomalt or erythritol-based sweeteners. These sugar substitutes melt beautifully and still harden into glossy, glass-like candy. Be sure to follow the package instructions, as temperature ranges may vary slightly.
Vegan-Friendly Hard Candy
This recipe is naturally vegan! Just double-check that your food coloring and flavor extracts are plant-based (some red dyes are not). Gel-based colorings are often vegan and vibrant.
Allergy-Friendly Options
Homemade candy is ideal for allergy control — you choose the ingredients. Avoid cross-contamination by cleaning your tools thoroughly, especially if gifting to others with allergies.
Natural Coloring Alternatives
Skip artificial dyes by using natural colorings like beet juice (red), spinach powder (green), or turmeric (yellow). Mix them in after removing the pan from heat to keep their colors bright and beautiful.
Low-Calorie Flavoring Ideas
You can flavor hard candy with calorie-free extracts like peppermint, vanilla, or almond — they provide big flavor with minimal sugar impact. Perfect for mindful indulgence!
FAQs About Hard Candy
Why Did My Hard Candy Turn Cloudy?
Cloudiness usually means the syrup crystallized during cooking. Be sure to dissolve sugar fully before boiling and avoid stirring after that point. Using corn syrup helps prevent this issue since it stabilizes the sugar.
Can I Make Hard Candy Without Corn Syrup?
Yes! Substitute corn syrup with honey or golden syrup, though the texture will be slightly softer and the candy may crystallize faster. Corn syrup helps achieve that classic, glassy finish, so it’s the most reliable choice.
How Do I Add Flavor Without Losing It?
Always stir in flavoring extracts or oils after removing the mixture from heat. Adding them too early causes the heat to evaporate their aroma, leaving a dull taste. Use about ½ teaspoon of extract or a few drops of concentrated flavor oil per batch.
Can I Turn This Recipe Into Lollipops?
Definitely! Pour the hot syrup into lollipop molds and insert sticks immediately. Let them cool fully before removing. Homemade lollipops make wonderful party favors or stocking stuffers.
How Do I Know the Candy Has Reached Hard Crack Stage Without a Thermometer?
If you don’t have a candy thermometer, use the cold-water test: drop a small spoonful of syrup into a cup of ice water. If it hardens instantly and snaps when bent, it’s ready!
Conclusion & Final Thoughts
There’s a timeless joy in making your own hard candy. It’s part art, part science — a glistening, aromatic reminder of simpler times when candy-making felt like a bit of kitchen magic. Whether you’re crafting peppermint shards for Christmas or fruity candies for a birthday, this recipe lets you transform humble ingredients into vibrant, edible jewels.
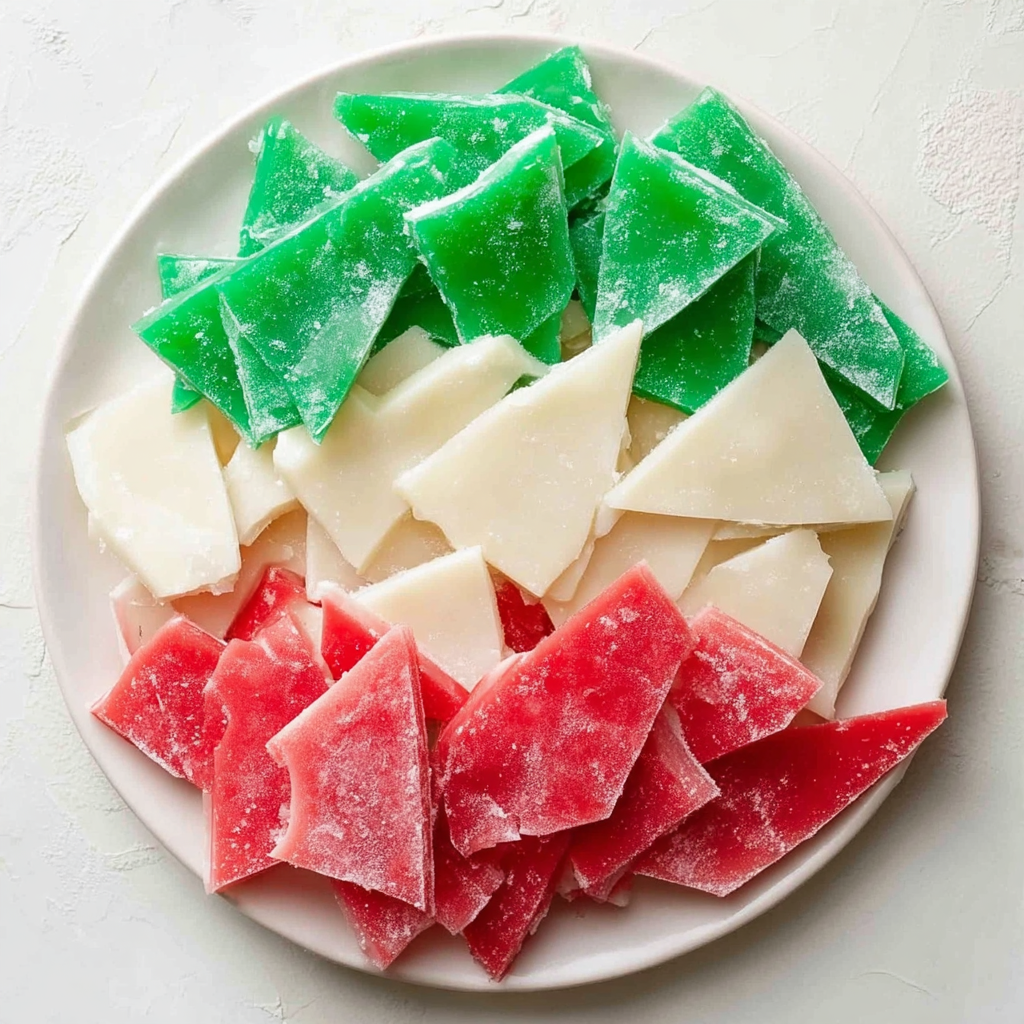
I love how flexible it is. You can change colors, mix flavors, or create swirling patterns — no two batches ever look quite the same. And when the light hits those translucent pieces, they look like stained glass you can eat. It’s the kind of treat that brings back childhood memories but also invites creativity with every batch.
Beyond the beauty, homemade hard candy makes thoughtful, heartfelt gifts. Fill small jars or tins, add ribbons and labels, and you’ve got charming handmade presents that everyone appreciates. Plus, once you master this basic recipe, you can branch into lollipops, rock candy, or even candy decorations for cakes and cupcakes.
So, the next time you’re craving a little sweet nostalgia or need a fun weekend project, grab your sugar and thermometer and make a batch of Hard Candy. It’s simple, satisfying, and guaranteed to make your kitchen smell like pure happiness — one shiny piece at a time.