Introduction
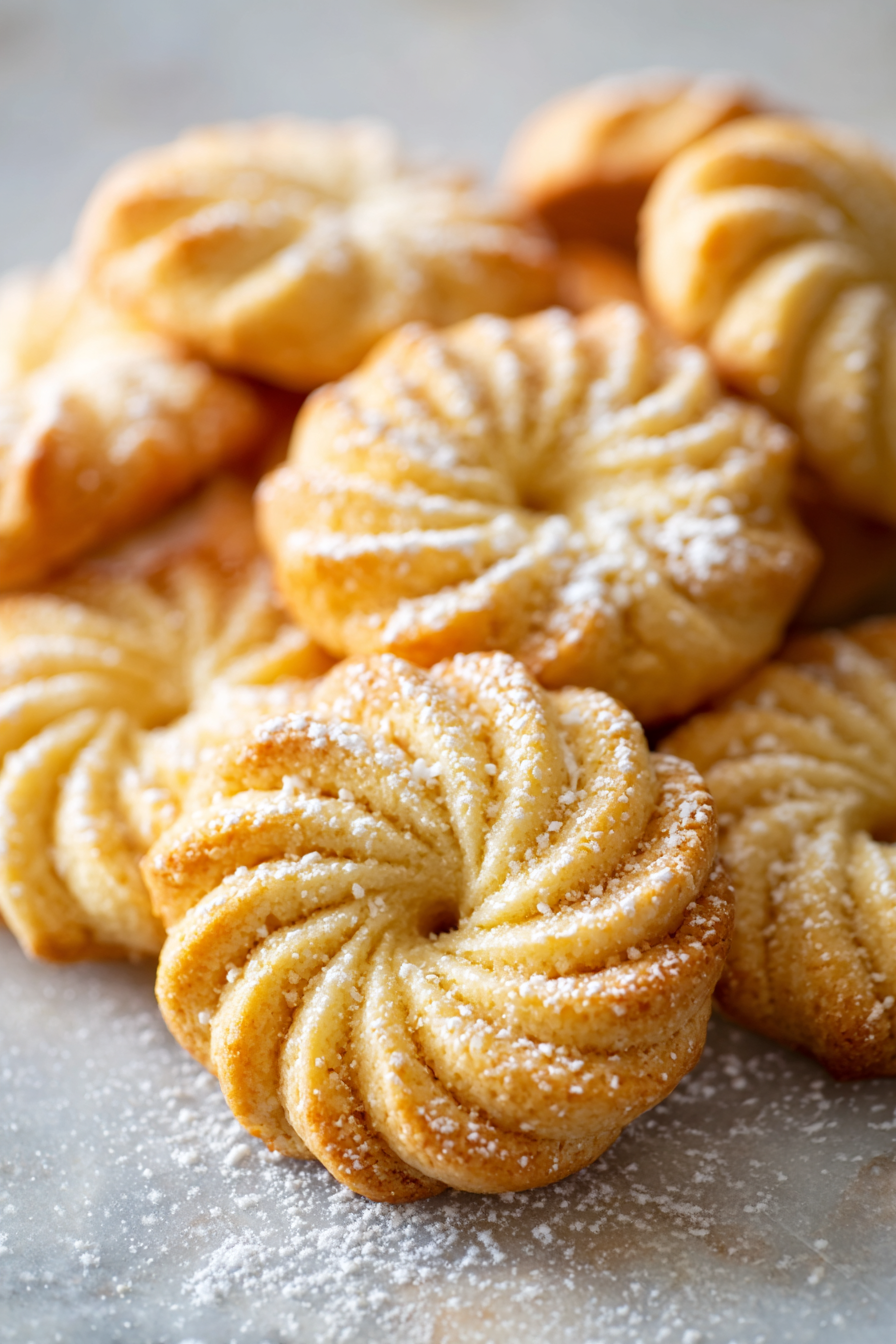
Danish Butter Cookies are one of those timeless recipes that instantly transport you back to cozy family gatherings, holiday seasons, and sweet childhood memories. Known for their rich buttery flavor, crisp texture, and simple elegance, these cookies are often found in decorative blue tins and shared as gifts around the world. The good news? You don’t have to wait for a store-bought tin—you can make them right at home with just a handful of pantry staples.
This recipe yields about 25 cookies, making it perfect for entertaining, gifting, or simply enjoying with a warm cup of tea or coffee. Whether you’re a beginner baker or a seasoned cookie enthusiast, you’ll find this recipe approachable, fun, and rewarding.
My recipe story
I first discovered Danish Butter Cookies as a child when my grandmother kept a tin in her kitchen during the holidays. I remember opening the box with excitement, never sure whether I’d find cookies or her sewing supplies inside. When I began baking, I was determined to recreate the delicate taste and texture of those cookies from scratch. After experimenting with different ratios of butter, flour, and sugar, I finally perfected a recipe that captures the authentic taste of the cookies I grew up loving.
Now, these cookies have become a staple in my own kitchen, not just for holidays but for everyday indulgence. Baking them fills the house with the comforting aroma of butter and sugar—a smell that feels like home. Sharing them with friends and family always sparks the same nostalgic joy that I felt years ago, and I know this recipe will do the same for you.
💡 Why You’ll Love This Recipe
- Uses only 4 simple ingredients you likely already have on hand.
- Authentic buttery flavor with a crisp, delicate texture.
- Perfect for holiday gift-giving or creating a festive cookie platter.
- Easy to customize with flavors, shapes, or toppings.
- Freezes beautifully, making them a great make-ahead treat.
Ingredient breakdown
The beauty of Danish Butter Cookies lies in their simplicity. Each ingredient plays a critical role, and using high-quality basics ensures your cookies taste authentic and luxurious. Let’s break it down:
Unsalted butter (1 cup / 227 g): The star of the recipe. Butter provides the rich flavor and tender crumb that defines these cookies. Always use room-temperature butter for smooth creaming. Unsalted butter is preferred so you can control the salt content, but if you only have salted butter, reduce or omit any added salt.
Powdered sugar (2/3 cup / 80 g): Unlike granulated sugar, powdered sugar creates a smoother dough and a delicate melt-in-your-mouth texture. It also helps the cookies hold their shape when piped into classic swirls or rings.
Egg (1 large): The egg binds the dough and contributes to the structure, ensuring the cookies don’t crumble apart. Room-temperature eggs incorporate more evenly into the batter.
All-purpose flour (1 ½ cups / 190 g): The flour provides structure. Measuring flour accurately is key—too much, and the cookies will be dense and tough; too little, and they’ll spread excessively. Always spoon and level your flour for precision.
Equipment you’ll need
- Mixing bowls
- Electric mixer (hand or stand mixer)
- Spatula
- Piping bag with star tip (for classic shapes)
- Baking sheet
- Parchment paper or silicone baking mat
- Cooling rack
Step-by-step directions
Step 1: Cream the butter and sugar. In a large mixing bowl, beat the softened unsalted butter and powdered sugar together with an electric mixer until light, creamy, and fluffy. This step is essential for incorporating air into the dough, giving the cookies their signature lightness. Scrape down the sides of the bowl as needed to ensure everything is well combined.
Step 2: Add the egg. Crack in the egg and beat until fully incorporated. This will help bind the ingredients and provide structure to the dough. Make sure your egg is at room temperature so it blends smoothly without curdling or separating the mixture.
Step 3: Incorporate the flour. Gradually add the all-purpose flour to the wet ingredients, mixing on low speed just until combined. Avoid overmixing, as this can lead to tough cookies. The dough should be smooth but thick enough to pipe into shapes without spreading too much.
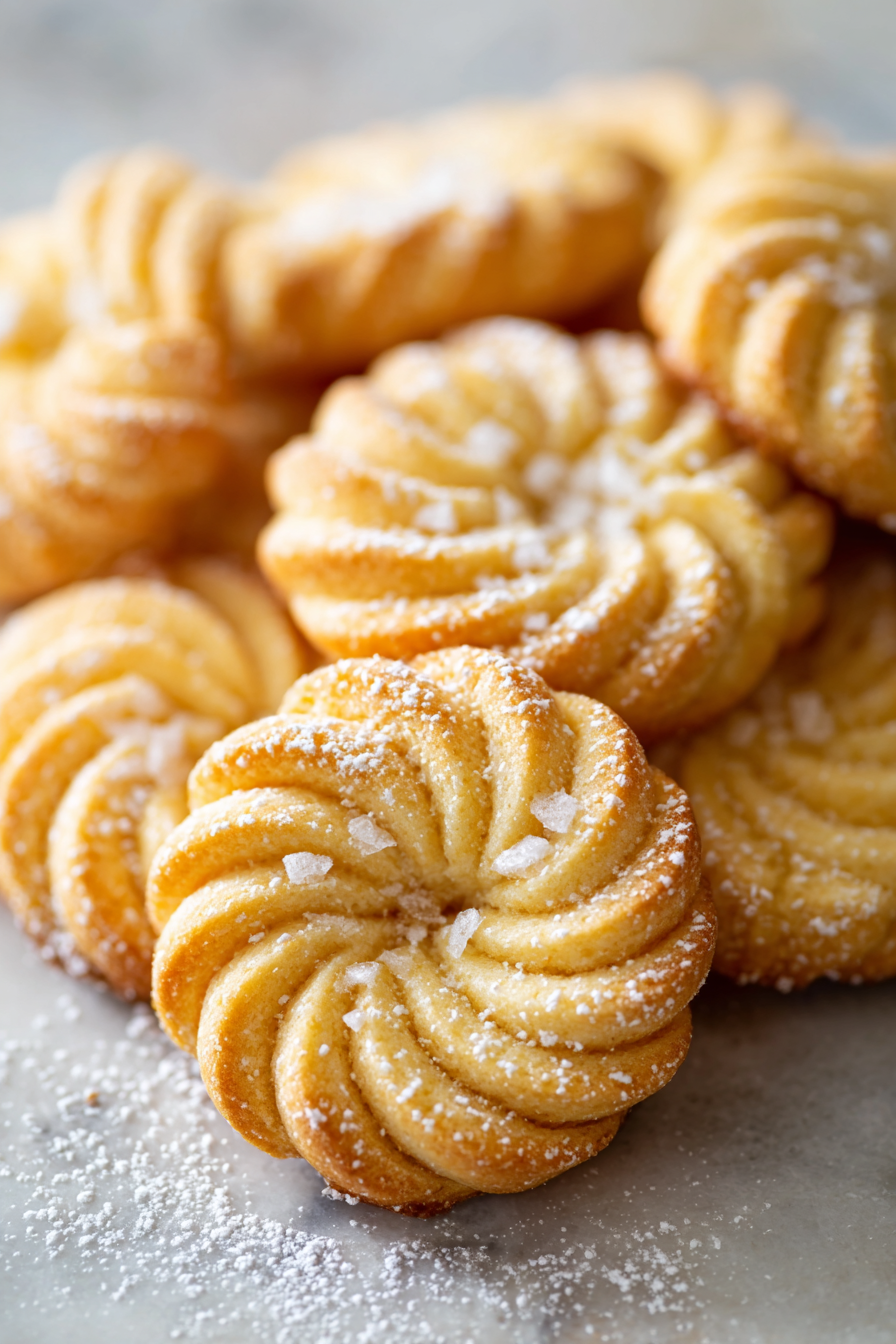
Step 4: Pipe the cookies. Transfer the dough into a piping bag fitted with a large star tip. Pipe swirls, rings, or rosettes onto a parchment-lined baking sheet, spacing them about 1 inch apart. The dough may feel stiff, so use steady pressure and patience when piping.
Step 5: Bake the cookies. Preheat your oven to 350°F (175°C). Bake the cookies for 10–12 minutes, or until the edges are just starting to turn golden. Keep a close eye on them, as they can brown quickly. The goal is a lightly golden edge with a pale center.
Step 6: Cool and serve. Remove the cookies from the oven and allow them to cool on the baking sheet for 5 minutes before transferring to a wire rack to cool completely. Enjoy them fresh, or store for later enjoyment.
Variations & substitutions
Danish Butter Cookies are versatile, and you can easily adapt the recipe to suit your tastes. For a vanilla twist, add 1 teaspoon of pure vanilla extract to the dough. For a citrusy note, stir in grated lemon or orange zest. You can also dip cooled cookies in melted chocolate and sprinkle with nuts or crushed peppermint for a festive flair. If you don’t have a piping bag, you can roll the dough into small balls and flatten them with a fork for a rustic appearance.
💡 Expert Tips & Troubleshooting
- If the dough is too stiff to pipe, add 1–2 teaspoons of milk to soften it slightly.
- Chill the piped dough for 15 minutes before baking if your kitchen is warm—this helps the cookies hold their shape.
- Always use unsalted butter for the best flavor control and consistency.
- Don’t overbake—remove the cookies as soon as the edges turn golden for a delicate texture.
- Ensure even baking by rotating your tray halfway through baking.
Storage, freezing & make-ahead
Once cooled, store Danish Butter Cookies in an airtight container at room temperature for up to 2 weeks. To extend their shelf life, you can freeze them in a freezer-safe container for up to 3 months. If you prefer making the dough ahead of time, pipe the shapes onto a baking sheet, freeze until solid, and then transfer to a freezer bag. When ready to bake, simply bake from frozen, adding an extra 1–2 minutes to the baking time.
Serving ideas & pairings
Danish Butter Cookies shine on their own, but they also pair beautifully with other flavors. Serve them alongside coffee, tea, or hot chocolate for an afternoon pick-me-up. They also make an excellent addition to holiday cookie platters, paired with shortbread, biscotti, or gingerbread cookies. For a sophisticated twist, serve them with fresh berries, a cheese board, or even a glass of dessert wine.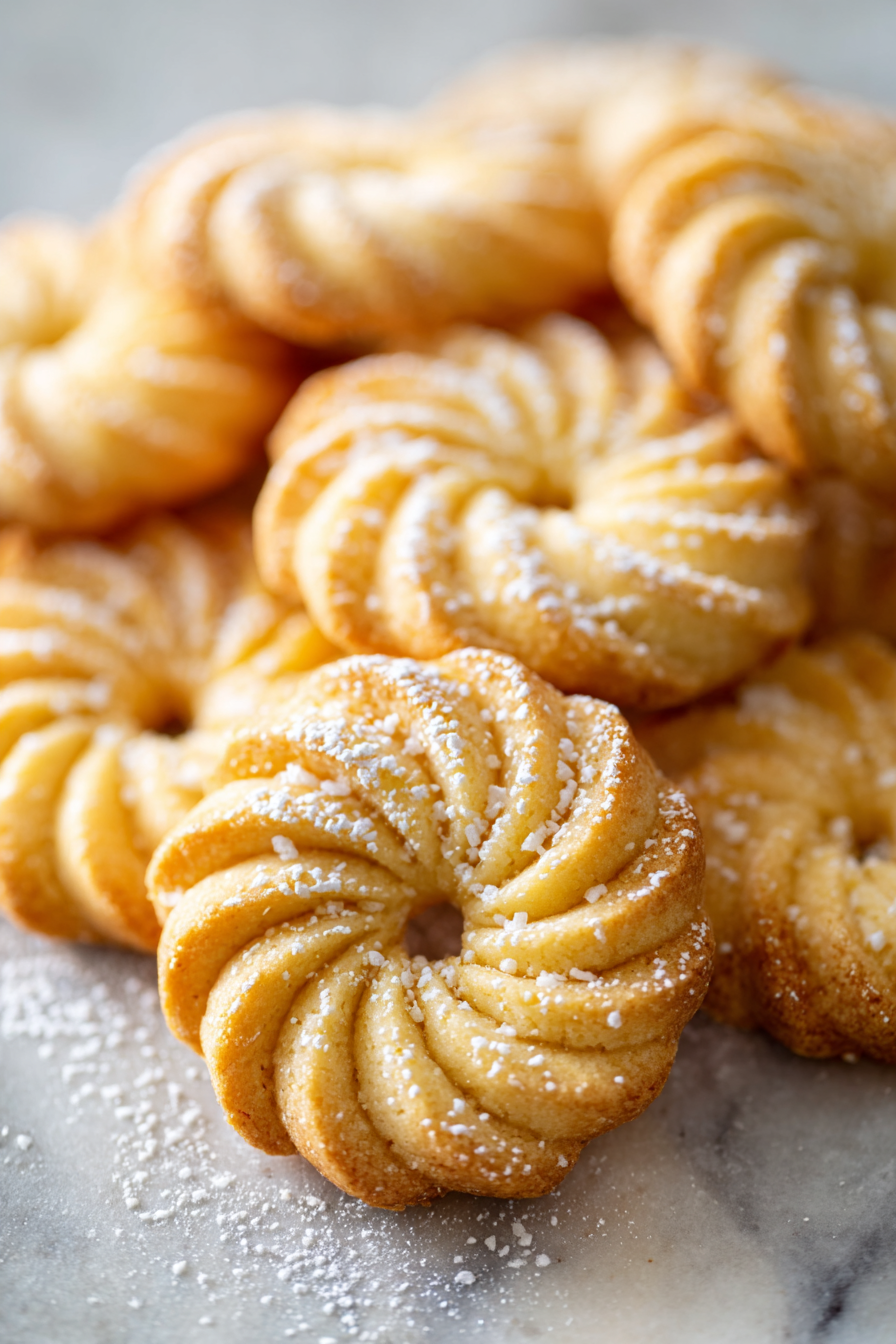
FAQ
Can I make these without a piping bag?
Yes! Simply roll the dough into balls and flatten slightly with a fork or the bottom of a glass.
Why did my cookies spread too much?
Too much butter or not enough flour can cause spreading. Make sure to measure your ingredients accurately.
Can I use granulated sugar instead of powdered sugar?
Powdered sugar is recommended for the delicate texture, but granulated sugar will work—it just produces a slightly coarser cookie.
How do I get the classic swirl shape?
Use a large star piping tip and pipe steady circular swirls onto the baking sheet.
Can I make these gluten-free?
Yes, substitute the all-purpose flour with a cup-for-cup gluten-free baking flour blend.
Final thoughts
Danish Butter Cookies are a true classic—simple to make, elegant to serve, and absolutely delightful to eat. With their buttery flavor, crisp texture, and endless versatility, they’re a recipe worth keeping in your baking repertoire. Whether you’re gifting them during the holidays, enjoying them with an afternoon coffee, or baking them just because, these cookies will always bring smiles and warm memories. Try this recipe once, and it will become a tradition in your home, too.
Print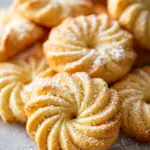
Danish Butter Cookies Recipe
- Total Time: 27 minutes
- Yield: About 25 cookies
- Diet: Vegetarian
Description
Classic buttery cookies with a melt-in-your-mouth texture. Perfect for holidays, gifting, or pairing with coffee and tea.
Ingredients
• 1 cup (227 g) unsalted butter, room temperature
• 2/3 cup (80 g) powdered sugar
• 1 large egg, room temperature
• 1 ½ cups (190 g) all-purpose flour
Instructions
- Preheat oven to 350°F (175°C) and line a baking sheet with parchment paper.
- Beat butter and powdered sugar until light and fluffy.
- Add the egg and mix until fully combined.
- Gradually mix in the flour until a smooth dough forms.
- Transfer dough to a piping bag with a star tip and pipe swirls or rings onto the sheet.
- Bake for 10–12 minutes, until edges are lightly golden.
- Cool on the baking sheet for 5 minutes, then transfer to a rack to cool completely.
Notes
Store cookies in an airtight container at room temperature for up to 2 weeks. Freeze baked cookies for up to 3 months. For variety, dip in chocolate or sprinkle with sugar.
- Prep Time: 15 minutes
- Cook Time: 12 minutes
- Category: Dessert
- Method: Baking
- Cuisine: Danish