1. Introduction to the Recipe
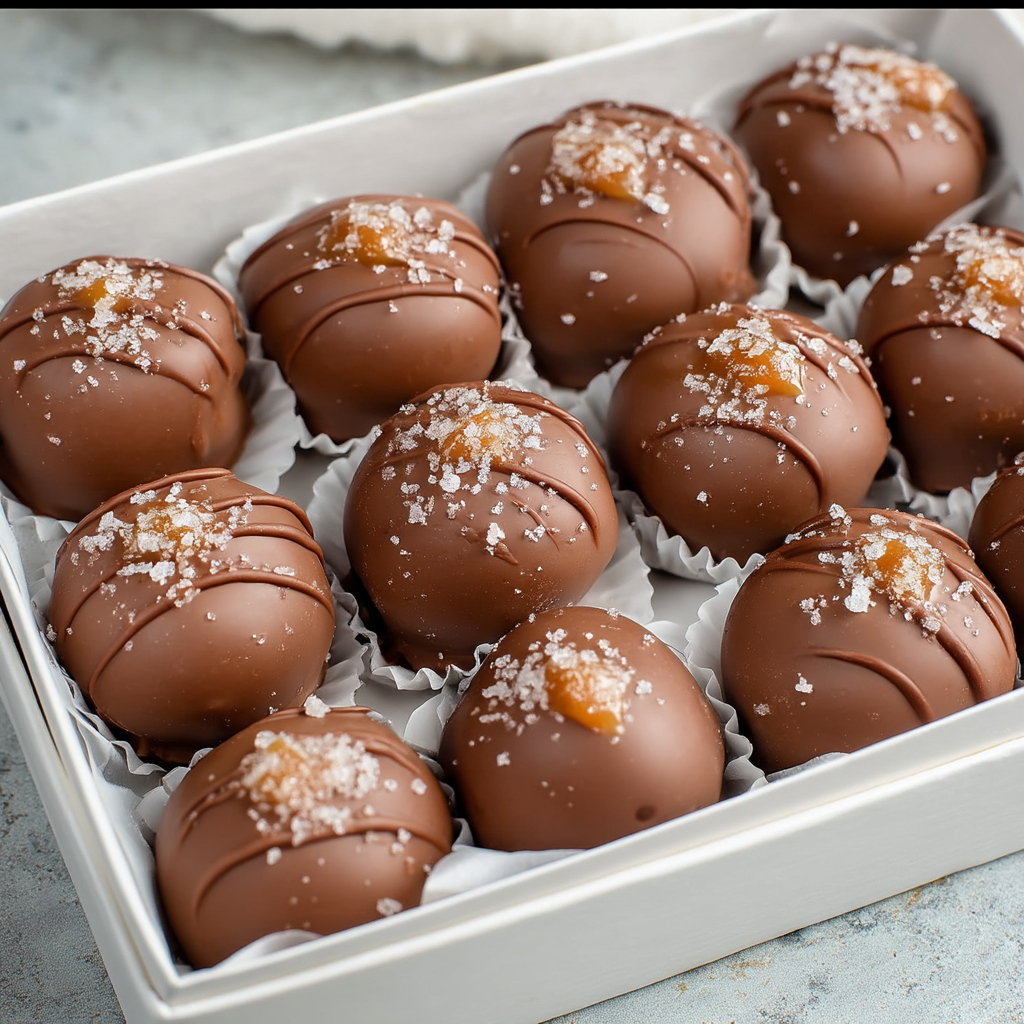
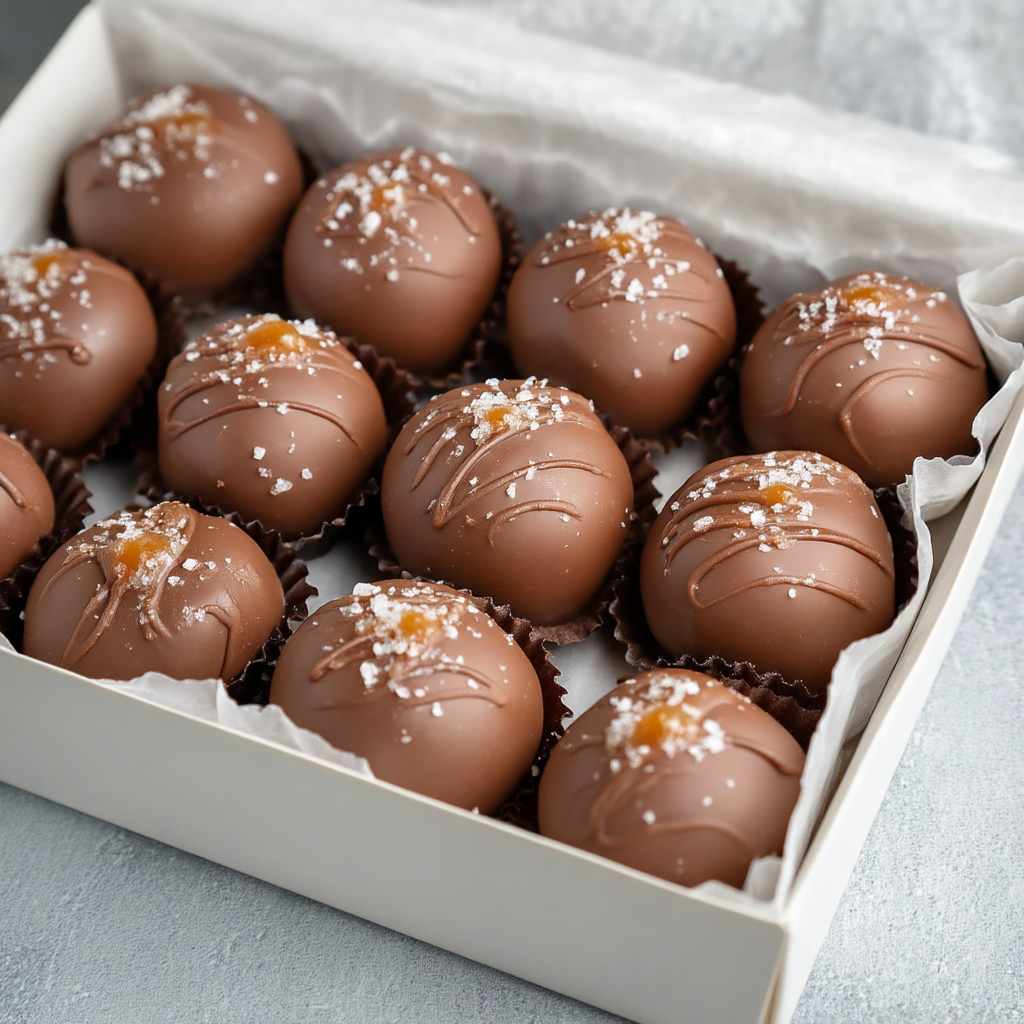
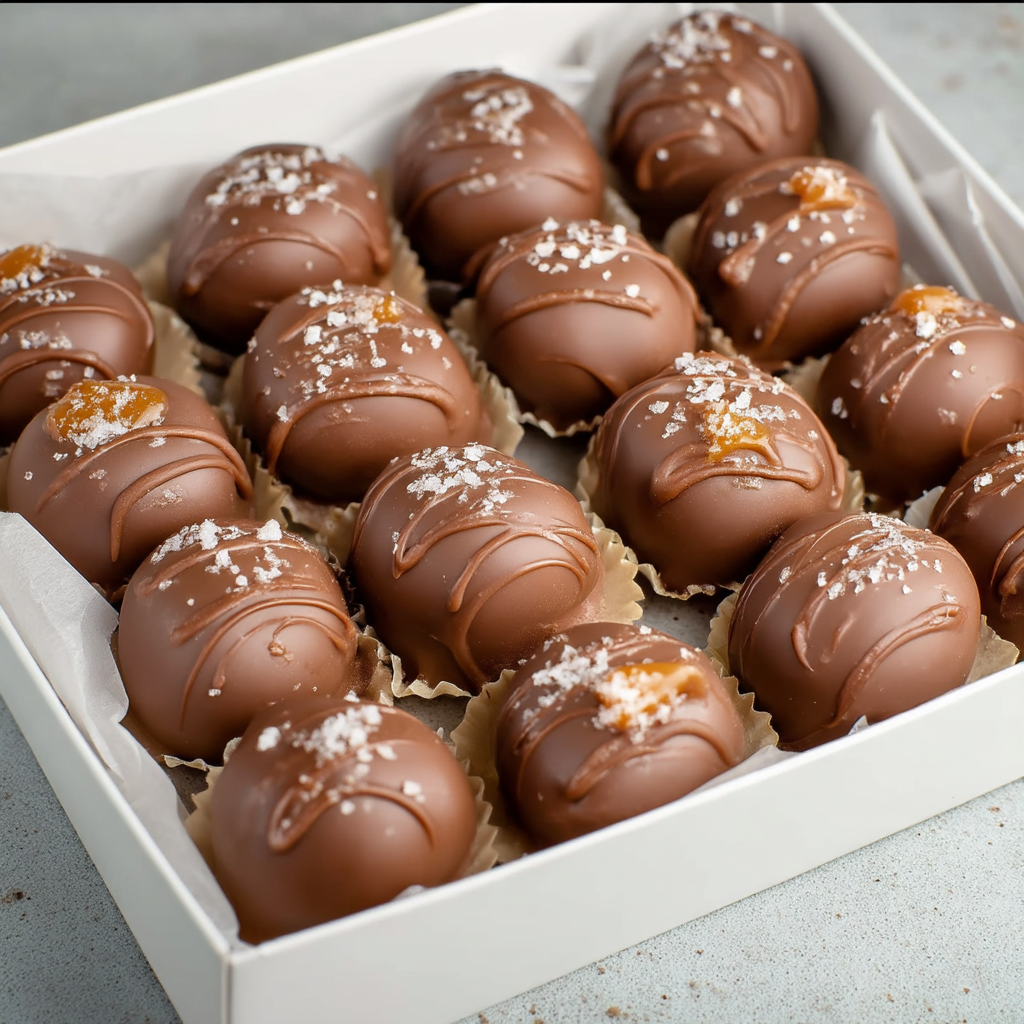
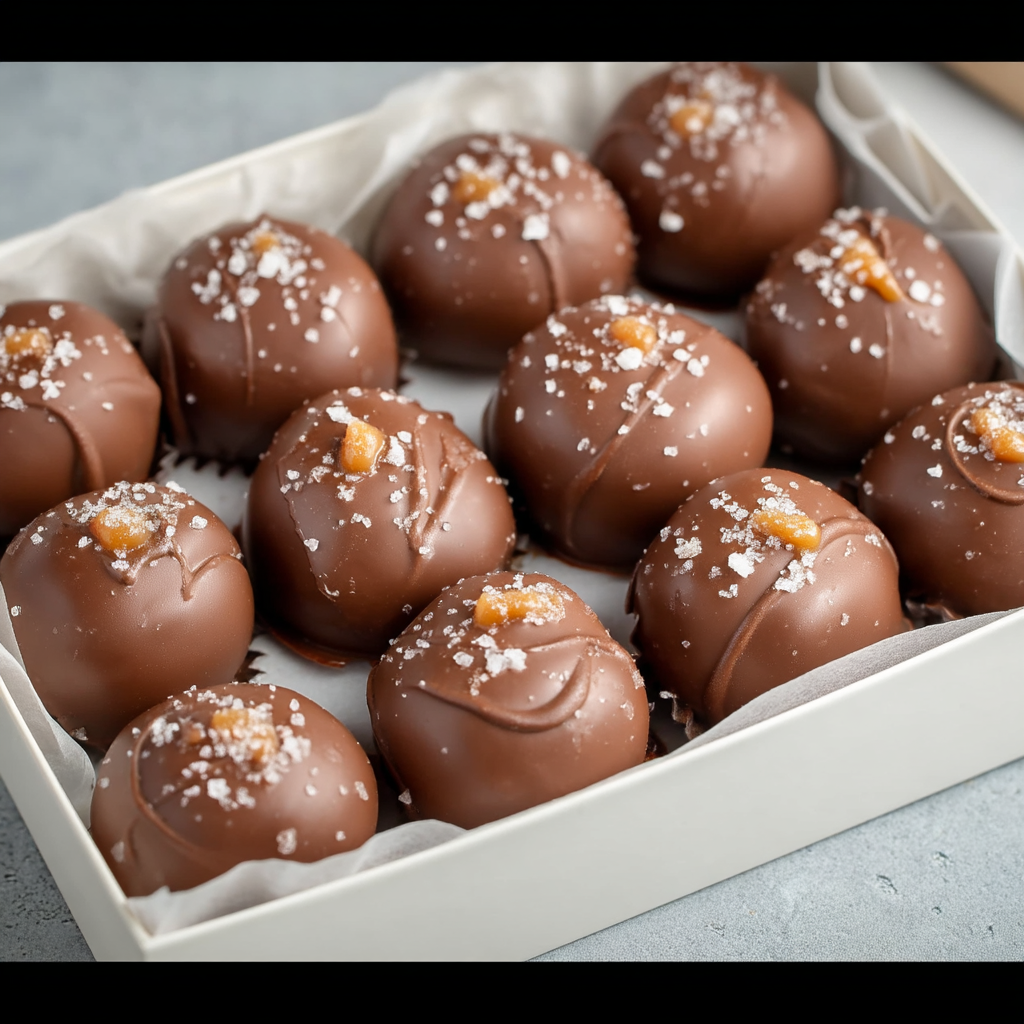
Have you ever bitten into a soft, creamy chocolate truffle that houses a gooey caramel center? This Caramel Milk Chocolate Truffle recipe achieves just that — an elegant, indulgent treat perfect for celebrations, gifts, or simply spoiling yourself. The combination of milk chocolate chips, semisweet chocolate chips, and real caramels, enriched with heavy cream and a touch of shortening, makes each truffle luscious, smooth, and temperately glossy. Whether you melt the caramels or carve them into beads, this recipe gives you a caramel‑filled chocolate shell that strikes the balance between sweet, rich, and slightly salty (if you choose salted caramels).
If you’re interested in more chocolate confection recipes, you might enjoy a Homemade Chocolate Truffles guide that shows different flavor variations, or an article on How to temper chocolate properly to ensure shiny, well‑finished chocolate coatings. These outside resources can help enhance your technique while you master the Caramel Milk Chocolate Truffle recipe.
This truffle recipe works wonderfully for gift boxes at the holidays, special dessert tables at weddings, or just as a luxurious dessert after dinner. The key ingredients — caramels, milk chocolate, semisweet chocolate, heavy cream, and shortening — are quite accessible, yet they combine to deliver a rich, professional‑quality result. The interplay of the softer, creamy milk chocolate and the deeper flavor of semisweet chocolate in the shell (or mixed in) gives dimension. The shortening helps make the final shell smoother and glossier, aiding the mouthfeel and appearance.
In making these truffles, the recipe emphasizes melting and combining, cooling to workable firmness, then finishing with tempering, coating, or dipping as desired. This Caramel Milk Chocolate Truffle recipe is not overly difficult but demands attention to temperature, consistency, and timing. If done well, you’ll have firm shells or coatings, but softly caramel‑filled centers that haven’t oozed out uncontrollably.
2. Basic Recipe: Ingredients and Instructions
Print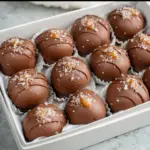
Decadent Caramel Milk Chocolate Truffle
Description
Indulge in this Caramel Milk Chocolate Truffle recipe — rich, creamy truffles with caramel centers and chocolate coatings.
Ingredients
- 26 caramels (about 2‑inch soft caramels; you may use salted or unsalted depending on preference)
- 1 cup milk chocolate chips
- ¼ cup heavy whipping cream
- 1 ⅓ cups semisweet chocolate chips
- 1 tablespoon shortening
- Optional: pinch of sea salt (for garnish) or cocoa powder (for dusting)
Instructions
- Prepare work area and tools
Line a baking sheet with parchment paper or a silicone mat. Have a double boiler or a heat‑proof bowl over simmering water, and set aside a spoon or dipping fork if you plan to dip the truffles. Also have small ice bath or cool place to chill. - Melt the caramels
In a small saucepan over low heat (or in a microwave with short bursts), combine the 26 caramels with about half the heavy whipping cream (reserve the remainder). Stir constantly until the caramels are fully melted and smooth. If needed, add a tablespoon or so more cream to reach a flowing consistency. - Form caramel centers
Using a teaspoon or melon baller, scoop small rounds or balls of melted caramel mixture onto the prepared sheet. Alternatively, pipe using a piping bag. Once you have 26 or desired number of caramel centers, place the sheet in the freezer or fridge until the caramel centers are firm enough to handle (about 15‑30 minutes). - Prepare chocolate coating
While the centers are chilling, melt the semisweet chocolate chips with the tablespoon of shortening in a double boiler or microwave in short bursts (20‑30 seconds) stirring between each interval, until fully melted, smooth, and glossy. This will be your outer shell. Set this aside but keep warm enough to maintain fluidity. - Melt milk chocolate glaze (optional layer)
If you want an inner milk chocolate layer, melt the milk chocolate chips with remaining heavy cream until smooth. Alternatively, milk chocolate can be used for coating in place of semisweet as preferred. - Assemble the truffles
Remove the firm caramel centers from the fridge. Using a fork or dipping tool, coat each caramel ball with melted semisweet chocolate shell (and milk chocolate if using layered approach). Let excess drip off. Place back on parchment. If layered: dip first in milk chocolate, allow to set slightly, then dip in semisweet shell. - Chill to set
Once coated, allow the truffles to set fully. You can refrigerate for about 30‑60 minutes until shells are firm and coatings no longer tacky. - Finish touches
Optionally, garnish with a light dusting of cocoa powder or sprinkle of sea salt on top while shells are still wet. For special finish, drizzle contrasting chocolate (e.g., white chocolate) or decorative patterns.
Notes
Choose high quality chocolate chips—semisweet chocolate with good cocoa content will deepen flavor; milk chocolate gives softer sweetness.
Be careful when melting caramels: low and slow prevents scorching. Using heavy cream helps smoothness.
Shortening helps smooth out melted chocolate and gives sheen, but use sparingly. Too much can affect flavor.
When dipping, make sure caramel centers are sufficiently cold or firm; warm caramel will leak or distort coat.
Work in a cool room if possible—heat can make chocolate temper difficult.
Keywords: caramel Milk Chocolate Truffle
3. Advanced Techniques
Below are five advanced methods to refine and elevate your Caramel Milk Chocolate Truffle recipe, improving texture, flavor, and presentation.
Tempering the Outer Chocolate Shell
Tempering chocolate ensures a glossy, firm shell with a snap when you bite in, rather than dull or soft chocolate that melts too easily. To temper, melt about two‑thirds of your semisweet chocolate over a double boiler to around 45‑50 °C (113‑122 °F), then remove from heat and stir in the remaining third chopped chocolate to bring the temperature down to suitable working range (about 28‑29 °C / 82‑84 °F). Hold around 31‑32 °C (88‑90 °F) when dipping. Proper tempering helps your truffles resist bloom (white streaks) and gives professional finish.
Using Caramel Variations for Complexity
Instead of plain soft caramel, try variations such as salted caramel, bourbon‑infused caramel, or flavored caramels (vanilla bean, coffee, or even chili‑spiced). You can melt different caramels or stir in flavor infusions (e.g., a splash of bourbon or vanilla extract) into the melted caramel center before cooling. This allows you to craft truffles with surprising flavor bursts. When using flavored or salted caramels, adjust outer chocolate sweetness or choose darker chocolate to balance.
Double Chocolate Layers
A layered shell helps create complexity: a milk chocolate inner layer and a semisweet or dark chocolate outer layer. To do this smoothly, first dip chilled caramel centers in melted milk chocolate, allow setting until just firm, then dip again in semisweet chocolate (tempered if possible). This gives a contrasting flavor (milk sweet smoothness vs. semisweet richness) and also enhances texture, as the two shells offer slightly different melting points and structural support.
Controlling Center Consistency
The ideal caramel center is soft but holds shape. To control consistency, experiment with the ratio of caramel to cream, and with chilling time. A slightly thicker caramel (less cream) yields firmer centers that resist leakage. Freeze briefly or refrigerate until well chilled before coating. Also, work with small batches so caramel does not warm from ambient heat. If caramel is too runny, allow extra chilling or reduce cream in future batches.
Decorative Finishes and Color Contrasts
Finishing touches elevate perception. Use techniques such as drizzling white chocolate or colored chocolate over the truffles for contrast, or dusting with edible gold dust, cocoa powder, or chopped nuts. Another idea: when the outer shell is still moist, sprinkle crushed sea salt or toasted nuts. Use small silicone molds or decorative liners for presentation. For example, place each truffle in a mini candy cup, or pipe with contrasting chocolate for floral or geometric designs. These details make the treat gift‑worthy and visually stunning.
See more advanced recipes at cookingwhite.com
4. Storage, Shelf Life, and Maintenance Tips
Here are best practices to store your Caramel Milk Chocolate Truffle recipe and maintain freshness, texture, and flavor.
Bold Heading: Refrigeration for Short‑Term Storage
After making the truffles, store them in an airtight container in the refrigerator. They will stay good for about 7 to 10 days if well sealed. Keep a layer of parchment between layers of truffles to avoid sticking. Before serving, allow them to sit at room temperature for 10‑15 minutes so the chocolate shell softens slightly, allowing flavor to come through fully.
Bold Heading: Freezing for Longer Shelf Life
If you want to store truffles for longer, freezing is viable. Place them on a tray to freeze solid first, then transfer into freezer‑safe airtight containers or vacuum‑sealed bags, separating layers with parchment. Properly frozen, truffles will keep for 1‑2 months. When ready to enjoy, thaw in the refrigerator for a few hours, then bring to room temperature to avoid moisture condensation on the shell.
Bold Heading: Preventing Sweating and Bloom
Chocolate shells are sensitive to temperature changes. Moving truffles from cold to warm or humid environments causes condensation (“sweating”) which can in turn cause sugar bloom or fat bloom (white haze). To prevent this, always let truffles come to room temperature in packaging, and store in cool, dry places (ideally around 15‑18 °C / 59‑64 °F). Avoid placing containers near heat sources or in direct sunlight.
Bold Heading: Maintaining Shell Gloss and Texture
To keep chocolate shell shiny and crisp, ensure proper tempering (as above). Also avoid excess moisture; if cutting or handling, warm your knife or tools slightly (wiping dry) so shell doesn’t crack and shatter unevenly. If the shell becomes dull over time, small reheating (just touching up surface with tempered chocolate) or re‑dipping can restore gloss.
Bold Heading: Optimal Container and Packaging Choices
Use rigid, airtight containers that minimize movement and protect the truffles. For gifting, use boxes with inserts or small cavities so truffles don’t bump into each other. For sealed storage, avoid plastic wrap directly on top of truffles. If layering, place parchment or wax paper in between layers. Label with date; consume first the oldest batches. Keep storage space free from strong odors—chocolate absorbs ambient scent.
5. Dietary Adaptations and Substitutions
Although rich and indulgent, this Caramel Milk Chocolate Truffle recipe can be modified to suit various dietary needs and preferences. Here are suggestions.
Bold Heading: Dairy‑Free / Vegan Version
To make a vegan truffle, substitute dairy components: use dairy‑free chocolate chips (vegan milk chocolate, dark chocolate made without milk solids), and replace heavy whipping cream with a non‑dairy alternative (coconut cream, oat cream, or soy cream). For caramels, there are vegan caramels made with coconut milk and sugar, or make your own caramel using plant‑based fats. Ensure shortening used is plant‑based and free from animal stearin. The resulting truffle will have slightly different mouthfeel but still richly satisfying.
Bold Heading: Reduced Sugar or Lower Glycemic Index
Semisweet and milk chocolate, plus caramels, carry substantial sugar. To reduce sugar, use dark chocolate (70 % cocoa or higher) which has less sugar and more cocoa solids. Choose caramels with lower sugar or make homemade versions sweetened with alternatives like coconut sugar, date syrup, or maple syrup. Also consider using sugar substitutes like erythritol, allulose, or stevia blends (in caramels and coatings). Keep in mind that sugar affects texture and set; lower‑sugar versions may be firmer or less glossy, so adjustments in cream or fat content may be needed.
Bold Heading: Nut‑Free and Allergen‑Safe Adaptations
This recipe is naturally gluten‑free, but for those with nut allergies, ensure all chocolate chips, caramels, cream, and shortening are processed in nut‑free facilities to avoid cross‑contamination. Avoid garnishes like crushed nuts. If using flavor extracts or added decorations, check labels carefully. Also, choose vegan or allergen‑safe versions where needed.
Bold Heading: Flavor Variants for Unique Preferences
If you or your guests love stronger chocolate or a more intense flavor, use dark chocolate (60‑85 %) instead of semisweet or milk chocolate for the shell. Alternatively, infuse cream with flavors: vanilla bean, coffee, orange zest, or even a hint of chili. Another variant: add a layer of finely chopped nuts (like hazelnuts or almonds) inside the shell (coating the caramel center) for textural contrast. Also, use flavored caramels (salted, bourbon, etc.) to elevate the experience.
Bold Heading: Portion Control and Mini Truffles
If you want lighter indulgence or wish to serve many, make mini‑truffles. Use small spoonfuls or mini melon ballers to form smaller caramel centers, and coat with thinner shells. Smaller size reduces caloric load per piece and allows greater variety (you can make several flavor small batches). Cooling is quicker; handling is easier; great for parties or tasting platters.
6. FAQs About the Recipe
Here are common questions about the Caramel Milk Chocolate Truffle recipe, with helpful answers and fixes for issues that might arise.
Why is my caramel center too runny or leaking?
If the caramel center leaks out after coating or becomes too soft, it may be that the caramel mixture had too much cream or was not chilled long enough prior to coating. Also, exterior chocolate shell may not have set properly or was too warm when dipping. To fix: reduce cream slightly the next time; chill centers thoroughly until they are firm to the touch (freezer works well); ensure the chocolate shell is cool and well tempered; work in a cool environment. If some leaking occurs, trimming off excess chocolate and re‑coating helps.
Why is the chocolate shell dull, blotchy, or with white bloom?
Several causes: untempered chocolate, temperature fluctuations, moisture or condensation, or storing in too warm or humid environment. To avoid this, temper chocolate properly; cool truffles gradually; avoid moving from cold to warm quickly; store in airtight container in dry, cool place. If bloom appears, it’s still safe to eat, but appearance suffers. Re‑tempering and re‑dipping may help restore shine.
How can I keep the truffles from sticking to parchment or trays?
If parchment or silicone mats are wet or have chocolate smeared, truffles may stick. Use clean, dry parchment. Lightly dust surface or tray with cocoa powder. When dipping, allow excess chocolate to drip off well before placing on tray. Use dipping fork or fork tines. Also, once shells begin to set partially (not liquid hot), handling is gentler, less chance of sticking.
Can I make truffles totally ahead of time for gifts?
Yes, you can prepare truffles several days ahead. Store in refrigerator for up to 7‑10 days in airtight container. For longer lead times, freeze truffles (see storage above). Just before gifting or serving, bring to room temperature so flavor and texture are optimal. If packaging for travel, ensure packaging cushions them, avoids heat exposure, and consider temperature control (cool packs) if warm weather.
What’s the best way to melt and work with caramel without burning or graininess?
Caramel can seize or burn if heated too rapidly or at too high heat. Use low to medium heat when melting caramels, stirring constantly. If using microwave, heat in short bursts (10‑15 seconds), stirring between each. Add cream gradually to help smooth the texture. If graininess appears, sometimes adding a tablespoon of water or a little corn syrup (if dietary permits) and cooking gently can help re‑smooth. Also ensure the caramels are soft and not too old (older or crystallized caramels are harder to melt smoothly).
7. Conclusion & Final Thoughts
The Caramel Milk Chocolate Truffle recipe stands out as a rich, elegant confection that satisfies both the candy lover’s sweet tooth and the chocolate connoisseur’s desire for depth and craftsmanship. With its gooey caramel center, smooth heavy cream, and a chocolate shell that can be adapted for sheen and flavor, each truffle feels luxurious. This is a dessert that is more than just a sweet bite—it is an experience: the soft pull of caramel, the satisfying snap of chocolate, the mix of flavors, textures, and aroma.
Making these truffles gives you room to get creative: choosing salted versus unsalted caramels, using semisweet or milk chocolate or both, adding flavor infusions, or designing decorative finishes. You can adapt the recipe for various dietary needs, for gifting, for portion control, or for presentation. That flexibility makes this recipe especially worthwhile: whether as a handmade gift, holiday confection, or impressive dinner‑party dessert, it delivers.
In addition, the satisfaction in the process—not just the outcome—is significant. You learn about temperature control, balancing sweetness and richness, working with caramel (a somewhat finicky but forgiving medium), and mastering chocolate tempering or coatings. For home cooks who enjoy confections, this is a recipe that rewards patience and precision. Even when things are less than perfect (shells less shiny, centers softer), the flavors usually carry through.
Overall, this Caramel Milk Chocolate Truffle recipe is perfect for special occasions, gifting, or for moments when you want to indulge in something decadent and lovingly made. The combination of texture (creamy center, firm shell) and flavor (sweet caramel, rich chocolate, optional salt) makes it one of the most satisfying handmade chocolates you can prepare. Try making a small batch first, refine with your favorite chocolate varieties, and then scale up for larger gifts or gatherings. These truffles deliver joy in each bite and are well worth the extra effort.