1. Introduction to the Recipe
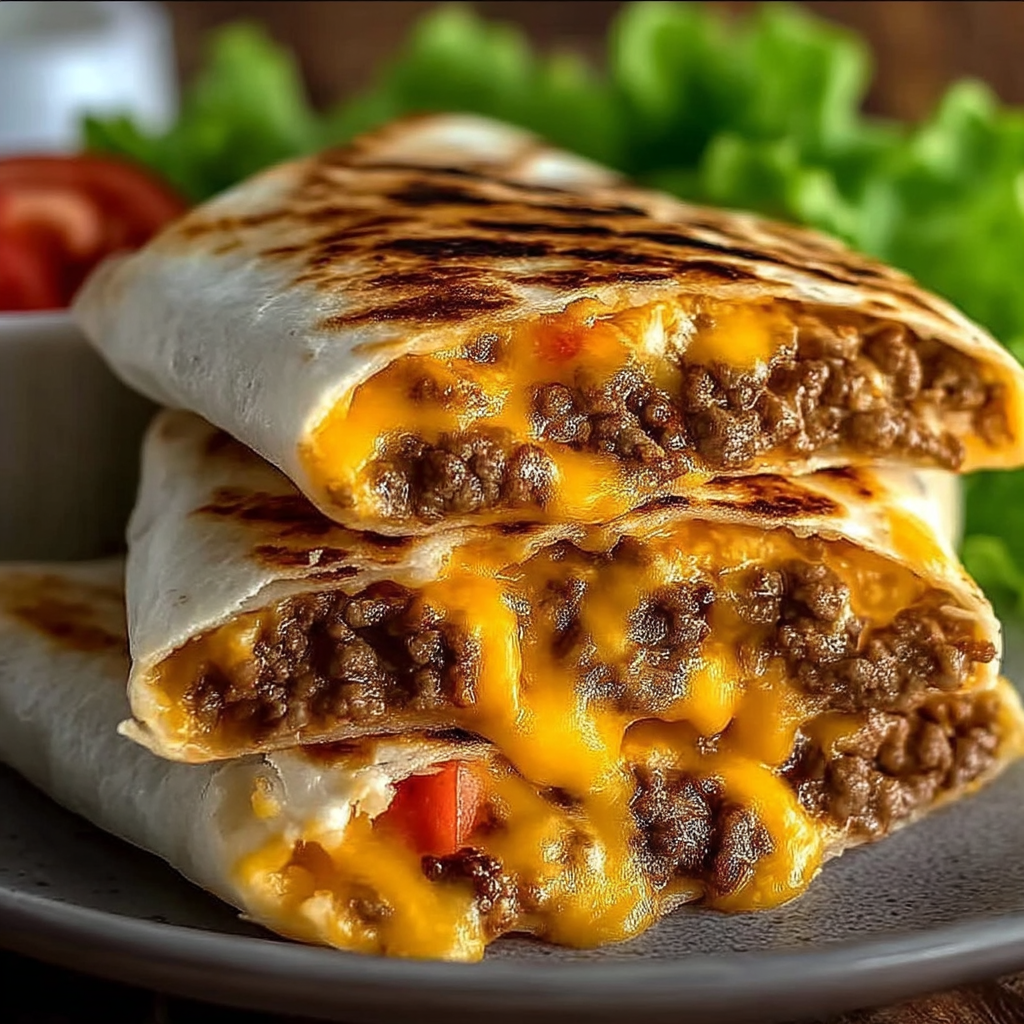
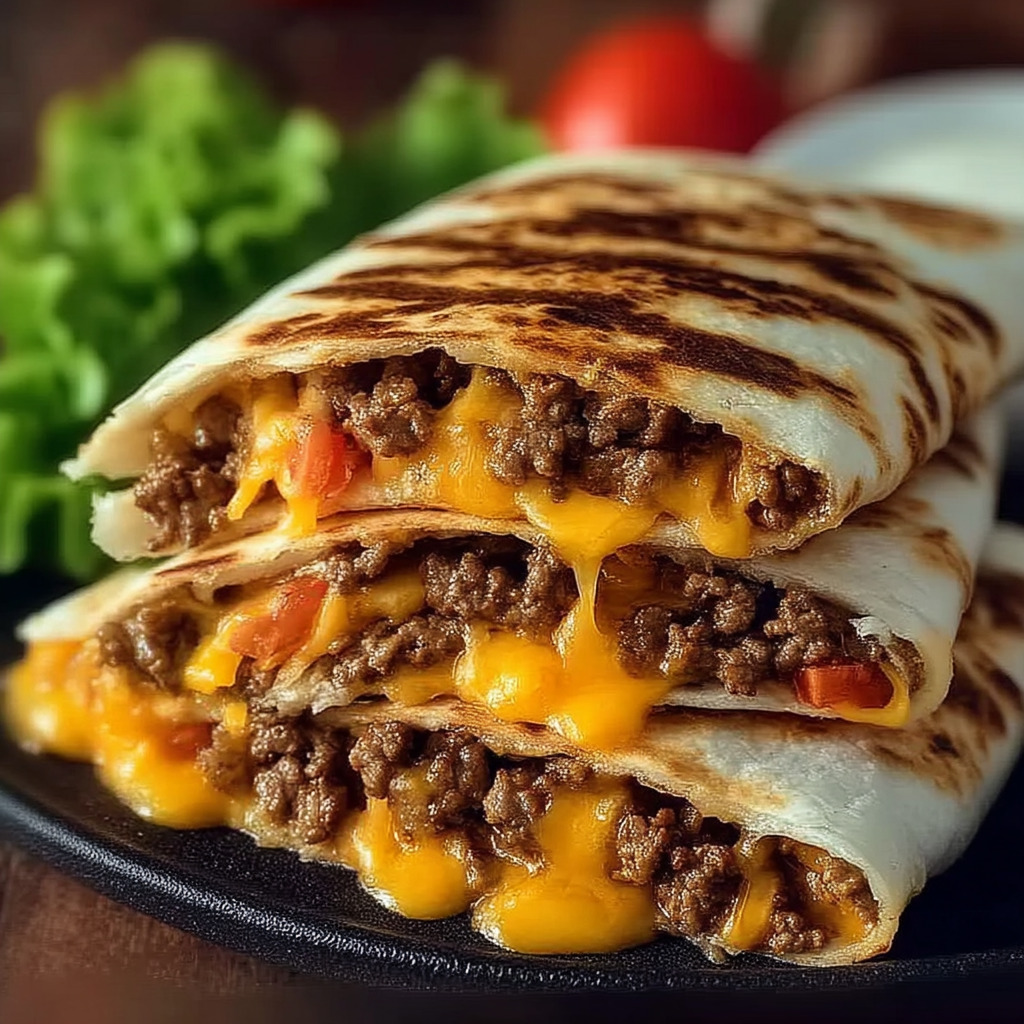
Welcome to the delightful world of Delicious Cheeseburger Wrap Bliss—a juicy, flavorful twist on the classic cheeseburger that wraps in all your favorite burger goodness in an easy, hand-held package. Whether you’re looking for a quick family dinner, a lunch box upgrade, or a crowd-pleasing party appetizer, this wrap brings together lean ground beef, melty cheese, crisp lettuce, and juicy tomato into a soft tortilla that’s portable and perfectly satisfying.
This recipe shines because it combines the fun of a cheeseburger with the simplicity of a wrap. With just a handful of ingredients—ground beef seasoned with Worcestershire sauce, ketchup, and dried minced onion—you achieve bold, familiar flavors. Then, enveloping it in a large flour tortilla with shredded cheddar (or your cheese of choice), fresh lettuce, tomato, and optional condiments like mustard or pickles brings bright textures and layers. It’s comfort food with a fresh, modern twist.
If you love burger-inspired meals, you might also enjoy this Ultimate Burger Salad for a low-carb twist or check out this tortilla warming guide to make sure your wraps stay perfectly pliable and not too chewy.
The key phrase Delicious Cheeseburger Wrap Bliss naturally fits in, signaling exactly what this recipe delivers: blissful handheld cheeseburger flavor, that’s simple and convenient. Whether you’re cooking for four or prepping ahead for lunches, this wrap hits all the right notes. It’s also versatile—add avocado, swap cheeses, go low‑carb, or make it vegetarian. Delicious Cheeseburger Wrap Bliss is your go-to recipe when you crave that meaty, cheesy burger vibe in wrap form. Let’s get rolling—literally!
2. Basic Recipe: Ingredients and Instructions
Print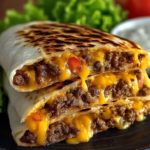
Delicious Cheeseburger Wrap Bliss
Description
Savor Delicious Cheeseburger Wrap Bliss—a juicy beef, cheddar, and veggie wrap recipe perfect for lunch or dinner in one handheld delight.
Ingredients
Burgerlicious Filling
-
1 pound (≈450 g) lean ground beef
-
1 tablespoon Worcestershire sauce
-
2 tablespoons ketchup
-
Salt and pepper, to taste
-
1 teaspoon dried minced onion
Wrap Wonders
-
5 large flour tortillas
-
Shredded cheddar cheese (or your favorite cheese), amount enough to sprinkle generously
-
Mustard (optional)
-
Slices of tomato (2–3 medium)
-
Lettuce leaves (e.g., iceberg or romaine)
-
Optional add-ins: pickles, sliced onions, avocado, or any burger favorite
Instructions
-
Prep your ingredients.
Wash and dry lettuce leaves and tomato. Slice the tomato thinly. Grate cheese if not pre-shredded. Lay out 5 large flour tortillas so they’re ready. -
Cook the beef.
In a large skillet over medium-high heat, brown the ground beef, breaking it apart with a spatula until no longer pink (about 5–7 minutes). -
Season.
Drain any excess fat. Add Worcestershire sauce, ketchup, dried minced onion, salt, and pepper. Stir well and cook an additional 2–3 minutes until fragrant and combined. -
Warm the tortillas.
Briefly warm each tortilla in a dry skillet for 10–15 seconds per side, or wrap in a damp paper towel and microwave for about 20 seconds—this makes them more flexible and easier to roll without tearing. -
Assemble the wraps.
On each tortilla, spread a thin line of mustard if using. Spoon 1/4 of the beef mixture onto each tortilla in a line down the center. Sprinkle shredded cheddar over the beef, then layer lettuce leaves and tomato slices. Add optional extras like pickles or avocado if desired. -
Roll tightly.
Fold in the sides of the tortilla slightly, then roll from the bottom up, keeping the filling snug. Secure with a toothpick if needed. -
Serve and enjoy.
Cut each wrap in half on the diagonal for easier eating. Serve immediately with your preferred dipping sauce or fries.
Notes
Tip: Warm tortillas make your wraps more pliable and help prevent cracks.
Cheese choice: Cheddar is melty and sharp, but pepper jack, Swiss, or even a mix of cheeses are delicious.
Don’t overfill: Leaving a bit of space at the edges helps with rolling.
Serving idea: Pair with crisp oven fries, coleslaw, or sweet potato chips to round out the meal.
Keywords: Cheeseburger Wrap Bliss
3. Advanced Techniques
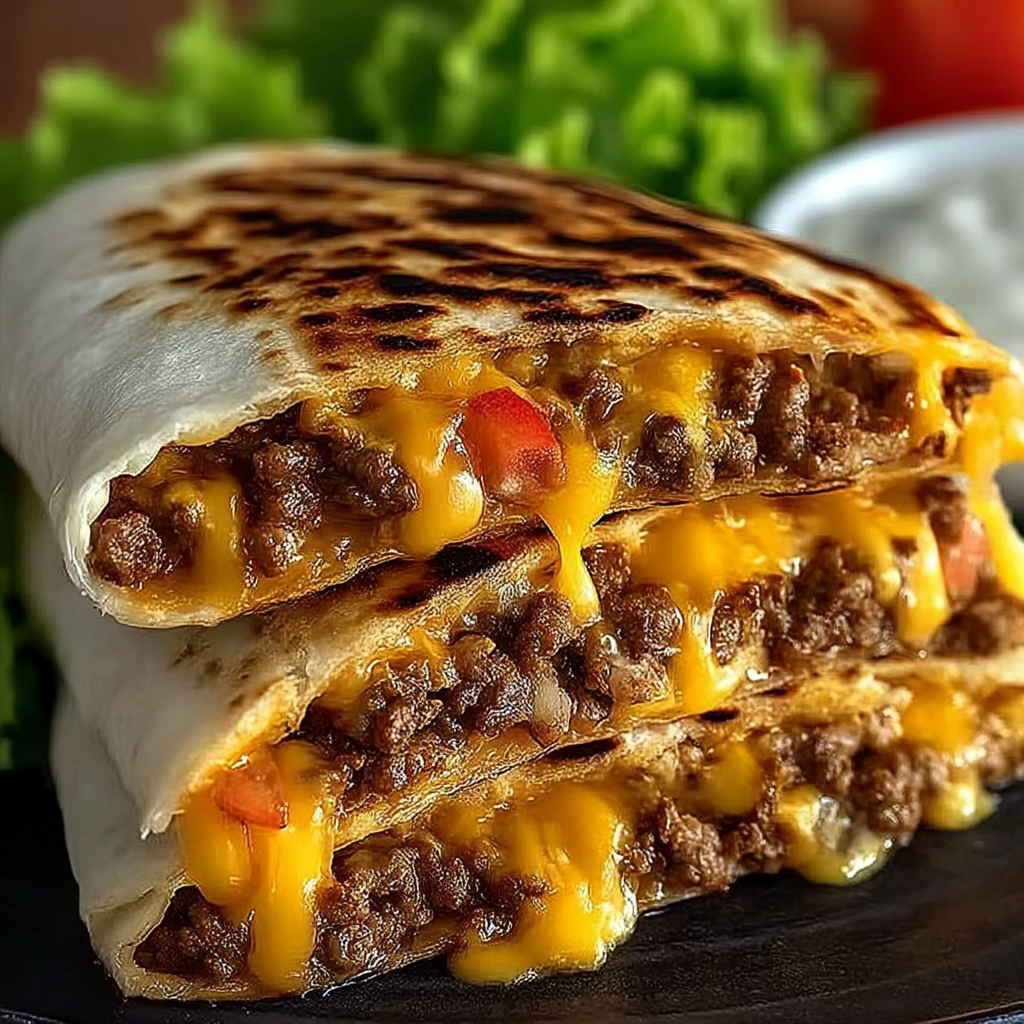
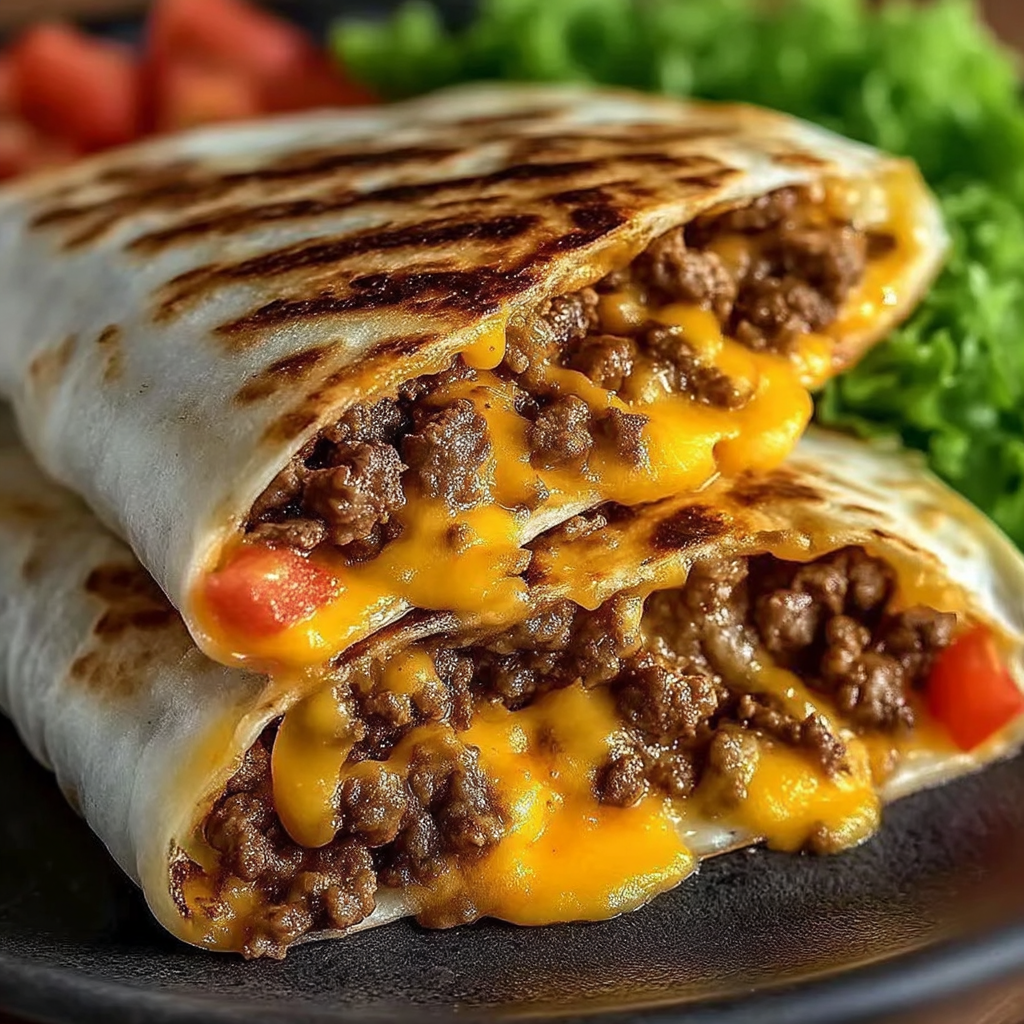
1. Bold Cheesy Melt Technique
To achieve that ooey-gooey cheese pull, grill the assembled wrap in a panini press or cast-iron skillet. Brush the outside lightly with melted butter or olive oil, press the wrap, and cook over medium-low heat about 2–3 minutes per side until golden and the cheese is luxuriously melted. This not only improves structure but adds a crispy, toasty texture to the tortilla, enhancing contrast and mouthfeel. Perfect when you want a crispy exterior with warm, melted comfort inside.
2. Flavor Pump – Add Seasoned Butter
Mix softened butter with finely minced garlic, a pinch of paprika, and a sprinkle of dried parsley. Spread this compound butter on the tortilla before layering beef and fillings. As the wrap warms, the butter melts into the wrap, imparting rich garlic‑buttery flavor and an aromatic boost. It’s a subtle yet decadent upgrade that elevates flavor beyond the simple base and introduces complexity with familiar, tasty notes.
3. Layered Crunch – Textural Play
Incorporate crunchy elements like crushed potato chips, crispy bacon bits, or thinly sliced red onion into the wrap. After the cheese but before lettuce, add a small handful—this introduces a delightful crunch that echoes burger texture and contrasts with the soft tortilla. It transforms a simple wrap into a more layered sensory experience, keeping each bite interesting and playful.
4. Mix‑and‑Match Cheese Blend
Blend two or three cheeses for flavor depth—think sharp cheddar plus smoky Gouda or creamy mozzarella. Combine roughly equal parts shredded cheddar with a milder melting cheese and a bolder one. The result is a harmonious cheesy blanket: melty, complex, and rich. This technique offers both flavor nuance and gooey texture, making the wrap taste more gourmet with minimal fuss.
5. Make‑Ahead Wrap Assembly
For meal prep, assemble wraps up to the rolling step, then individually wrap them tightly in plastic wrap or parchment and refrigerate for up to 24 hours. Reheat in an oven or toaster oven at 350 °F (175 °C) for 10–15 minutes or until heated through and cheese is melted. This boosts convenience without sacrificing taste—perfect for prepping lunch ahead and still enjoying that freshly made, cheesy satisfaction mid‑day.
See more advanced recipes at cookingwhite.com
4. Storage, Shelf Life, and Maintenance Tips
1. Fridge Storage – Short‑Term Freshness
If you plan to eat the wraps within 24–48 hours, wrap each tightly in plastic wrap or aluminum foil and place them in an airtight container. This keeps them from drying out and helps maintain texture. Stored this way, they remain safe to eat for 2 days in the fridge, and reheating them in a 350 °F oven or skillet reawakens the melty cheese and gives a revived crisp.
2. Freezer Storage – Long‑Term Convenience
Wrap each assembled (but un-toasted) wrap securely in plastic wrap and then foil. Place in a freezer-safe bag or container. Frozen, they’ll stay good for up to 2 months. To reheat: unwrap, place on a baking sheet, and bake from frozen at 375 °F (190 °C) for about 20–25 minutes until fully heated; then toast for an additional 2–3 minutes for a crispy exterior.
3. Preventing Soggy Wraps
To avoid sogginess, separate juicy ingredients like tomato or avocado—store them on the side and add fresh when you’re ready to eat. This preserves crispy texture and prevents the wrap from getting damp. If making ahead, keep cheese, lettuce, and condiments inside, but add those high‑moisture ingredients just before serving.
4. Room‑Temperature Holding for Serving
If serving at a party or buffet, wrap the wraps in foil and place them in a warming tray or insulated carrier to keep warm for up to 2 hours. Keep temperature above 140 °F (60 °C) to prevent bacterial growth. For outdoor gatherings, maintain in a covered container or cooler with a hot pack to stay safe and tasty.
5. Reheating Best Practices
Whether refrigerated or frozen, the best reheating method is using a toaster oven or conventional oven at 350–375 °F for 10–15 minutes—this warms the filling and re-crisps the wrap without turning it soggy. If using a microwave, zap briefly (30–40 seconds), then transfer to a hot skillet to restore crispness. These methods ensure texture and flavor are preserved or revived beautifully.
5. Dietary Adaptations and Substitutions
1. Vegan‑Friendly Version
Replace ground beef with plant‑based crumbles (e.g., soy or pea protein), seasoned the same way. Use vegan Worcestershire sauce (many contain anchovies, so choose “vegan” labeled), and a blend of ketchup and vegan mayo. Swap cheese with a high‑melting vegan cheddar or cashew cheese, and use a vegan tortilla. Finish with lettuce, tomato, and avocado. This adapts the wrap to be entirely plant‑based while preserving the savory, cheesy profile.
2. Gluten‑Free Adaptation
Use gluten‑free tortillas (corn or specialized flour blends). Ensure Worcestershire sauce is gluten‑free (some contain wheat), and use certified gluten‑free ketchup. The rest remains the same. This tweak allows gluten‑intolerant or celiac‑sensitive eaters to enjoy full flavor without compromise. Be sure to check labels carefully.
3. Low‑Carb / Keto Option
Swap tortillas for low‑carb wraps (almond‑flour or coconut‑flour based), or use large lettuce leaves as a “wrap” for a burger‑style lettuce wrap. Use full‑fat cheese and a sugar‑free ketchup or small dash of tomato paste for flavor. This version cuts carbs while keeping fats and proteins satisfying, fitting ketogenic or low‑carb diets comfortably.
4. Dairy‑Free Adjustment
Omit cheese or use dairy‑free cheese alternatives made from almonds, cashews, or soy. Confirm Worcestershire sauce is free of fish (use vegan version if needed). This shift maintains flavor with cheese replacements while accommodating lactose‑intolerant or dairy‑avoidant eaters.
5. Reduced‑Sodium / Heart‑Healthy Option
Use lean ground turkey or chicken instead of beef. Reduce or omit Worcestershire sauce and use low‑sodium ketchup. Skip the cheese or use low‑fat cheese. Increase fresh veggies like lettuce, tomato, and add shredded carrot or cucumber for bulk. This version cuts fat and sodium while boosting vitamins and fiber, ideal for heart‑conscious diners.
6. FAQs About the Recipe
1. Why is my tortilla cracking when I roll it?
If your tortilla cracks, it’s likely too cold or dry. Warm the tortilla briefly—either in a hot skillet (10–15 seconds per side) or wrapped in a damp paper towel and microwaved for 20 seconds—to increase flexibility. You can also brush lightly with oil or water before warming to add moisture. Slightly tuck the edges in as you roll to distribute the stress and prevent tearing.
2. How do I prevent the wrap from getting soggy?
Juicy ingredients like tomato or avocado release moisture that can sog the wrap. To prevent this, drain or dry them well, or even better, add them fresh just before eating. Alternatively, make a moisture barrier: place cheese or lettuce between the tortilla and tomato to shield against leaking liquids.
3. Can I use leftover burger patties?
Absolutely! Crumble or thinly slice leftover burger patties and reheat gently in a skillet with a splash of Worcestershire sauce or ketchup to re-juicify. Then proceed with assembly. Leftovers can be just as tasty, especially with a quick seasoning refresh.
4. What’s the best cheese for melting in the wrap?
Cheddar melts well, but for extra gooeyness go with provolone, Monterrey Jack, or a blend that includes mozzarella. Smoked Gouda or gruyère add depth and richness. Choose a cheese based on your preferred flavor profile—sharp cheddar for tang, Jack for creaminess, or a combo for both.
5. Can I make these ahead for meal prep?
Yes! Assemble wraps without toasting, wrap each tightly in plastic or foil, and refrigerate up to 1 day or freeze up to 2 months. Reheat per storage tips above. For best texture, toast or pan‑sear right before eating to refresh the wrap and melt cheese. A great time‑saving solution for busy mornings or lunches.
7. Conclusion & Final Thoughts
Delicious Cheeseburger Wrap Bliss is a joyous reimagining of a classic, marrying the hearty comfort of a cheeseburger with the modern convenience of a wrap—all in one handheld bite. Its appeal lies in familiar flavors—beef, tangy ketchup, savory Worcestershire, melty cheddar—wrapped in a soft tortilla, yet customizable and adaptable for a wide range of dietary needs, from vegan to gluten‑free to low‑carb.
What makes this wrap so special is how easily it fits into your day. It’s quick to prepare, customizable, and perfect for both busy weeknights and laid‑back weekends. Whether you’re craving a casual meal, building a lunch box, hosting a gathering, or just wanting something comforting yet streamlined, this recipe delivers. With smart techniques—like warming tortillas, layering for texture, and flavor upgrades like compound butter or cheese blends—you can elevate this simple wrap into a standout dish without much extra effort.
Moreover, the Delicious Cheeseburger Wrap Bliss is an adaptable canvas. Swap ingredients for dietary needs or taste preferences: go vegan, gluten-free, or heart-healthy with ease. It works hot or cold, for today’s dinner or tomorrow’s packed lunch, and all manner of meal-prep routines. The storage and reheating tips ensure flavor, texture, and safety no matter when it’s enjoyed.
In every bite, you get burger nostalgia, cheesy indulgence, and wrap practicality. It’s a recipe that understands real life—fast but flavorful, flexible but familiar. Whether you’re feeding family, impressing guests, or simply satisfying yourself, it’s a delicious go‑to that turns a beloved classic into a blissful, wrap-style delight. Give it a try—you might just find your new favorite way to enjoy cheeseburger comfort, conveniently wrapped with care and loaded with joy.