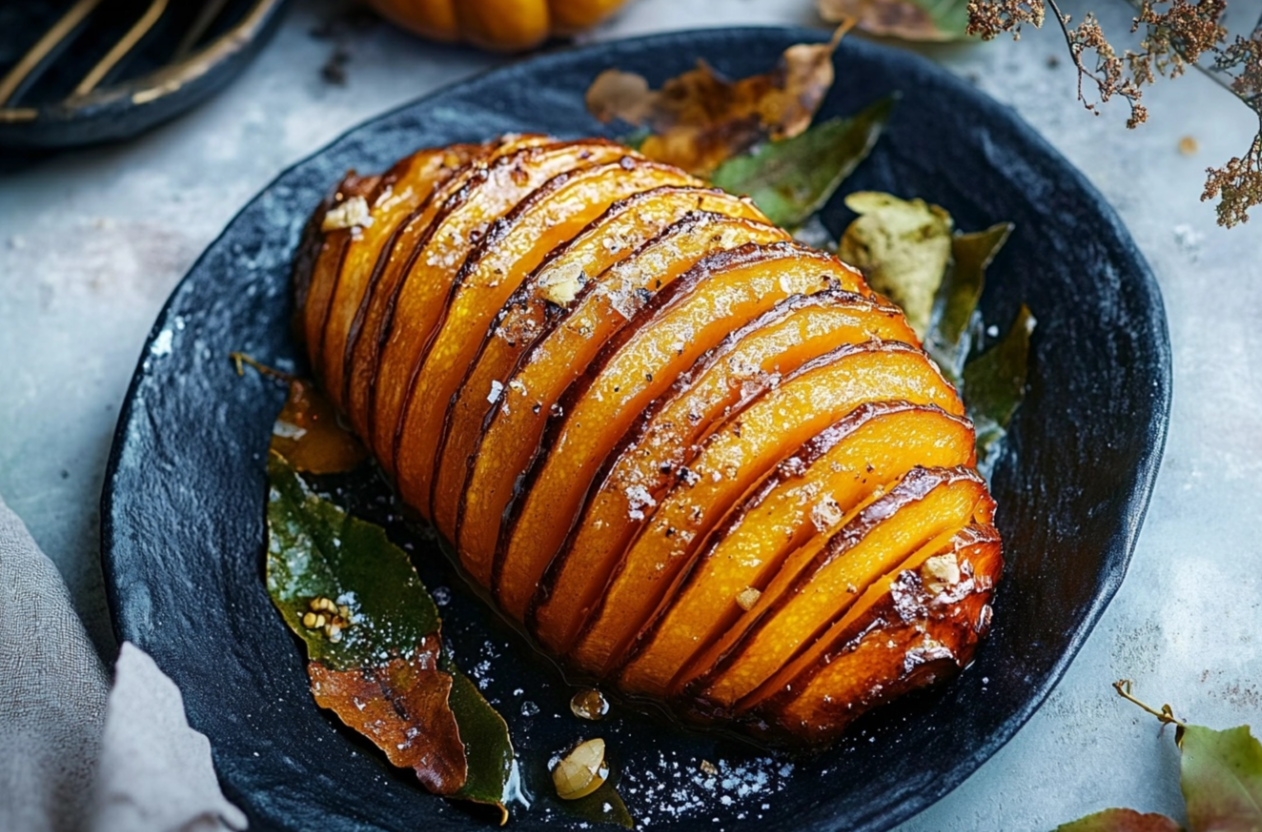
The Perfect Autumn Dish: Sticky Hasselback Pumpkin
A New Spin on Hasselback for Fall
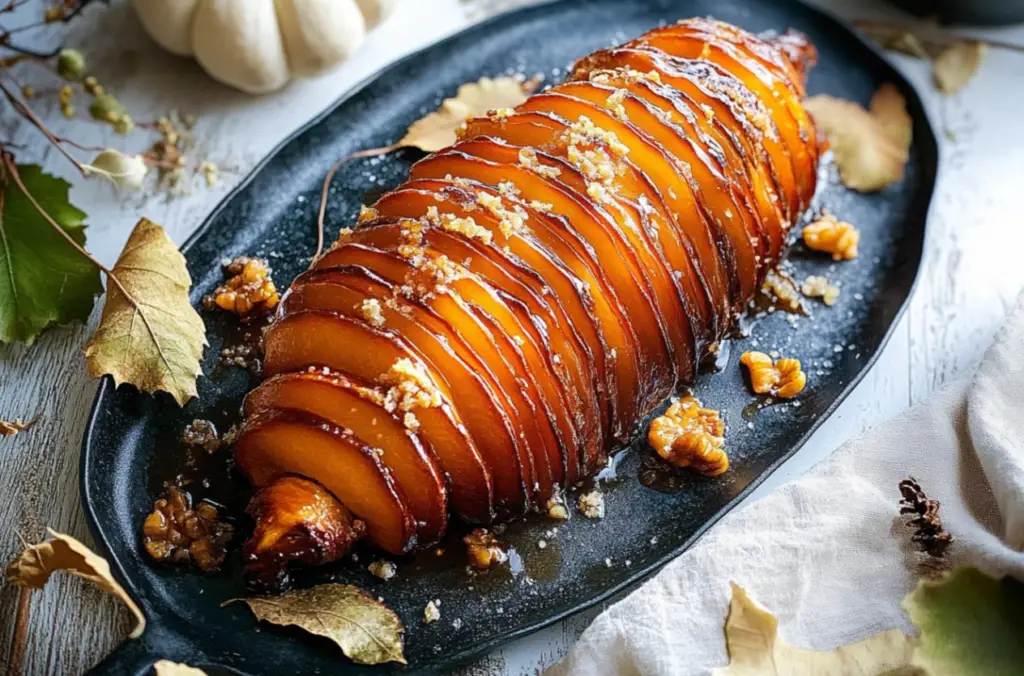
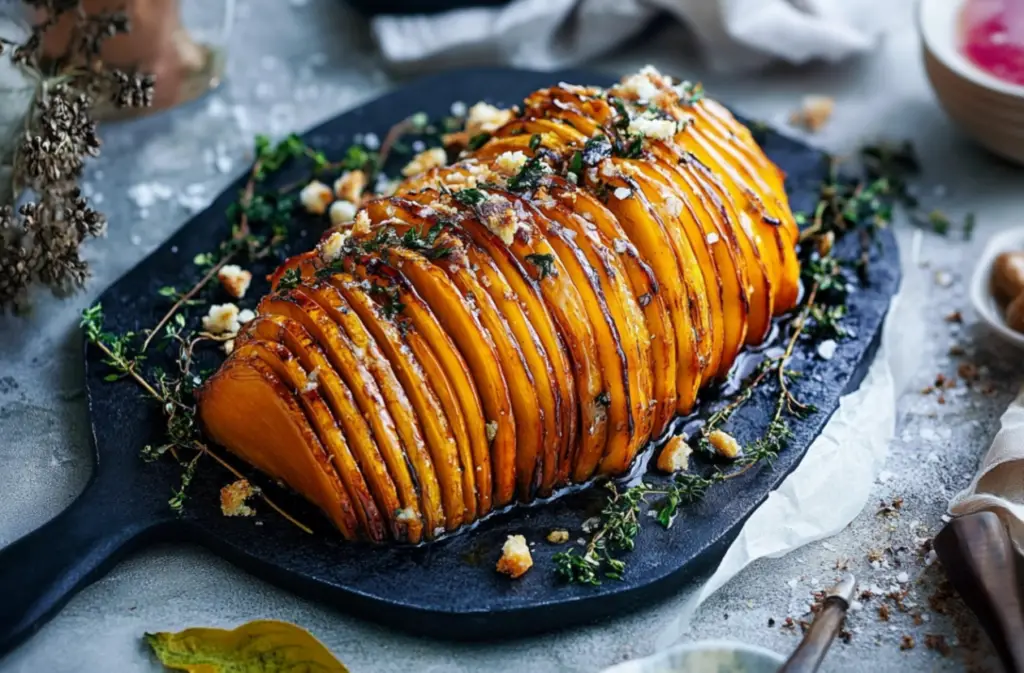
Sticky Hasselback Pumpkin is a delightful and visually stunning dish perfect for autumn gatherings. The natural sweetness of pumpkin, paired with a caramelized glaze of brown sugar and golden syrup, makes this recipe a hit for both casual dinners and holiday feasts. Its unique presentation will impress guests, making it a true centerpiece.
If you’re a fan of seasonal vegetables, this dish is for you. The Hasselback technique allows the pumpkin to absorb the sweet and savory flavors, giving every slice a perfectly roasted texture. For a flawless Hasselback result, consider reading this guide to perfecting the technique for additional tips.
Why Choose Pumpkin?
Pumpkins are not only versatile but also packed with nutrients. This Sticky Hasselback Pumpkin recipe celebrates the natural flavors of butternut pumpkin, making it a delicious yet nutritious side dish. The pumpkin absorbs the glaze and thyme, creating a harmony of sweet and savory with every bite.
For those looking to embrace more fall-inspired recipes, roasting pumpkins is a fantastic way to add a rich flavor to your meals. Check out this guide on roasting pumpkins to further enhance your fall cooking skills.
Impressive and Easy to Prepare
The great thing about Sticky Hasselback Pumpkin is that while it looks intricate, it’s surprisingly easy to prepare. By slicing the pumpkin just right and applying the rich glaze, you create a stunning side dish. Whether you’re hosting a cozy autumn dinner or contributing to a holiday potluck, this recipe is a must-try for the season.
Basic Recipe
Print
Sticky Hasselback Pumpkin
- Total Time: 75 minutes
- Yield: Serves 4-6 1x
- Diet: Vegetarian
Description
A delightful twist on the classic Hasselback technique, featuring sweet butternut pumpkin glazed with brown sugar, golden syrup, and a hint of paprika, all topped with toasted pecans for added crunch. Perfect for autumn gatherings.
Ingredients
- 1 (1.6kg) small butternut pumpkin
- 25g butter, melted
- 1/4 cup brown sugar
- 2 tbsp golden syrup
- 1 tsp paprika
- 2 tsp fresh thyme leaves, plus extra sprigs to serve
- 1/4 cup pecans, toasted, roughly chopped
Instructions
- Preheat the oven to 180°C (350°F).
- Slice the pumpkin in half and remove the seeds.
- Place the pumpkin halves flat-side down and slice thin slits, stopping just before the bottom to keep the slices intact.
- In a bowl, combine the melted butter, brown sugar, golden syrup, paprika, and thyme.
- Brush the mixture generously over the pumpkin, ensuring it seeps into the cuts.
- Roast in the oven for 50-60 minutes, basting with the glaze every 15 minutes.
- Remove from the oven and sprinkle toasted pecans and extra thyme sprigs.
- Serve hot and enjoy the sticky, sweet goodness.
Notes
If the pumpkin starts to brown too quickly, cover it with foil. For a spicier kick, add a pinch of cayenne pepper.
- Prep Time: 15 minutes
- Cook Time: 60 minutes
- Category: Side Dish
- Method: Roasting
- Cuisine: American
Nutrition
- Serving Size: 1/6 of the pumpkin
- Calories: 270
- Sugar: 15g
- Sodium: 120mg
- Fat: 11g
- Saturated Fat: 4g
- Unsaturated Fat: 7g
- Trans Fat: 0g
- Carbohydrates: 35g
- Fiber: 4g
- Protein: 3g
- Cholesterol: 15mg
Keywords: Sticky Hasselback Pumpkin
STEPS
Step 1
Step 2
Step 3
Step 4
Combine butter, sugar, syrup, paprika and ½ the thyme in a small saucepan over medium heat. Cook, stirring, for 2 minutes or until sugar has dissolved. Brush pumpkin with 1/2 the sugar mixture. Roast, brushing twice more with remaining sugar mixture, for 40 to 45 minutes or until golden and tender. Serve sprinkled with remaining thyme and extra sprigs, and pecans.
Mastering Advanced Techniques for Sticky Hasselback Pumpkin
Perfecting the Hasselback Cut
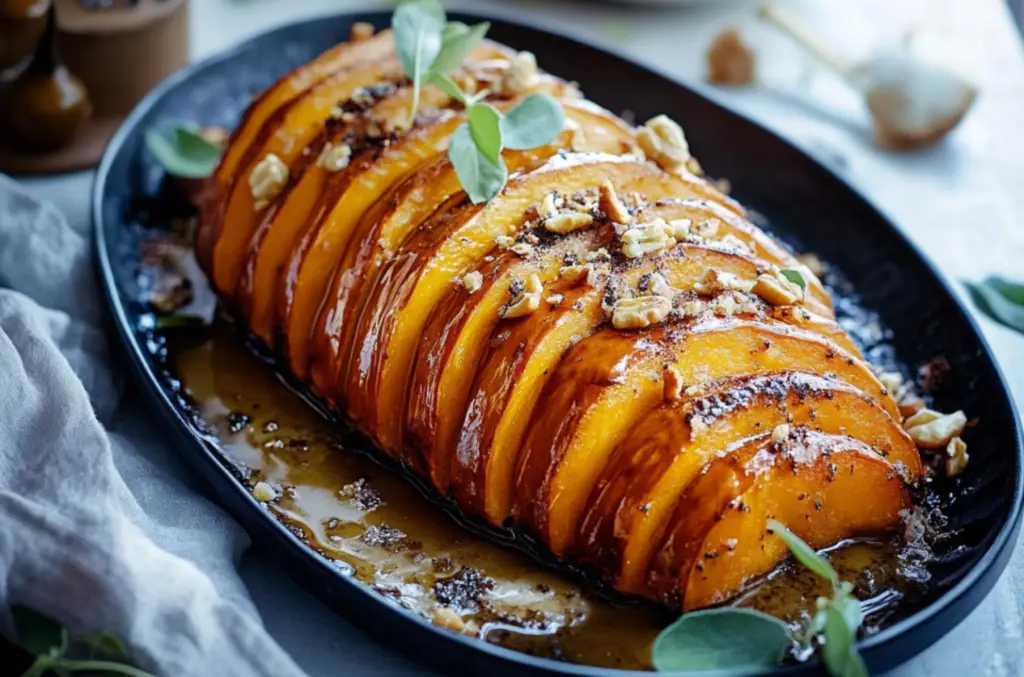
Achieving the ideal Hasselback cut is essential for the success of your Sticky Hasselback Pumpkin. The goal is to create evenly spaced slices that reach just above the bottom of the pumpkin without cutting all the way through. This technique allows the pumpkin to fan out beautifully and ensures that the glaze soaks into each slice for optimal flavor.
To make this easier, you can place chopsticks or wooden spoons on either side of the pumpkin as a guide to stop your knife from slicing too far. This step will ensure uniformity in every cut, creating that iconic Hasselback look while keeping the pumpkin intact. Remember, a well-cut pumpkin leads to even cooking and caramelization.
Enhancing the Flavor Profile
For those who want to take their Sticky Hasselback Pumpkin to the next level, consider experimenting with different flavors. While the recipe calls for brown sugar and golden syrup, you can also try adding a drizzle of honey for added richness. For a bit of heat, sprinkle a pinch of cayenne or chili powder to contrast the sweetness.
Adding fresh herbs like rosemary or sage can deepen the savory elements of the dish, complementing the caramelization of the pumpkin. These small variations can bring out new layers of flavor, turning a simple side dish into a culinary masterpiece.
Perfect Glaze Distribution
To ensure the glaze penetrates all the pumpkin slices, it’s crucial to baste the pumpkin regularly during roasting. Every 15 minutes, brush the pumpkin with the glaze, focusing on getting it into the slits to enhance the caramelization process. This regular basting guarantees a rich, sticky finish that will wow your guests.
Maintenance Tips for Sticky Hasselback Pumpkin
Proper Storage for Leftovers
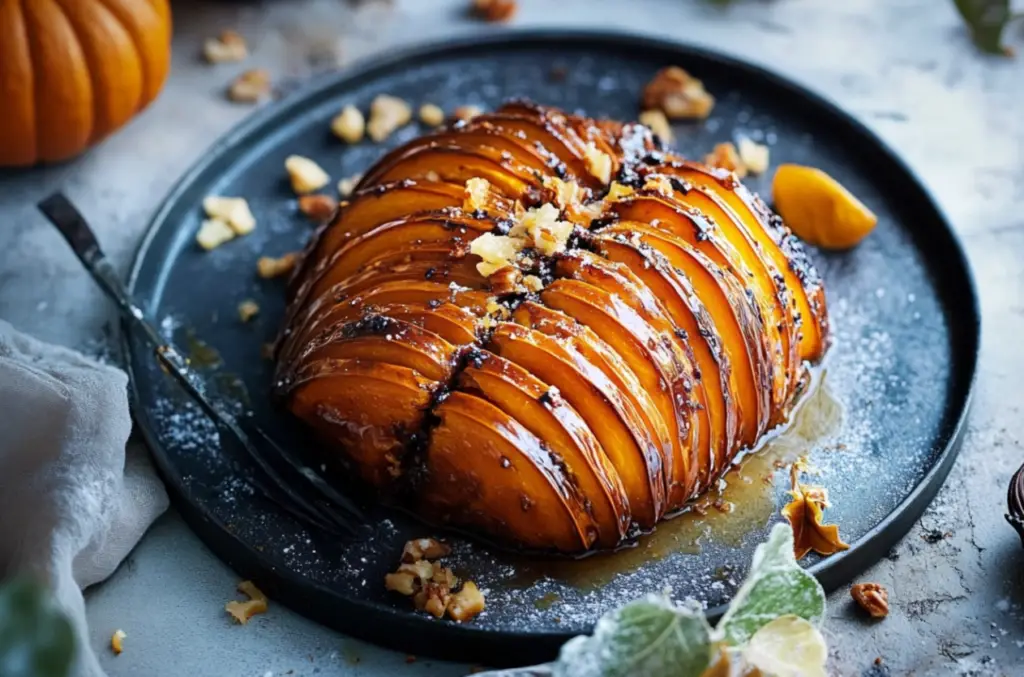
If you have leftovers from your Sticky Hasselback Pumpkin, it’s essential to store them correctly to preserve their flavor and texture. Place the pumpkin in an airtight container and refrigerate it. The dish will keep well for up to three days in the fridge. However, it’s best enjoyed fresh, as the caramelized glaze might lose some of its stickiness over time. When stored properly, your Sticky Hasselback Pumpkin will still offer that delicious combination of sweet and savory.
Reheating Without Losing Texture
Reheating Sticky Hasselback Pumpkin can be tricky, but there’s a simple way to ensure it maintains its texture. Preheat your oven to 160°C (320°F) and place the pumpkin on a baking sheet. Cover it loosely with foil to prevent over-browning and heat for about 10-15 minutes. Avoid microwaving, as this can make the pumpkin too soft and cause the caramelized glaze to lose its signature stickiness.
For an added crunch, re-toast the pecans separately before serving again.
Avoid Freezing the Pumpkin
Unfortunately, Sticky Hasselback Pumpkin does not freeze well due to its delicate texture after roasting. Freezing can cause the pumpkin to become mushy and watery upon thawing, significantly affecting the overall quality of the dish. If you’re planning to make this recipe ahead of time, it’s best to prepare it fresh, as it will guarantee the best results. Always plan your servings to avoid the need for freezing.
Following these simple maintenance tips will ensure your Sticky Hasselback Pumpkin remains flavorful and delicious, even if enjoyed the next day.
Dietary Adaptations for Sticky Hasselback Pumpkin
Vegan Adaptations
For those following a vegan diet, making Sticky Hasselback Pumpkin is straightforward with a few simple substitutions. Replace the butter with a plant-based alternative, such as vegan margarine or coconut oil. Both options will still provide the rich, glossy finish necessary for the glaze. The rest of the ingredients, like brown sugar and golden syrup, are naturally vegan, making this a hassle-free adaptation for plant-based eaters.
This easy substitution allows vegans to enjoy the same sweet, sticky finish without sacrificing flavor or texture. Plus, the dish retains its autumn appeal and works perfectly as a side dish for any vegan-friendly feast.
Nut-Free Option
If you’re catering to someone with a nut allergy, simply omit the pecans from the recipe. You can substitute with toasted seeds, such as pumpkin seeds or sunflower seeds, to maintain a crunchy topping. These seed alternatives also add a unique flavor while keeping the recipe safe for those with nut sensitivities.
Incorporating seeds instead of nuts also enhances the fall-inspired aspect of the dish, making it a perfect seasonal option that remains inclusive for all dietary needs.
Gluten-Free Friendly
Sticky Hasselback Pumpkin is naturally gluten-free, so no modifications are required to suit a gluten-free diet. The main ingredients—pumpkin, butter, and golden syrup—are all free of gluten, ensuring the dish is safe for those with gluten intolerances. This makes it a great option for holiday gatherings where guests may have diverse dietary requirements.
By making these simple adaptations, you can easily tailor Sticky Hasselback Pumpkin to suit a variety of diets without compromising its delicious flavor.
FAQs About Sticky Hasselback Pumpkin
Can I Use a Different Type of Pumpkin?
Yes, you can substitute the butternut pumpkin with other squash varieties, such as acorn squash, kabocha, or even delicata squash. These types work well because of their firm texture, which holds up beautifully during roasting. However, the cooking time might vary slightly depending on the type and size of the pumpkin you choose.
How Do I Prevent My Pumpkin From Falling Apart?
To keep your Sticky Hasselback Pumpkin intact, make sure not to cut too deep when slicing. You want to create thin, even slits without going all the way through the pumpkin. Additionally, handle the pumpkin carefully during basting to ensure the slices remain together. Using chopsticks or wooden spoons as a guide will help with achieving uniform cuts, reducing the risk of the pumpkin breaking apart.
What Should I Do If My Pumpkin Isn’t Caramelizing?
If your Sticky Hasselback Pumpkin isn’t caramelizing properly, make sure to baste it frequently during roasting. Brushing the glaze into the slits every 15 minutes will help the pumpkin develop that rich, sticky coating. Additionally, check your oven temperature; if it’s too low, the glaze may not caramelize as desired. Raising the oven temperature slightly in the last 10 minutes of roasting can also help.
Can I Add Other Spices to the Recipe?
Absolutely! Feel free to experiment with additional spices like cinnamon, nutmeg, or even cloves for a more complex flavor profile. These spices will add warmth and depth to the dish, enhancing its autumnal appeal without overwhelming the natural sweetness of the pumpkin.
Conclusion: The Ultimate Fall Dish – Sticky Hasselback Pumpkin
A Show-Stopping Dish for Any Occasion
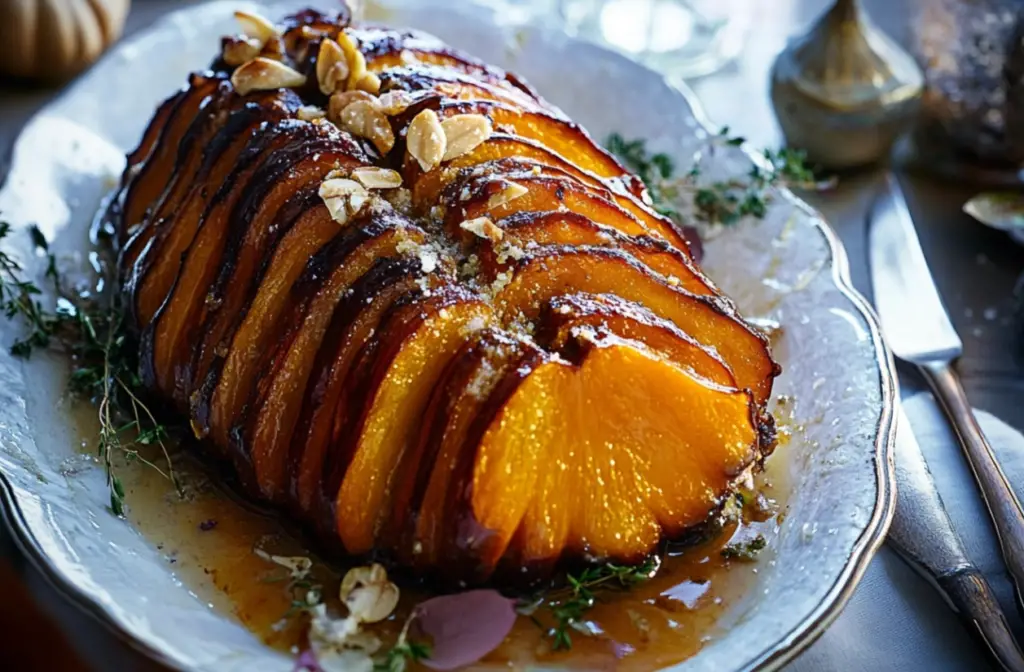
Sticky Hasselback Pumpkin is more than just a side dish; it’s a stunning addition to your fall menu that combines sweet and savory flavors with a beautifully caramelized glaze. Its eye-catching presentation makes it the perfect centerpiece for any autumn gathering, whether it’s a casual dinner or a festive holiday feast.
Easy to Customize for Different Diets
One of the best things about Sticky Hasselback Pumpkin is its versatility. Whether you need a vegan, gluten-free, or nut-free version, this dish is easily adaptable to suit a variety of dietary preferences. These simple adjustments ensure that everyone can enjoy this delicious recipe without compromising on taste or texture.
Encouraging Experimentation and Creativity
While the base recipe is already fantastic, feel free to get creative with flavors and toppings. Adding different spices or swapping out pecans for toasted seeds can give the dish a personal twist. Don’t be afraid to experiment and make this recipe your own. The key to success is maintaining the balance between the sweet glaze and the earthy richness of the pumpkin.
A Memorable Recipe for the Season
Incorporating Sticky Hasselback Pumpkin into your fall cooking repertoire guarantees a memorable dish that will impress your family and friends. The perfect combination of simple preparation, bold flavors, and elegant presentation makes it a must-try this season. Serve it warm and watch as the rich, sticky layers delight everyone at the table.

