Introduction
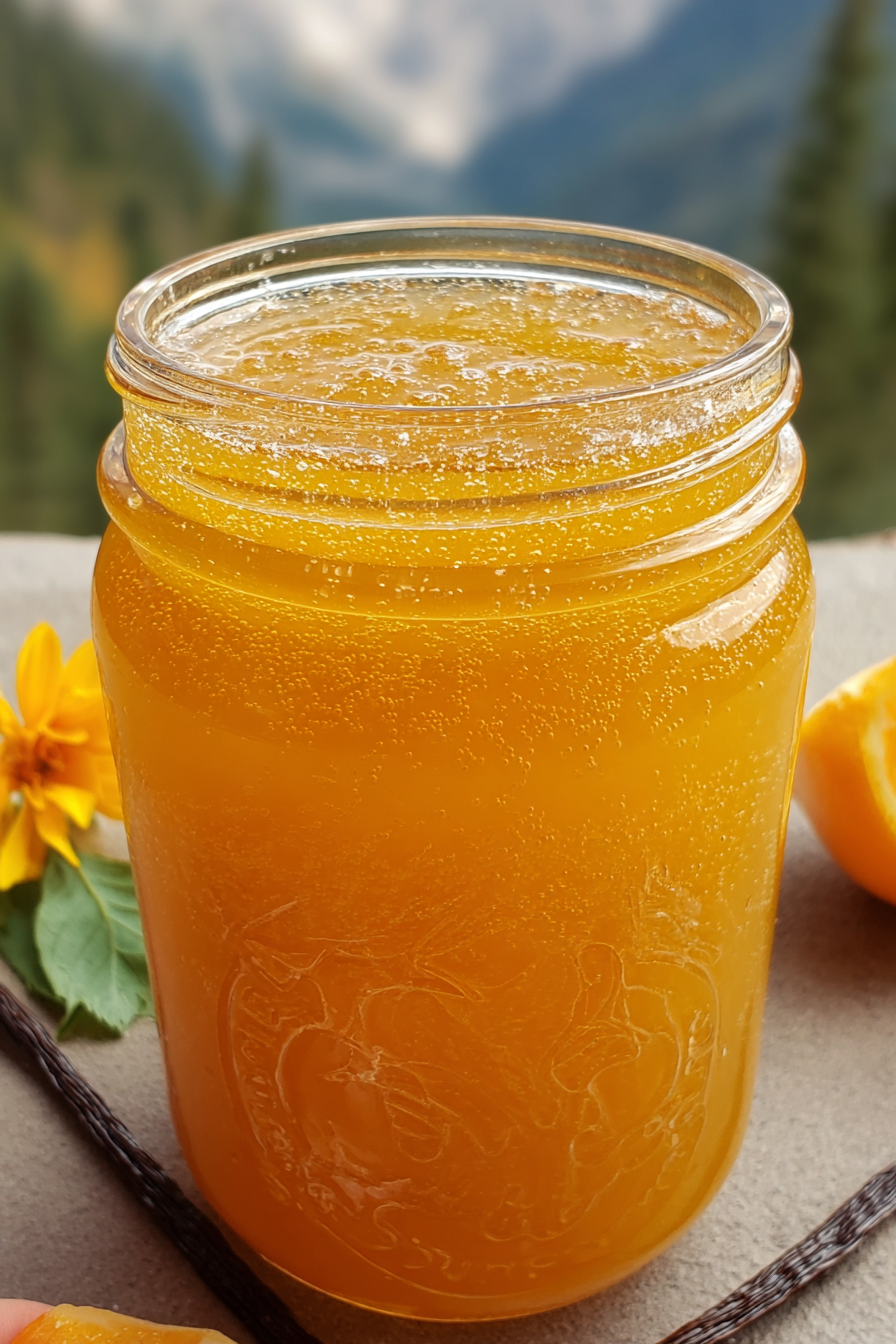
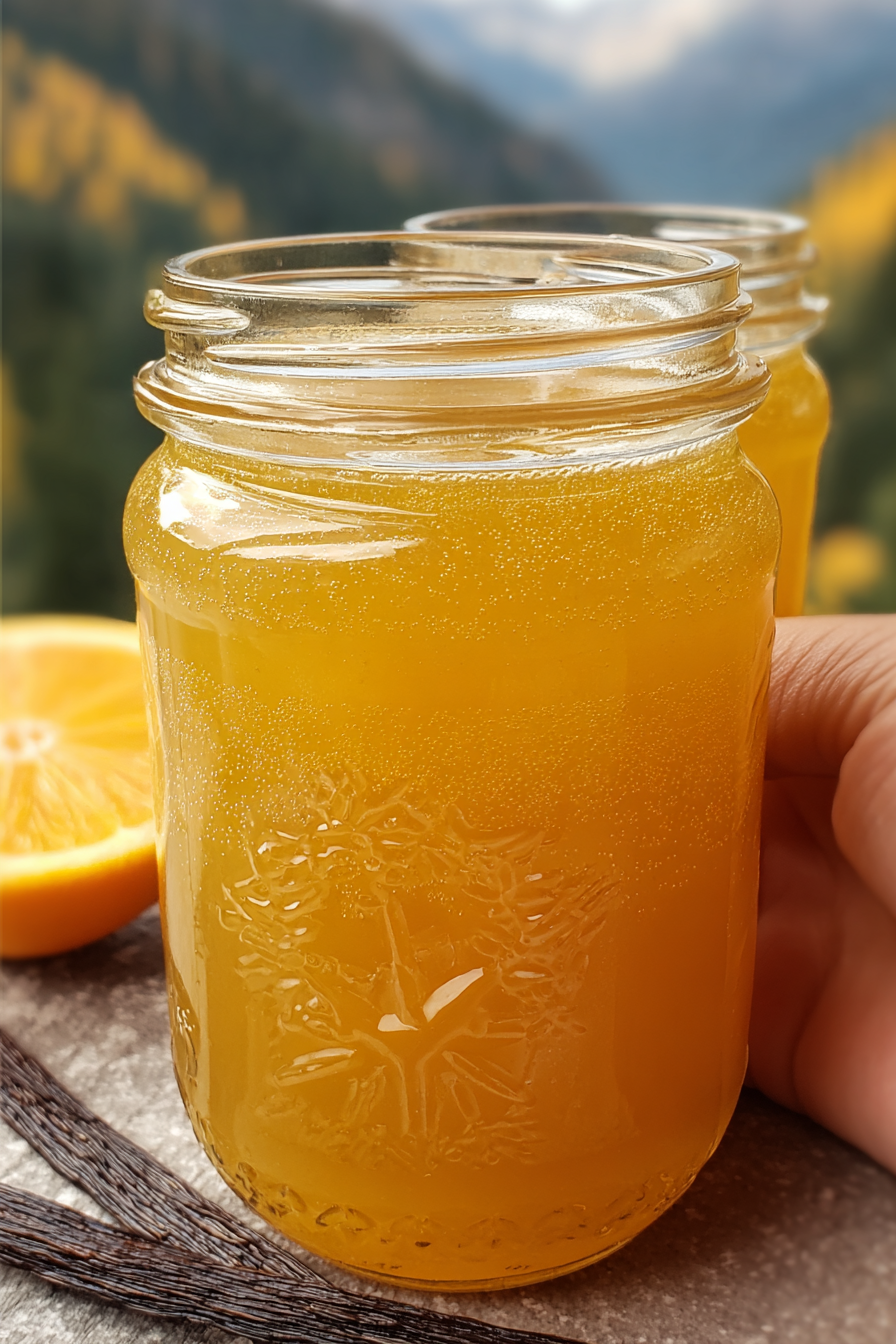
Dreamsicle Jelly is the kind of recipe that instantly sparks joy and nostalgia. Inspired by the classic orange and vanilla frozen treat, this jelly brings the same flavor combination to your breakfast table, afternoon tea, or even your favorite dessert recipes. Made with freshly squeezed orange juice, real vanilla beans, and sugar, it’s a simple yet luxurious preserve that tastes like sunshine in a jar. If you’re someone who loves citrusy brightness balanced with creamy vanilla sweetness, this jelly will quickly become a favorite in your household.
Homemade jellies may seem intimidating, but with just a few basic ingredients and a little patience, you can create a spread that’s far more flavorful and wholesome than anything store-bought. This Dreamsicle Jelly is a great introduction to the world of preserves, making it an excellent choice for both beginners and experienced home cooks. Whether you spread it on toast, swirl it into yogurt, or gift it to friends and family, it’s bound to make people smile.
My recipe story
The inspiration for this Dreamsicle Jelly recipe comes from fond childhood memories of enjoying orange-and-vanilla popsicles on hot summer days. As I grew older and spent more time in the kitchen, I wanted to find a way to capture that exact flavor in a different form—something that could be enjoyed year-round, not just when the ice cream truck rolled down the street. That’s how this jelly was born.
When I first experimented with the recipe, I started with bottled orange juice, but quickly realized that nothing compares to the vibrancy of fresh-squeezed juice. Adding real vanilla beans elevated the flavor, giving the jelly a rich, aromatic quality that no artificial extract could replicate. Over time, this recipe became a family favorite, and it’s often requested at holiday gatherings and weekend brunches. Every spoonful feels like a sweet trip down memory lane.
💡 Why You’ll Love This Recipe
- Captures the nostalgic flavors of a classic orange-and-vanilla treat in jelly form.
- Made with only three simple, wholesome ingredients—no artificial flavors.
- Versatile: delicious on toast, pastries, yogurt, pancakes, or as a cake filling.
- Perfect for gift-giving, especially during holidays or special occasions.
- Beginner-friendly recipe that requires minimal equipment and effort.
Ingredient breakdown
This Dreamsicle Jelly recipe is a shining example of how simple ingredients can transform into something extraordinary. With only three components—orange juice, sugar, and vanilla beans—you create a preserve that is both vibrant and indulgent. Each ingredient plays a vital role, balancing sweetness, brightness, and aromatic depth.
Freshly squeezed orange juice: Using freshly squeezed juice makes a world of difference in this recipe. The natural tartness and brightness of fresh oranges ensure the jelly tastes lively and refreshing. Bottled juice often lacks this freshness and can leave the jelly tasting flat.
Sugar: Sugar doesn’t just sweeten the jelly; it also preserves it by preventing spoilage. The sugar enhances the natural citrus flavors while giving the jelly its glossy finish and spreadable texture. The ratio of sugar to juice is important to achieve the right consistency.
Vanilla beans: Splitting and scraping real vanilla beans adds the “creaminess” that mimics the classic Dreamsicle flavor. Unlike vanilla extract, the beans impart tiny flecks of flavor-packed seeds and a depth that truly elevates the jelly from simple citrus preserve to something extraordinary.
Equipment you’ll need
- Large heavy-bottomed pot or saucepan
- Wooden spoon or heatproof spatula
- Sharp knife (for splitting vanilla beans)
- Fine mesh strainer (optional, if you prefer a smooth jelly)
- Sterilized glass jars with lids
- Ladle for pouring jelly into jars
- Water bath canner (optional, for long-term storage)
Step-by-step directions
- Prepare your jars: Before starting, sterilize your jars and lids by boiling them in water for 10 minutes. This ensures your jelly stays fresh and safe for storage. Let them dry on a clean towel while you prepare the recipe.
- Combine orange juice and sugar: In a large heavy-bottomed pot, pour in the freshly squeezed orange juice and add the sugar. Stir well until the sugar begins to dissolve. This mixture will form the base of your jelly.
- Add the vanilla beans: Split the vanilla beans lengthwise and scrape out the seeds. Add both the seeds and the pods to the pot. This will infuse the jelly with rich, aromatic vanilla flavor.
- Cook the mixture: Place the pot over medium-high heat. Bring the mixture to a boil, stirring occasionally to prevent sticking. Continue boiling until the mixture thickens slightly and reaches jelly consistency—this usually takes about 25–30 minutes.
- Test the jelly: To check if your jelly is ready, place a small spoonful on a chilled plate. If it wrinkles when you push it with your finger, it’s set. If not, continue cooking for a few more minutes and test again.
- Remove vanilla pods: Once the jelly is ready, remove the vanilla bean pods. You can discard them or rinse and reuse them to flavor sugar or homemade extracts.
- Jar the jelly: Carefully ladle the hot jelly into sterilized jars, leaving about 1/4-inch of headspace. Wipe the rims clean and seal with lids.
- Seal for storage: For long-term storage, process the jars in a boiling water bath for 10 minutes. For short-term storage, simply refrigerate the jars once cooled.
Variations & substitutions
One of the best parts of making jelly at home is the flexibility to experiment. You can easily tweak this Dreamsicle Jelly recipe to fit your preferences or seasonal availability of ingredients.
- Use blood oranges: For a strikingly vibrant jelly with a slightly berry-like flavor, substitute some or all of the orange juice with blood orange juice.
- Lemon or lime twist: Add a splash of lemon or lime juice for extra brightness and a tangy kick.
- Vanilla extract: If vanilla beans aren’t available, you can substitute with 2 teaspoons of pure vanilla extract added after cooking.
- Lower sugar: While sugar is important for preservation, you can experiment with low-sugar pectin if you prefer a less sweet version.
💡 Expert Tips & Troubleshooting
- Always use freshly squeezed orange juice for the brightest, freshest flavor.
- If your jelly doesn’t set, return it to the pot and cook a little longer until it reaches the wrinkle stage on the plate test.
- Keep a close eye on the boiling jelly—it can foam up quickly. Stir frequently to prevent overflow.
- Store opened jars in the refrigerator and use within three weeks for best flavor.
Storage, freezing & make-ahead
This jelly stores beautifully, making it a great make-ahead recipe. Proper storage ensures that you can enjoy the flavors of fresh oranges all year long.
Room temperature storage: If processed in a water bath canner, sealed jars can be stored in a cool, dark pantry for up to 12 months.
Refrigeration: If you skip the water bath method, store your sealed jars in the refrigerator and consume within 3 weeks.
Freezing: Dreamsicle Jelly can also be frozen. Pour cooled jelly into freezer-safe containers, leaving space for expansion, and freeze for up to 6 months. Thaw overnight in the refrigerator before using.
Serving ideas & pairings
Dreamsicle Jelly is wonderfully versatile, adding a bright and sweet flavor to many dishes. Here are a few delicious ways to enjoy it:
- Spread on warm toast, bagels, or English muffins for breakfast.
- Drizzle over pancakes, waffles, or crepes in place of syrup.
- Use as a filling for layer cakes, thumbprint cookies, or sandwich cookies.
- Swirl into yogurt or oatmeal for a fruity, vanilla-scented upgrade.
- Pair with soft cheeses like cream cheese or brie for a delightful appetizer.

FAQ
Can I use bottled orange juice instead of fresh?
Yes, but fresh juice gives the best flavor. Bottled juice may result in a less vibrant jelly.
Do I need pectin for this recipe?
No, this recipe thickens naturally through cooking and sugar concentration. No added pectin is required.
Can I use vanilla extract instead of beans?
Yes. Add 2 teaspoons of pure vanilla extract after cooking, just before jarring.
Why didn’t my jelly set?
It may not have reached the correct temperature. Cook a bit longer and use the plate test to check consistency.
How long will homemade Dreamsicle Jelly last?
If sealed properly and stored in a cool pantry, it will last up to a year. Open jars should be refrigerated and consumed within 3 weeks.
Final thoughts
Dreamsicle Jelly is more than just a recipe—it’s a jar of nostalgia, flavor, and joy. With its perfect balance of tangy oranges and smooth vanilla, it transforms simple meals into special experiences. Whether you’re spreading it on morning toast, gifting it to loved ones, or incorporating it into baked goods, this jelly delivers comfort and delight in every spoonful. It’s proof that sometimes the simplest recipes are the most unforgettable. If you’re looking for a preserve that brings sunshine into your kitchen all year long, this Dreamsicle Jelly is the perfect choice.
Print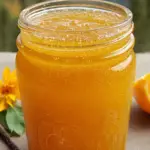
Dreamsicle Jelly
- Total Time: 45 minutes
- Yield: About 5–6 half-pint jars 1x
- Diet: Vegetarian
Description
Bright, citrusy orange juice meets smooth vanilla in this homemade jelly that tastes just like a classic orange-and-cream treat. Perfect for toast, pancakes, or gifting.
Ingredients
- 4 cups freshly squeezed orange juice
- 4 cups sugar
- 2 vanilla beans, split and scraped
Instructions
- Sterilize jars and lids by boiling them for 10 minutes, then let them dry on a clean towel.
- In a large pot, combine the orange juice and sugar, stirring until the sugar begins to dissolve.
- Split vanilla beans lengthwise, scrape out seeds, and add both seeds and pods to the pot.
- Bring mixture to a boil over medium-high heat, stirring often to prevent sticking.
- Continue cooking for 25–30 minutes until mixture thickens to jelly consistency.
- Test readiness by placing a spoonful on a chilled plate; if it wrinkles when pushed, it’s done.
- Remove vanilla pods, then ladle hot jelly into sterilized jars, leaving 1/4-inch headspace.
- Seal jars and process in a boiling water bath for 10 minutes, or refrigerate for short-term use.
Notes
Store sealed jars in a cool, dark place for up to 1 year. Opened jars should be refrigerated and used within 3 weeks. Try serving with cream cheese on bagels or as a cake filling.
- Prep Time: 15 minutes
- Cook Time: 30 minutes
- Category: Condiment
- Method: Stovetop
- Cuisine: American