
Introduction
If you love Tex-Mex food but want a healthier, lighter twist, these baked chicken chimichangas are a must-try. Inspired by Chi-Chi’s classic restaurant-style dish, this recipe delivers the bold flavors of cheesy chicken, salsa, and spices wrapped in a golden, crispy tortilla—without deep frying. Perfect for family dinners, game nights, or meal prep, these chimichangas are proof that comfort food can be both delicious and wholesome. Whether you’re a fan of Mexican-inspired meals or simply looking for a new weeknight favorite, this recipe is about to earn a permanent place in your kitchen rotation.
My recipe story
Chi-Chi’s was once a beloved chain known for its fun Tex-Mex creations, and one of their standout dishes was the chimichanga. Growing up, I remember family dinners at Chi-Chi’s where the sizzling platters and golden, cheesy chimichangas always stole the show. Years later, when the restaurants became harder to find, I wanted to recreate that nostalgic taste at home.
This baked version was born out of two needs: wanting to capture that signature crispy texture and gooey filling without the mess and heaviness of deep frying. After a few tweaks, I landed on this oven-baked technique that locks in flavor and crunch while being easier on the waistline. It’s now one of my most requested recipes by friends and family—and I’m thrilled to share it with you.
💡 Why You’ll Love This Recipe
- All the flavor of Chi-Chi’s famous chimichangas without deep frying.
- Golden, crispy tortillas thanks to oven-baking with minimal oil.
- Easy to make ahead and reheat for busy weeknights or lunches.
- Family-friendly and customizable with your favorite fillings.
- Perfect balance of cheesy, savory, and slightly spicy flavors.
Ingredient breakdown
The beauty of baked chicken chimichangas is that you don’t need a long list of exotic ingredients. Most items are pantry staples or easy to find at any grocery store. The main star is shredded chicken, which can come from freshly cooked chicken breasts, thighs, or even leftover rotisserie chicken. Using pre-cooked chicken makes this recipe weeknight-friendly without sacrificing flavor.
Cheese plays a huge role in creating that gooey, indulgent center. A mix of Monterey Jack and cheddar balances creaminess with sharpness, while salsa adds moisture and a touch of spice. Tortillas are the vehicle that holds everything together, so choosing soft yet sturdy flour tortillas ensures they bake up perfectly crisp without tearing. Finally, a light brushing of oil or melted butter on the outside helps achieve that golden-brown crunch in the oven.
Equipment you’ll need
- Baking sheet
- Parchment paper or non-stick spray
- Mixing bowl
- Cooking brush (for oil or butter)
- Knife and cutting board
- Aluminum foil (optional for reheating)
Step-by-step directions
Step 1: Prepare your chicken filling
In a large bowl, combine the shredded chicken with both cheeses and salsa. The salsa not only adds flavor but also binds the filling together, ensuring each bite is moist and flavorful. Mix well until the chicken is evenly coated with the cheesy salsa blend. If you like a little heat, you can stir in some diced jalapeños or a dash of chili powder at this stage.
Step 2: Warm your tortillas
Before assembling, warm the flour tortillas in a dry skillet or the microwave for a few seconds. This step makes them more pliable, preventing cracks when folding. A soft tortilla will wrap snugly around the filling, ensuring none of the cheesy goodness leaks out while baking.
Step 3: Assemble the chimichangas
Place one tortilla on a flat surface. Spoon about ½ cup of the chicken mixture into the center. Fold the sides over the filling, then fold the bottom and roll tightly into a burrito-like shape. Repeat with the remaining tortillas and filling. Place each seam-side down on a parchment-lined baking sheet.
Step 4: Brush and bake
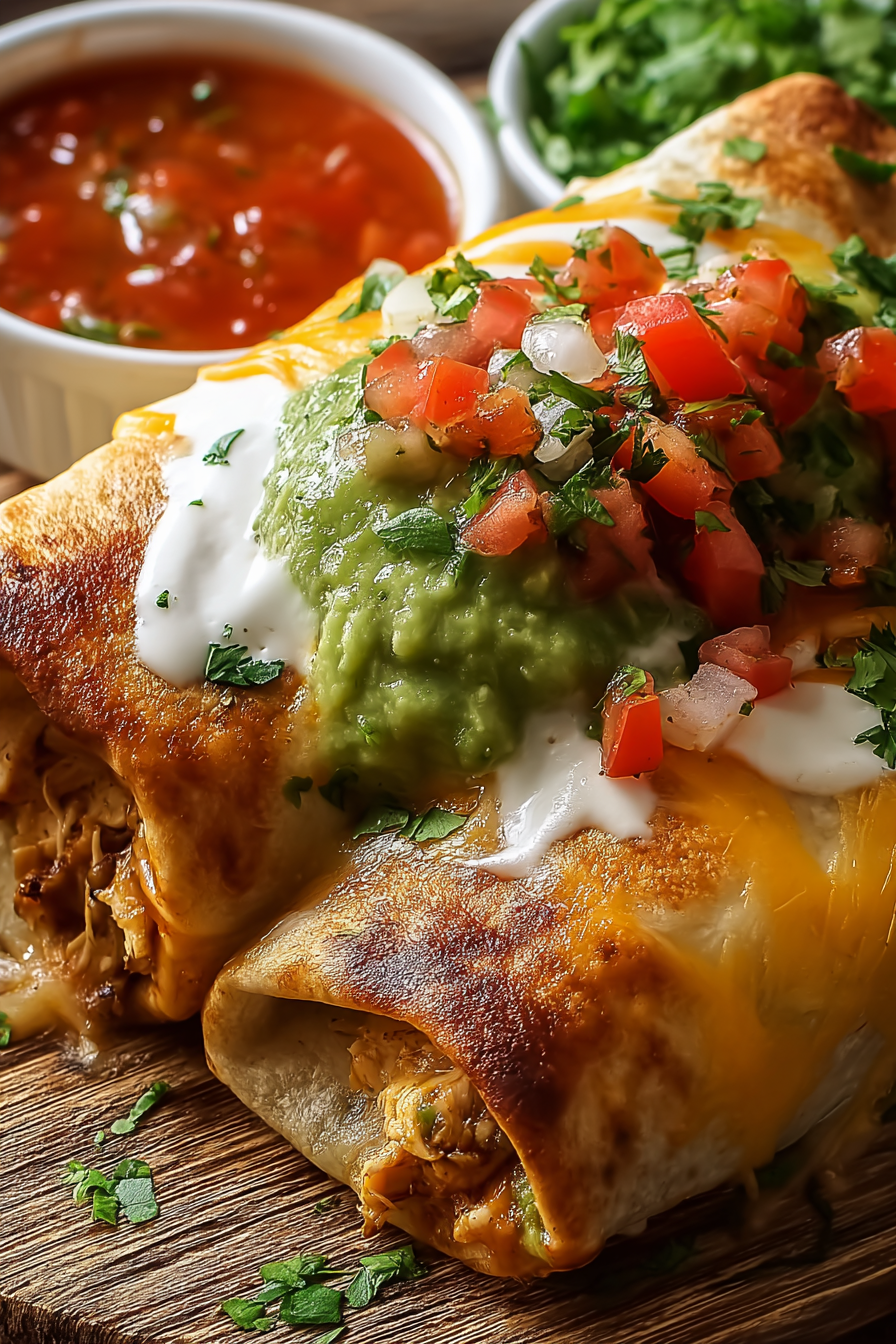
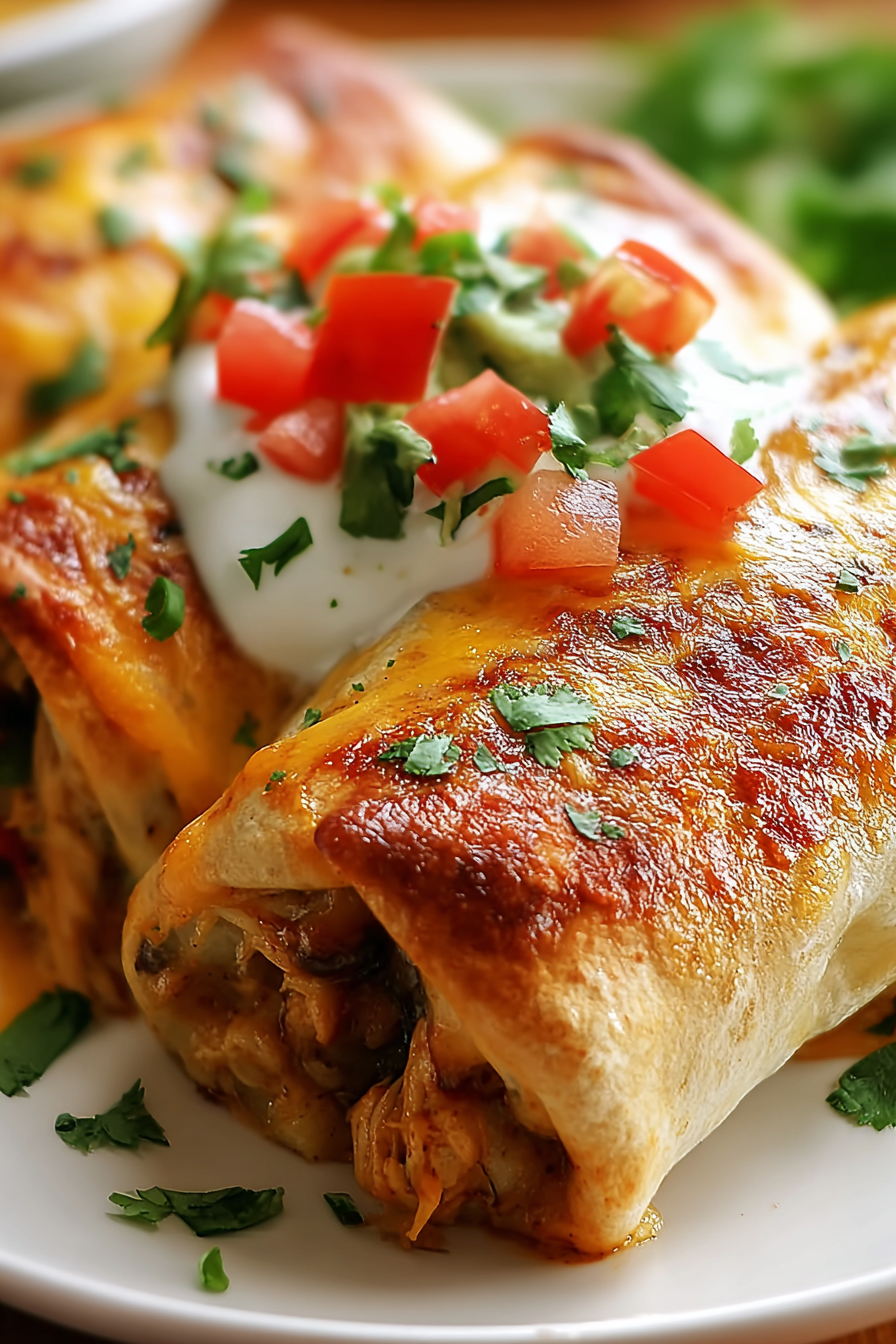
Lightly brush each chimichanga with melted butter or oil. This step is crucial for achieving that signature crispy exterior. Bake in a preheated oven at 400°F (200°C) for 20–25 minutes, flipping halfway through to ensure even browning. When done, the chimichangas should be golden, crispy, and slightly puffed.
Step 5: Serve and enjoy
Let the chimichangas cool for a few minutes before serving—they’ll be piping hot inside. Top with sour cream, guacamole, extra salsa, or fresh cilantro. Each bite delivers the perfect balance of creamy filling and crisp tortilla, making it impossible to eat just one.
Variations & substitutions
This recipe is highly adaptable, allowing you to tailor the flavors to your preference. For a smoky twist, swap the chicken for shredded beef or pulled pork. If you prefer a vegetarian option, black beans, roasted vegetables, and extra cheese make an excellent filling. You can also play with different cheeses such as pepper jack for heat or queso fresco for authenticity. For those on a low-carb diet, try using low-carb tortillas or even large lettuce leaves as a lighter wrap.
💡 Expert Tips & Troubleshooting
- Brush generously with oil or butter for a deep golden crust.
- If tortillas tear, patch small holes with an extra piece before baking.
- Flip halfway through baking to ensure even crispiness on all sides.
- Don’t overfill—the tortilla may burst in the oven.
- For extra crunch, place under the broiler for 1–2 minutes after baking.
Storage, freezing & make-ahead
Baked chicken chimichangas are ideal for meal prep. Store leftovers in an airtight container in the refrigerator for up to 3 days. To reheat, simply place in a 350°F (175°C) oven for 10–15 minutes until heated through, keeping the crust crisp. For freezing, wrap each chimichanga individually in foil or plastic wrap, then place in a freezer bag. They’ll last up to 2 months. Reheat directly from frozen by baking at 375°F (190°C) for 25–30 minutes.
Serving ideas & pairings
These chimichangas are versatile and pair beautifully with a variety of sides. Classic choices include Mexican rice, refried beans, or a fresh green salad. For a lighter option, serve with roasted vegetables or cauliflower rice. Beverages like margaritas, iced tea, or sparkling water with lime complement the flavors perfectly. Don’t forget the condiments—guacamole, pico de gallo, sour cream, and hot sauce all elevate the dish into a restaurant-worthy spread.
FAQ
Can I make these chimichangas gluten-free?
Yes, simply substitute with gluten-free tortillas. Make sure they are sturdy enough to fold without cracking.
What’s the best chicken to use?
Rotisserie chicken is the quickest option, but you can also cook and shred chicken breasts or thighs. Thighs offer more flavor and moisture.
Can I air fry chimichangas instead of baking?
Absolutely! Place them seam-side down in an air fryer basket, spray with cooking oil, and cook at 375°F (190°C) for 10–12 minutes, flipping once.
How do I prevent soggy chimichangas?
Make sure your filling isn’t too wet. Drain excess liquid from salsa or cooked vegetables before assembling.
Are chimichangas the same as burritos?
Not quite. While both are tortilla wraps with fillings, chimichangas are traditionally fried or baked, giving them a crispy texture unlike burritos.
Final thoughts
Chi-Chi’s baked chicken chimichangas are proof that you don’t have to sacrifice flavor to enjoy a healthier version of a restaurant classic. With a crispy golden shell, cheesy chicken filling, and endless customization options, this recipe is sure to become a household favorite. Whether you’re hosting friends, feeding your family, or meal-prepping for the week, these chimichangas check all the boxes: easy, flavorful, and satisfying. Give them a try, and you’ll see why they remain one of the most beloved Tex-Mex creations of all time.
Print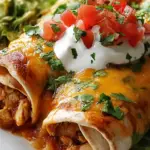
Chi-Chi’s Baked Chicken Chimichangas
- Total Time: 40 minutes
- Yield: 6 chimichangas 1x
Description
Crispy baked chicken chimichangas with cheesy Tex-Mex flavors. A lighter twist on the classic Chi-Chi’s favorite! Perfect for family dinners.
Ingredients
Instructions
- Preheat oven to 400°F (200°C) and line a baking sheet with parchment paper.
- In a bowl, mix shredded chicken, cheeses, and salsa until well combined.
- Warm tortillas to make them pliable. Place about 1/2 cup filling in the center of each tortilla.
- Fold sides, then roll tightly into a burrito shape. Place seam-side down on the baking sheet.
- Brush tops with melted butter or oil, then bake for 20–25 minutes, flipping once halfway, until golden and crispy.
- Serve hot with your favorite toppings like sour cream, guacamole, or fresh salsa.
Notes
For extra crunch, broil for 1–2 minutes after baking. Store leftovers in the fridge for up to 3 days or freeze for up to 2 months.
- Prep Time: 15 minutes
- Cook Time: 25 minutes
- Category: Main Course
- Method: Baking
- Cuisine: Tex-Mex, American