Introduction to the Recipe
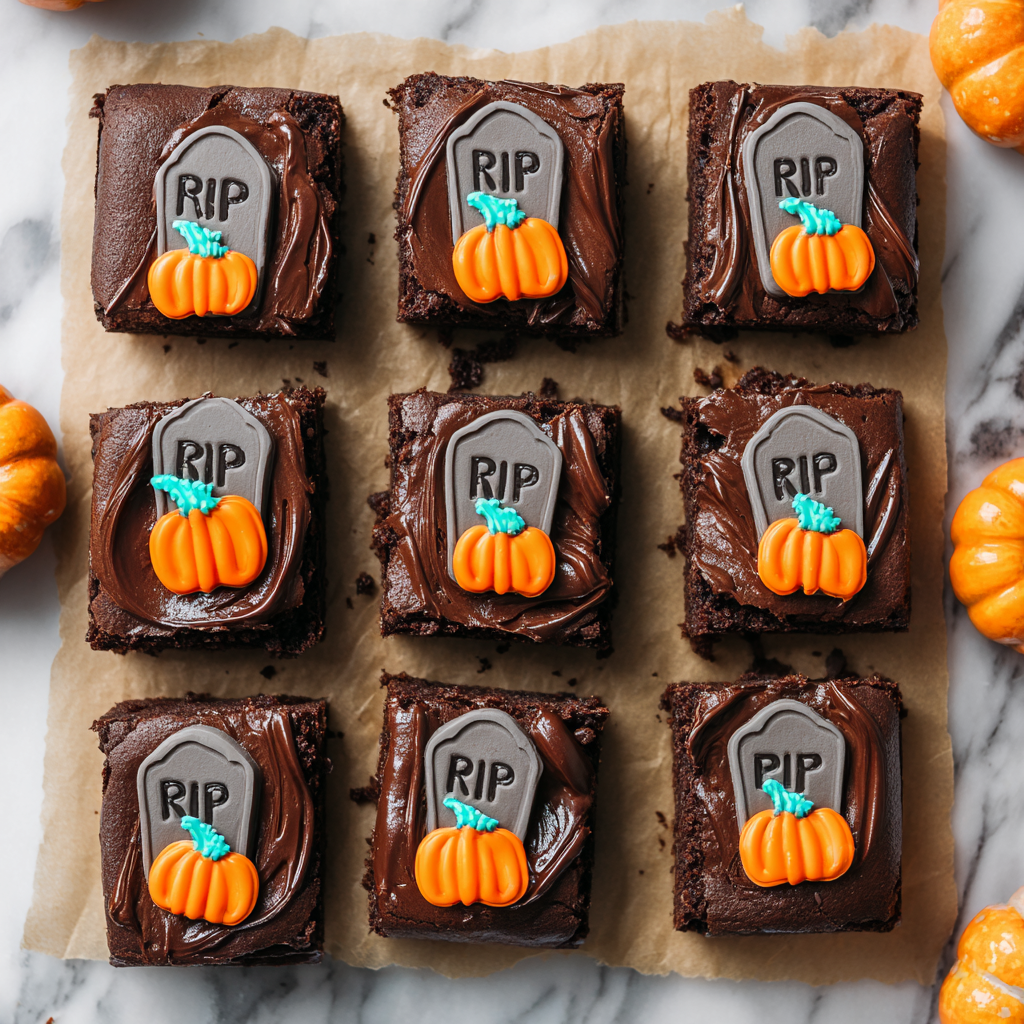
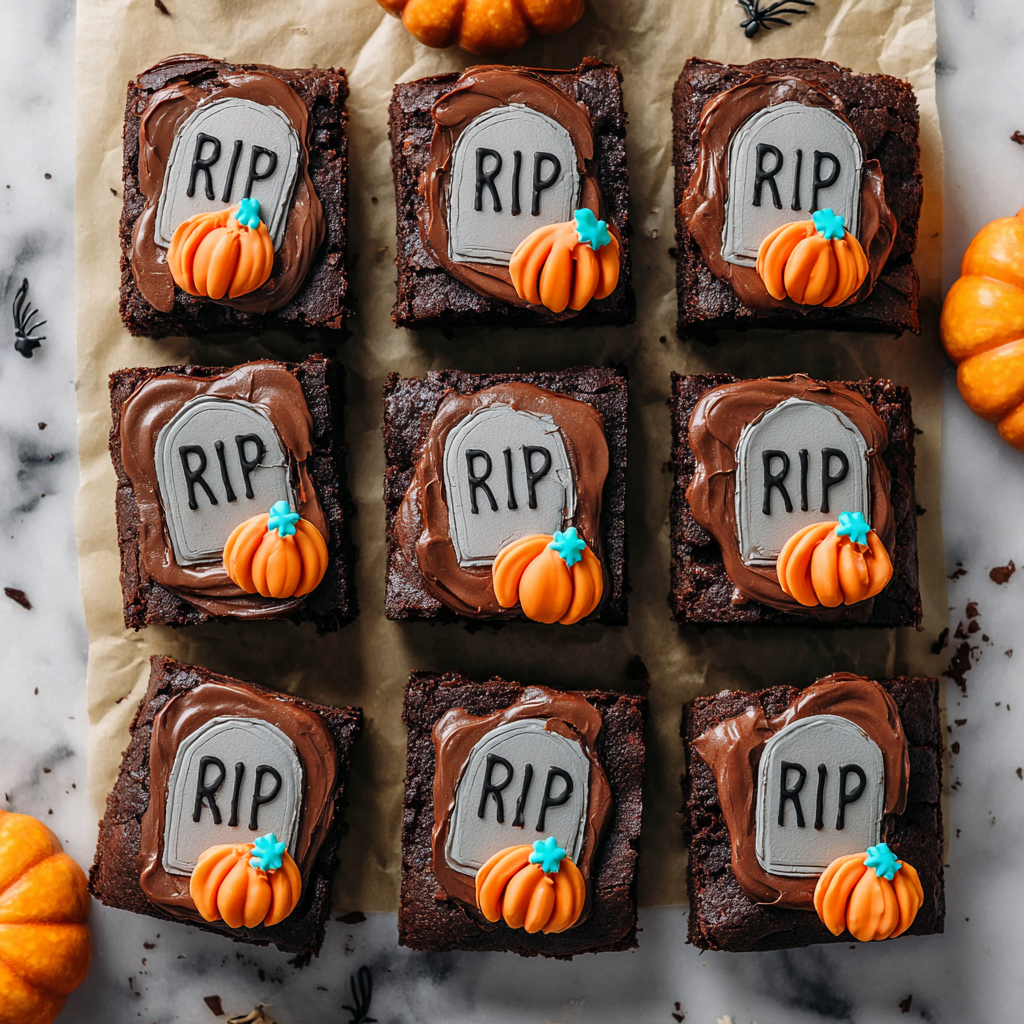
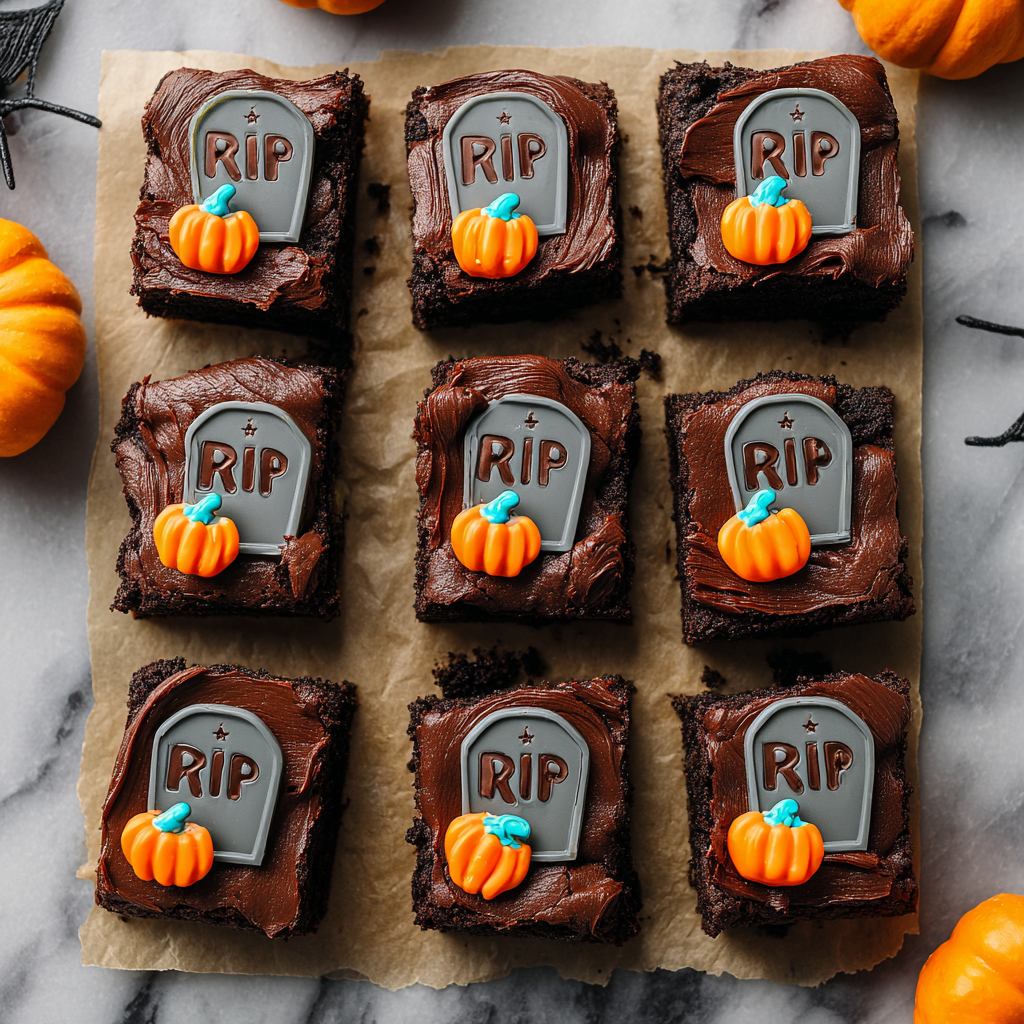
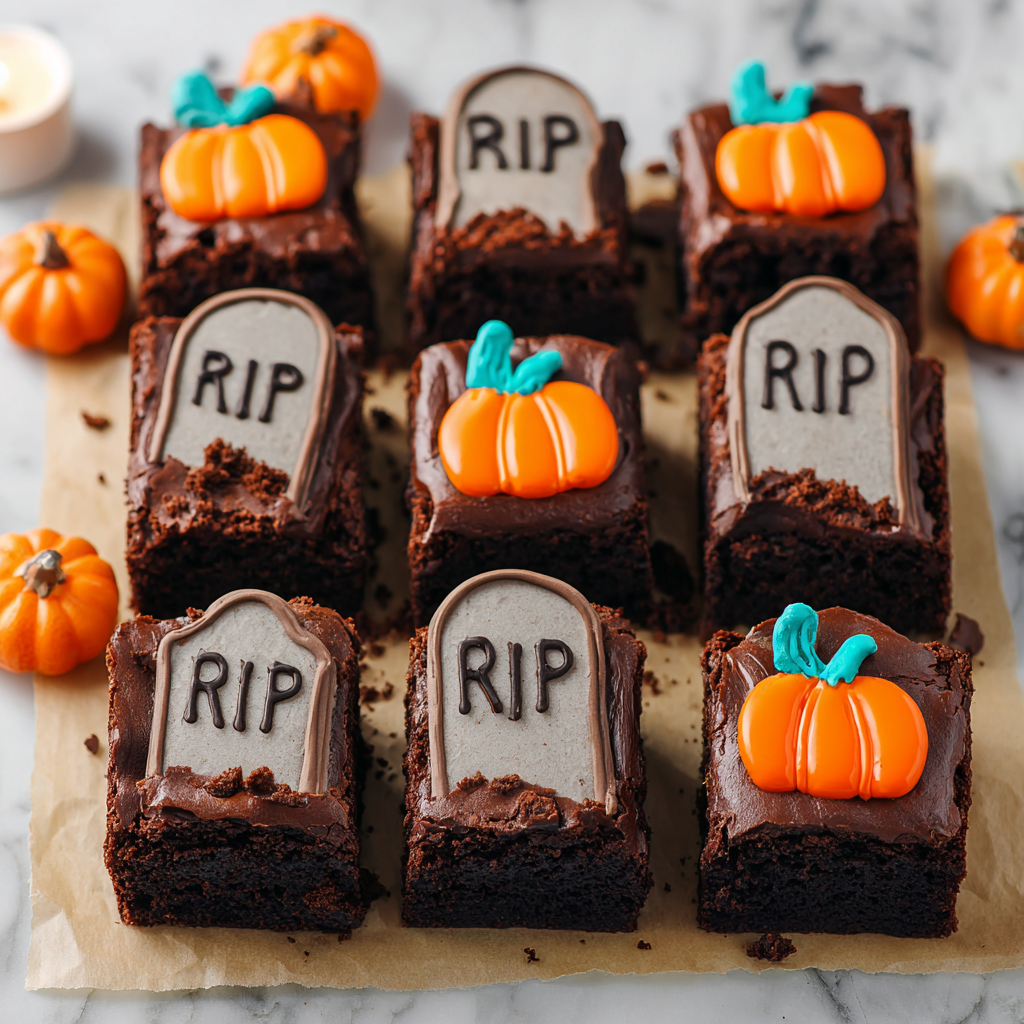
If you’re planning a Halloween party and want a treat that’s both spooky and scrumptious, look no further than Graveyard Brownies. These delightfully eerie dessert bars start with rich, fudgy brownies, then get a ghoulish makeover with cookie tombstones, chocolate “dirt,” and tiny candy pumpkins sprouting from edible soil. They look straight out of a haunted bakery but are so simple to make that even beginner bakers can pull them off.
The base uses a standard box brownie mix — a timesaver that delivers consistent results every time. Once baked and cooled, the fun begins: crushed chocolate cookies mimic dirt, Milano-style cookies become gravestones, and a few candy pumpkins or gummy worms complete your edible cemetery scene. Kids love helping decorate, and adults love that deep chocolate bite beneath the spooky surface.
For best results, see our guide to baking fudgy brownies without cracks and pair these brownies with Creepy Deviled Eggs for Halloween for a sweet-and-savory party duo. Whether you’re hosting a haunted house, classroom event, or cozy movie night, these Graveyard Brownies will be the star of your Halloween spread.
Basic Recipe: Ingredients and Instructions
Print
Easy Halloween Graveyard Brownies
Description
These Graveyard Brownies are fudgy Halloween treats topped with cookie tombstones, crushed “dirt,” and candy pumpkins.
Ingredients
- 1 box brownie mix (plus ingredients listed on the box)
- 12 rectangular cookies (such as Milano or Vienna Fingers)
- Black gel or chocolate icing for writing
- Crushed chocolate sandwich cookies for “dirt”
- Candy pumpkins for decoration
Instructions
1. Bake the brownies.
Prepare the brownie mix according to package directions. Bake in a 9×13-inch pan and cool completely before decorating.
2. Create the tombstones.
Use black gel or melted chocolate to write spooky phrases like RIP, Boo, or tiny cross symbols on each cookie. Let them set while you prep the topping.
3. Make the dirt layer.
Crush chocolate sandwich cookies in a zip-top bag until fine and crumbly. Sprinkle the crumbs generously over the cooled brownie surface to form edible soil.
4. Assemble the graveyard.
Cut the brownies into rectangles or squares. Insert one cookie “tombstone” vertically into each piece, pushing gently so it stands upright.
5. Add decorations.
Press candy pumpkins, gummy worms, or candy bones into the “soil.” Chill briefly to secure the toppings before serving.
Notes
For neat cuts, chill brownies before slicing.
If using Milano cookies, pipe a bit of frosting on the base to help them stick upright.
Add a drizzle of chocolate syrup for muddy realism.
Let kids personalize tombstones with icing pens for a fun family project.
Keywords: Graveyard Brownies
Advanced Techniques
Making Bakery-Style Fudgy Brownies
Underbake slightly by 1–2 minutes for a dense, gooey center. Use oil instead of butter for extra moisture, and cool completely before decorating to avoid melting the icing.
DIY Tombstone Cookies
If you can’t find rectangular cookies, bake sugar-cookie slabs and cut them into tombstone shapes. Tint with gray royal icing for a weathered-stone look. Adding cracks with darker piping makes them hauntingly realistic.
Creating Depth in the Graveyard
Instead of flat dirt, build “mounds.” Use a spatula to raise sections of crushed cookies and tuck pumpkins or worms halfway into the crumbs. It gives the illusion of freshly dug graves.
Adding Haunted Details
Use edible glitter dust for moonlit shimmer or sprinkle cocoa powder for shadowy soil. You can even add candy bones or skull sprinkles to suggest something sinister beneath the surface.
Turning Brownies into Coffin Bars
Slice brownies into elongated coffin shapes with a knife or cookie cutter. Outline with black icing and add silver edible paint for a gothic flair — perfect for upscale Halloween dessert tables.
Storage, Shelf Life, and Maintenance Tips
Room Temperature Storage
Keep decorated Graveyard Brownies in an airtight container for up to 3 days. Store at a cool room temperature away from sunlight to preserve icing designs.
Refrigerator Storage
If your frosting is soft or the weather is warm, refrigerate the brownies. Separate layers with parchment paper to prevent decorations from sticking.
Freezer Storage
Undecorated brownies freeze beautifully. Wrap tightly in plastic wrap and store for up to two months. Thaw overnight and decorate fresh before serving.
Make-Ahead Preparation
Bake brownies one day early, cover tightly, and decorate the next day. The flavor deepens overnight while the texture firms up — ideal for carving neat slices.
Maintaining Cookie Crunch
Add the cookie tombstones right before serving so they stay crisp. If placed too early, moisture from the brownies can soften them.
Dietary Adaptations and Substitutions
Vegan Version
Use a vegan brownie mix and plant-based egg substitutes (flax or chia eggs). Choose dairy-free cookies and vegan chocolate gel for writing.
Gluten-Free Version
Pick a gluten-free brownie mix and sandwich cookies made with almond or rice flour. The decorations and candy pumpkins are typically gluten-free — always double-check labels.
Low-Sugar Option
Opt for a sugar-free brownie mix and use crushed sugar-free chocolate cookies. Replace candy pumpkins with small raspberries for a natural, still-bloody effect.
Nut-Free Version
Most store-bought brownie mixes are nut-free, but confirm labels. Avoid factory-shared products if allergies are severe, and stick to simple icing gels and safe candies.
Dairy-Free Version
Substitute oil or vegan margarine for butter in the brownie mix and use non-dairy chocolate melts for writing. You’ll keep all the flavor with none of the milk.
FAQs About Graveyard Brownies
Can I use homemade brownies instead of a mix?
Definitely. Any dense, moist brownie base works. Homemade versions let you control sweetness and chocolate intensity — just ensure they’re fully cooled before decorating.
What’s the best way to keep cookies upright?
Dip the cookie base in melted chocolate or frosting before inserting. Once chilled, it acts like glue, keeping tombstones firmly planted.
Can I make these a day ahead?
Yes! They actually improve overnight. Decorate and refrigerate, then bring to room temperature 30 minutes before serving.
How can I make them look scarier?
Add red gel “blood,” candy skeletons, or tiny marshmallow ghosts peeking from behind tombstones. A dusting of powdered sugar gives a ghostly “fog” effect.
Can kids help decorate?
Absolutely. This is one of the most family-friendly Halloween desserts. Set out toppings and let kids personalize their own graves — messy fun guaranteed!
Conclusion & Final Thoughts
Few Halloween desserts balance cute and creepy as perfectly as Graveyard Brownies. The fudgy base satisfies every chocolate craving, while the simple toppings turn an ordinary pan of brownies into a miniature edible cemetery. They’re the kind of dessert that sparks conversation, laughter, and plenty of photos before anyone dares to take a bite.
From easy prep to limitless creativity, these brownies are ideal for busy hosts and enthusiastic decorators alike. Whether you keep them kid-friendly with smiling pumpkins or go full horror-movie with oozing red gel and candy bones, the result is always deliciously dramatic.
Serve them at parties, wrap them individually for classroom treats, or display them on a spooky black tray surrounded by candy corn. However you share them, Graveyard Brownies will rise from your oven as the ultimate Halloween hit — hauntingly good and frightfully fun.