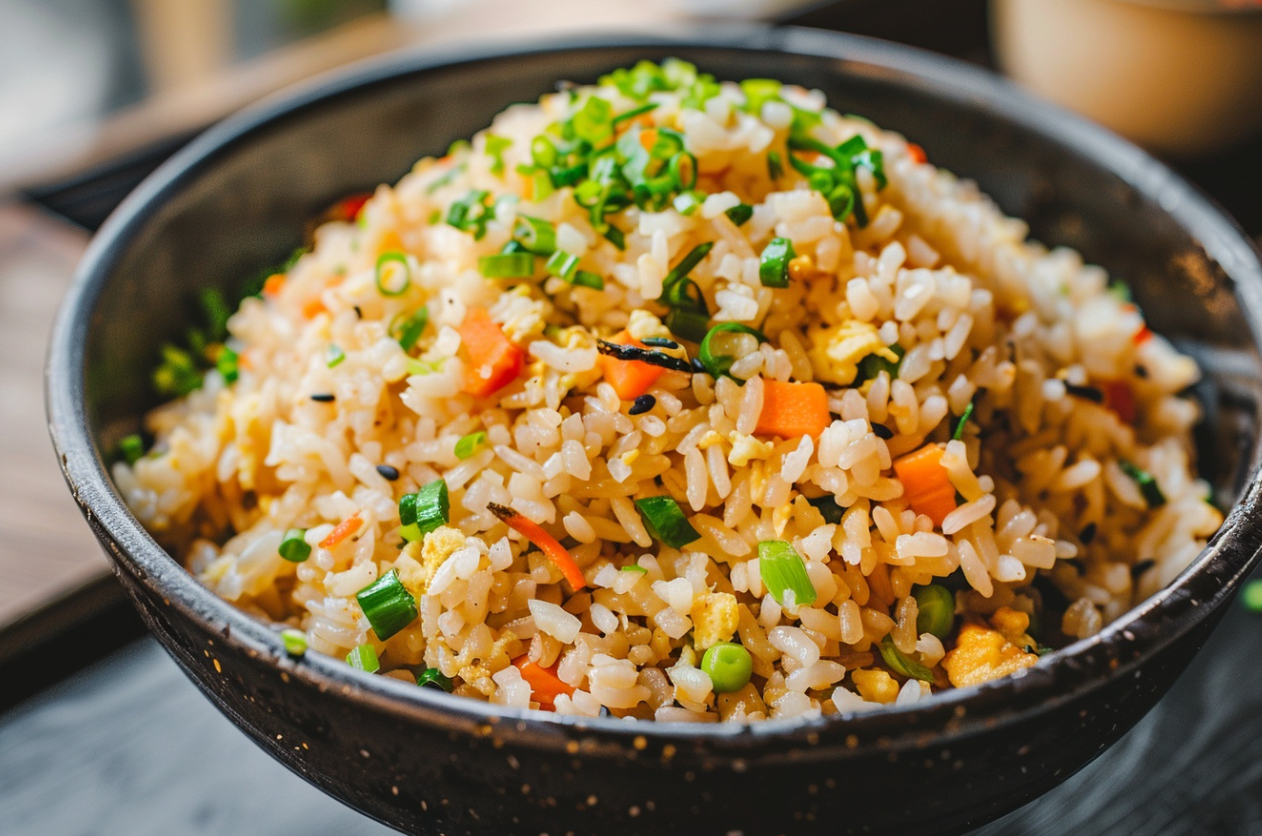
Advanced Techniques and Variations
Customizing Flavors
To elevate your Hibachi fried rice recipe, experiment with various oils and sauces. Sesame oil can add a nutty flavor, while a dash of oyster sauce gives a deeper umami taste. These small tweaks can significantly enhance the flavor profile of your dish.
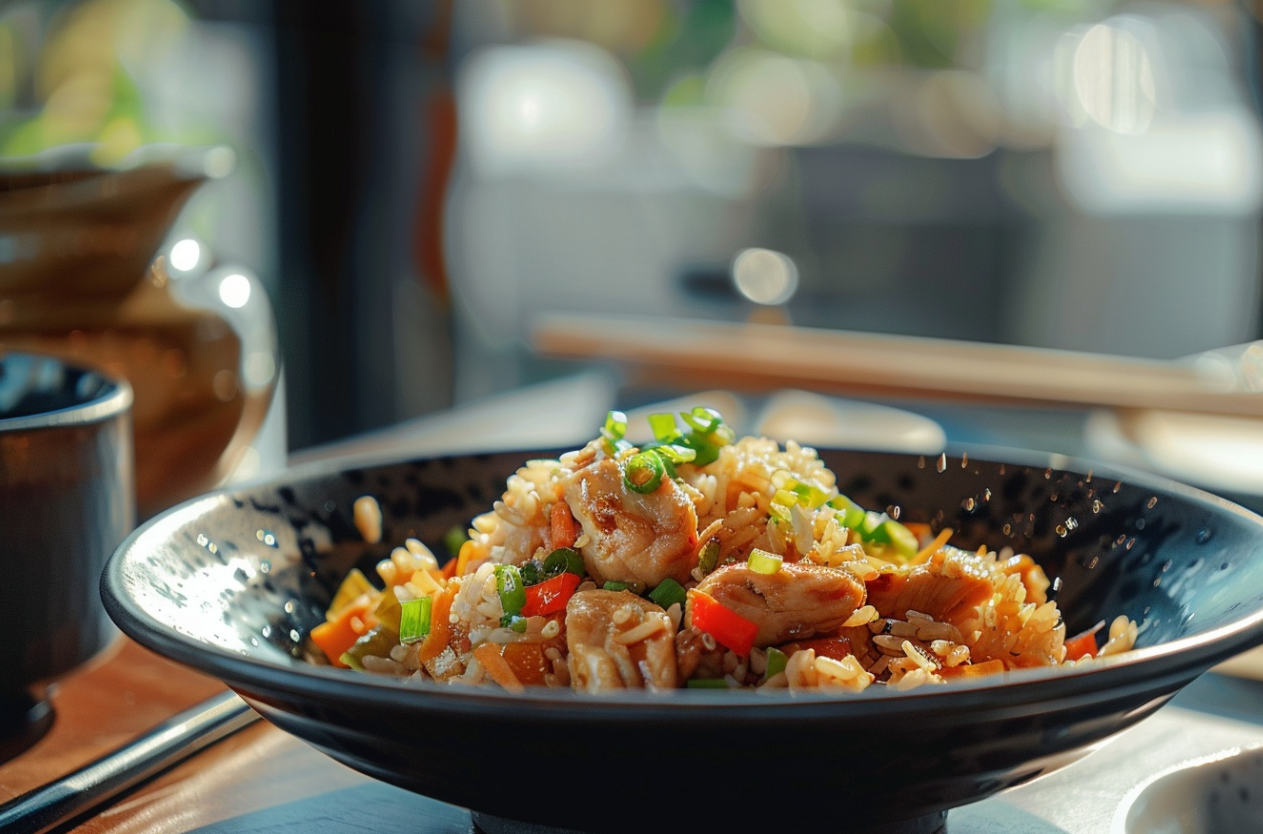
Incorporation of Proteins
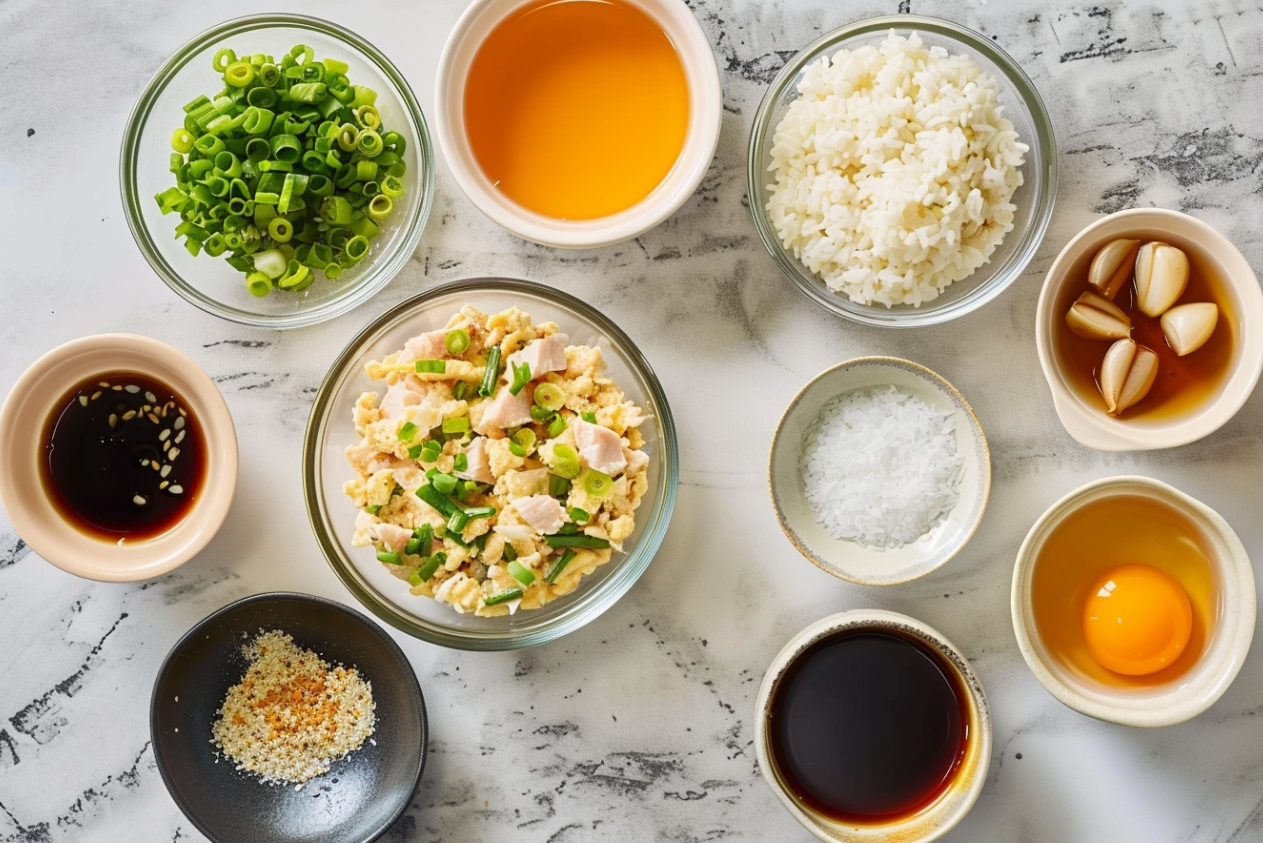
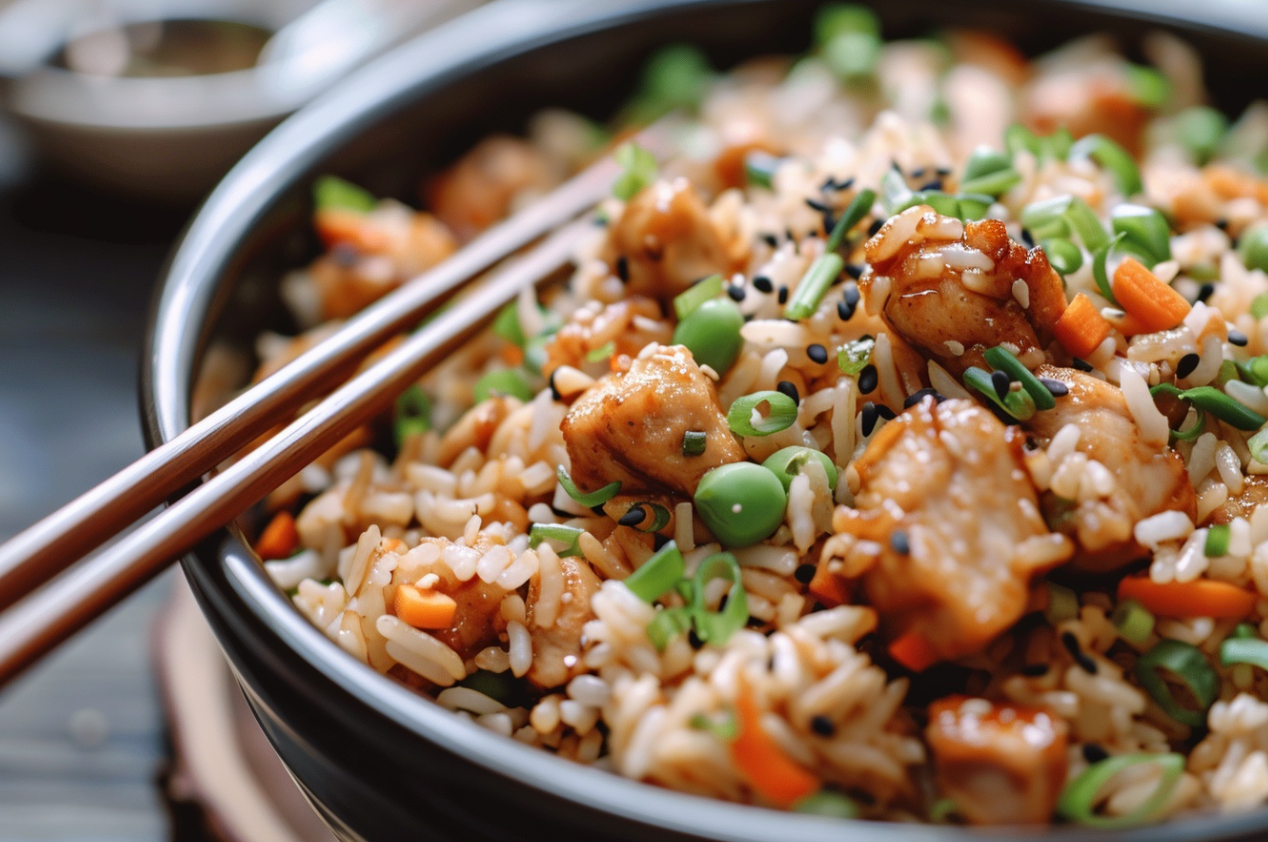
Adding proteins transforms Hibachi fried rice into a hearty meal. Options include:
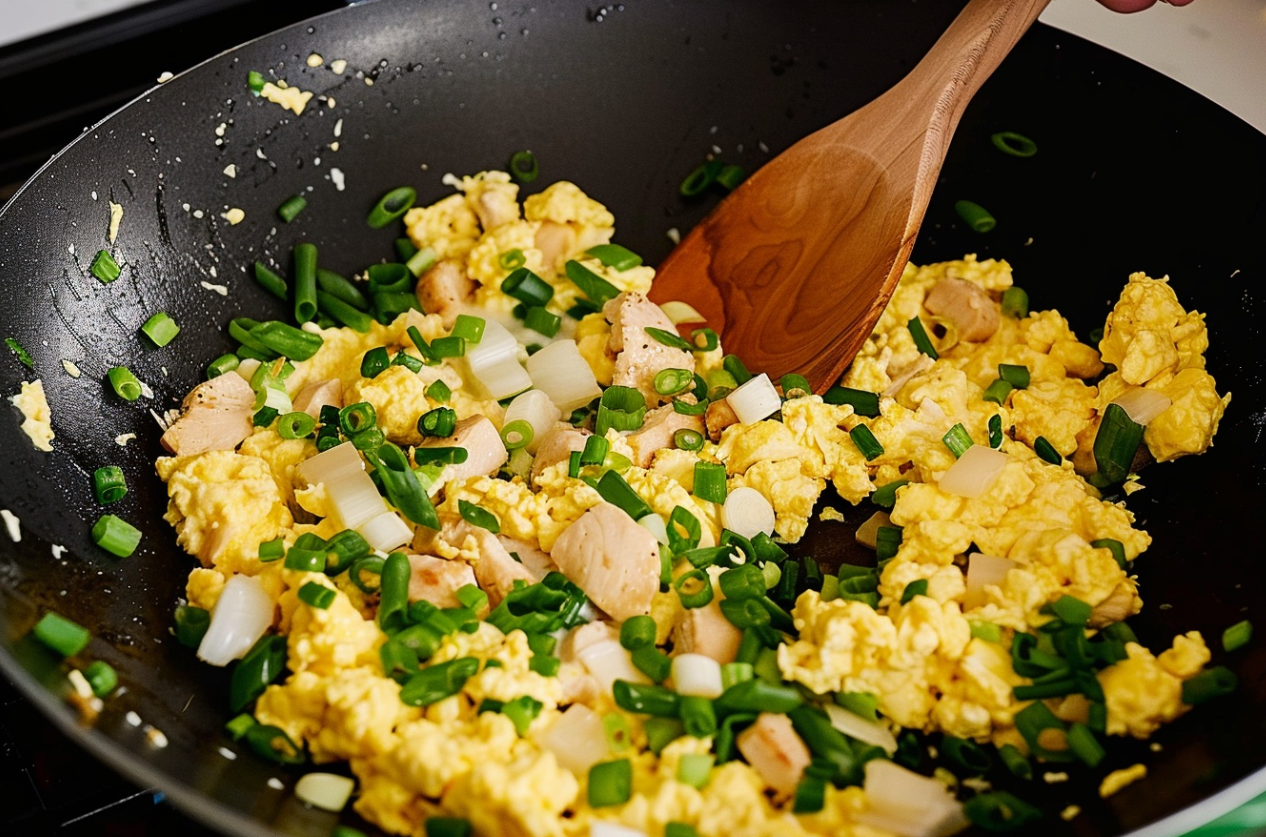
- Chicken: Marinate in soy sauce and garlic before grilling.
- Shrimp: Quick and easy to cook, adding a delicate seafood flavor.
- Beef: Offers a robust taste and texture.
Each protein should be cooked separately and added to the rice at the final stage of stir-frying.
Vegetarian and Vegan Adaptations
Substitute animal proteins with tofu or tempeh for a vegetarian version, ensuring that all diners can enjoy this dish. Use tamari instead of soy sauce to maintain a gluten-free profile.
Authentic Smoky Flavor at Home
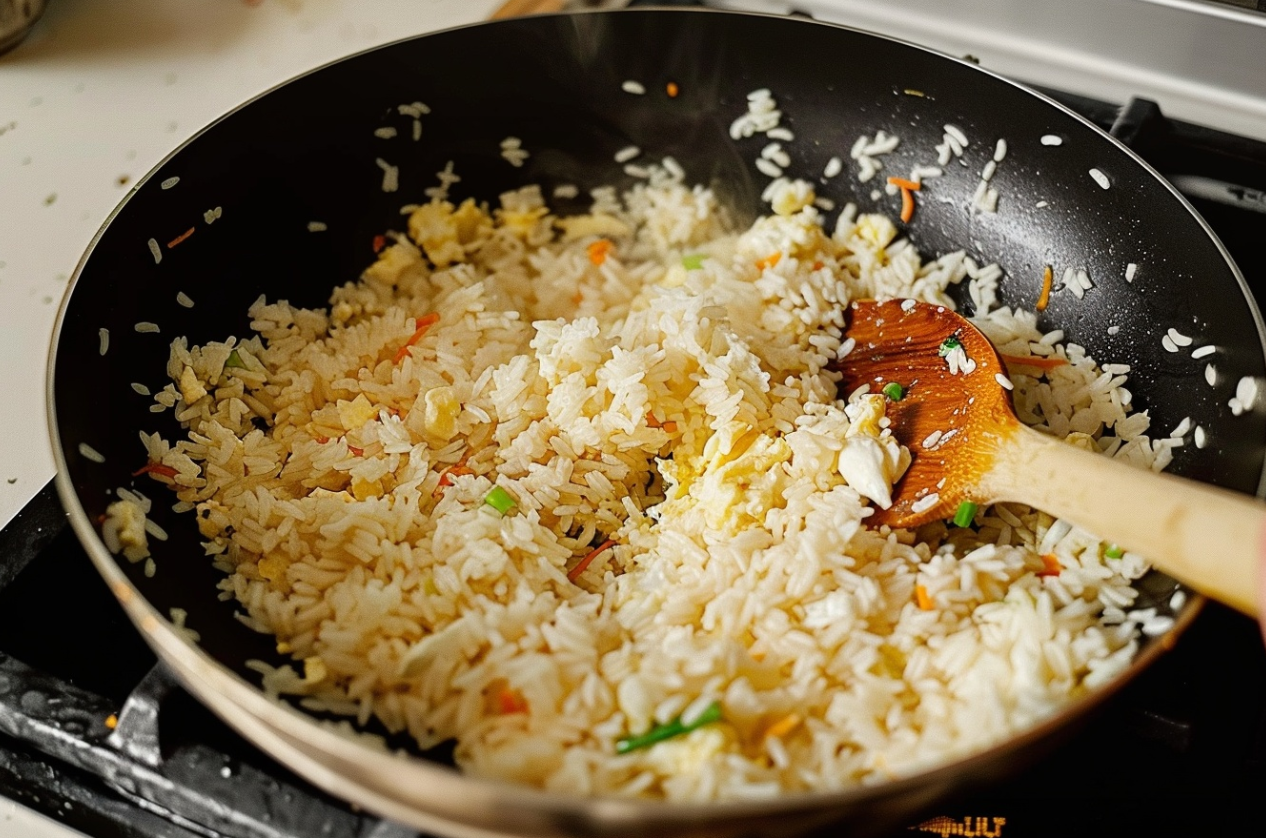
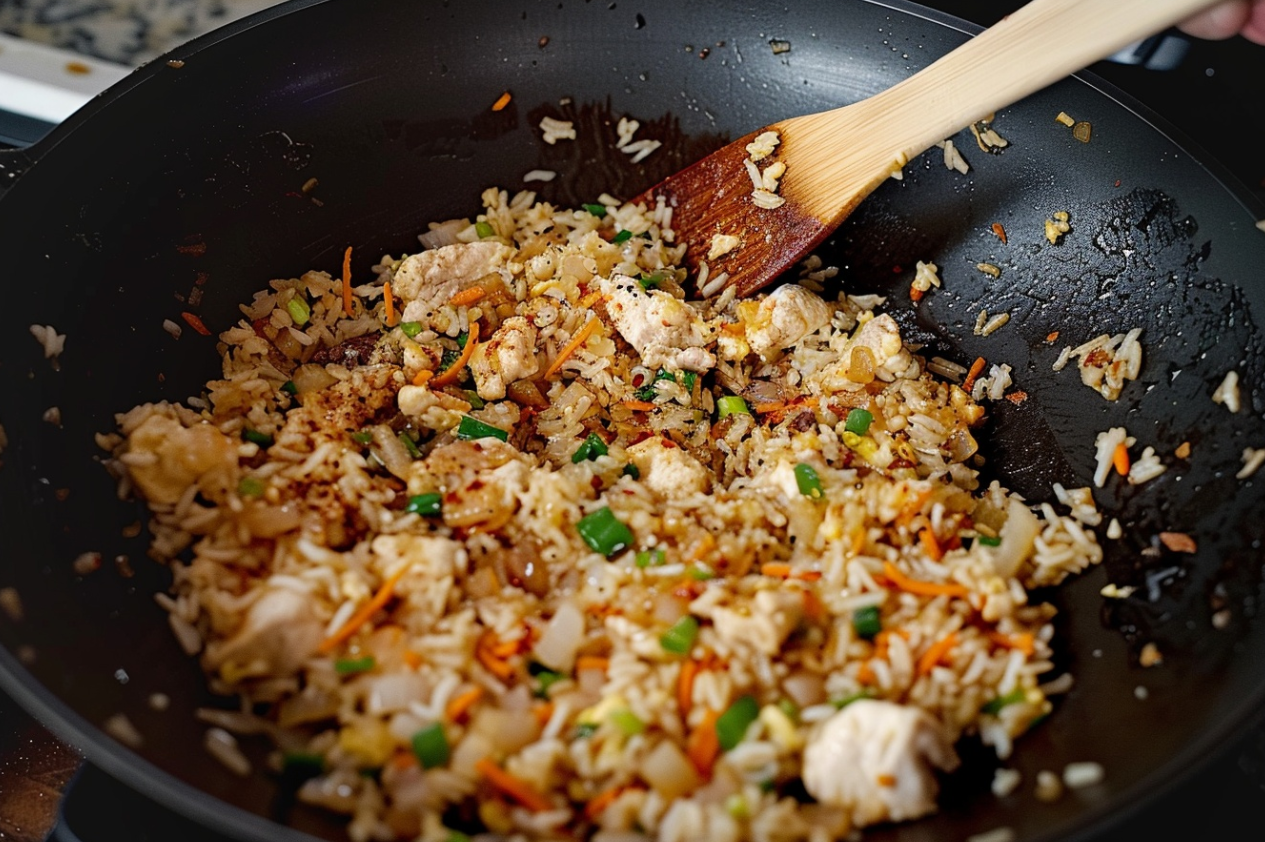
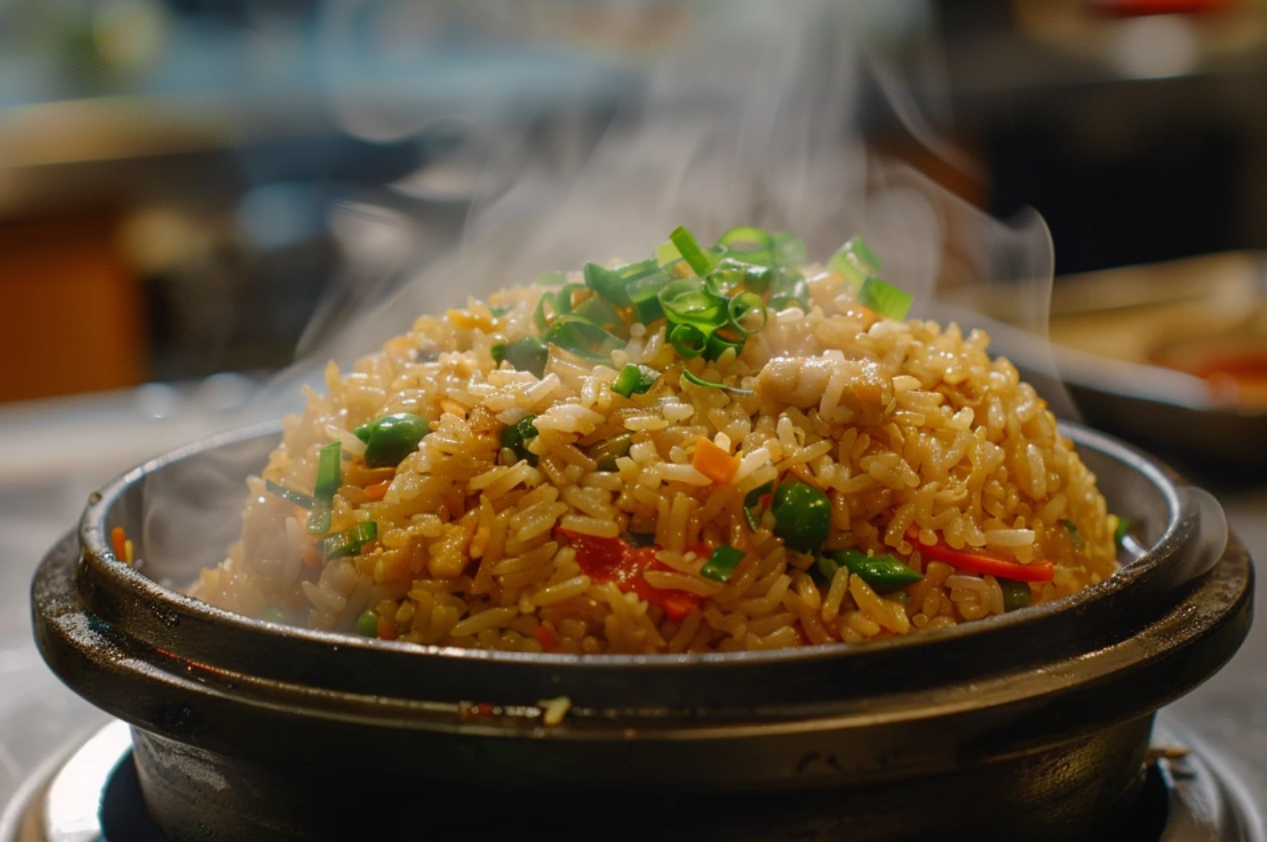
Achieving that signature smoky flavor of restaurant-style Hibachi fried rice recipe at home can be challenging but not impossible. One method is to heat the skillet until it is smoking hot before adding the rice. This technique allows the rice to char slightly, mimicking the Hibachi grill effect.
By incorporating these advanced techniques and variations, your Hibachi fried rice will not only taste richer and more diverse but also cater to a broader audience, ensuring everyone at your table can enjoy a personalized touch to this beloved dish. For more advanced recipes, visit cookingwhite.
Maintenance Tips for Hibachi Grills
Routine Cleaning and Care
Proper maintenance of your Hibachi grill is essential to ensure it performs well each time you cook. Post-grilling, grant your grill a moment of respite, allowing it to cool ere embarking on the cleansing ritual. Sweep away any culinary remnants and tenderly cleanse the surface with a damp cloth, restoring it to its pristine state. Employ a gentle touch and mild detergent for a thorough cleansing, safeguarding the grill’s longevity and efficacy.
Recommended Tools and Products
Invest in the right tools to keep your Hibachi grill in top condition:
- A sturdy grill brush for removing burnt-on food.
- Grill stones that can help clean without leaving residue.
- Specialized grill cleaners designed for high-heat cooking surfaces.
Employ these tools as custodians of the grill’s integrity, safeguarding its prowess in delivering culinary perfection.
Safety Tips for Handling and Storing the Grill
Safety is paramount when dealing with any cooking equipment, especially when it involves high temperatures. Heed these counsel:
- Enrobe your hands in heat-resistant armor when engaging with the grill’s fiery embrace.
- Establish a stable sanctuary for your grill, ensuring it rests upon a heat-proof altar during its culinary endeavors.
- Keep the grill in a dry, covered location to avoid rust and decay.
By following these maintenance tips, your Hibachi grill will remain a reliable tool for preparing delicious Hibachi fried rice and other grilled favorites, providing endless enjoyment and culinary creativity. Attend to your grill with regular devotion, extending its lifespan and preserving its culinary prowess.
Dietary Adaptations
Gluten-Free Modifications
Adapting Hibachi fried rice recipe for gluten-sensitive diets is straightforward. Swap out traditional soy sauce for a gluten-free option like tamari, which preserves the essential umami flavor without the gluten. Ensure all other added sauces and seasonings are labeled gluten-free.
Low-Carb Alternatives
For those watching their carbohydrate intake, Hibachi fried rice can be made using cauliflower rice instead of traditional rice. Transform cauliflower into rice with the grace of an alchemist, employing the fine art of grating or pulsating in a food processor until rice-like grains emerge. This substitution significantly lowers the dish’s carb content while still providing a satisfying texture and flavor.
Suggestions for Low-Fat and Lower-Calorie Versions
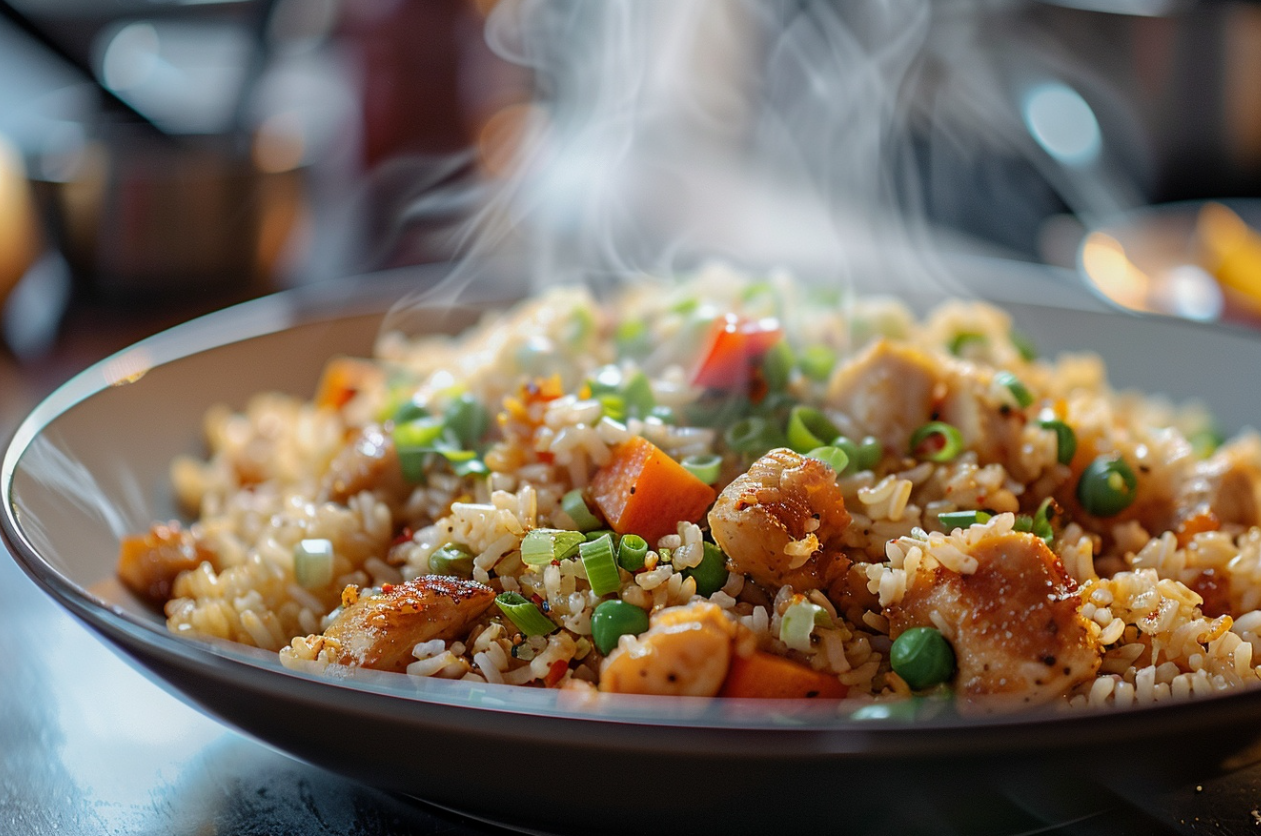
To reduce the fat and calorie content of your Hibachi fried rice, consider the following adjustments:
- Use a minimal amount of oil by opting for a high-quality non-stick pan.
- Integrate lean proteins such as chicken breast or succulent shrimp, enriching the canvas of your Hibachi masterpiece.
- Increase the proportion of vegetables to rice, enhancing the dish’s fiber content and nutritional profile without sacrificing flavor.
These adaptations not only make Hibachi fried rice more inclusive to various dietary needs but also help maintain a balanced diet. By modifying the core ingredients and preparation methods, you can enjoy this classic dish in a way that suits your health goals and dietary preferences. low-fat and lower-calorie versions of fried rice
Frequently Asked Questions About Hibachi fried rice
What methods can be employed to ensure rice doesn’t adhere to the grill’s surface?
A common challenge when making Hibachi fried rice is preventing the rice from sticking to the grill. Stoke the flames until they roar, ensuring the grill’s surface is imbued with searing heat prior to culinary communion. A well-heated surface creates a non-stick effect as the heat seals the rice quickly. Additionally, use a sufficient amount of oil and stir constantly to distribute the heat evenly across the rice.
Can Hibachi Fried Rice Be Made in Advance?
Embrace the convenience of pre-preparation, as Hibachi fried rice lends itself to advance readiness, serving as a stalwart companion for swift meals. Shepherd the rice and vegetables through their culinary journey, escorting them into the chill of refrigeration for safekeeping. When ready to serve, reheat the rice on a hot grill or in a skillet, adding a little extra soy sauce or water to refresh the flavors and moisture.
Adjustments for Cooking in a Regular Frying Pan
Not everyone has a Hibachi grill at home, but you can still create delicious Hibachi fried rice using a regular frying pan. The key is to use a large, heavy-bottomed pan that can retain high heat. Kindle the flames beneath your pan, forging a landscape ripe for culinary conquests, mindful to avoid overcrowding, which sows the seeds of steaming rather than frying.
By addressing these frequently asked questions, you can enhance your experience making Hibachi fried rice, ensuring it is delicious every time and suitable for various cooking environments and preparation schedules.
What techniques can prevent rice from adhering to the grill’s surface?
To prevent your Hibachi fried rice from sticking to the grill, it’s crucial to ensure the grill is adequately heated before you begin cooking. Harness the power of intense heat to cultivate a natural non-stick sanctuary upon your grill’s surface. Apply a liberal amount of oil to both the rice and the grill. Stir continuously to prevent the rice from settling and sticking. Revel in the liberation from sticking, as the marriage of heat and technique births a tantalizingly crisp texture.
Can Hibachi Fried Rice Be Made in Advance?
Yes, preparing Hibachi fried rice ahead of time is feasible and can be a great time-saver. Guide the rice through its journey, from simmering pot to icy reprieve in the refrigerator’s embrace. Resurrect the chilled rice with the warmth of a grill’s embrace or the gentle caress of a frying pan. Add a little water or soy sauce while reheating to refresh the dish, ensuring it remains moist and flavorful.
Celebrate the symbiotic dance between oil and rice, where each drop contributes a note to the symphony of flavors. Traditional choices include sesame oil for its nutty flavor and vegetable oil for its high smoke point, which allows you to cook at higher temperatures without burning. For an extra touch of flavor, consider mixing a bit of sesame oil with a neutral oil like canola.
Conclusion
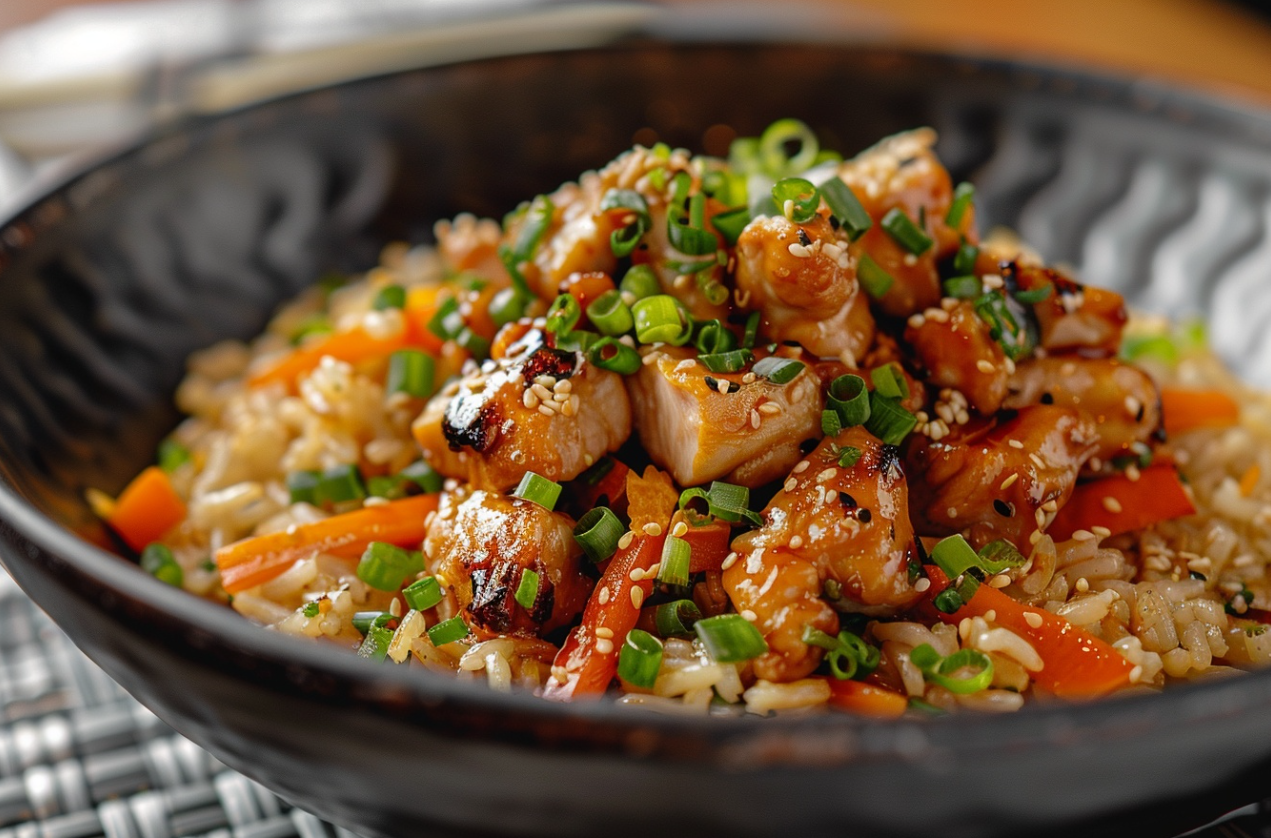
Mastering Hibachi Fried Rice Recipe
Mastering the art of making Hibachi fried rice can transform your cooking experience, offering a versatile dish that impresses at both family dinners and social gatherings. Fuse technique and ingenuity to elevate a humble dish into a culinary opus that tantalizes the senses.
Exploring Culinary Innovation
Hibachi fried rice acts as a canvas for culinary creativity. Whether adapting the dish to dietary needs or experimenting with different proteins and sauces, the possibilities are endless. Embrace the versatility of Hibachi fried rice, a culinary chameleon capable of adapting to any occasion, enriching both flavor and nourishment.
Continual Learning and Enjoyment
As with any cooking technique, continual practice with Hibachi fried rice will increase your skill and confidence. Each iteration can be a learning experience, providing insights into flavor combinations and cooking timings. Embrace these opportunities to refine your technique and expand your culinary repertoire.
In conclusion, Hibachi fried rice is more than just a meal; it’s a journey into the heart of Japanese cuisine that offers endless opportunities for customization and improvement. Whether you’re a seasoned chef or a curious novice, this dish has something to offer everyone who takes the time to learn its secrets.