Advanced Techniques for Perfect Caramel Apples
To take your caramel apples to the next level, there are a few advanced techniques that can ensure a flawless result every time.
Achieving Smooth Caramel
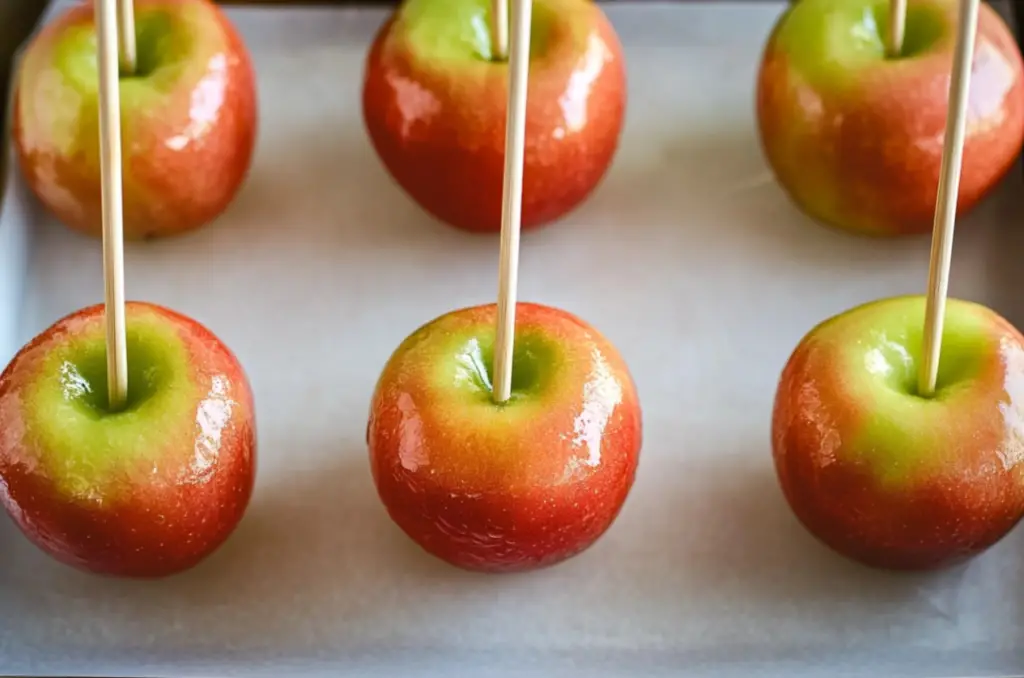
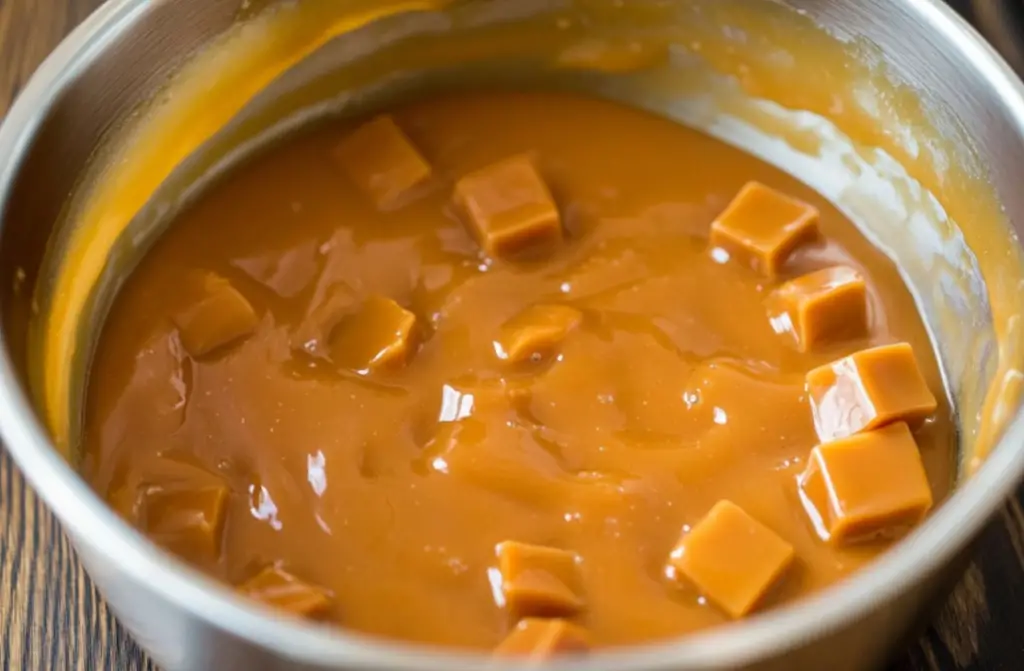
The key to perfecting caramel apples lies in the caramel’s consistency. To avoid lumps or graininess, melt the caramel slowly over low heat, stirring continuously. Using heavy cream helps keep the texture silky and ensures the caramel adheres well to the apples. If the caramel starts to harden during dipping, simply return it to low heat to keep it smooth and ready for use.
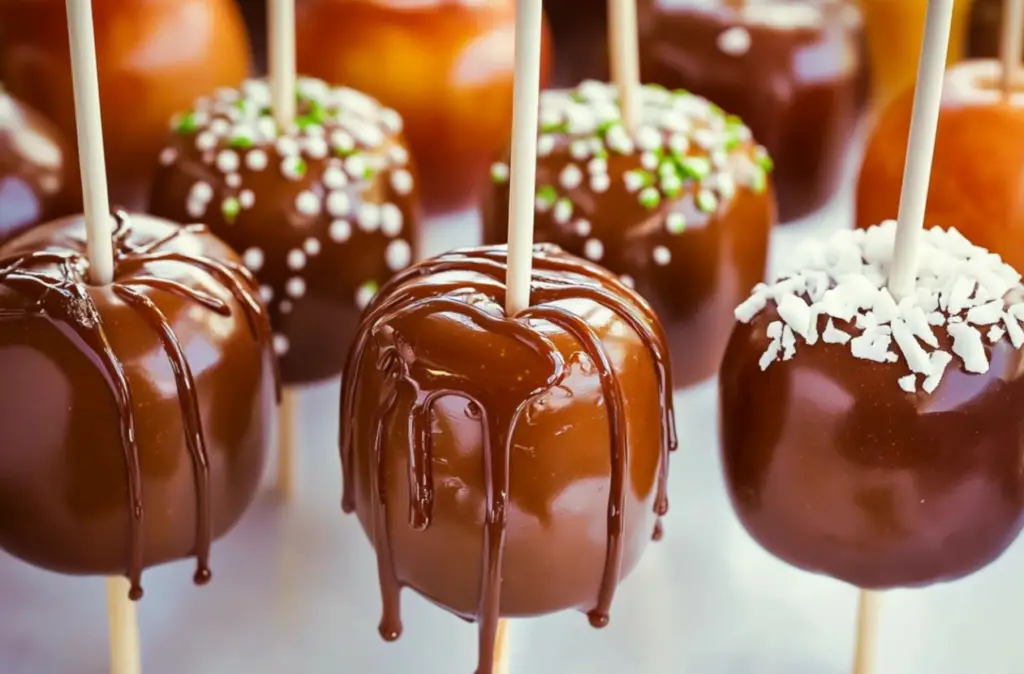
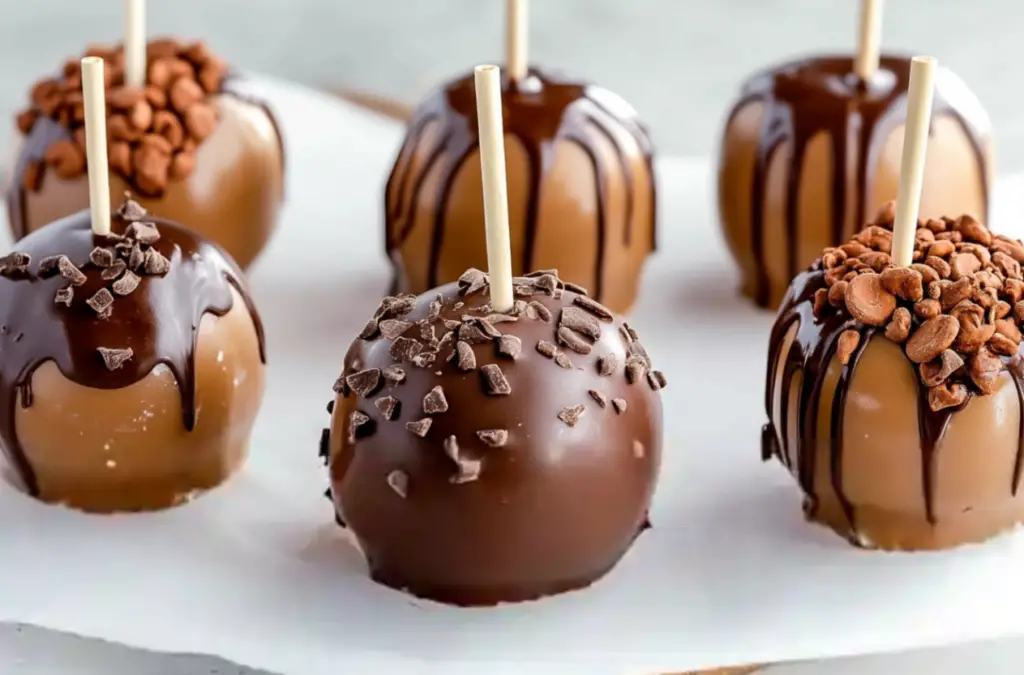
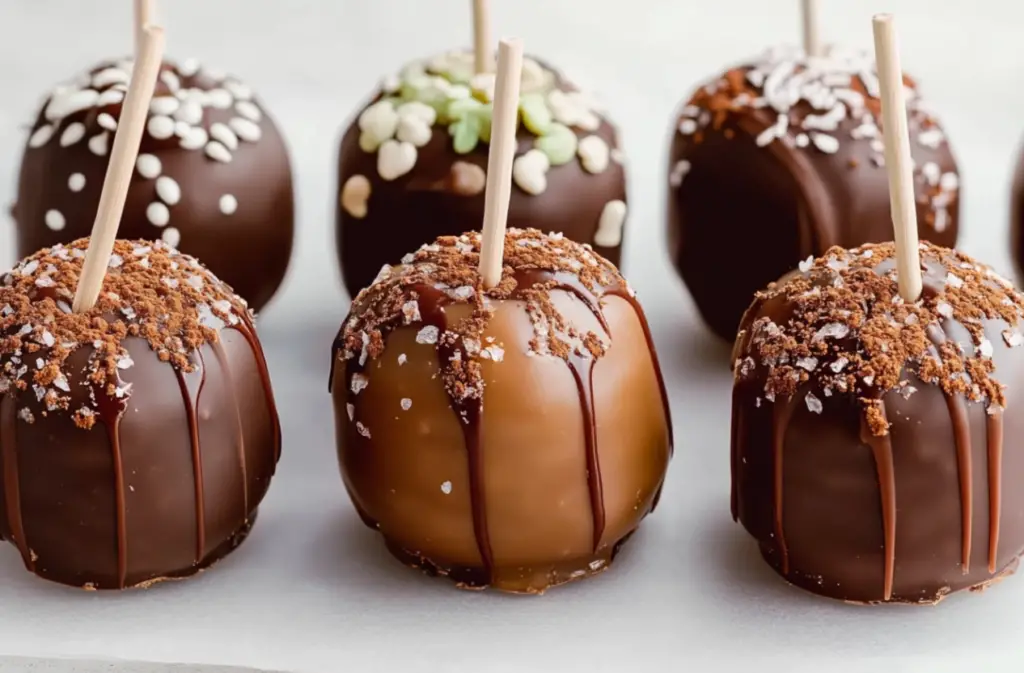
Customizing Your Caramel Apples
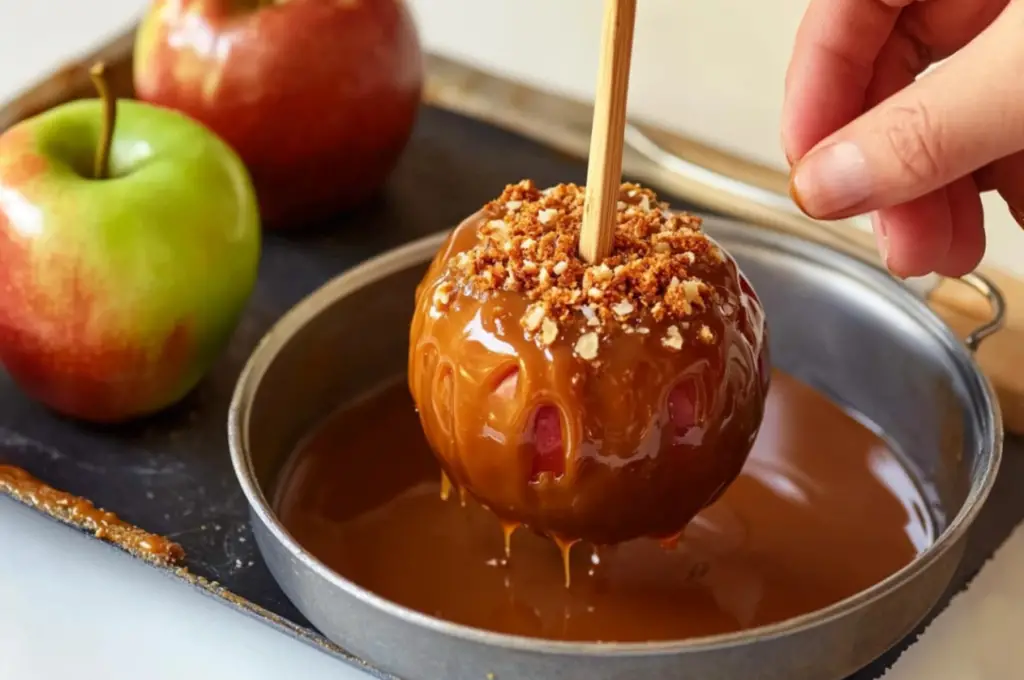
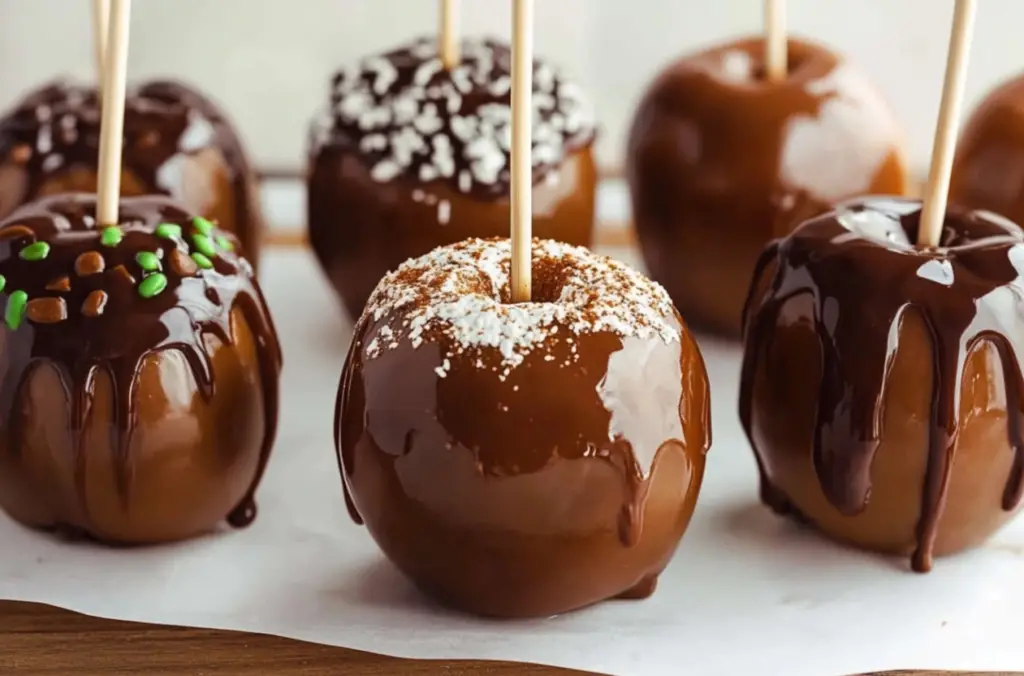
Once you’ve mastered the basic recipe, it’s time to get creative with toppings. Whether it’s crushed cookies, pretzels, or even candy pieces, there’s no limit to how you can customize your caramel apples. Try adding a drizzle of white or dark chocolate after the caramel has set for an extra indulgent touch. This added layer of flavor and texture makes the apples stand out at parties or holiday gatherings.
Making Caramel Apples Ahead of Time
If you’re planning for a big event or want to gift your caramel apples, they can be made ahead of time. Simply store them in the refrigerator for up to five days. To maintain their crisp texture, wrap each apple individually in wax paper or plastic wrap to prevent sticking and ensure freshness.
These advanced techniques allow you to create a more personalized, professional presentation of your caramel apples, impressing both family and friends. By following these steps, you’ll perfect this sweet treat and elevate it to gourmet status. For more advanced recipes, visit cookingwhite.
Maintenance Tips for Long-Lasting Caramel Apples
Keeping your caramel apples fresh and delicious is key to enjoying them for days after they’re made. By following a few simple tips, you can extend their shelf life and maintain their appealing texture.
Proper Storage of Caramel Apples
After making your caramel apples, it’s important to store them correctly. The caramel can become sticky or melt if left at room temperature for too long. To prevent this, place your apples in the refrigerator as soon as they’re made. Wrap each apple individually in wax paper or plastic wrap to avoid them sticking together. Stored properly, your caramel apples can last up to five days in the fridge.
Preventing Moisture Build-up
One common issue with caramel apples is moisture collecting on the outside, which can make the caramel slip off the apples. To avoid this, ensure that the apples are fully dry before dipping them in caramel. Additionally, placing the apples in a dry, cool area can reduce condensation. Refrigeration works best, as it helps the caramel set more firmly and keeps the apples crisp.
Extending the Life of Caramel Apples
If you want to prepare caramel apples in advance for a party or as gifts, you can do so a few days ahead of time. Simply store them as described above, and remember to keep them away from humidity and heat sources. Proper storage ensures that your caramel apples retain their texture, flavor, and presentation, making them just as delightful to eat even a few days later.
With these maintenance tips, your caramel apples will stay fresh and tasty for days after they’re made.
Dietary Adaptations for Caramel Apples
Although caramel apples are a beloved treat, there are several dietary adaptations you can make to suit different preferences or restrictions. With a few modifications, everyone can enjoy this classic dessert.
Vegan Caramel Apples
For those following a vegan diet, traditional caramel made with cream can be replaced with plant-based alternatives. You can use coconut cream instead of heavy cream and dairy-free soft caramels. This simple swap allows you to create vegan caramel apples that are just as indulgent, without compromising on flavor or texture.
Gluten-Free Caramel Apples
Caramel apples are naturally gluten-free, but it’s essential to ensure that any toppings used also meet these dietary needs. Some toppings, like crushed cookies or candy, may contain gluten, so be sure to opt for gluten-free alternatives. Chopped nuts, gluten-free sprinkles, or even crushed gluten-free pretzels are great choices to add crunch and flavor.
Reduced-Sugar Caramel Apples
For those looking to reduce their sugar intake, there are a few ways to make caramel apples lower in sugar without sacrificing taste. Sugar-free caramels or caramels made with natural sweeteners can be used instead of traditional ones. Topping options like unsweetened coconut flakes or chopped nuts are excellent alternatives to sugar-heavy decorations.
With these dietary adaptations, you can tailor caramel apples to fit various dietary preferences and restrictions. Whether it’s vegan, gluten-free, or lower in sugar, these modifications ensure that everyone can enjoy this seasonal favorite.

Frequently Asked Questions about Caramel Apples
Many people have questions when it comes to making and enjoying caramel apples. Below are some of the most commonly asked questions to help you perfect this treat.
Why Isn’t the Caramel Sticking to My Apples?
One of the main reasons caramel apples may not turn out perfectly is because the caramel won’t stick to the apple. This often happens when the apples haven’t been properly cleaned or dried. Make sure to wash and dry them thoroughly to remove any waxy coating, and try chilling them slightly before dipping.
Can I Use Different Types of Apples for Caramel Apples?
Absolutely! While Granny Smith apples are a popular choice for caramel apples due to their tart flavor, you can use any apple variety. Honeycrisp, Fuji, or Pink Lady apples are great alternatives. Just ensure the apples are firm enough to hold the caramel and toppings.
How Long Do Caramel Apples Last?
When stored correctly in the refrigerator, caramel apples can last up to five days. Be sure to wrap each apple individually in wax paper or plastic wrap to prevent sticking. However, for the best texture and flavor, it’s recommended to enjoy them within two to three days.
Can I Freeze Caramel Apples?
Freezing caramel apples isn’t recommended as the texture of the apple can become compromised after thawing. The caramel may also become too hard, making it difficult to bite into.
These common questions help address some of the key concerns people have when making caramel apples. By following these tips, you can ensure that your apples turn out perfectly every time.
Conclusion: Mastering Caramel Apples at Home
Making caramel apples at home is a fun and rewarding experience, perfect for holidays, parties, or simply as a sweet treat for your family. With just a few simple ingredients and techniques, you can create a dessert that’s not only delicious but also customizable to suit your personal preferences.
Final Tips for Perfect Caramel Apples
To ensure success every time, make sure to follow each step closely, especially when it comes to preparing the apples and melting the caramel. Clean, dry apples are essential for the caramel to adhere properly, and slow, steady heating will prevent the caramel from becoming grainy.
Experimenting with Caramel Apples
Don’t be afraid to experiment with different toppings and flavors. Whether you prefer classic nuts and sprinkles or want to venture into more unique toppings like crushed cookies or pretzels, the possibilities are endless. Each batch of caramel apples can bring something new to the table, making this dessert both versatile and fun to make.
Sharing the Joy of Caramel Apples
One of the best parts about making caramel apples is sharing them with others. These treats make wonderful gifts for friends, family, or neighbors. Wrap them individually and tie them with ribbons for a charming presentation. Whether you’re making them for a special occasion or just because, your homemade caramel apples are sure to impress.
In conclusion, by mastering the art of caramel apples, you can enjoy a timeless dessert that brings joy to any occasion. With these tips and tricks, your creations will be irresistible every time.