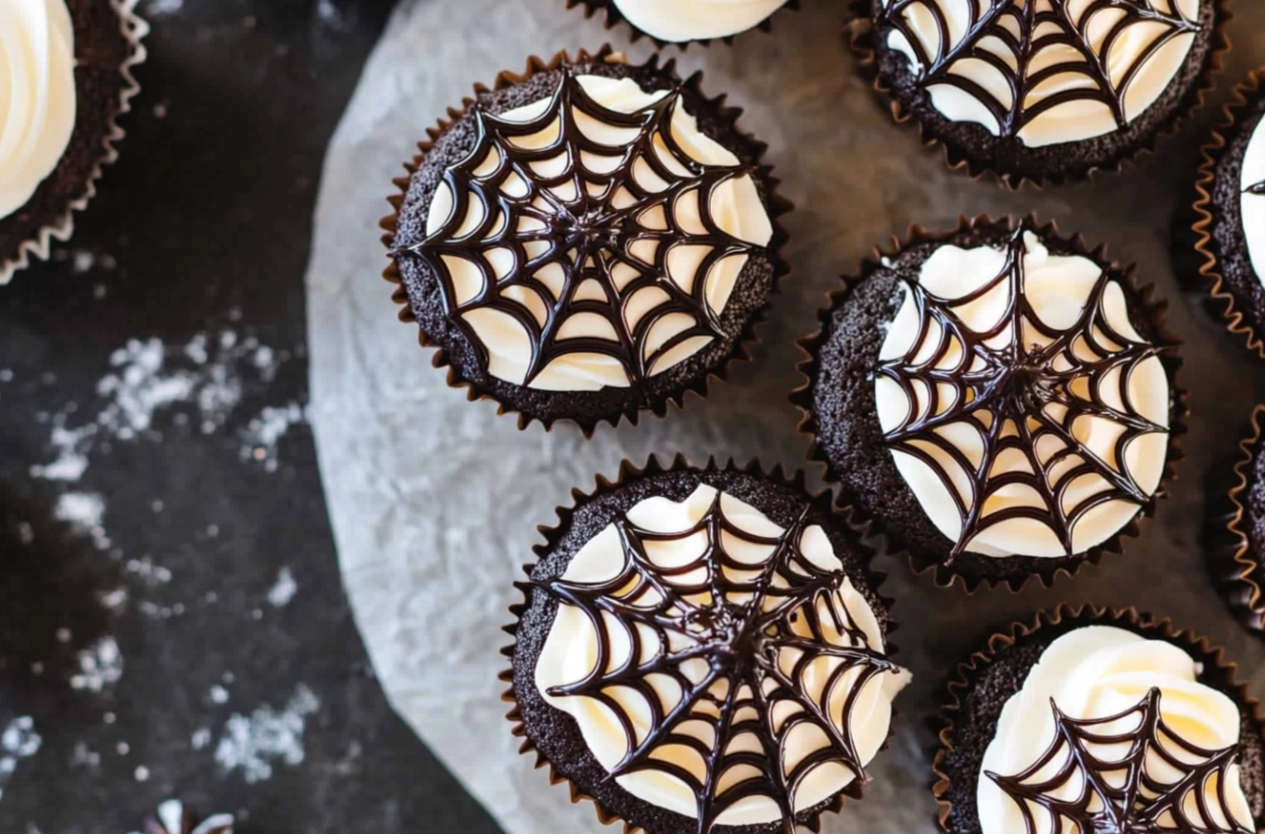
Spiderweb Cupcakes: A Spooky Delight
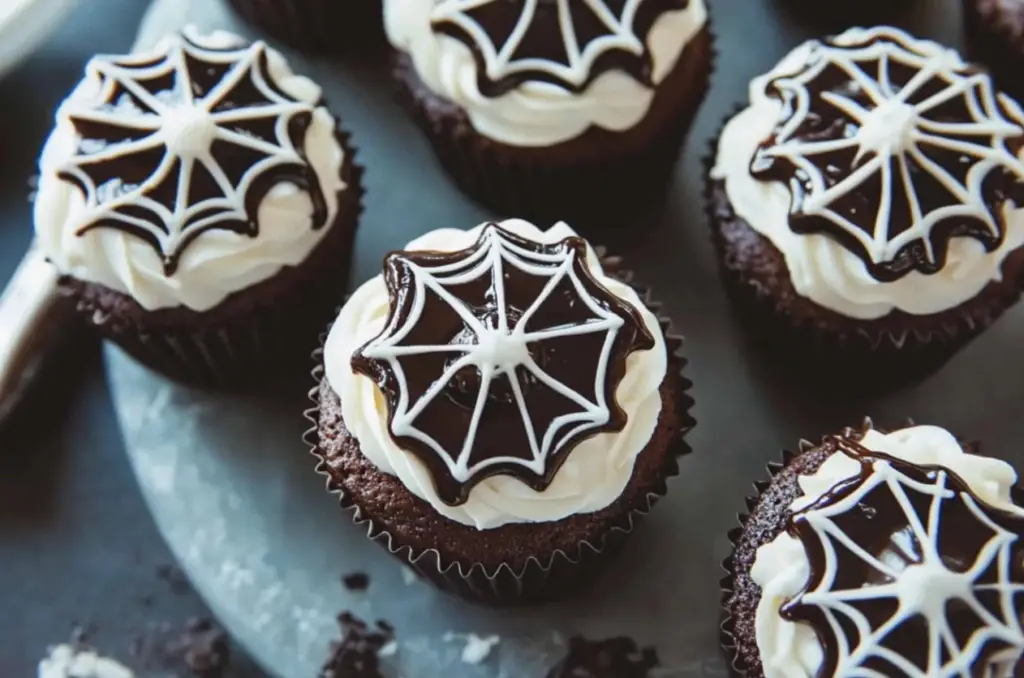
Nothing says Halloween quite like spiderweb cupcakes, the perfect treat to make your spooky celebrations extra special. These rich, devil’s food cupcakes come with a dark chocolate frosting base and an eerie spiderweb design. Whether you’re hosting a party or simply enjoying a themed dessert, spiderweb cupcakes are sure to impress.
Why Spiderweb Cupcakes are a Must-Have for Halloween
These cupcakes are incredibly easy to make, even for beginners. The classic combination of moist devil’s food cake and dark chocolate frosting offers a flavor everyone loves. Plus, decorating them with spiderweb designs is a fun activity for all ages. You’ll be able to craft perfect spiderwebs with a simple toothpick and a bit of white icing. If you’re looking for more Halloween cupcake ideas, try these decoration tips to up your cupcake game.
The Perfect Treat for Halloween Parties
Bring these spiderweb cupcakes to any Halloween party, and they’re bound to be a hit. Not only do they look festive, but they also pack a rich, chocolatey flavor. For those who want to experiment with flavors, you could try devil’s food cupcake variations to switch things up while still achieving the spooky vibe. The best part? You only need a few ingredients, and the decoration process is quick and easy with cookie icing and a toothpick.
So whether you’re planning a big bash or a quiet night in, spiderweb cupcakes are the ultimate spooky dessert to make this Halloween memorable.
Basic recipe
Print
Spiderweb Cupcakes
- Total Time: 40 minutes
- Yield: 12 cupcakes 1x
- Diet: Vegetarian
Description
These Spiderweb Cupcakes combine rich devil’s food cake with spooky spiderweb designs on dark chocolate frosting. Perfect for Halloween, they’re easy to make and customize, offering a fun and delicious activity for both kids and adults.
Ingredients
- 1 package devil’s food cake mix
- 3 large eggs
- ½ cup vegetable oil
- 1 ¼ cup water
- Black baking cups
- 1 can dark chocolate frosting
- White cookie icing
- Liquid white icing color
- Toothpick
Instructions
- Preheat oven to 350°F (175°C).
- Prepare the devil’s food cake mix according to package instructions, mixing the eggs, vegetable oil, and water.
- Place black baking cups in a cupcake pan and fill each cup two-thirds full with batter.
- Bake for 18-21 minutes, or until a toothpick inserted into the center comes out clean.
- Let the cupcakes cool completely.
- Frost the cupcakes with a generous layer of dark chocolate frosting.
- Pipe white cookie icing in concentric circles on top of each cupcake.
- Using a toothpick, drag lines outward from the center to the edges, creating a spiderweb pattern.
- Add small decorative spiders if desired.
Notes
- Ensure cupcakes are fully cooled before frosting to avoid melting the frosting.
- Use liquid white icing color for more vivid designs.
- Practice spiderweb design on a plate before decorating cupcakes.
- Prep Time: 15 minutes
- Cook Time: 18-21 minutes
- Category: Dessert
- Method: Baking
- Cuisine: American
Nutrition
- Serving Size: 1 cupcake
- Calories: 350
- Sugar: 27g
- Sodium: 280mg
- Fat: 18g
- Saturated Fat: 4g
- Unsaturated Fat: 12g
- Trans Fat: 0g
- Carbohydrates: 44g
- Fiber: 2g
- Protein: 4g
- Cholesterol: 40mg
Keywords: Spiderweb Cupcakes
STEPS
Step 1
Preheat oven to 350°F (175°C).
Step 2
Prepare the devil’s food cake mix according to package instructions, mixing the eggs, vegetable oil, and water.
Step 3
Place black baking cups in a cupcake pan and fill each cup two-thirds full with batter.
Step 4
Bake for 18-21 minutes, or until a toothpick inserted into the center comes out clean.
Step 5
Let the cupcakes cool completely.
Step 6
Frost the cupcakes with a generous layer of dark chocolate frosting.
Step 7
Pipe white cookie icing in concentric circles on top of each cupcake.
Step 8
Using a toothpick, drag lines outward from the center to the edges, creating a spiderweb pattern.
Step 9
Add small decorative spiders if desired.
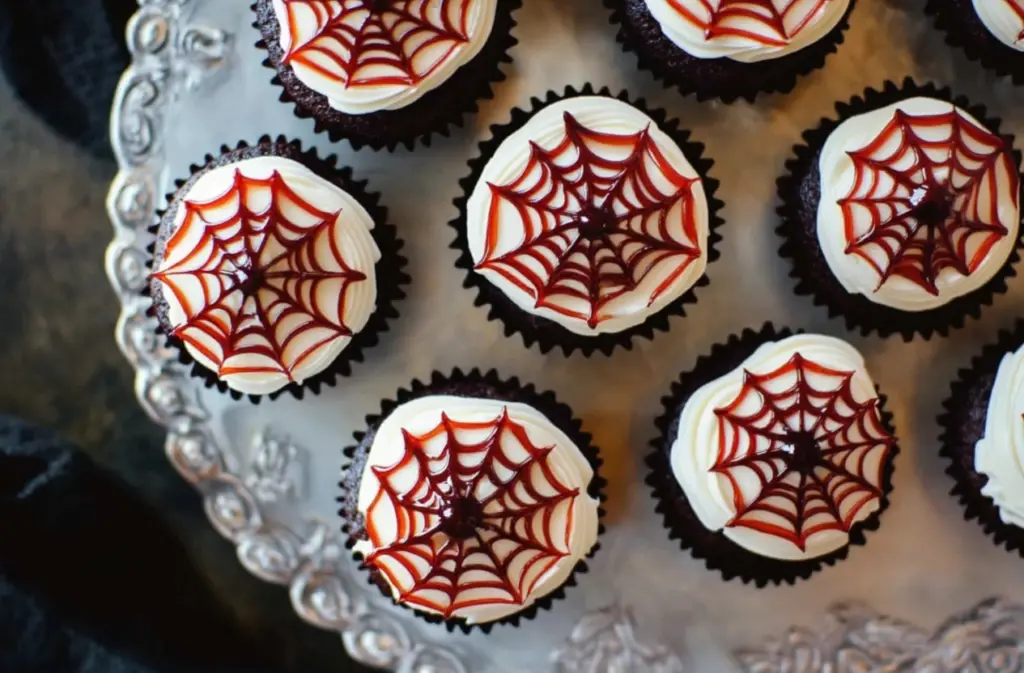
Advanced Techniques for Perfect Spiderweb Cupcakes
Making spiderweb cupcakes isn’t just about mixing ingredients and baking; it’s also about mastering the art of decorating. By focusing on these advanced techniques, you can elevate your cupcakes from simple to spectacular, adding intricate details that will impress everyone. Here’s how to take your spiderweb design to the next level.
Precision in Piping Icing
When creating the spiderweb design, precision is key. Use a steady hand to pipe concentric circles with white cookie icing on each cupcake. Start from the center and work your way outward. A liquid white icing color can give your spiderwebs a more vivid contrast against the dark chocolate frosting. Practice the piping on a piece of parchment paper before applying it to the cupcakes, so you can get used to the flow and thickness of the icing.
Adding Decorative Elements
While the spiderweb is the centerpiece, you can add small details to make each cupcake unique. For example, use small black sugar pearls or edible glitter to represent spiders caught in the web. If you want to give your cupcakes an extra spooky vibe, consider adding Halloween-themed decorations like mini spider toys, edible bats, or even orange and black sprinkles. These advanced touches will turn your spiderweb cupcakes into a true Halloween masterpiece.
Mastering the Spiderweb Drag Technique
To perfect the spiderweb design, a toothpick will be your best tool. After piping the white circles, drag a toothpick from the center outward through the icing. Repeat this process at regular intervals to create the signature spiderweb effect. By slightly varying the drag lines, you can create a more realistic, uneven web. With enough practice, this technique will give your cupcakes a professional finish.
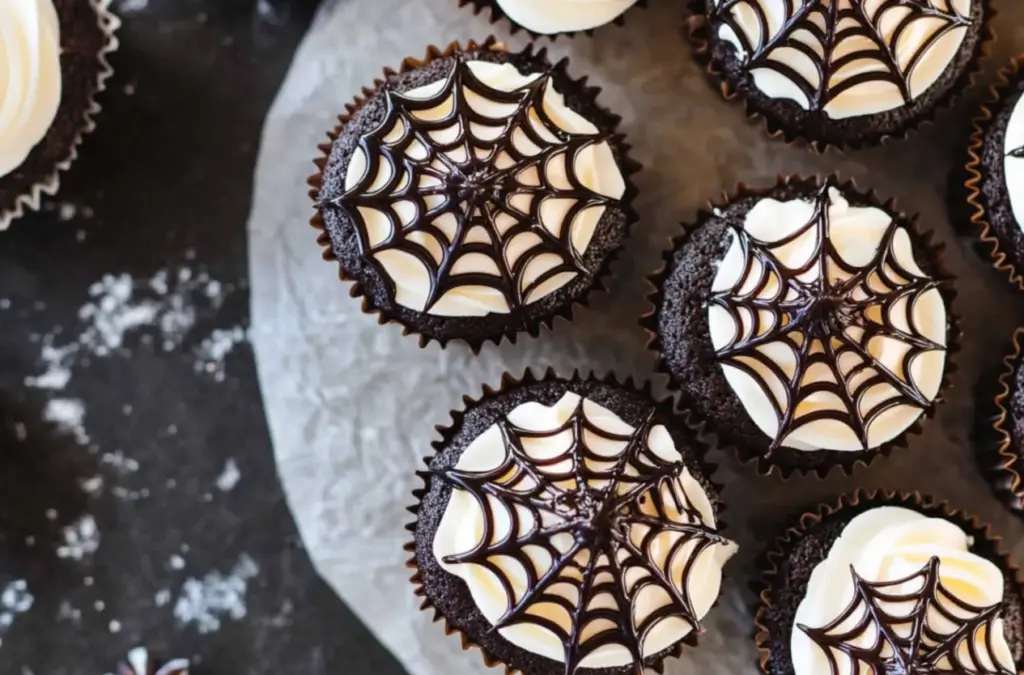
Maintenance Tips for Long-Lasting Spiderweb Cupcakes
Ensuring your spiderweb cupcakes stay fresh and delicious is just as important as making them. By following a few key maintenance tips, you can keep your cupcakes moist, flavorful, and visually appealing long after baking.
Proper Storage Methods
To maintain the texture and freshness of your spiderweb cupcakes, store them in an airtight container at room temperature for up to two days. This helps prevent the cupcakes from drying out. If you want to extend their shelf life, refrigerate them for up to five days. However, allow them to return to room temperature before serving, as this will enhance the flavor and softness.
Freezing for Future Enjoyment
If you plan on making spiderweb cupcakes ahead of time, freezing is a great option. To freeze, wrap the unfrosted cupcakes individually in plastic wrap and place them in an airtight container. You can store them in the freezer for up to three months. When you’re ready to enjoy them, thaw the cupcakes at room temperature, and only then proceed with decorating them with frosting and spiderweb designs.
Keeping the Icing Fresh
The dark chocolate frosting and white cookie icing should be added after the cupcakes have fully thawed or just before serving. This ensures that the frosting maintains its smooth texture and the spiderweb design looks crisp. If stored for later use, the icing can lose its glossy appearance and may become difficult to pipe. So, it’s best to wait until the last minute to frost and decorate your spiderweb cupcakes for the freshest presentation possible.
Dietary Adaptations for Spiderweb Cupcakes
Adapting your spiderweb cupcakes to meet different dietary needs is easier than you think. With a few simple substitutions, you can create cupcakes that everyone can enjoy, regardless of their dietary preferences.
Gluten-Free Spiderweb Cupcakes
For those who need gluten-free options, simply replace the standard devil’s food cake mix with a gluten-free cake mix. Ensure that the other ingredients, such as the baking cups and icing, are also labeled gluten-free to avoid any contamination. With these changes, your spiderweb cupcakes will still have the same moist texture and delicious flavor without the gluten.
Vegan-Friendly Substitutions
To make your spiderweb cupcakes vegan-friendly, use a plant-based cake mix and replace the eggs with flax eggs (1 tablespoon of ground flaxseed mixed with 3 tablespoons of water for each egg). Additionally, substitute vegetable oil for coconut oil, and choose a dairy-free dark chocolate frosting. Opt for a vegan-friendly white icing for the spiderweb design, ensuring every ingredient is cruelty-free and plant-based.
Low-Sugar Variations
For those looking to reduce their sugar intake, there are sugar-free or low-sugar cake mixes available. You can also replace the traditional frosting with a sugar-free chocolate frosting or make your own using a sugar substitute. The key to maintaining the flavor and texture of your spiderweb cupcakes is to carefully choose substitutes that maintain sweetness without adding too many carbohydrates.
These dietary adaptations allow you to offer spiderweb cupcakes that cater to a wide range of dietary needs, ensuring everyone at your Halloween gathering can indulge.
FAQs About Spiderweb Cupcakes
When making spiderweb cupcakes, several common questions may arise. Below are some frequently asked questions to help guide you through the process.
How do I make the spiderweb design look neater?
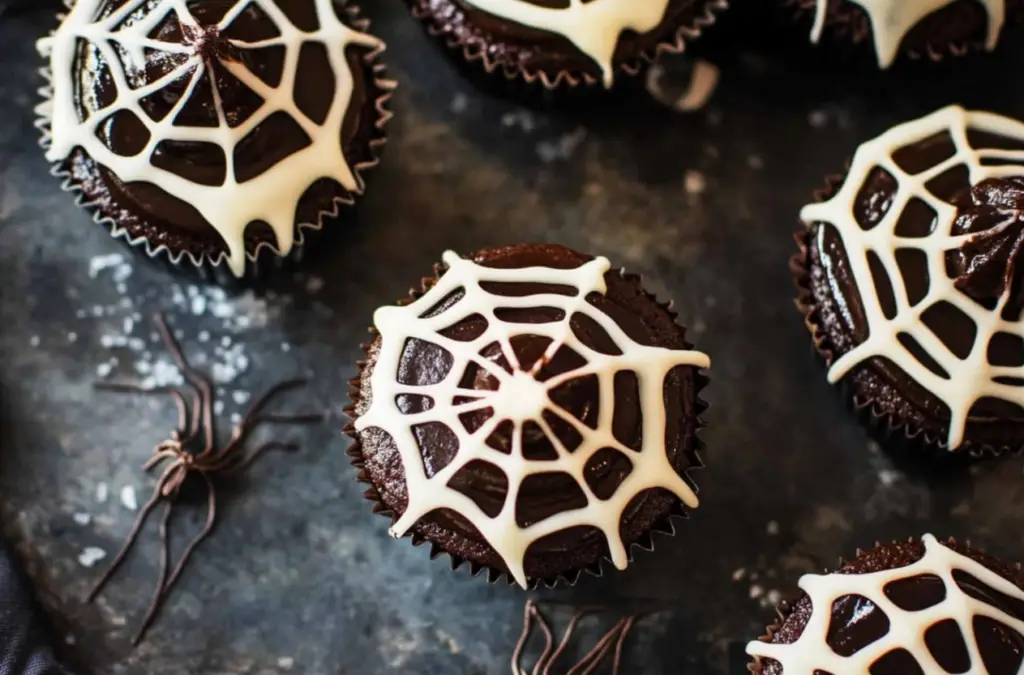
To achieve a neat spiderweb design, ensure that your cupcakes are completely cooled before frosting. Use a thin piping tip or a small squeeze bottle for the white cookie icing. Draw the circles evenly, and drag a toothpick from the center to the edges in straight lines to create the web effect. Practicing on parchment paper before decorating the cupcakes can also help perfect your technique.
Can I use a different type of cake mix for spiderweb cupcakes?
Absolutely! While spiderweb cupcakes are traditionally made using devil’s food cake mix for a dark, spooky base, you can easily swap this for other flavors. Vanilla, red velvet, or even pumpkin spice cake mixes work well. Just adjust the baking time slightly based on the instructions for each cake mix.
What should I do if my frosting starts melting?
If your dark chocolate frosting is melting or sliding off the cupcakes, it’s likely that the cupcakes were not fully cooled before frosting. To avoid this, always ensure your spiderweb cupcakes are cool to the touch before decorating. If you encounter this issue, pop the cupcakes in the fridge for a few minutes to firm up the frosting before adding the spiderweb design.
These tips should help solve the most common problems when preparing your delicious spiderweb cupcakes.
Conclusion: Why Spiderweb Cupcakes are the Perfect Halloween Treat
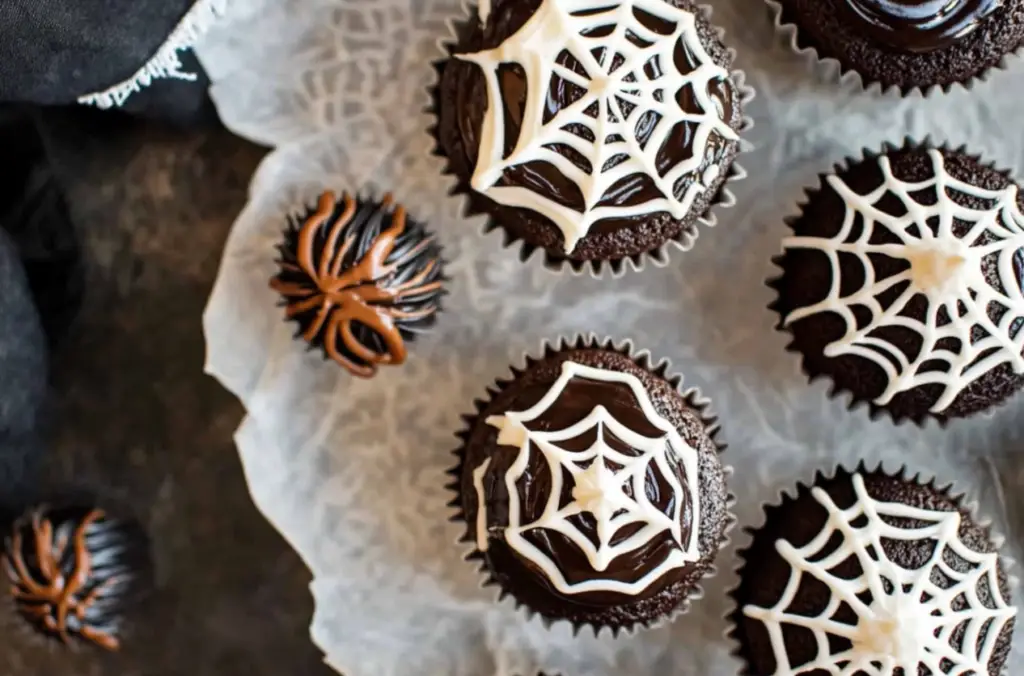
In conclusion, spiderweb cupcakes offer the ideal balance of flavor, fun, and creativity for any Halloween celebration. The combination of rich devil’s food cake and dark chocolate frosting gives these cupcakes a deliciously indulgent base. The spooky spiderweb design not only enhances their visual appeal but also adds an interactive element that’s fun for all ages.
Easy to Customize for Any Occasion
One of the best things about spiderweb cupcakes is their versatility. You can easily customize them with different cake mixes or decorations to suit other spooky occasions or themes. If you’re planning a themed party, these cupcakes can be adapted with colorful sprinkles, edible glitter, or tiny candy spiders for an extra festive touch.
A Show-Stopping Dessert with Minimal Effort
Despite their impressive appearance, spiderweb cupcakes are incredibly easy to make, requiring only basic ingredients and simple decorating techniques. Whether you’re an experienced baker or a beginner, you’ll find this recipe straightforward and rewarding. With minimal effort, you can create a show-stopping dessert that will wow your guests.
Share Your Spiderweb Cupcakes with Everyone
Finally, with the wide range of dietary adaptations available, spiderweb cupcakes can be enjoyed by everyone at your Halloween gathering. From gluten-free and vegan options to low-sugar alternatives, these cupcakes ensure no one feels left out. Get creative, have fun, and enjoy the magic of making these spooky treats this Halloween!

