Introduction
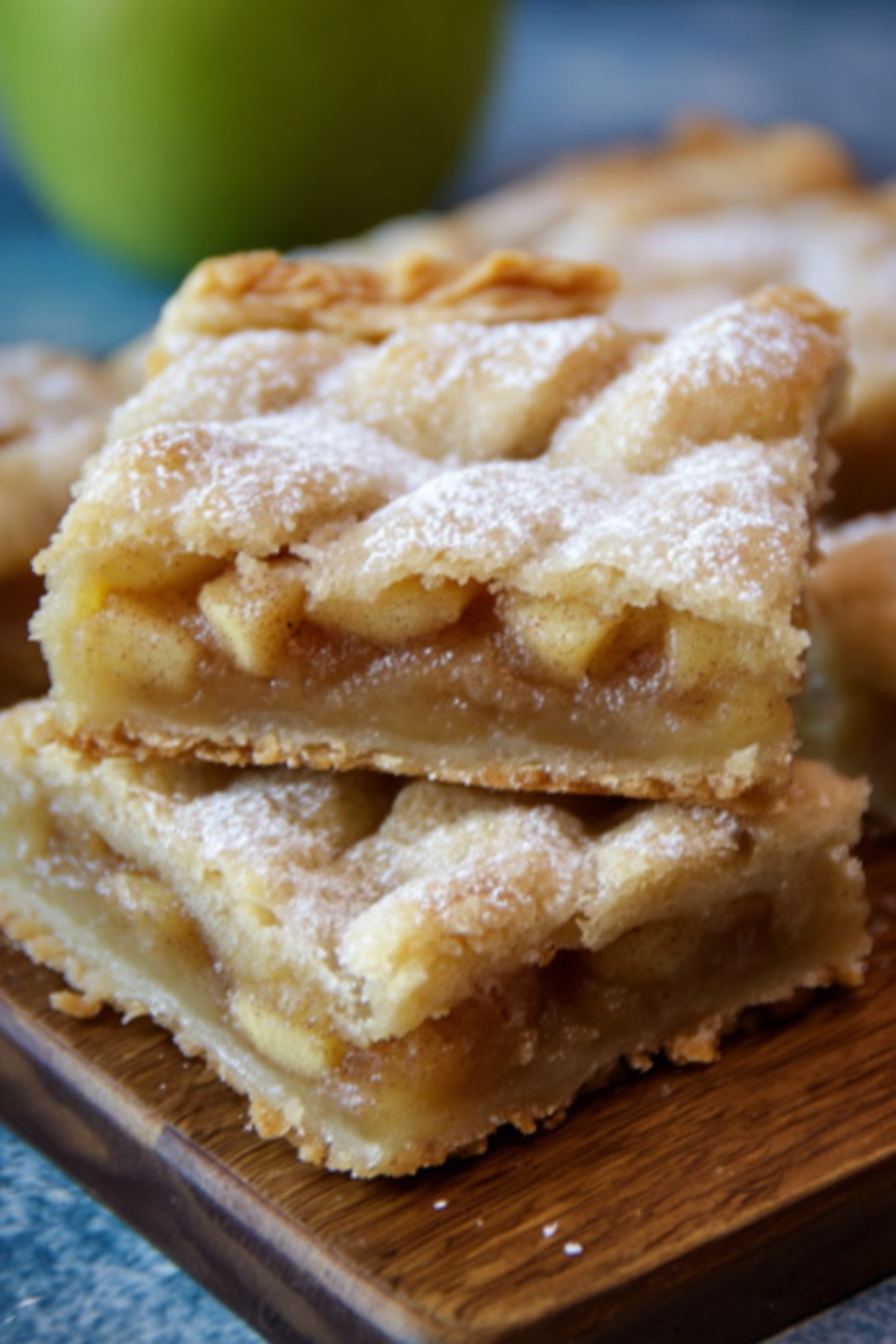
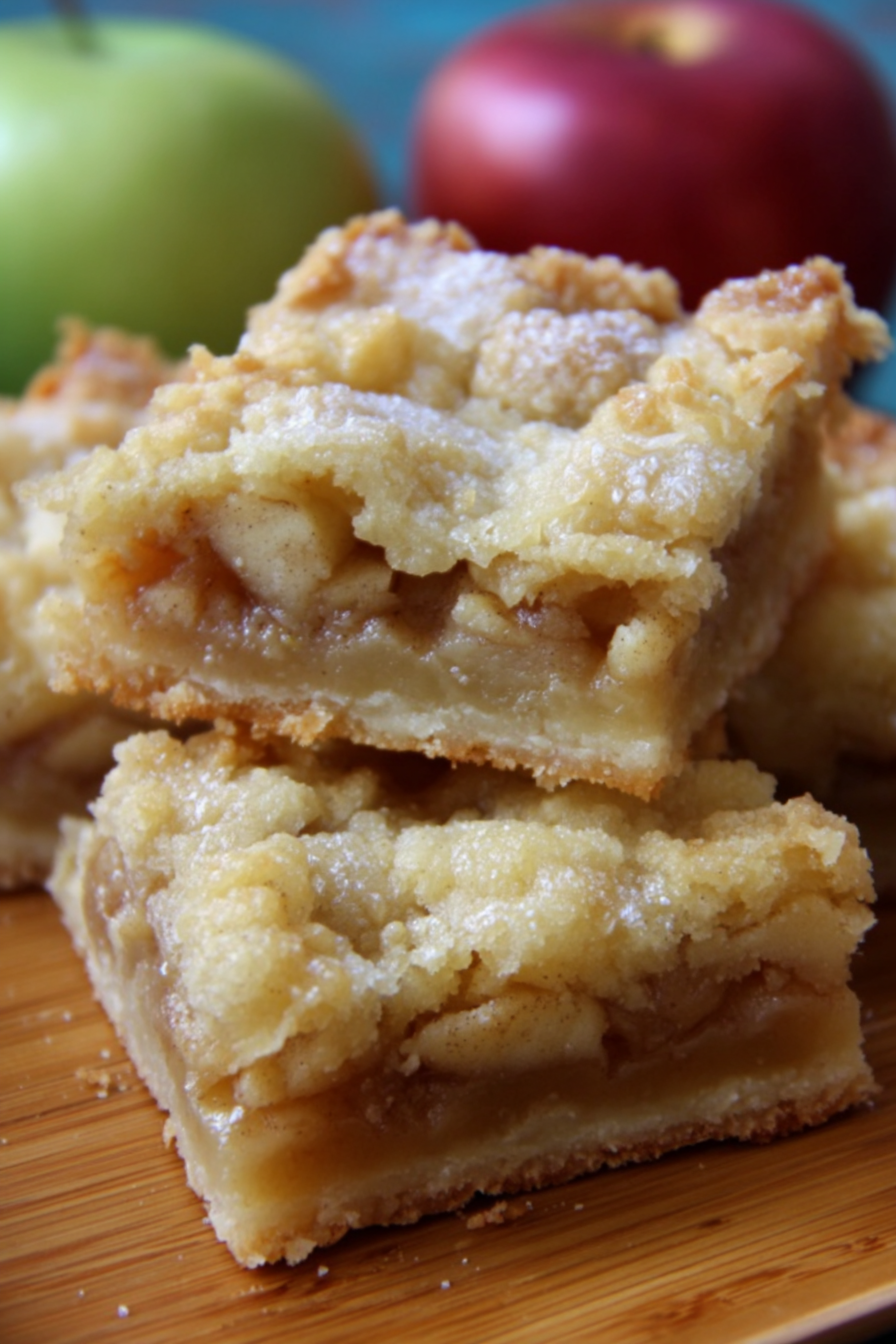
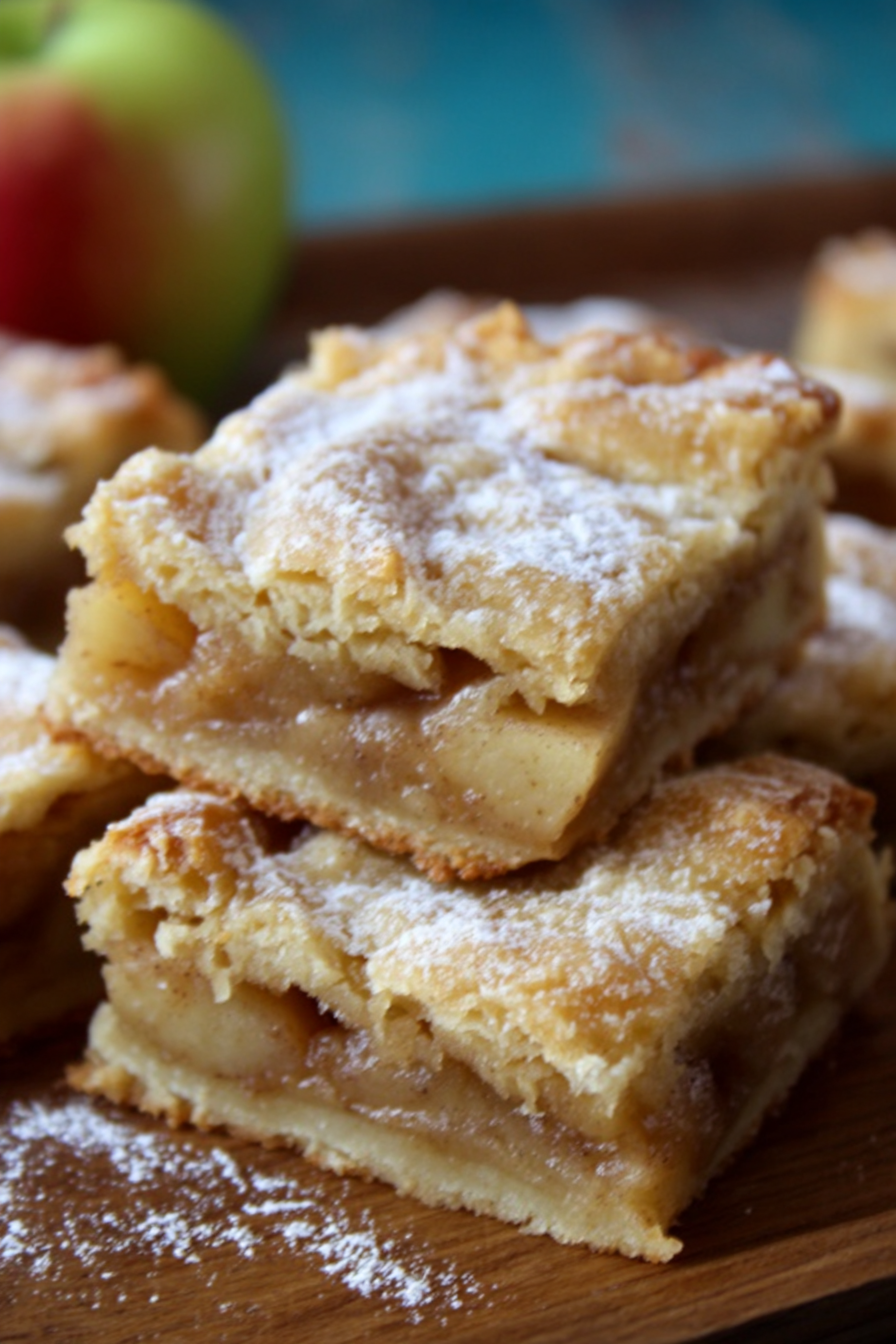
Apple pie is a classic dessert that never goes out of style, but sometimes you need something a little easier and more portable. That’s where flaky apple pie bars come in. Imagine all the cozy flavors of homemade apple pie—the buttery crust, the sweet-tart apples, and the hint of cinnamon—baked into a dessert bar that can be sliced, served, and enjoyed with minimal fuss. These apple pie bars are perfect for potlucks, bake sales, holiday gatherings, or simply treating yourself to a little fall comfort at home. They’re rich, golden, and full of flavor in every bite.
My recipe story
My love for apple pie bars started a few years ago during apple-picking season. After a trip to a local orchard, I returned with a basket overflowing with crisp, juicy apples. While traditional apple pie is always a winner, I wanted something quicker and easier to share with friends and family. That’s when I came across the idea of apple pie bars. I experimented with different crusts, fillings, and toppings until I found the perfect balance: a tender, buttery shortbread base, layers of cinnamon-kissed apples, and a crumbly streusel topping. Ever since then, these bars have been a staple at my autumn gatherings. They carry the charm of apple pie without the need for rolling dough or perfecting lattice tops.
💡 Why You’ll Love This Recipe
- All the comforting flavors of apple pie in a portable, easy-to-serve bar form.
- No rolling pins or complicated crust techniques required.
- Perfect for holidays, bake sales, or meal prep desserts.
- Customizable with different apple varieties, spices, or toppings.
- Stays fresh for days, making it a convenient make-ahead treat.
Ingredient breakdown
The magic of flaky apple pie bars comes from simple, wholesome ingredients that transform into something extraordinary when baked together. The crust is made with flour, sugar, and cold butter, creating a shortbread-style base that is crisp yet tender. The key here is to use very cold butter so that the crust bakes up with a delicate, flaky texture.
The filling stars fresh apples—peeled, cored, and sliced. Choosing the right apple variety is important. Tart apples like Granny Smith balance the sweetness, while sweeter apples like Honeycrisp or Fuji create a more indulgent flavor. A touch of cinnamon, nutmeg, and sugar enhances their natural sweetness while keeping that cozy fall aroma we all love.
The topping, a simple crumb mixture of butter, flour, and sugar, adds both crunch and sweetness, making every bite perfectly balanced. Together, these layers create a dessert that feels luxurious yet approachable.
Equipment you’ll need
- 9×13-inch baking pan
- Mixing bowls (at least 2)
- Pastry cutter or fork
- Wooden spoon or silicone spatula
- Measuring cups and spoons
- Sharp knife and cutting board (for apples)
- Cooling rack
Step-by-step directions
Step 1: Prepare the crust
In a large mixing bowl, combine the flour and sugar. Cut in the cold, cubed butter using a pastry cutter or fork until the mixture resembles coarse crumbs. Press this mixture evenly into the bottom of a greased 9×13-inch pan. Bake at 350°F (175°C) for about 15 minutes, or until lightly golden. This step ensures a firm, buttery base for your bars.
Step 2: Prepare the apple filling
While the crust bakes, peel, core, and slice the apples. Toss them in a bowl with sugar, cinnamon, and a pinch of nutmeg. This mixture will start to release juices, creating a sweet, spiced apple filling that complements the buttery crust. Make sure the apple slices are coated evenly so every bite is flavorful.
Step 3: Assemble the bars
Remove the crust from the oven and allow it to cool slightly. Spread the apple mixture evenly over the crust, ensuring an even layer from corner to corner. The apples will bake down and soften, becoming tender and aromatic while staying slightly structured.
Step 4: Make the crumb topping
In another bowl, mix flour and sugar, then cut in butter until crumbly. Sprinkle this mixture evenly over the apples. The topping will bake into a golden, crisp layer that contrasts beautifully with the tender apples below.
Step 5: Bake and cool
Return the pan to the oven and bake for 30–35 minutes, or until the topping is golden brown and the apples are bubbling slightly. Remove from the oven and place the pan on a cooling rack. Allow the bars to cool completely before slicing into squares or rectangles. This ensures clean cuts and keeps the layers intact.
Variations & substitutions
You can easily adapt these apple pie bars to suit your tastes or dietary needs. Try adding chopped pecans or walnuts to the crumb topping for extra crunch. Swap apples for pears if you want a softer, more delicate filling. For a healthier twist, use whole wheat flour in the crust and topping. You can also add dried cranberries or raisins to the filling for a festive touch. If you prefer a caramel flavor, drizzle caramel sauce over the apples before adding the topping.
💡 Expert Tips & Troubleshooting
- Use cold butter in both the crust and topping for the flakiest results.
- Let the bars cool completely before slicing to avoid a messy presentation.
- If your apples are very juicy, sprinkle a tablespoon of flour or cornstarch over them before layering to prevent sogginess.
- For perfectly even layers, press the crust firmly into the pan before baking.
Storage, freezing & make-ahead
These apple pie bars store beautifully. Once cooled, place them in an airtight container at room temperature for up to 2 days or in the refrigerator for up to 5 days. To freeze, wrap individual bars tightly in plastic wrap and place them in a freezer-safe bag. They can be frozen for up to 2 months. To serve, simply thaw overnight in the refrigerator or warm in the oven at a low temperature for that fresh-baked feel. If you’re planning ahead, you can bake the bars a day before serving—just wait to cut them until the day of to keep them looking neat and fresh.
Serving ideas & pairings
These bars shine on their own, but you can elevate them with thoughtful pairings. Serve warm with a scoop of vanilla ice cream for a classic à la mode experience. A drizzle of caramel sauce or a dollop of whipped cream adds extra indulgence. For a cozy fall dessert table, pair them with pumpkin pie, pecan pie, or spiced cookies. They also make a wonderful addition to brunch spreads alongside coffee cake and muffins. For beverages, pair these apple pie bars with apple cider, chai tea, or a hot latte for a comforting treat.
FAQ
Can I use store-bought pie filling instead of fresh apples?
Yes, you can substitute canned apple pie filling, but the flavor and texture are best with fresh apples.
What type of apples work best for this recipe?
Granny Smith, Honeycrisp, or Fuji are excellent choices because they hold their shape and balance sweetness with tartness.
Can I make these bars gluten-free?
Yes, substitute a 1:1 gluten-free flour blend for the all-purpose flour. Make sure your oats (if added to the topping) are certified gluten-free.
Do these bars need to be refrigerated?
Not immediately. They can sit at room temperature for up to 2 days, but refrigeration extends freshness.
How can I prevent a soggy crust?
Pre-bake the crust before adding the apples, and if your apples are very juicy, toss them with a little flour or cornstarch.
Final thoughts
Flaky apple pie bars are the perfect way to enjoy all the cozy flavors of traditional apple pie without the hassle of rolling dough. With a buttery crust, spiced apple filling, and a golden crumb topping, they’re a dessert that’s as impressive as it is comforting. Whether you’re baking for the holidays, bringing a treat to a gathering, or just craving a sweet bite of fall, these bars deliver every time. Try them once, and they’ll quickly become a favorite in your baking rotation.
Print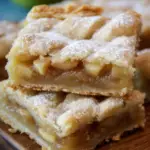
Flaky Apple Pie Bars
- Total Time: 1 hour 10 minutes
- Yield: 12–16 bars
- Diet: Vegetarian
Description
Buttery shortbread crust topped with spiced apples and a crisp crumb topping—perfect for fall gatherings or an easy dessert.
Ingredients
- 2 1/2 cups all-purpose flour
- 1/2 cup granulated sugar
- 1 cup unsalted butter, cold and cubed
- 4 medium apples, peeled, cored, and sliced
- 1/2 cup granulated sugar (for filling)
- 1 teaspoon ground cinnamon
- 1/4 teaspoon ground nutmeg
- 1/4 teaspoon salt
- 1/2 cup all-purpose flour (for topping)
- 1/3 cup brown sugar
- 1/4 cup unsalted butter, cold and cubed (for topping)
Instructions
- Preheat the oven to 350°F (175°C). Grease a 9×13-inch baking pan.
- In a bowl, combine 2 1/2 cups flour and 1/2 cup sugar. Cut in 1 cup cold butter until mixture resembles coarse crumbs. Press into the pan and bake 15 minutes.
- In another bowl, toss apple slices with 1/2 cup sugar, cinnamon, and nutmeg. Set aside.
- Spread the apple mixture evenly over the pre-baked crust.
- For the topping, mix 1/2 cup flour and brown sugar, cut in 1/4 cup cold butter until crumbly. Sprinkle over apples.
- Bake 30–35 minutes until topping is golden and apples are tender. Cool completely before slicing.
Notes
Bars can be stored in an airtight container for up to 5 days or frozen for 2 months. Serve warm with ice cream or drizzle with caramel sauce.
- Prep Time: 20 minutes
- Cook Time: 50 minutes
- Category: Dessert
- Method: Baking