1. Introduction to the Recipe
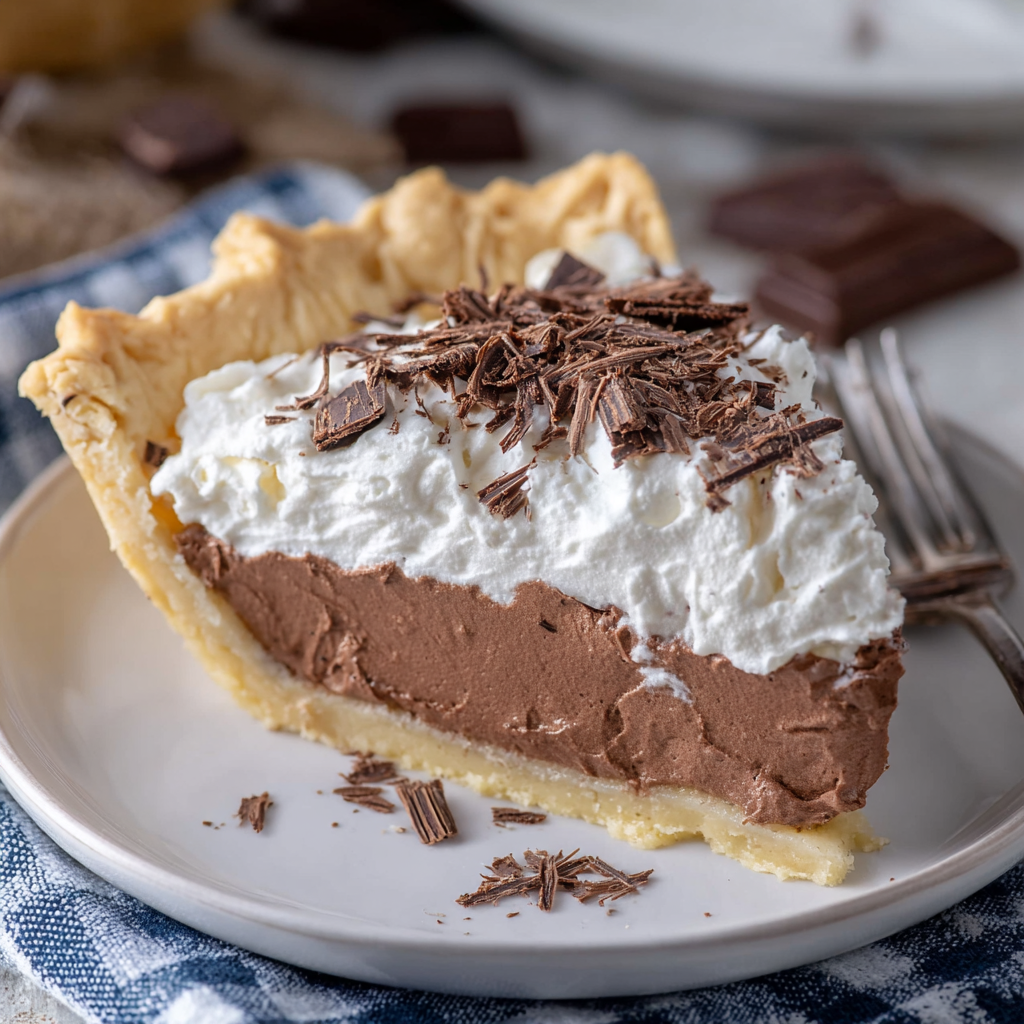
If you’re searching for a dessert that’s elegant enough for the holidays but easy enough to make any time you want to impress, this French Silk Slab Pie is it. All the creamy, dreamy decadence of classic French Silk Pie—scaled up for a crowd. Made with a crisp baked crust and a whipped, chocolate-loaded filling, this pie brings the best of mousse and pie together in one shareable, sliceable slab.
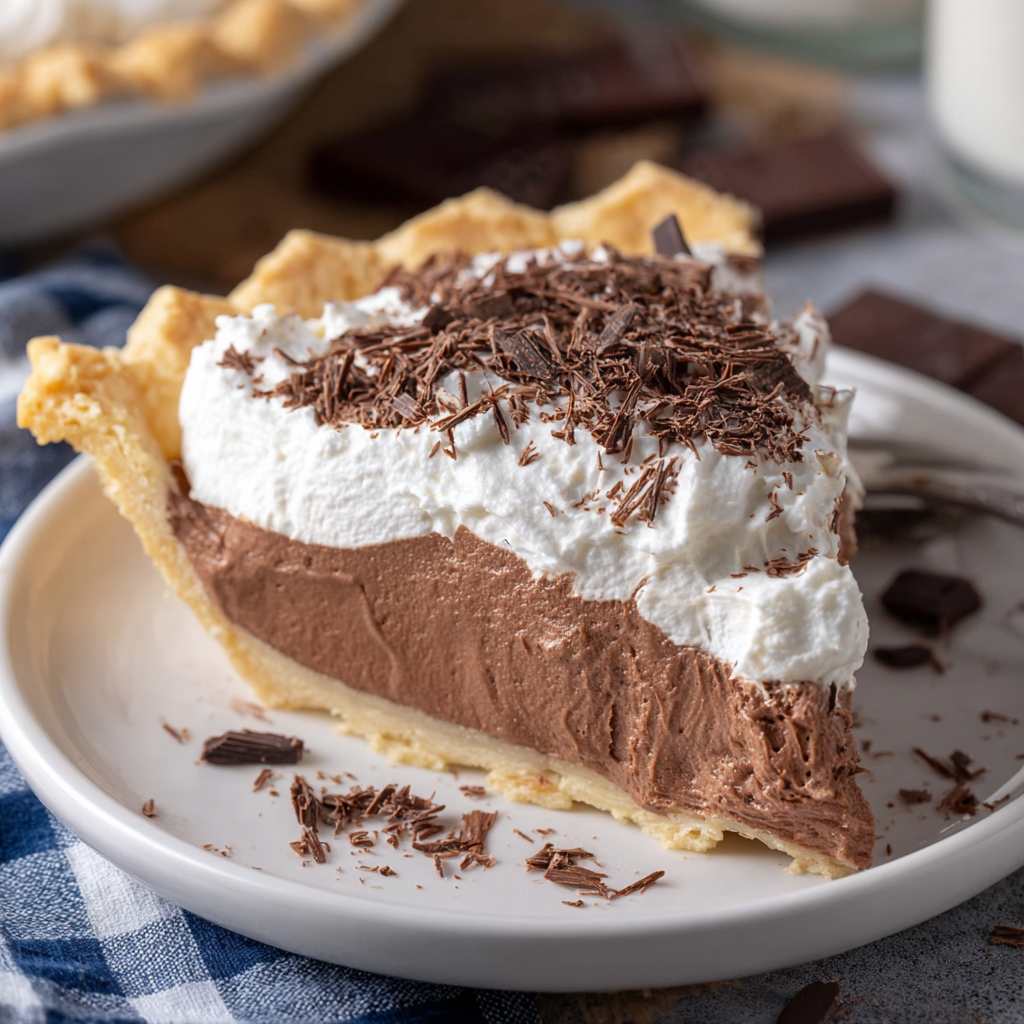
Unlike traditional versions made in a round pie plate, this slab pie is built in a rectangular pan so it feeds more people—perfect for parties, potlucks, or family gatherings. With its rich, buttery base, fluffy chocolate mousse filling, and generous whipped cream topping, each bite melts in your mouth like velvet. Add some chocolate shavings on top and you’ve got yourself a full-blown showstopper.
You don’t need any fancy ingredients to make it either—just quality butter, real chocolate, eggs, sugar, and cream. The filling is raw-egg based, so use pasteurized eggs if you’re concerned about safety.
Want to brush up on mousse-making technique? Try this guide to making French silk pie. Or learn how to blind-bake pie crusts.
Let’s dive into the layers of this luxurious dessert.
2. Basic Recipe: Ingredients and Instructions
Print
French Silk Slab Pie
Description
This French Silk Slab Pie is rich, fluffy, chocolatey perfection made to serve a crowd. A dreamy dessert for any celebration.
Ingredients
Crust
- 14.1 oz refrigerated pie crusts (two 7.05 oz crusts, e.g. Pillsbury)
Filling
- 1 1/2 cups (339g) unsalted butter, softened
- 2 1/4 cups (446g) granulated sugar
- 3 oz (85g) unsweetened chocolate, melted and cooled
- 3 teaspoons pure vanilla extract
- 6 large eggs, room temperature
Whipped Topping
- 2 1/2 cups (568 mL) heavy whipping cream, chilled
- 2 1/2 tablespoons powdered sugar
Garnish
- 1 oz unsweetened chocolate, shaved
Instructions
- Preheat and prep crust: Preheat oven to 450°F. Unroll both pie crusts and press them into a 9×13-inch baking dish. Trim and crimp edges as desired. Prick the bottom with a fork to prevent bubbling.
- Blind bake the crust: Line the crust with parchment and fill with pie weights or dried beans. Bake for 10–12 minutes until lightly golden. Remove weights and bake 3–5 more minutes. Let cool completely.
- Make the chocolate filling: In a large mixing bowl, beat butter and sugar until pale and fluffy—about 5–7 minutes. Beat in the melted chocolate and vanilla until fully combined.
- Add eggs gradually: Add eggs one at a time, beating for 1 minute after each addition. This step is key to achieving the silky, mousse-like texture.
- Spread filling: Once the filling is thick and smooth, spread it evenly into the cooled crust. Refrigerate for at least 4 hours, or overnight.
- Whip the topping: In a chilled bowl, whip the heavy cream with powdered sugar until soft peaks form. Spread over the chilled chocolate layer.
- Garnish: Sprinkle with shaved chocolate just before serving.
Notes
Use pasteurized eggs for food safety.
For deeper flavor, use bittersweet chocolate instead of unsweetened.
Chill your mixing bowl and beaters before whipping cream for best volume.
3. Advanced Techniques
Whip the Eggs for Extra Lightness
If you want your filling ultra-airy, separate the eggs. Beat the yolks into the butter mixture, then whip the egg whites separately to stiff peaks and fold them in last. This adds height and silkiness without changing the base flavor.
Add a Cookie Crust Base
For an extra chocolatey twist, swap out the traditional pie crust for a cookie crust made from crushed chocolate sandwich cookies and melted butter. Bake for 10 minutes at 350°F and let cool before filling.
Add Espresso for Depth
Mix 1–2 teaspoons of instant espresso powder into the melted chocolate before adding it to the butter mixture. It enhances the chocolate flavor without making it taste like coffee.
Pipe the Whipped Cream
For a fancier look, pipe the whipped cream over the chocolate layer using a large star tip. Finish with a dusting of cocoa powder or edible glitter for a party-ready dessert.
Use Flavored Extracts
Instead of vanilla, try almond, orange, or peppermint extract for a holiday twist. Use sparingly to avoid overpowering the chocolate.
4. Storage, Shelf Life, and Maintenance Tips
Refrigerator Storage
Store the pie covered in the refrigerator for up to 4 days. Use plastic wrap or foil, or place in a covered pan. Best served chilled.
Freezing Instructions
You can freeze the pie (without whipped topping) for up to 1 month. Wrap tightly in plastic wrap and foil. Thaw overnight in the fridge, then add fresh whipped cream before serving.
Make Ahead Tips
Make the crust and filling the night before and chill overnight. Whip and top with cream just before serving for best texture.
Prevent Soggy Crust
Make sure the crust is fully cooled and the filling is not warm when assembling. Blind baking properly helps ensure crispness.
Transporting the Pie
Use a 9×13-inch pan with a lid for easier travel. Keep the pie chilled during transport using an insulated carrier or cooler.
5. Dietary Adaptations and Substitutions
Gluten-Free Version
Use a gluten-free pie crust or make your own using almond flour and butter. Most of the filling ingredients are already gluten-free.
Dairy-Free Adaptation
Swap butter with plant-based butter and use dairy-free whipping cream alternatives. Use a dairy-free crust or graham cracker base.
Low-Sugar Option
Substitute granulated sugar with a baking-friendly sugar alternative like monk fruit or erythritol. Use sugar-free chocolate and powdered erythritol for the topping.
Nut-Free and Allergy-Safe
This recipe is naturally nut-free. Always check labels for cross-contamination if serving someone with allergies.
Egg-Free Alternative
Since this pie relies heavily on eggs for structure, it’s tricky to make it egg-free. Instead, make a mousse-style no-bake chocolate pie using tofu or avocado as a base.
6. FAQs About the Recipe
Can I use semi-sweet or bittersweet chocolate instead?
Yes! Semi-sweet or bittersweet chocolate adds a smoother, deeper chocolate flavor. Just reduce the sugar slightly to balance the sweetness.
Is it safe to eat raw eggs in this pie?
If using fresh, high-quality pasteurized eggs, it is generally considered safe. Pasteurized eggs eliminate the risk of salmonella.
Can I use a store-bought whipped topping?
Yes, but fresh whipped cream has a better flavor and texture. If short on time, go with a stabilized whipped topping for convenience.
Can I make this without an electric mixer?
It’s possible, but it will require a lot of elbow grease—especially when whipping the eggs and cream. A hand or stand mixer is highly recommended.
Can I make individual portions?
Absolutely. Use a muffin tin or mini tart pans for single-serve pies. Line with crust, fill, chill, and top each one individually.
7. Conclusion & Final Thoughts
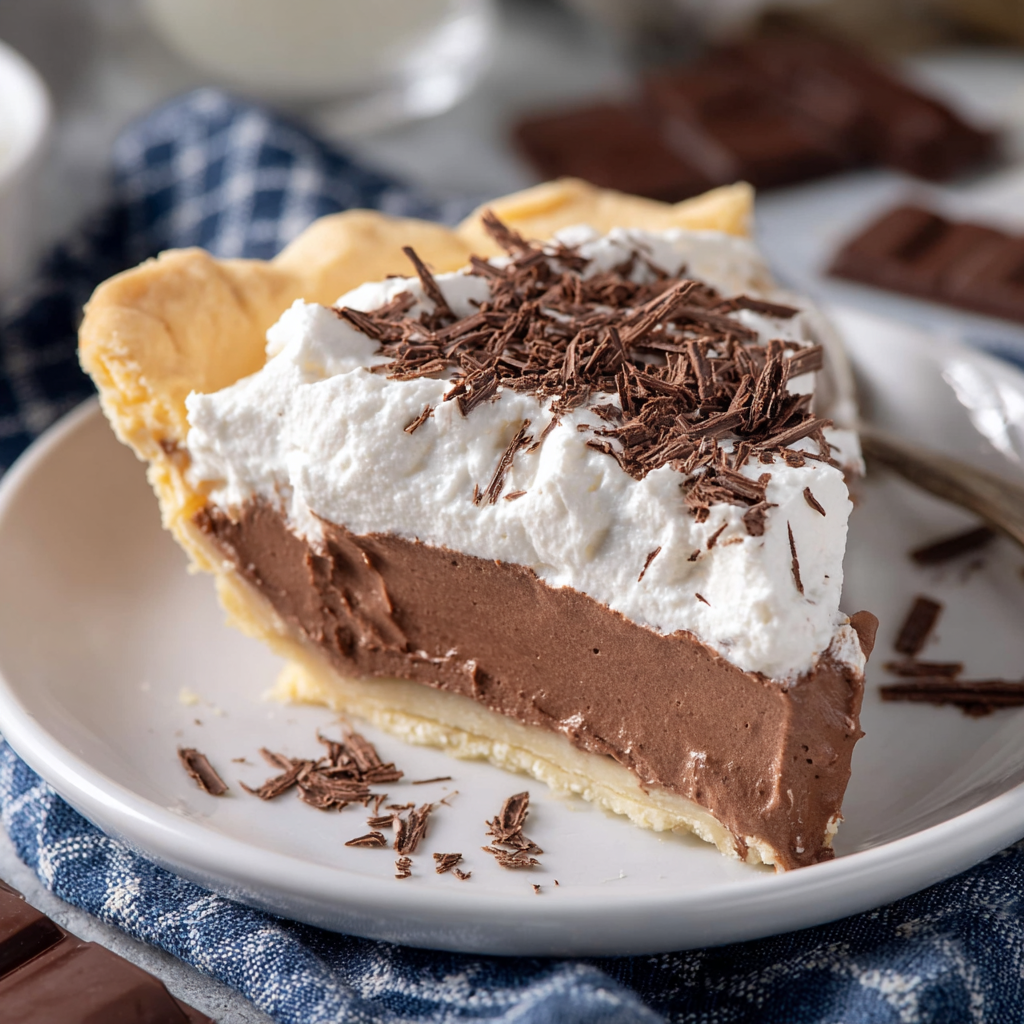
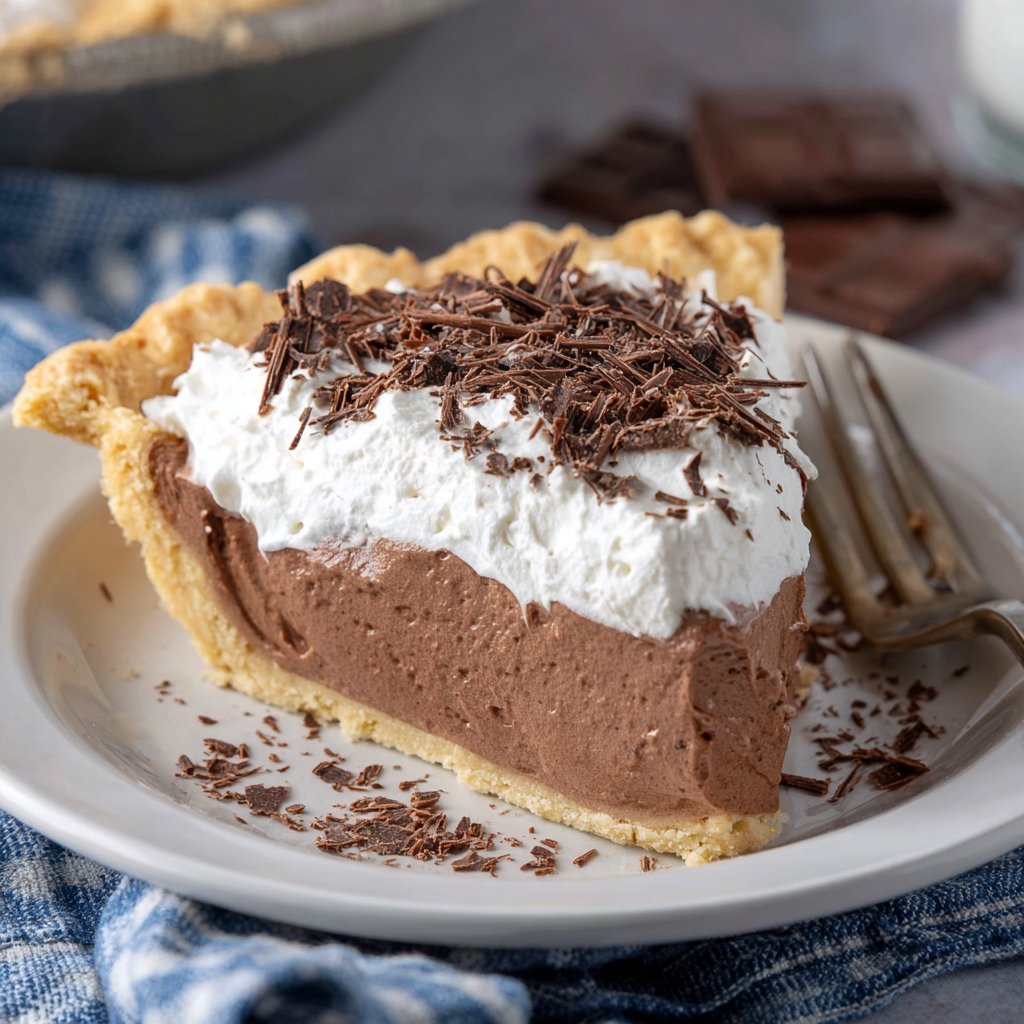
This French Silk Slab Pie is pure indulgence in every bite—rich chocolate, creamy filling, and a cloud of whipped cream on top. It’s ideal for celebrations where you want a classic dessert that wows the crowd without the stress of baking multiple pies.
The slab style makes it easy to transport and slice, and the mousse-like texture of the filling guarantees everyone will go back for seconds. It’s sweet, smooth, and wonderfully decadent.
Whether you’re making it for a holiday dinner, potluck, or just a cozy weekend treat, this recipe is a keeper. With a few clever tweaks, it can be adapted to different dietary needs or flavor preferences.
So grab your whisk, your best chocolate, and your pie crusts—because this French Silk Slab Pie is about to become a new favorite.