Introduction
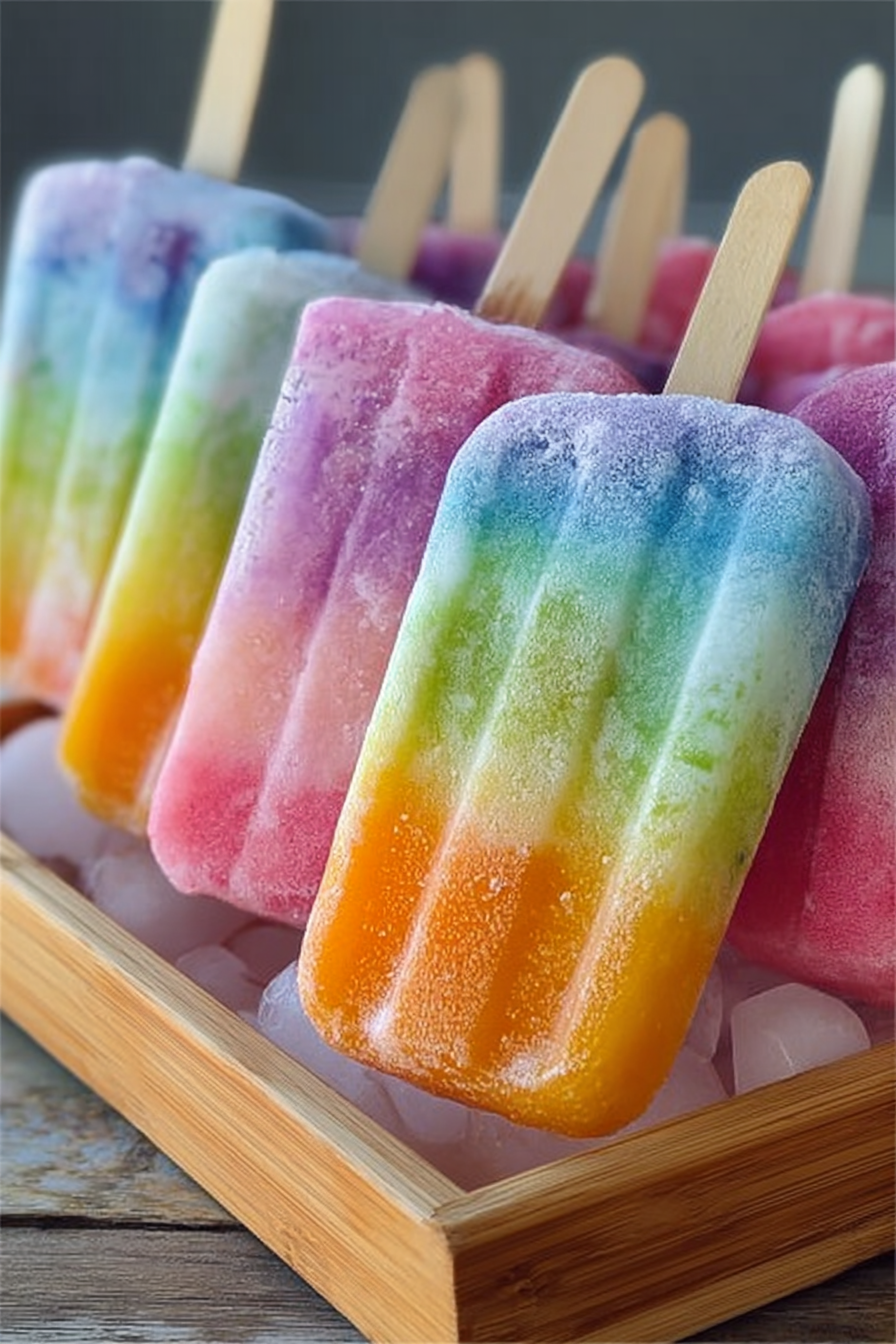
If you grew up with sticky fingers and a smile from cotton candy at carnivals, you’ll love this recipe for Frozen Cotton Candy Pops. They capture that nostalgic, melt-in-your-mouth flavor in a frozen, refreshing form. Unlike ordinary popsicles, these pops combine a creamy base with fluffy cotton candy swirls, creating a delightful balance of sweetness and cool refreshment. They’re the perfect way to add color and fun to summer days or birthday celebrations.
My recipe story
I first came up with Frozen Cotton Candy Pops when planning a summer party for my nieces. I wanted something that would wow them visually but still taste light and refreshing. Traditional popsicles felt too plain, while cotton candy on its own can be messy in warm weather. Combining the two seemed like the perfect solution. The result? A batch of pastel-colored, swirly pops that were devoured within minutes and earned me the title of “coolest aunt ever.” Since then, I’ve been making them for family BBQs, poolside parties, and even as a whimsical dessert for grown-ups who want to revisit their childhood memories.
💡 Why You’ll Love This Recipe
- Perfectly nostalgic — the flavor instantly takes you back to carnivals and fairs.
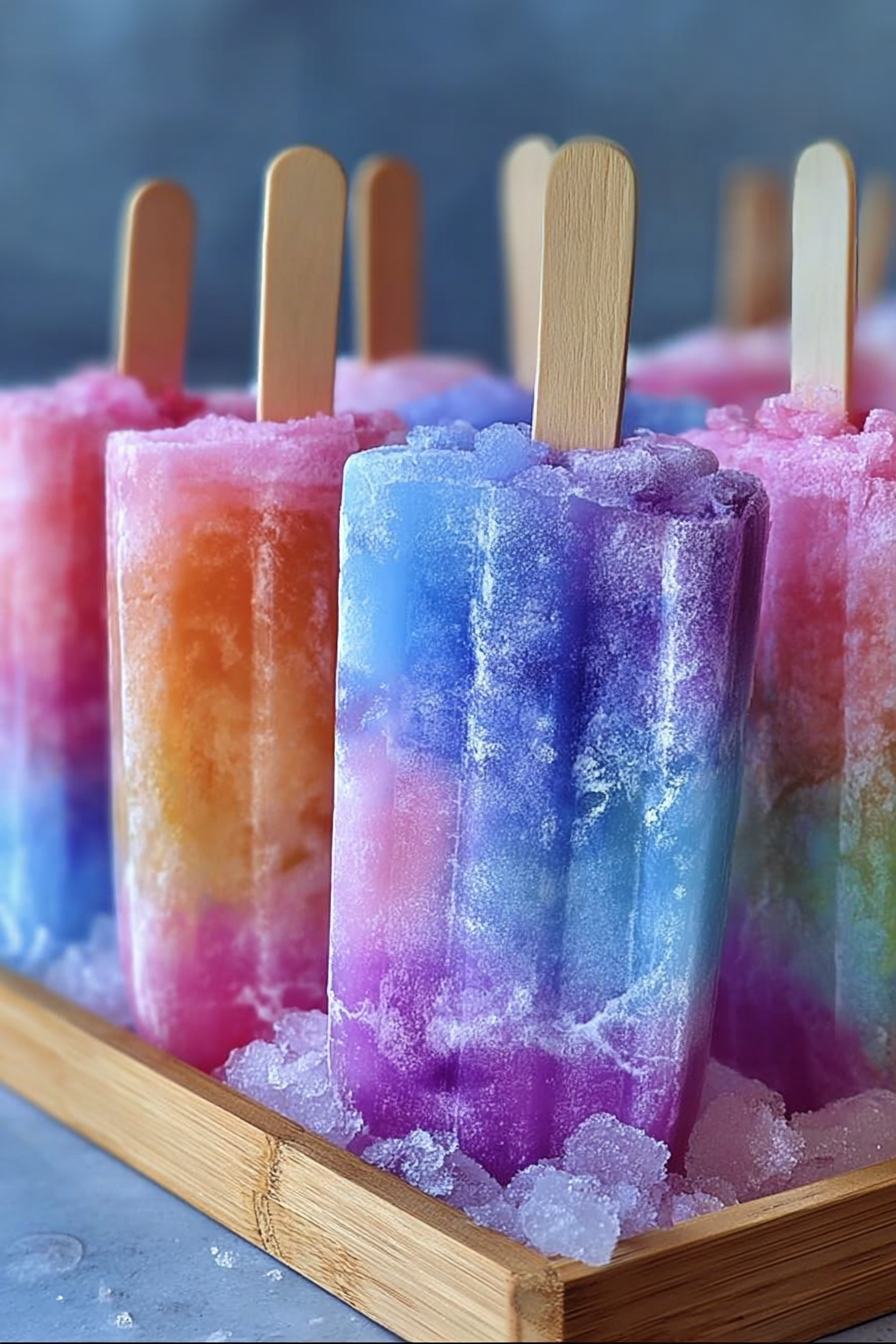
- Visually stunning with pastel swirls that look amazing on dessert tables.
- Kid-friendly yet sophisticated enough to serve at adult gatherings.
- Customizable with different cotton candy flavors and colors.
- Cool and refreshing, making them ideal for hot summer days.
Ingredient breakdown
The beauty of Frozen Cotton Candy Pops lies in their simplicity. You’ll only need a handful of ingredients, yet they come together to create something magical. The star of the show, of course, is cotton candy itself. Available in many colors and flavors, cotton candy adds both sweetness and a whimsical flair to these pops. Choose your favorite or mix and match for a rainbow effect.
To balance out the sugary cotton candy, you’ll need a creamy base. A mixture of milk, cream, or even yogurt provides a neutral foundation that softens the sweetness and adds a smooth texture. Sweetened condensed milk is another excellent option for extra creaminess and richness. Finally, a touch of vanilla extract helps to round out the flavors, creating that classic ice cream-like appeal in frozen pop form.
Equipment you’ll need
- Popsicle molds (silicone molds work best for easy release)
- Popsicle sticks
- Mixing bowls
- Measuring cups and spoons
- A whisk or spoon for stirring
- Plastic wrap or foil (to cover molds)
Step-by-step directions
Step 1: Prepare the creamy base
In a mixing bowl, combine 1 cup of milk, ½ cup of heavy cream, and 2 tablespoons of sweetened condensed milk. Whisk until smooth. Add 1 teaspoon of vanilla extract to give the pops a subtle flavor depth. The base should be slightly sweet but not overpowering, as the cotton candy will add more sugar later.
Step 2: Fill the molds halfway
Pour the creamy mixture into each popsicle mold, filling them about halfway. This will create a layered effect once you add the cotton candy. Tap the molds gently on the counter to remove any air bubbles, ensuring a smooth finish once frozen.
Step 3: Add cotton candy layers
Tear small pieces of cotton candy and gently press them into the molds. Don’t pack them too tightly—keeping it light will help create that fluffy, swirled effect. You can alternate between colors for a more striking look. The cotton candy will dissolve slightly into the base, infusing the pops with both flavor and color.
Step 4: Fill the molds to the top
Pour more of the creamy base over the cotton candy, filling each mold to the top. Insert the popsicle sticks into the center, making sure they are straight and stable. Cover the molds with plastic wrap or foil to keep the sticks in place and prevent freezer odors from affecting the flavor.
Step 5: Freeze until solid
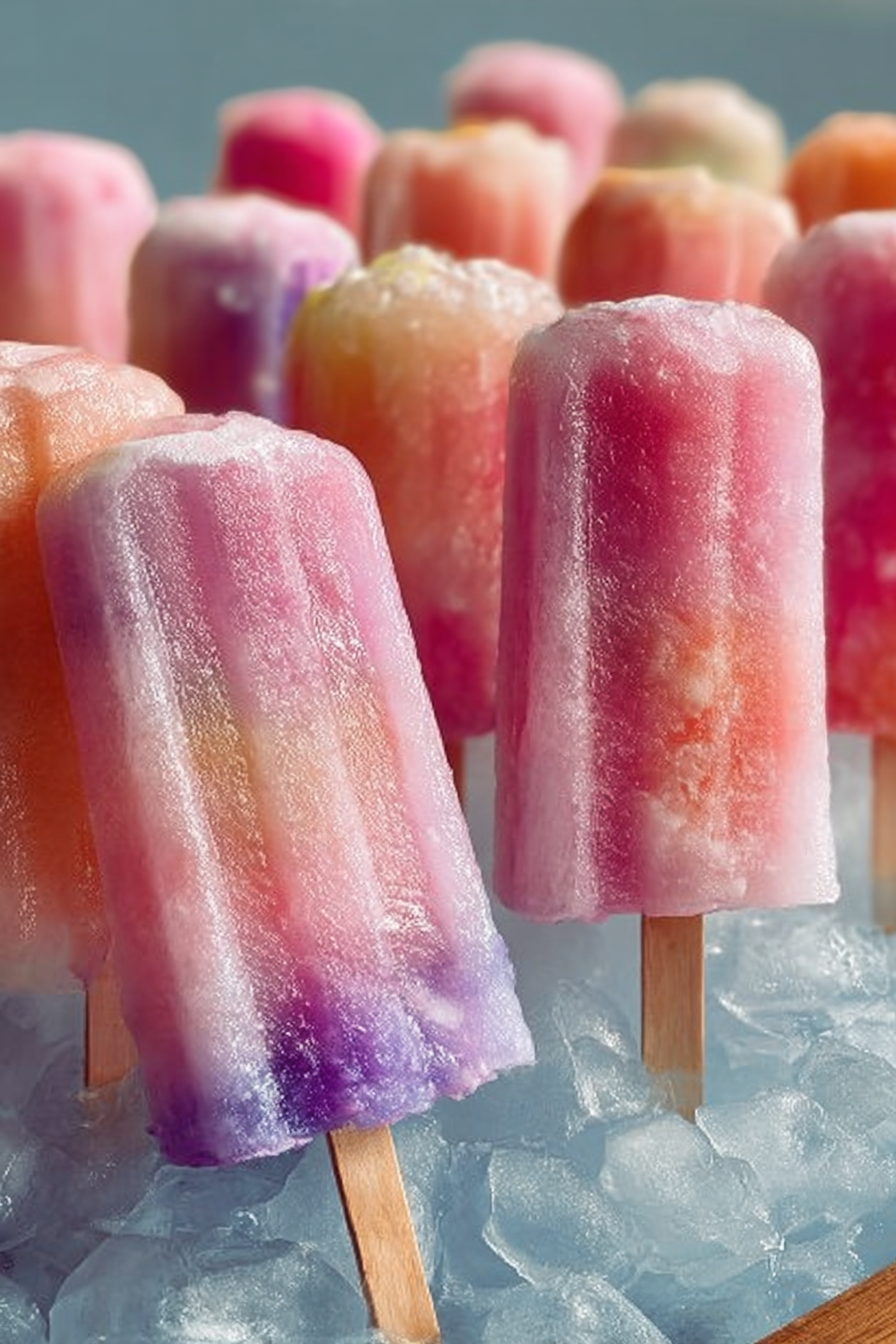
Place the molds in the freezer and let them set for at least 6 hours, preferably overnight. Once fully frozen, remove the pops from the molds by running warm water over the outside for a few seconds. Gently pull them out, and you’ll reveal the gorgeous swirled layers of cotton candy and creamy base.
Variations & substitutions
You can easily customize these Frozen Cotton Candy Pops to suit your preferences. Try using flavored yogurt as the base for a tangy twist, or coconut milk for a dairy-free option. Cotton candy comes in dozens of flavors, so feel free to experiment with bubblegum, cherry, blue raspberry, or even tropical varieties. You can also drizzle melted white chocolate over the finished pops for a gourmet upgrade or roll them in sprinkles for an extra festive presentation.
💡 Expert Tips & Troubleshooting
- Don’t overpack the cotton candy — too much will dissolve completely instead of leaving swirls.
- Use pastel-colored cotton candy for the most visually appealing pops.
- If pops are hard to remove, run the molds under warm water for a few seconds.
- Freeze overnight for best texture and firmness.
Storage, freezing & make-ahead
Frozen Cotton Candy Pops can be made ahead of time and stored in the freezer for up to two weeks. Once they’re fully frozen, remove them from the molds and wrap each pop individually in plastic wrap or wax paper. Place them in an airtight container or freezer-safe bag to prevent freezer burn. This way, they’re ready to grab whenever you want a quick, refreshing treat. Avoid storing them longer than two weeks, as the cotton candy flavor can fade over time.
Serving ideas & pairings
These pops are delightful on their own, but you can elevate the experience by pairing them with complementary treats. Serve alongside fruit skewers, mini cupcakes, or pastel-colored macarons for a dessert spread that looks straight out of a fairy tale. They also pair wonderfully with sparkling lemonade or fruity mocktails at summer parties. For an adult twist, serve them as a whimsical dessert after a barbecue or poolside dinner.
FAQ
Can I make these pops dairy-free?
Yes, substitute coconut milk, almond milk, or oat milk for the creamy base. Coconut milk, in particular, adds a rich and tropical flavor.
Will the cotton candy dissolve completely?
Some of it will dissolve into the base, but if you use small amounts, you’ll still get those pretty swirls and bursts of flavor.
Can I use store-bought popsicle molds?
Absolutely. Any popsicle mold will work, but silicone molds are the easiest to use for releasing the pops.
How long should I freeze them?
At least 6 hours is necessary, but overnight is best for the firmest results.
Can I use different flavors of cotton candy in one batch?
Yes, mixing colors and flavors makes the pops even more beautiful and fun to eat.
Final thoughts
Frozen Cotton Candy Pops are the ultimate blend of fun, nostalgia, and refreshment. They’re simple to make, endlessly customizable, and guaranteed to brighten up any gathering. Whether you’re serving them at a kids’ party, a summer barbecue, or just as a treat for yourself, these pops will always bring a smile. Give them a try, and let the magic of cotton candy and frozen sweetness transport you back to your favorite childhood carnival moments.
Print
Frozen Cotton Candy Pops
- Total Time: 6 hours 15 minutes (including freezing)
- Yield: 8 pops
- Diet: Vegetarian
Description
A whimsical frozen treat with creamy layers and fluffy cotton candy swirls. Perfect for parties, summer days, or a fun nostalgic dessert.
Ingredients
- 1 cup whole milk
- 1/2 cup heavy cream
- 2 tablespoons sweetened condensed milk
- 1 teaspoon vanilla extract
- 1 to 1 1/2 cups cotton candy (assorted colors)
Instructions
tions:
- In a mixing bowl, whisk together milk, heavy cream, sweetened condensed milk, and vanilla until smooth.
- Pour the mixture halfway into popsicle molds and gently tap to remove air bubbles.
- Tear small pieces of cotton candy and lightly press them into the molds. Alternate colors for a swirled effect.
- Fill molds to the top with the remaining milk mixture, insert sticks, and cover with foil or plastic wrap.
- Freeze for at least 6 hours or overnight until firm. Run molds briefly under warm water to release pops.
Notes
For best results, don’t overpack the cotton candy—less is more for swirls. Pops can be made ahead and stored in the freezer for up to 2 weeks, wrapped individually to prevent freezer burn.
- Prep Time: 15 minutes
- Cook Time: 0 minutes
- Category: Dessert
- Method: Freezing
- Cuisine: American