Introduction
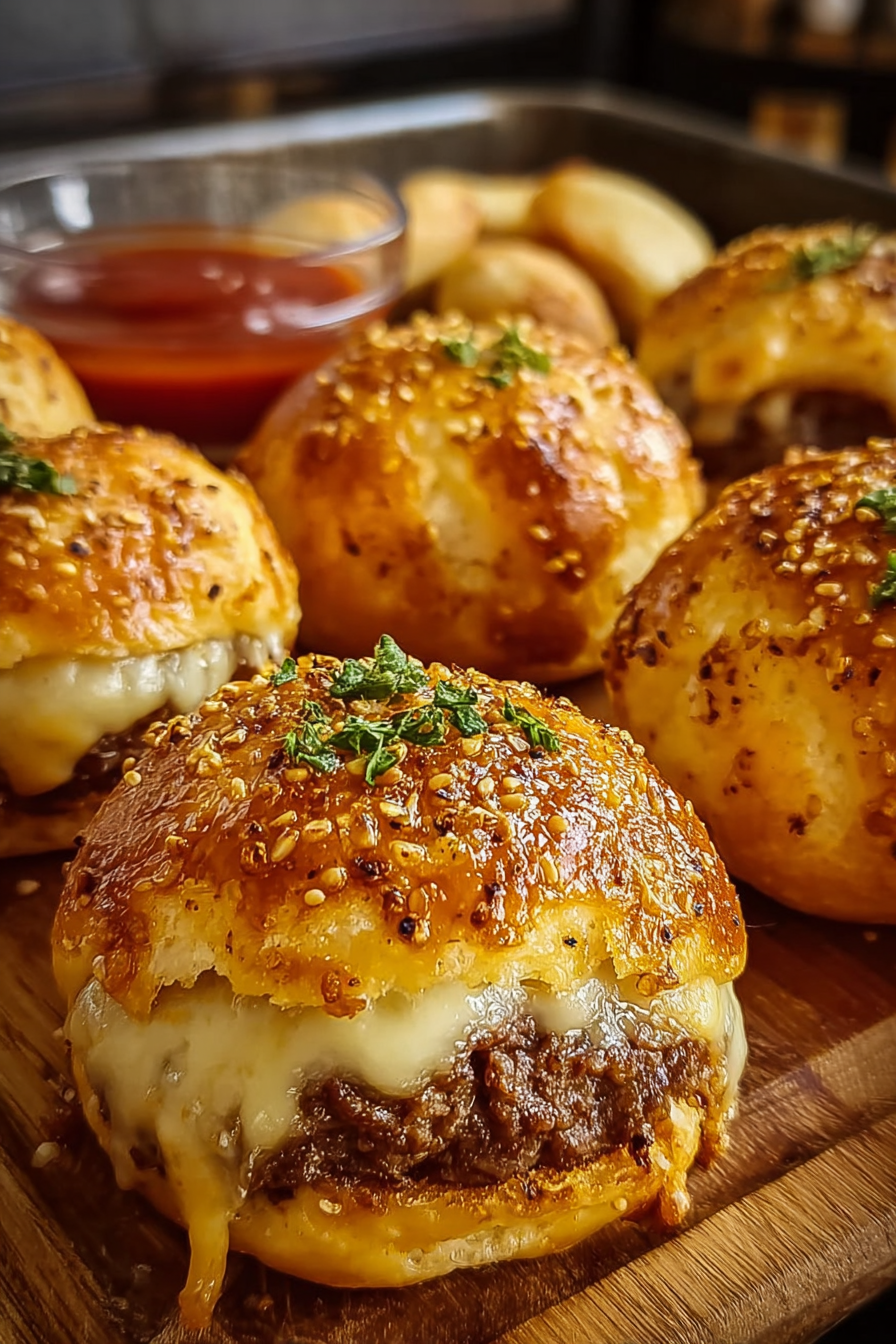
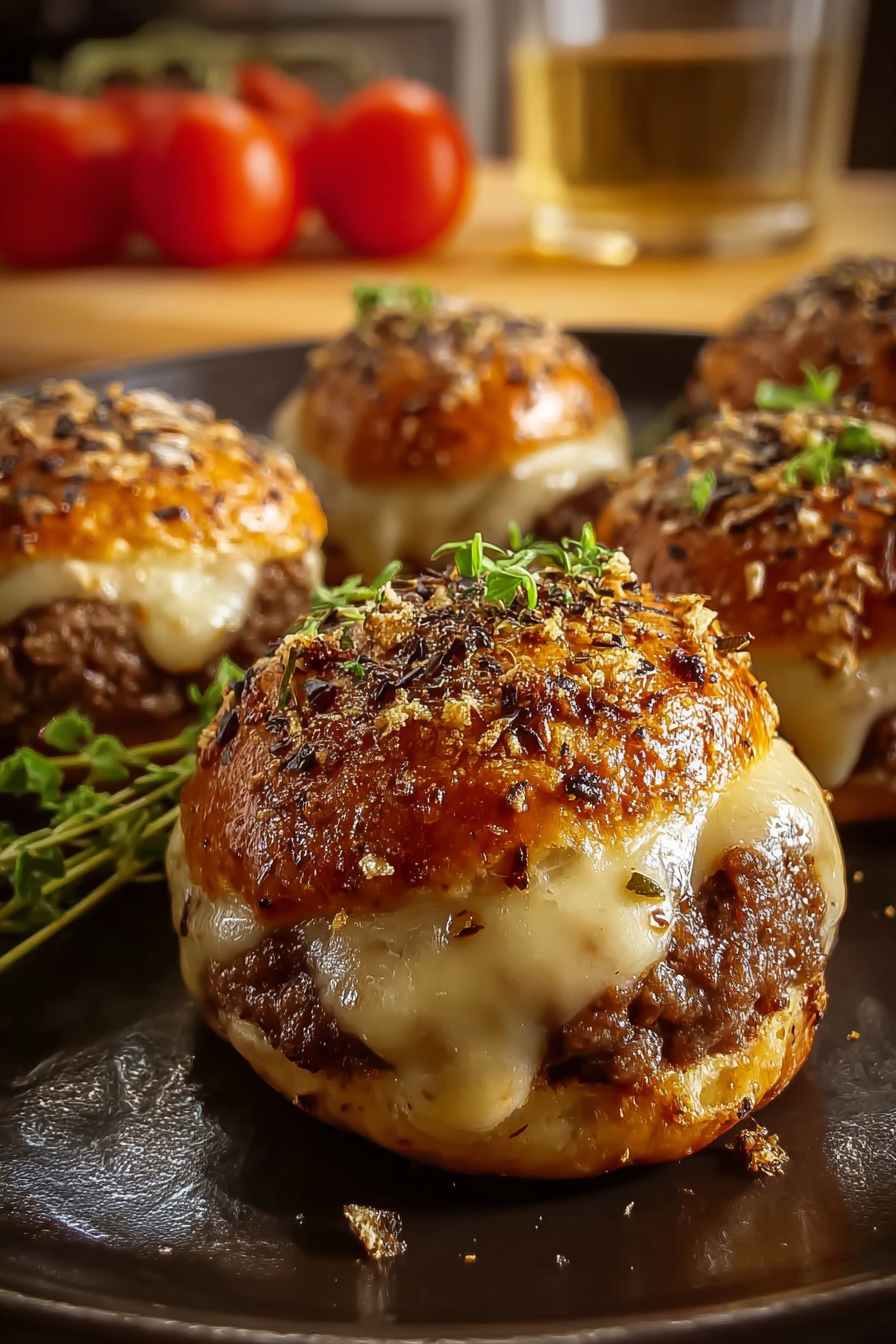
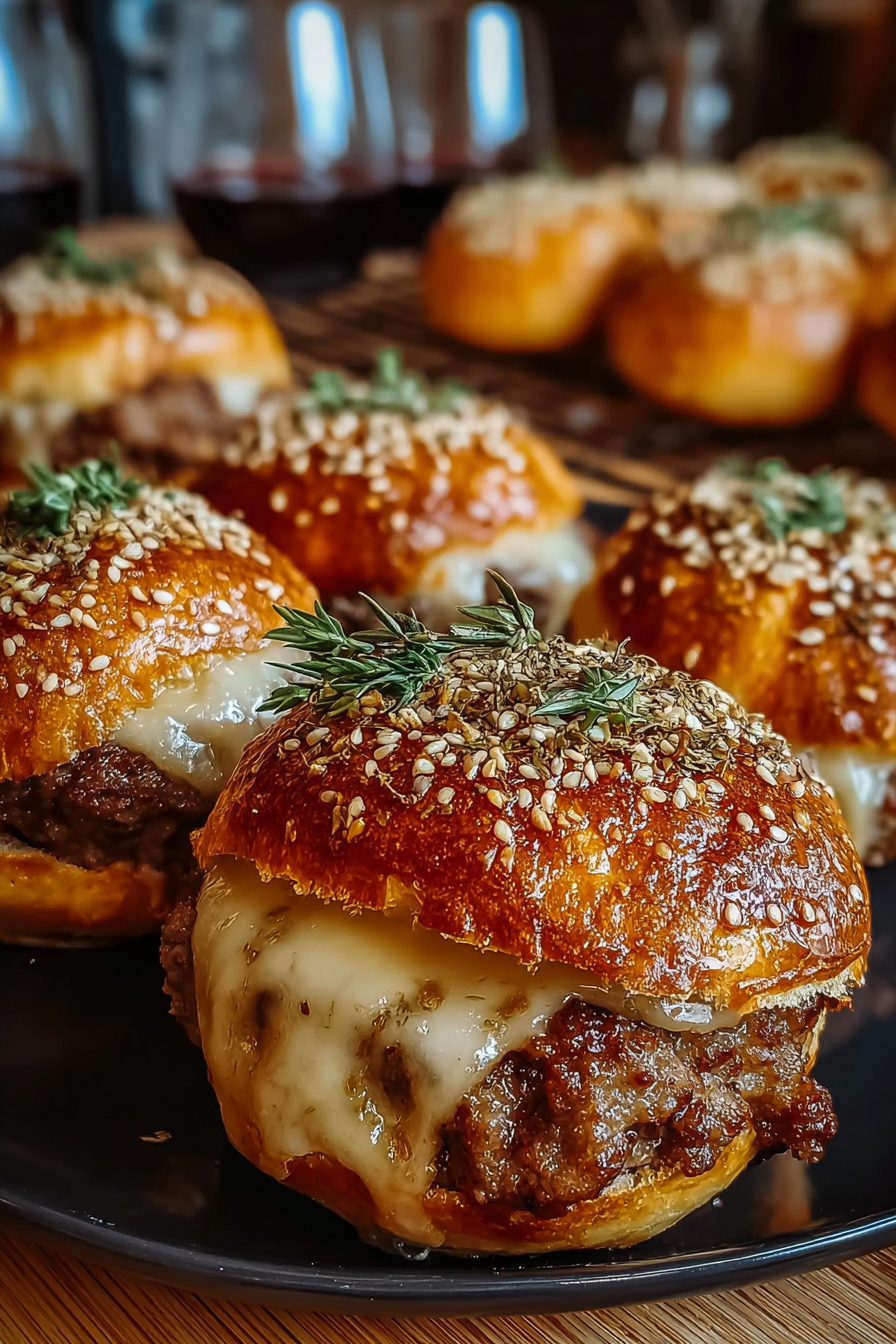
If you’re looking for a crowd-pleasing appetizer or a fun twist on the classic cheeseburger, these Garlic Parmesan Cheeseburger Bombs are the answer. Each bite is filled with savory ground beef, gooey melted cheese, and a touch of garlic butter that makes your taste buds sing. Wrapped in a soft, golden pastry, these little bombs are irresistibly delicious and perfect for family dinners, game days, or parties.
My Recipe Story
I first created this recipe on a rainy Sunday afternoon when I craved something indulgent yet easy to make. I wanted a snack that combined the comfort of cheeseburgers with a bite-sized format that would wow my family. After experimenting with different doughs and cheese combinations, these Garlic Parmesan Cheeseburger Bombs were born. They quickly became a favorite in our household, and every time I serve them, friends ask for the recipe. It’s one of those dishes that brings everyone to the table with excitement.
Why You’ll Love This Recipe
- Juicy ground beef bursting with flavor in every bite.
- Cheesy, gooey center that pairs perfectly with savory garlic butter.
- Quick and easy to make, perfect for last-minute gatherings.
- Customizable with your favorite cheeses, sauces, or seasonings.
- Freezer-friendly for convenient make-ahead meals or snacks.
- Perfect for both kids and adults, making it a family favorite.
Ingredient Breakdown
The magic of these Cheeseburger Bombs starts with quality ingredients. Ground beef is the star, providing a rich and savory base. I recommend using 80/20 ground beef for the perfect balance of flavor and juiciness. For cheese, sharp cheddar adds boldness, while mozzarella gives that stretchy, gooey texture that makes every bite irresistible. Parmesan is the finishing touch, giving a nutty, salty edge that enhances the garlic butter coating.
For the dough, store-bought pizza dough works wonderfully for convenience, but homemade dough can elevate the flavors and texture even further. The garlic butter mixture, made with real butter and fresh garlic, ensures that each bite is coated with flavor that perfectly complements the beef and cheese filling. Optional seasonings like onion powder, smoked paprika, and a hint of Worcestershire sauce enhance the depth of flavor in the filling.
Additional ingredients like pickles, diced onions, or jalapeños can be added for extra layers of flavor. Some people like to add a little mustard or ketchup inside the filling to mimic the classic burger taste. No matter how you customize them, the combination of tender beef, melted cheese, and buttery dough will never disappoint.
Equipment You’ll Need
- Mixing bowls
- Wooden spoon or spatula
- Measuring cups and spoons
- Baking sheet
- Parchment paper or silicone baking mat
- Pastry brush
- Knife or pizza cutter
- Oven thermometer (optional but recommended)
Step-by-Step Directions
Step 1: Preheat your oven to 375°F (190°C). Line a baking sheet with parchment paper or a silicone mat to prevent sticking and to make cleanup easier. This ensures your Cheeseburger Bombs bake evenly and come out perfectly golden brown.
Step 2: In a large mixing bowl, combine 1 pound of ground beef with 1 teaspoon of garlic powder, 1 teaspoon of onion powder, ½ teaspoon of smoked paprika, salt, and pepper to taste. Mix until all ingredients are well incorporated, being careful not to overwork the meat to keep it tender.
Step 3: On a lightly floured surface, roll out your pizza dough into a rectangle about ¼-inch thick. Cut the dough into squares roughly 3 inches wide. These squares will hold your beef and cheese filling and form the perfect bite-sized bombs.
Step 4: Place a small portion of the seasoned ground beef onto each dough square, then top with a cube of cheddar and mozzarella cheese. If desired, add finely chopped onions, pickles, or jalapeños to each square for extra flavor. Be careful not to overfill, or the dough may not seal properly.
Step 5: Fold the dough over the filling to create a sealed pocket. Pinch the edges tightly to prevent any cheese from leaking during baking. You can also gently roll the dough edges under themselves to form a smooth seam for a more professional look.
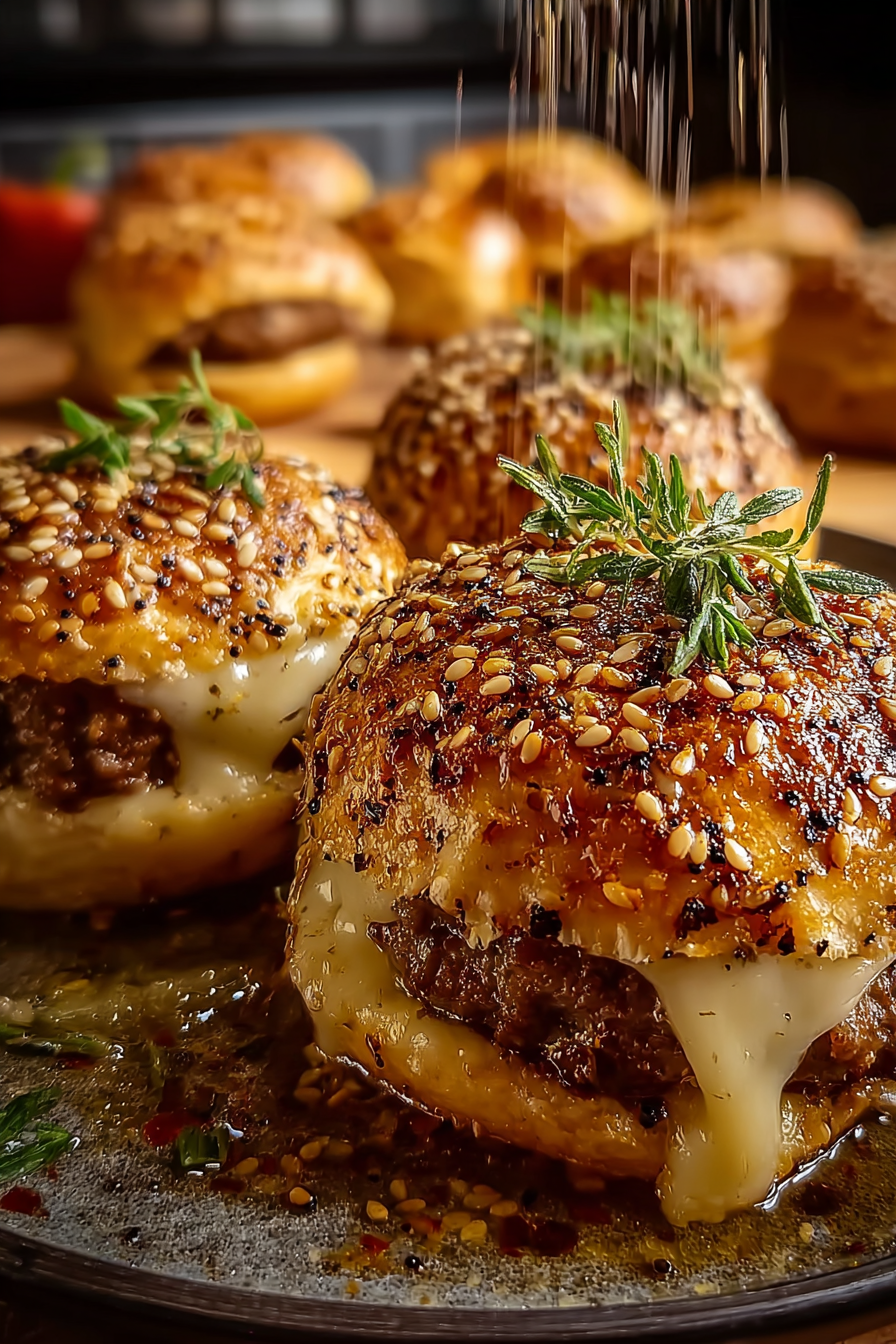
Step 6: In a small bowl, mix melted butter with minced garlic and freshly grated Parmesan cheese. Brush this garlic butter mixture generously over each Cheeseburger Bomb. This step is crucial for achieving that irresistible golden crust with a burst of garlic flavor in every bite.
Step 7: Bake the Cheeseburger Bombs in your preheated oven for 18–22 minutes, or until the dough is golden brown and the cheese inside is melted. Rotate the baking sheet halfway through baking to ensure even cooking and prevent burning.
Step 8: Let the bombs cool for 5 minutes before serving. This allows the filling to set slightly, preventing the cheese from spilling out and ensuring each bite is perfect. Serve warm for maximum gooeyness and flavor.
Variations & Substitutions
These Cheeseburger Bombs are highly customizable. You can swap the beef for ground turkey, chicken, or even a plant-based substitute for a lighter or vegetarian version. Try different cheese combinations like pepper jack for heat, Swiss for a milder flavor, or blue cheese for a bold twist.
If you prefer a spicier option, add diced jalapeños, crushed red pepper flakes, or a dash of hot sauce to the beef mixture. You can also experiment with different doughs, such as biscuit dough, crescent rolls, or homemade pizza dough, depending on your texture preference. The possibilities are endless!
Expert Tips & Troubleshooting
- Ensure the edges of the dough are sealed tightly to prevent cheese from leaking out during baking.
- Use a mix of cheeses for optimal flavor and gooey texture.
- Don’t overfill the dough squares; it can cause uneven baking or breakage.
- Brush the bombs generously with garlic butter for a golden, flavorful crust.
- Allow the bombs to cool slightly before serving to avoid burns from molten cheese.
Storage, Freezing & Make-Ahead
You can make these Cheeseburger Bombs ahead of time and store them in an airtight container in the refrigerator for up to 3 days. For longer storage, freeze them before baking. Place the assembled bombs on a baking sheet, freeze until solid, then transfer to a freezer-safe bag for up to 3 months. Bake from frozen, adding an extra 5–7 minutes to the baking time. This makes them perfect for meal prep or spontaneous snack cravings.
Serving Ideas & Pairings
Serve these Garlic Parmesan Cheeseburger Bombs with a side of crispy fries, a fresh green salad, or roasted vegetables for a complete meal. They also pair wonderfully with dipping sauces like ketchup, ranch, honey mustard, or a tangy sriracha mayo. For parties, place them on a platter with toothpicks for easy grab-and-go snacking.
FAQ
Q1: Can I use pre-shredded cheese?
Yes, pre-shredded cheese works fine, but freshly shredded cheese melts better and provides a creamier texture.
Q2: Can I make these vegetarian?
Absolutely! Substitute the beef with plant-based crumbles or a mix of finely chopped mushrooms, lentils, and seasonings for a delicious vegetarian option.
Q3: How do I prevent the dough from getting soggy?
Ensure your beef is drained of excess moisture and avoid overfilling the bombs. Brushing with garlic butter also helps create a protective crust.
Q4: Can I prepare these ahead and refrigerate before baking?
Yes, assemble the bombs, cover, and refrigerate for up to 24 hours. Bake directly from the fridge, adding a couple of extra minutes if needed.
Q5: Can I make them spicy?
Yes, add diced jalapeños, crushed red pepper, or spicy cheese to the filling for a heat kick.
Final Thoughts
Garlic Parmesan Cheeseburger Bombs are the ultimate comfort food with a fun, handheld twist. Juicy, cheesy, and bursting with garlic flavor, they are perfect for any occasion—from family dinners to parties and game days. With easy customization options, make-ahead possibilities, and endless flavor variations, these bombs are sure to become a staple in your recipe collection. Once you try them, you’ll see why everyone raves about this irresistible, savory snack.

Garlic Parmesan Cheeseburger Bombs
- Total Time: 40 minutes
- Yield: 12 bombs 1x
- Diet: Diabetic
Description
Bite-sized Garlic Parmesan Cheeseburger Bombs stuffed with juicy beef, melted cheese, and buttery garlic goodness. Perfect for any occasion.
Ingredients
-
1 pound ground beef (80/20)
-
1 teaspoon garlic powder
-
1 teaspoon onion powder
-
½ teaspoon smoked paprika
-
Salt and black pepper to taste
-
1 package store-bought pizza dough (or homemade, about 1 lb)
-
½ cup shredded cheddar cheese
-
½ cup shredded mozzarella cheese
-
2 tablespoons butter, melted
-
2 cloves garlic, minced
-
2 tablespoons grated Parmesan cheese
-
Optional: diced onions, pickles, jalapeños, ketchup, mustard
Instructions
-
Preheat oven to 375°F (190°C) and line a baking sheet with parchment paper or a silicone mat.
-
In a large bowl, combine ground beef, garlic powder, onion powder, smoked paprika, salt, and pepper. Mix gently until well combined.
-
Roll out the pizza dough on a floured surface into a ¼-inch thick rectangle, then cut into 3-inch squares.
-
Place a portion of beef on each square and top with cheddar and mozzarella cubes. Add optional fillings like onions, pickles, or jalapeños if desired.
-
Fold the dough over the filling and pinch edges tightly to seal, creating a pocket.
-
Mix melted butter, minced garlic, and Parmesan. Brush generously over each bomb.
-
Bake for 18–22 minutes until golden brown and cheese is melted, rotating halfway through.
-
Let cool 5 minutes before serving to allow filling to set.
Notes
For extra flavor, serve with ketchup, ranch, honey mustard, or sriracha mayo. Assemble ahead and refrigerate for up to 24 hours or freeze for up to 3 months.
- Prep Time: 20 minutes
- Cook Time: 20 minutes
- Category: Main Course
- Method: Baking
- Cuisine: American