Introduction
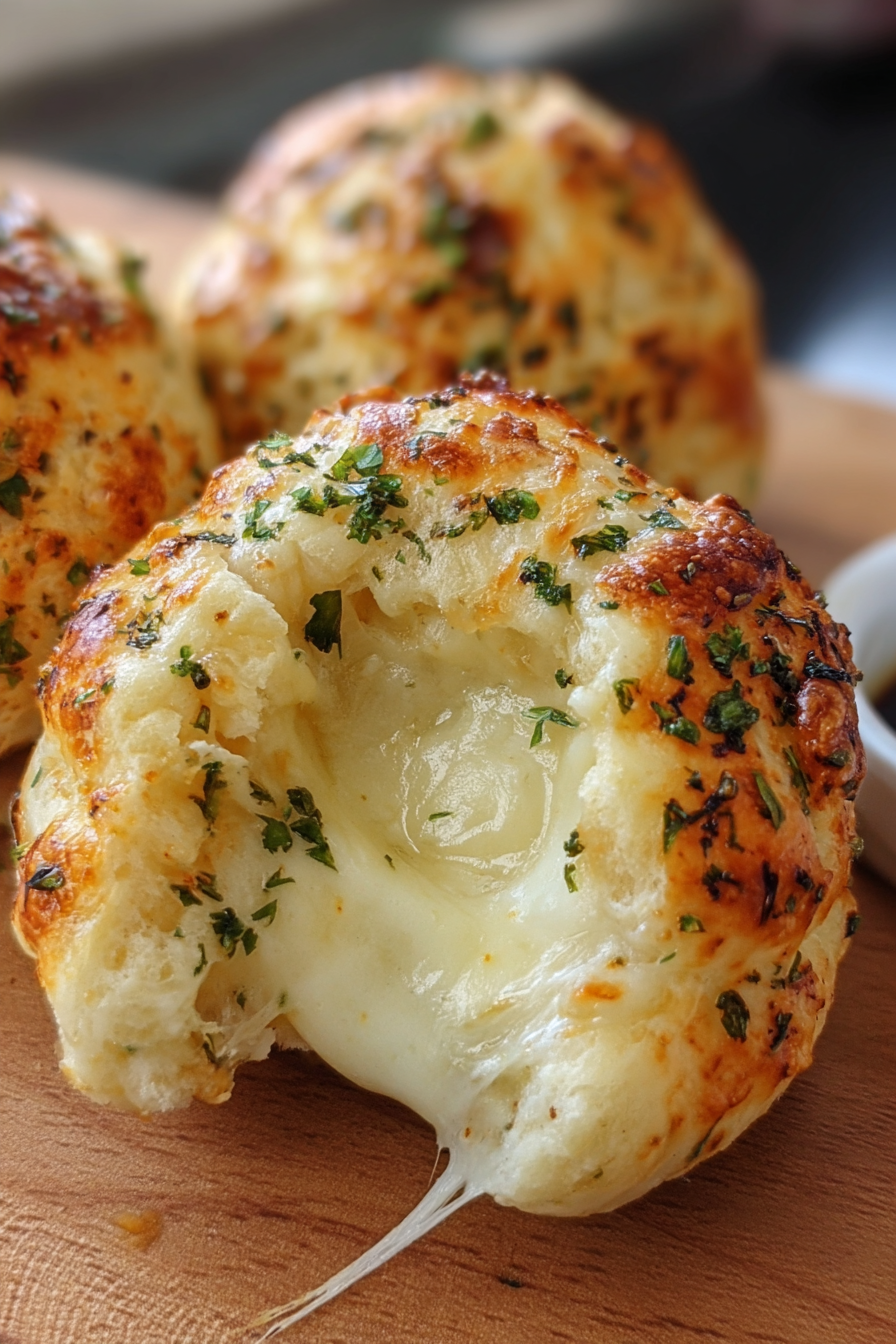
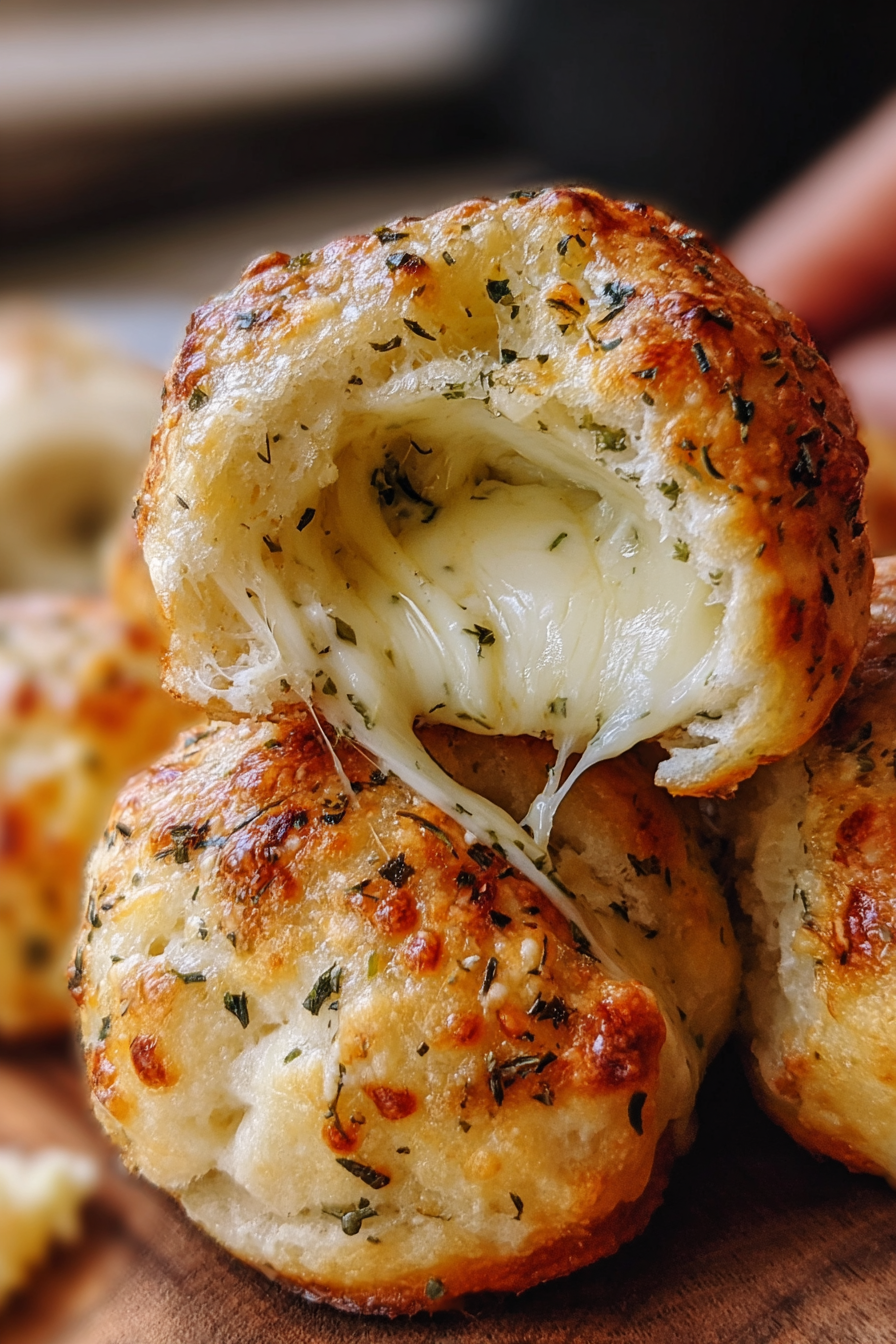
Sometimes, the best recipes are the simplest ones. Gooey Mozzarella Biscuit Bombs are a delightful combination of flaky biscuit dough and molten mozzarella cheese, creating a snack that’s crisp on the outside and soft and cheesy on the inside. Perfect for busy weeknights, game-day gatherings, or a cozy family dinner, these bite-sized delights are proof that comfort food doesn’t have to be complicated. Serve them with marinara sauce or a creamy ranch dip, and watch them disappear in minutes.
My recipe story
I first made these biscuit bombs on a whim when I needed a last-minute appetizer for friends who were coming over to watch a big game. I had a can of refrigerated biscuit dough in the fridge and some leftover mozzarella cubes from a cheese platter. A quick wrap, a brush of butter, and 15 minutes later, I had golden-brown bites filled with melty cheese. Everyone was hooked, and since then, they’ve become a go-to snack in my kitchen. They’re a family favorite for movie nights and an easy way to impress guests without spending hours in the kitchen.
💡 Why You’ll Love This Recipe
- Quick and easy – just 10 minutes of prep and 15 minutes of baking.
- Uses pantry and fridge staples you probably already have.
- Perfectly portioned and kid-friendly, making them ideal for lunchboxes or snacks.
- Endlessly customizable with different cheeses, fillings, and seasonings.
- Freezer-friendly, so you can make them ahead and bake when ready.
Ingredient breakdown
This recipe calls for just a handful of ingredients, yet the result tastes like something you’d find in a restaurant. The star ingredient is the refrigerated biscuit dough – a convenient shortcut that delivers buttery, flaky layers without any fuss. Choose a quality brand, as the dough texture makes a big difference in the final product.
Mozzarella cheese is what gives these biscuit bombs their irresistible gooey center. Fresh mozzarella works beautifully, but small cubes of block mozzarella or even string cheese cut into pieces will do the trick. The melted butter brushed on top adds richness and helps the biscuit bombs brown perfectly, while a sprinkle of garlic powder or Italian seasoning can take them to the next level.
If you like a bit of heat, add a pinch of crushed red pepper flakes to the melted butter before brushing. This gives the bombs a subtle spicy kick that pairs wonderfully with the mild mozzarella.
Equipment you’ll need
- Baking sheet
- Parchment paper or silicone baking mat
- Pastry brush (for the butter)
- Small mixing bowl
- Oven mitts
Step-by-step directions
Step 1: Preheat your oven to 375°F (190°C) and line a baking sheet with parchment paper or a silicone baking mat to prevent sticking. This step ensures even baking and easy cleanup later.
Step 2: Open the can of refrigerated biscuit dough and separate the biscuits. Gently flatten each biscuit with your hands or a rolling pin until it’s about 4 inches wide. This creates enough space to wrap around the cheese cubes fully.
Step 3: Place a cube of mozzarella cheese in the center of each flattened biscuit round. Carefully fold the edges of the dough over the cheese, pinching them together to seal completely. Make sure there are no gaps where the cheese could escape during baking.
Step 4: Arrange the sealed dough balls seam-side down on the prepared baking sheet. Space them about 1-2 inches apart to allow for even cooking and browning.
Step 5: In a small bowl, melt the butter and stir in garlic powder or Italian seasoning if desired. Brush the tops of the biscuit bombs generously with the melted butter. This not only adds flavor but also gives them that golden, glossy finish.
Step 6: Bake in the preheated oven for 12-15 minutes, or until the tops are golden brown and the biscuits are cooked through. Remove from the oven and let them cool for a few minutes before serving so you don’t burn your mouth on the molten cheese.

Variations & substitutions
You can easily change the flavor profile of these biscuit bombs by swapping out the fillings. Try sharp cheddar or pepper jack for a bolder taste, or add a small slice of pepperoni or ham before sealing the dough for a pizza-inspired twist. For a vegetarian option with extra flavor, tuck a few spinach leaves or sun-dried tomatoes inside along with the cheese. You can even turn these into sweet treats by filling them with chocolate squares and brushing the tops with a little cinnamon sugar butter before baking.
💡 Expert Tips & Troubleshooting
- Make sure the dough is completely sealed to prevent cheese from leaking out during baking.
- Don’t overstuff with cheese – a small cube is enough to create a gooey center without breaking the dough.
- If you like extra crispiness, bake for an additional 2 minutes until the tops are deep golden brown.
- Brush with butter immediately after baking for a glossy finish and extra flavor.
Storage, freezing & make-ahead
Leftover biscuit bombs can be stored in an airtight container in the refrigerator for up to 3 days. Reheat in the oven or air fryer at 350°F (175°C) for about 5-6 minutes to bring back their crispness. These also freeze beautifully – simply prepare and assemble the bombs, then freeze them on a baking sheet until firm before transferring to a freezer bag. Bake straight from frozen, adding 3-4 minutes to the baking time.
Serving ideas & pairings
Serve your biscuit bombs alongside warm marinara sauce for dipping, or with a creamy ranch or garlic aioli. They also make a great accompaniment to soups like tomato basil or broccoli cheddar. For a fun party platter, pair them with charcuterie-style nibbles like cured meats, olives, and roasted veggies.
FAQ
Can I use homemade biscuit dough?
Absolutely! Homemade dough works beautifully – just make sure to portion it into even pieces so they bake uniformly.
What if I don’t have mozzarella?
You can use cheddar, provolone, pepper jack, or even cream cheese for a slightly tangier result.
Can I air-fry these instead of baking?
Yes! Cook in a preheated air fryer at 350°F (175°C) for 8-10 minutes, checking halfway for even browning.
How do I prevent cheese from leaking?
Ensure the dough is pinched tightly shut, and place seam-side down on the baking sheet.
Can these be made ahead?
Yes, you can assemble them a few hours ahead and refrigerate until ready to bake. They’ll still come out soft and fluffy.
Final thoughts
Gooey Mozzarella Biscuit Bombs are the ultimate quick-fix snack for any occasion. With just a handful of ingredients, minimal prep, and endless customization options, this recipe is sure to become a household favorite. Whether you’re hosting a party, preparing a game-day spread, or just craving something cheesy and satisfying, these golden little bites deliver big flavor every time.
Print
Gooey Mozzarella Biscuit Bombs
- Total Time: 25 minutes
- Yield: 8 biscuit bombs 1x
- Diet: Vegetarian
Description
Flaky biscuit dough stuffed with melty mozzarella and brushed with buttery garlic topping. The perfect cheesy appetizer or snack for any occasion.
Ingredients
Instructions
- Preheat the oven to 375°F (190°C) and line a baking sheet with parchment paper.
- Flatten each biscuit into a 4-inch round and place a mozzarella cube in the center.
- Fold edges of dough over cheese and pinch to seal tightly, forming a ball.
- Arrange balls seam-side down on the prepared baking sheet.
- Mix melted butter with garlic powder and Italian seasoning if using, then brush over biscuit tops.
- Bake for 12–15 minutes until golden brown. Cool slightly before serving.
Notes
Serve with marinara, ranch, or garlic aioli for dipping. Store leftovers in an airtight container in the fridge for up to 3 days; reheat in the oven or air fryer.
- Prep Time: 10 minutes
- Cook Time: 15 minutes
- Category: Appetizer
- Method: Baking
- Cuisine: American

