Introduction to the Recipe
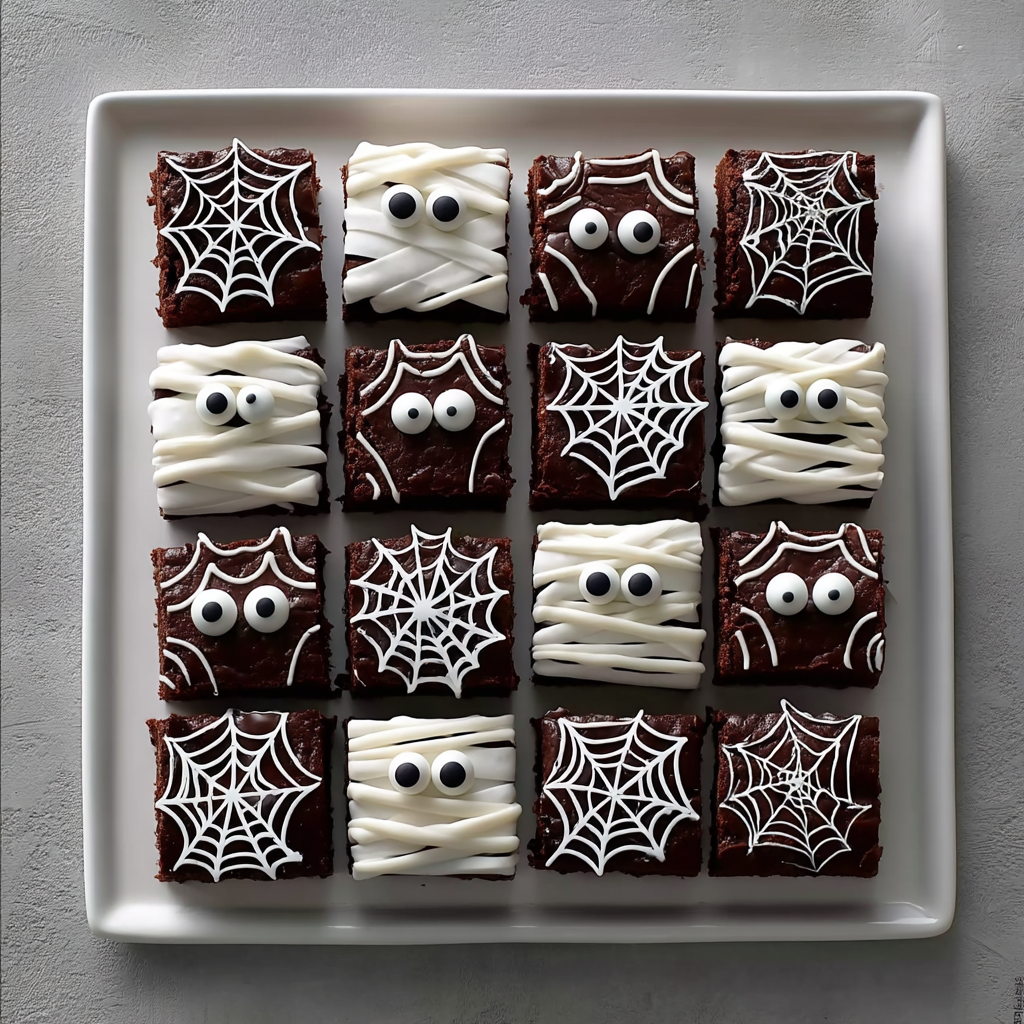
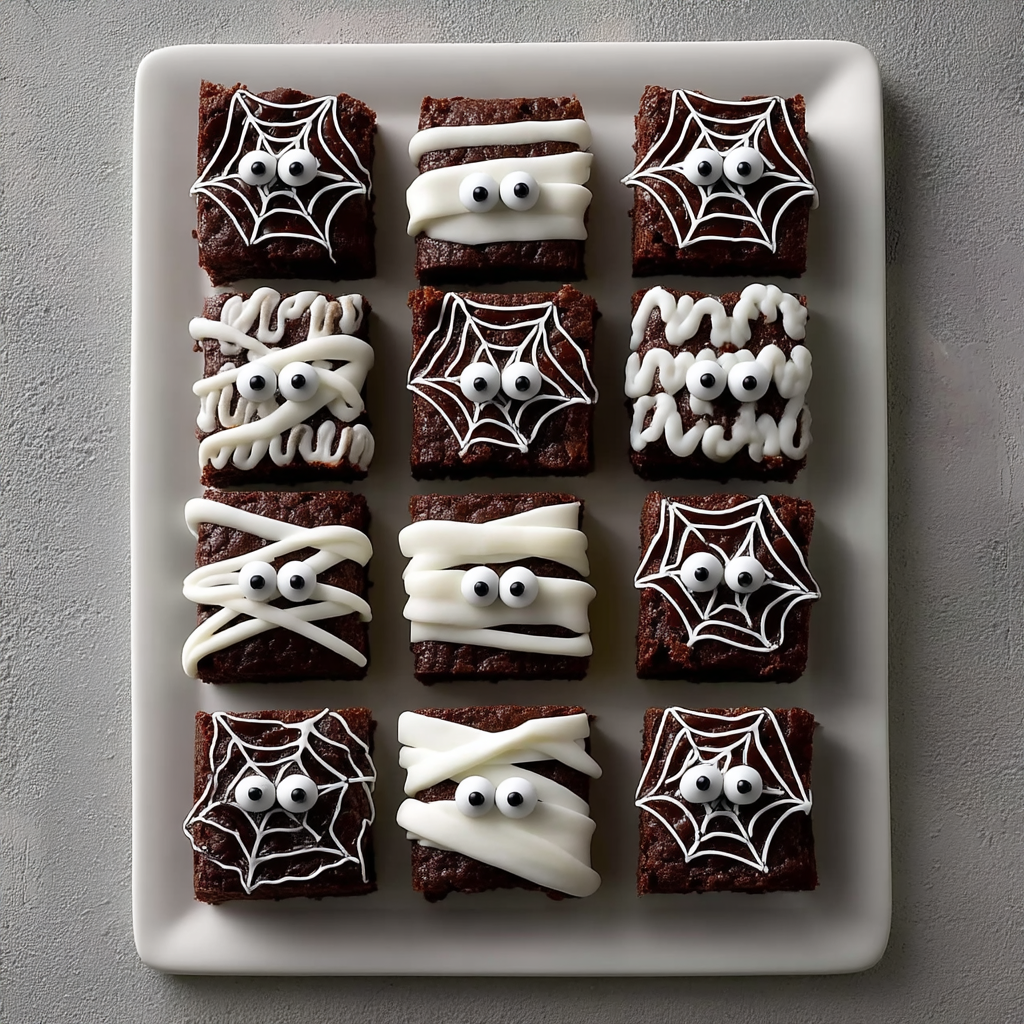
Halloween is the perfect excuse to unleash your inner mad scientist in the kitchen — and these Halloween Brownies are your ideal canvas. Fudgy, rich, and dark as midnight, these brownies are made from scratch using real cocoa powder, butter, and sugar, and then topped with spooky royal icing designs and candy eyeballs for a festive twist. They’re delightfully creepy and scarily delicious — the perfect dessert to thrill both kids and adults.
Unlike store-bought Halloween treats, these brownies are made from wholesome, easy-to-find ingredients like unbleached flour, cocoa powder, and vanilla extract. The texture? Dense and chewy with a crackly top — just the way a brownie should be. And with a smooth royal icing topping that hardens beautifully, they’re ideal for detailed decorations like spiderwebs, ghosts, and stitched-up zombie faces.
If you’re new to working with royal icing, it’s easier than it looks! Check out this royal icing tutorial from Sally’s Baking Addiction to perfect your piping consistency. And for even more spooky ideas, this Halloween dessert roundup by Delish is packed with creepy-cute inspiration.
Whether you’re prepping for a Halloween party, a school bake sale, or just want to serve something festive for a scary movie night, these Halloween Brownies are a must-bake. They’re simple enough to make with kids, customizable with endless designs, and decadent enough to impress any chocoholic. Add a few candy eyeballs, pipe on a ghost or two, and you’ve got the best Halloween dessert on the block.
Basic Recipe: Ingredients and Instructions
Print
Halloween Brownies Recipe with Royal Icing and Candy Eyes
Description
Spooky and fun Halloween Brownies with royal icing and candy eyeballs – perfect for parties and trick-or-treat night!
Ingredients
For the Brownies
- 2 sticks unsalted butter, room temperature (plus more for greasing the pan)
- 1¼ cups unbleached all-purpose flour (plus more for dusting)
- 1¼ teaspoons kosher salt
- 1½ cups granulated sugar
- ½ cup packed light brown sugar
- 1 cup unsweetened cocoa powder
- 4 large eggs, room temperature
- 2 teaspoons pure vanilla extract
- Candy eyeballs, for decorating
For the Royal Icing
- 2 cups confectioners’ sugar
- 2½ tablespoons meringue powder
- ¼ cup water (plus more if needed to adjust consistency)
Instructions
- Prep the pan and oven.
Preheat your oven to 350°F (175°C). Grease a 9×13-inch baking pan with butter and lightly dust it with flour. Tap out any excess. - Make the brownie batter.
In a large saucepan, melt the butter over low heat. Remove from heat and stir in the granulated sugar, brown sugar, and cocoa powder until smooth and glossy. - Add eggs and vanilla.
Let the mixture cool slightly, then whisk in the eggs one at a time, mixing thoroughly after each. Stir in the vanilla extract. - Combine dry ingredients.
In a separate bowl, whisk together the flour and salt. Gradually add this to the wet ingredients, stirring just until combined. Do not overmix. - Bake.
Pour the batter into the prepared pan and smooth the top. Bake for 25–30 minutes, or until a toothpick inserted near the center comes out with a few moist crumbs (not wet batter). Let cool completely in the pan on a wire rack. - Make the royal icing.
In a medium mixing bowl, combine the confectioners’ sugar and meringue powder. Add water and beat using a hand mixer (or whisk well by hand) for about 5 minutes, until icing is thick, glossy, and forms stiff peaks. Add more water a teaspoon at a time to loosen if needed for piping. - Decorate.
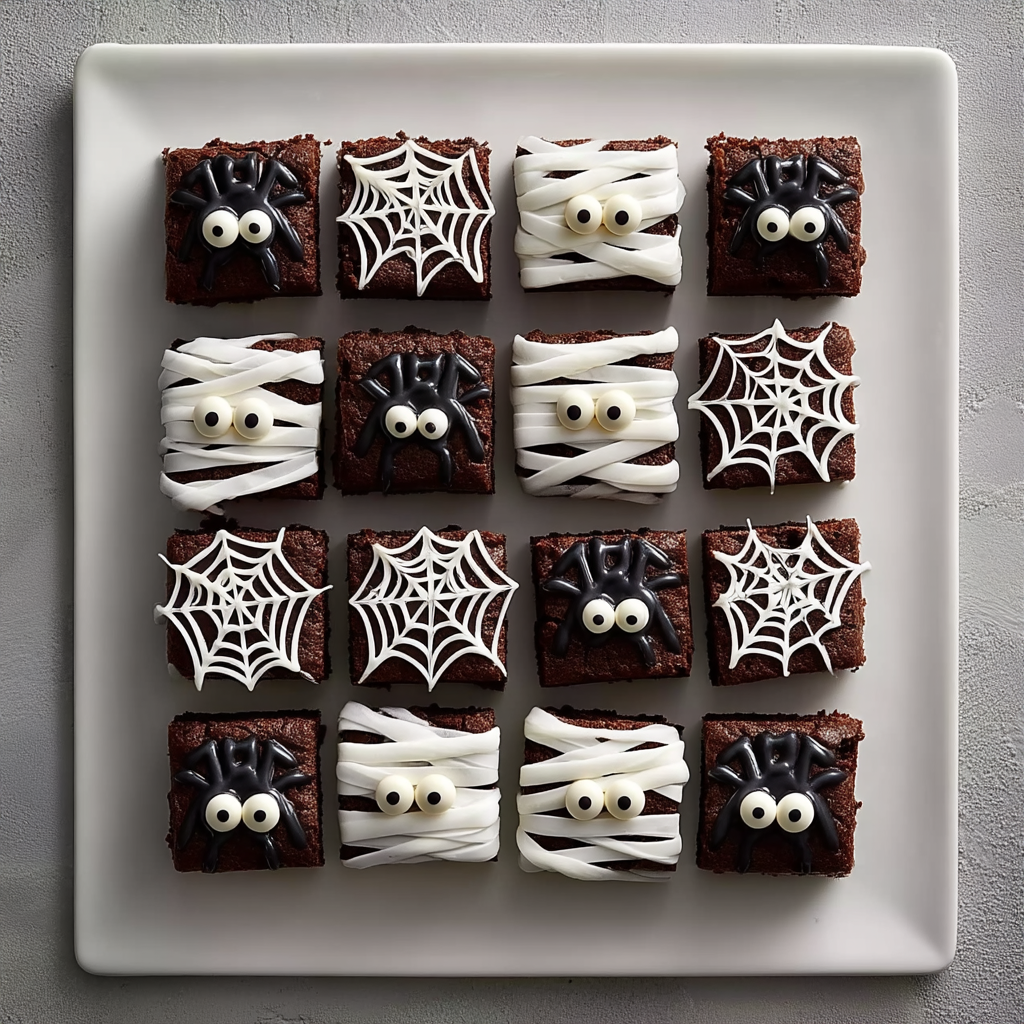
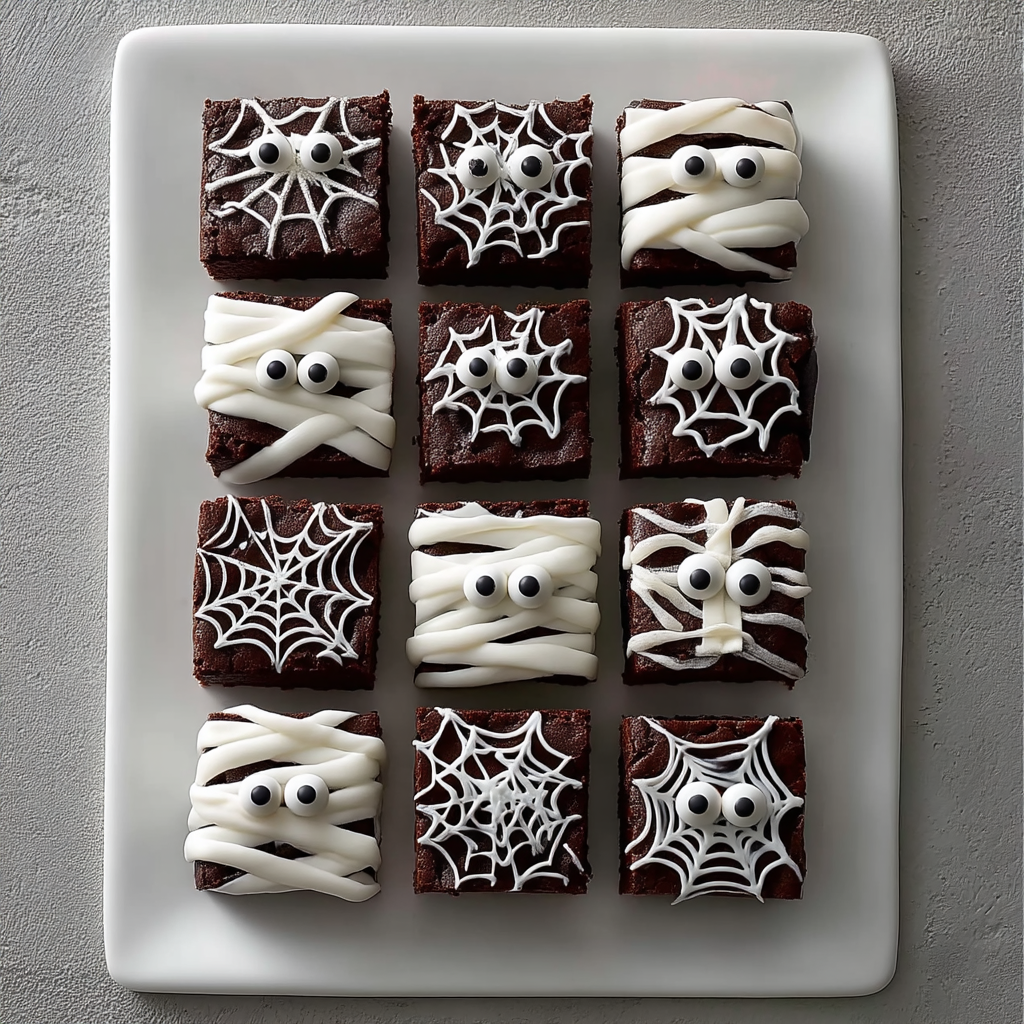
Transfer royal icing to a piping bag or plastic sandwich bag with a small hole cut at the tip. Pipe spooky designs on the brownies — spiderwebs, stitched mouths, mummy wrappings, or ghosts. Press candy eyeballs into the wet icing before it hardens. - Dry and serve.
Let the icing set for at least 1 hour. Then cut brownies into squares and serve!
Notes
For cleaner cuts, chill the brownies for 30 minutes before slicing.
You can color the royal icing using gel food coloring — try orange, purple, or green for a Halloween vibe.
Use a toothpick to help drag icing into web or swirl shapes.
Royal icing will harden as it dries, so work quickly when attaching candy.
Store undecorated brownies at room temperature for a day or two; decorated ones are best within 2 days.
Keywords: Halloween Brownies
Advanced Techniques
1. Creating Multi-Colored Royal Icing Designs
To elevate your Halloween Brownies, split your royal icing into several bowls and color each with a different gel-based food coloring. Use multiple piping bags to draw colorful ghosts, monsters, or stitched Frankenstein faces. Layer colors by letting the first layer dry slightly, then piping over it. This technique adds depth and visual variety, making your treats stand out on any dessert table.
2. Spider Web Dragging Technique
For creepy spiderwebs, pipe concentric circles with white royal icing over a square brownie. Immediately drag a toothpick from the center outward in several directions to create a webbed effect. You can then place a candy spider or chocolate sprinkle at the center. This simple technique gives a professional-looking decoration with just a few quick moves.
3. Adding Texture with Crushed Candies
Sprinkle crushed Halloween-themed candies or cookies (like Oreo “dirt” or candy corn) onto the icing before it sets. This gives your brownies crunch and extra flavor, plus a spooky graveyard texture. You can also press in pretzels, gummy worms, or mini marshmallows for more haunted house flair.
4. Layering Flavored Royal Icing
Add flavor extracts to the royal icing to match your theme: peppermint for ghostly chill, orange zest for citrus zing, or cinnamon for a fall-inspired twist. Be careful not to thin the icing too much. A flavored icing takes the brownie to the next level and adds a surprise in every bite.
5. Edible Paint Effects for a Haunted Look
Once the royal icing dries, use edible gel colors mixed with a drop of alcohol (like vodka or lemon extract) to “paint” over designs. Add shadowing, blood drips, or eerie smudges. This technique gives your brownies a professional look and allows detailed customization — great for themed parties or competitions.
See more advanced recipes at cookingwhite.com
Storage, Shelf Life, and Maintenance Tips
1. Storing at Room Temperature
Keep brownies in an airtight container at room temperature for up to 2 days. If decorated, separate layers with wax or parchment paper to prevent smudging. Avoid humid environments, as moisture can soften the icing and spoil the texture.
2. Refrigeration Tips
To extend freshness, store decorated brownies in the fridge for up to 5 days. Use a sealed container and let them sit at room temp for 20–30 minutes before serving. This preserves the icing design and prevents the brownie from drying out.
3. Freezing for Long-Term Storage
Wrap undecorated brownies tightly in plastic wrap and freeze for up to 3 months. Thaw overnight in the fridge before decorating. Freezing decorated brownies isn’t ideal — the icing can crack or weep when thawed.
4. Preventing Icing Bleed and Smudge
Avoid stacking decorated brownies unless the icing is fully hardened (minimum 12 hours). Even then, use parchment between layers. If you’re transporting, place each brownie in a cupcake liner to keep the design safe.
5. Reviving Texture After Storage
Brownies can firm up over time. To restore fudginess, microwave individual pieces for 10–15 seconds. Be cautious with decorated ones — short bursts will warm them without melting the icing.
Dietary Adaptations and Substitutions
1. Gluten-Free Version
Use a 1:1 gluten-free flour blend (like Cup4Cup or King Arthur’s GF blend) in place of all-purpose flour. Be sure to check that your meringue powder and candy decorations are certified gluten-free too.
2. Dairy-Free Option
Replace butter with vegan butter or coconut oil. Ensure candy eyeballs and meringue powder used in icing don’t contain dairy. The results are just as delicious with a rich cocoa taste.
3. Vegan Adaptation
Use flax eggs (1 tbsp ground flax + 2.5 tbsp water per egg) to replace the eggs. Use plant-based butter and make a vegan royal icing using aquafaba (chickpea brine) instead of meringue powder. You can use vegan-friendly decorations.
4. Low-Sugar Version
Swap out the granulated and brown sugar for a sugar substitute like Swerve or monk fruit sweetener. Use a low-sugar royal icing (with powdered erythritol). The result is still sweet, but with fewer spikes.
5. Nut-Free Brownies
This recipe is naturally nut-free, but always double-check your cocoa powder, decorations, and icing ingredients to ensure no cross-contamination if you’re baking for someone with allergies.
FAQs About the Recipe
1. Can I use boxed brownie mix instead of homemade?
Absolutely! Use your favorite boxed brownie mix and prepare according to the package. Once baked and cooled, follow the same decorating steps with royal icing and candy eyes for a quick shortcut that still feels festive and homemade.
2. How do I know when brownies are done baking?
Look for edges pulling away from the pan and a center that’s set but slightly soft. A toothpick should come out with moist crumbs — not wet batter. Overbaking can dry them out, so check at 25 minutes.
3. Why is my royal icing too runny or too stiff?
If it’s too runny, add more confectioners’ sugar a tablespoon at a time. If too stiff, mix in water a few drops at a time. Royal icing consistency is key — for piping outlines, it should form soft peaks that hold their shape.
4. Can I decorate the brownies a day ahead?
Yes! In fact, decorating the day before can help the icing set completely and lock in your design. Store them in a cool, dry place and avoid refrigeration unless necessary.
5. What if I don’t have meringue powder?
You can substitute 2 egg whites for the meringue powder and water in the icing. Be aware this version should be used right away and may not store as long due to the raw egg whites.
Conclusion & Final Thoughts
Halloween Brownies aren’t just delicious — they’re a creative, customizable treat that makes celebrating the spooky season even more fun. With a rich chocolate base and versatile royal icing topping, these brownies offer endless design options, whether you’re going for goofy ghosts or terrifying monsters. They’re perfect for bake sales, class parties, costume gatherings, or just a festive night in.
You can easily adapt the recipe for dietary needs, prep them ahead of time, and even freeze the base to save time later. The royal icing is surprisingly easy to work with — and once you get the hang of it, you’ll find yourself looking for reasons to pipe creepy-cute designs on everything.
So preheat that oven, grab some candy eyes, and get ready to cast a sweet spell with these unforgettable Halloween Brownies. Whether you’re baking with little monsters or crafting edible masterpieces solo, this recipe is a guaranteed crowd-pleaser.