1. Introduction to the Recipe
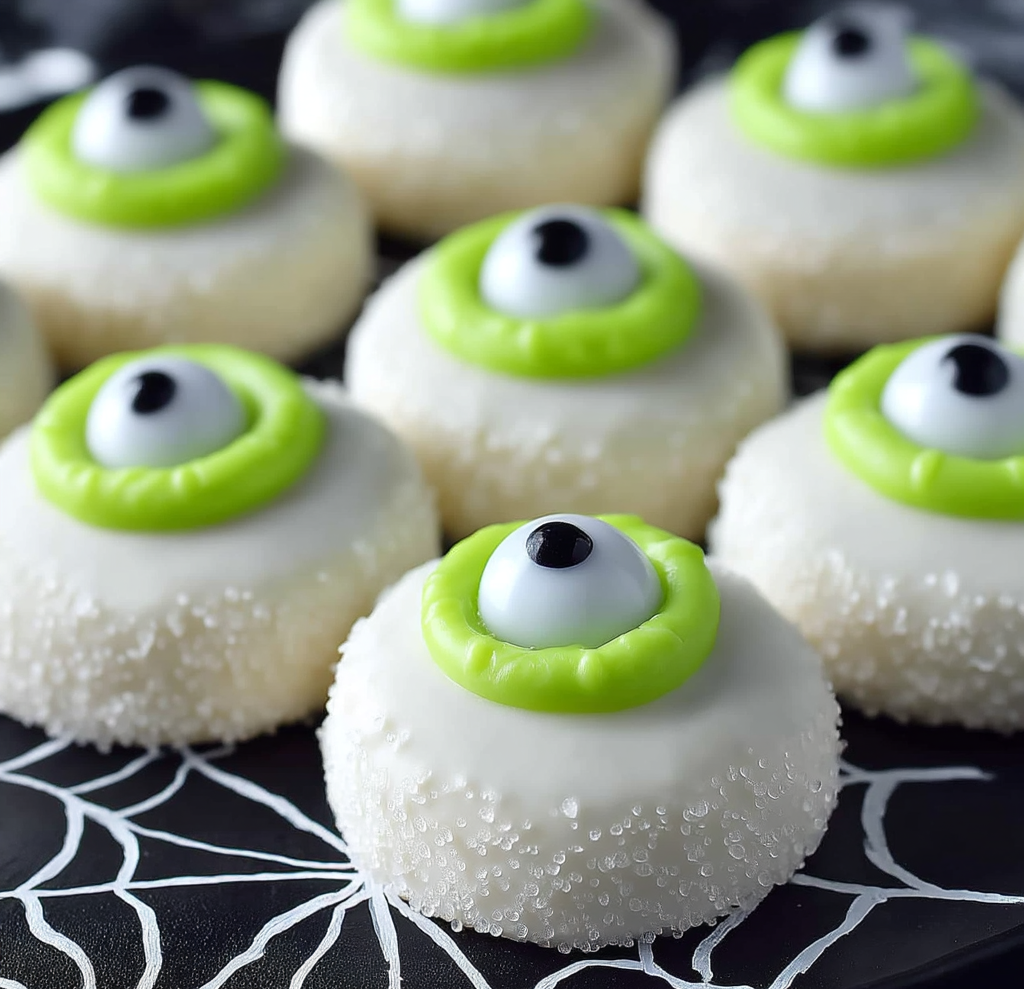
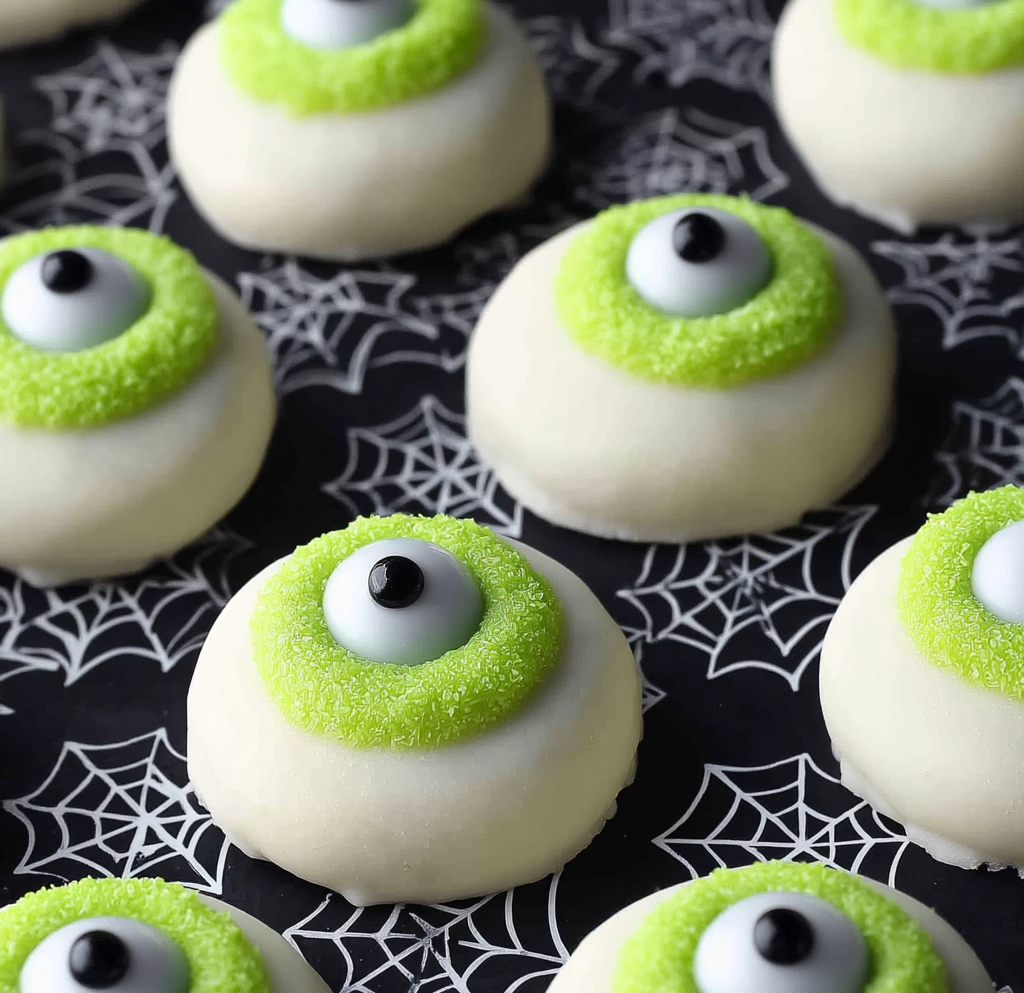
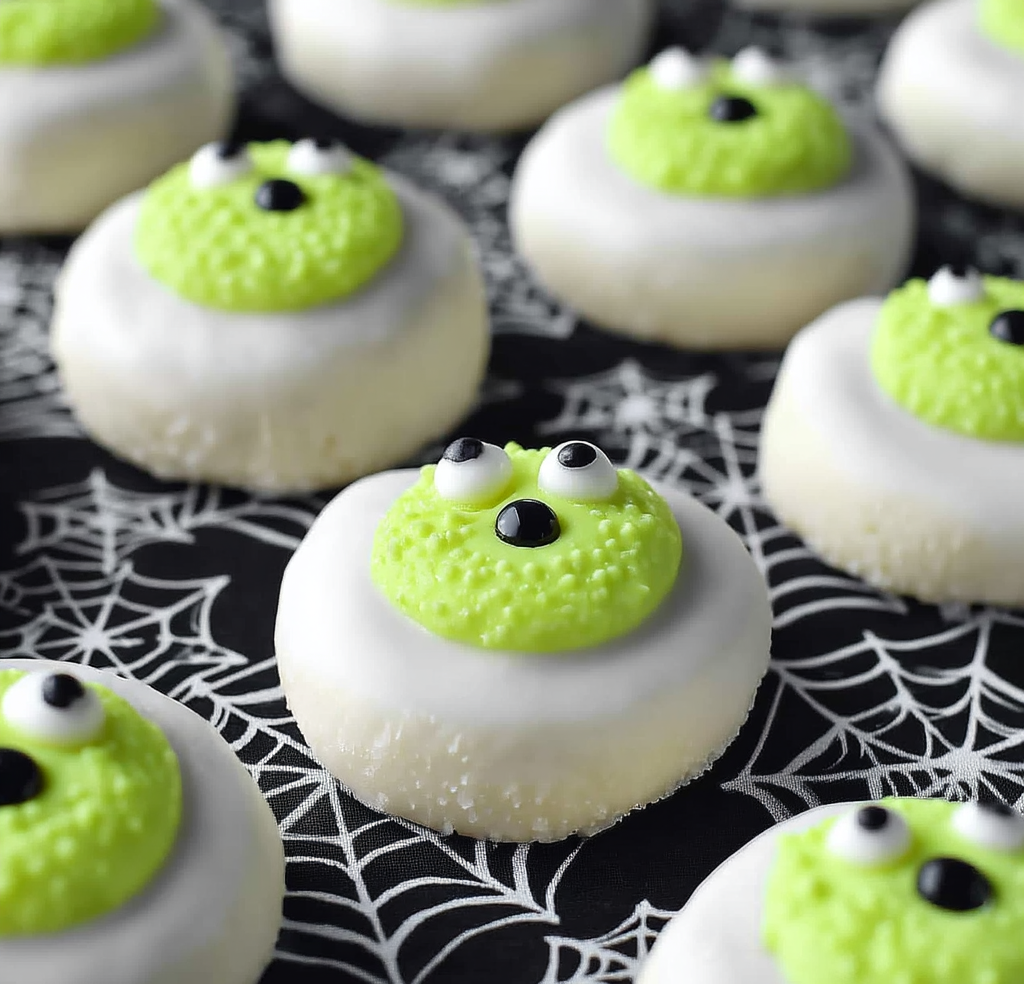
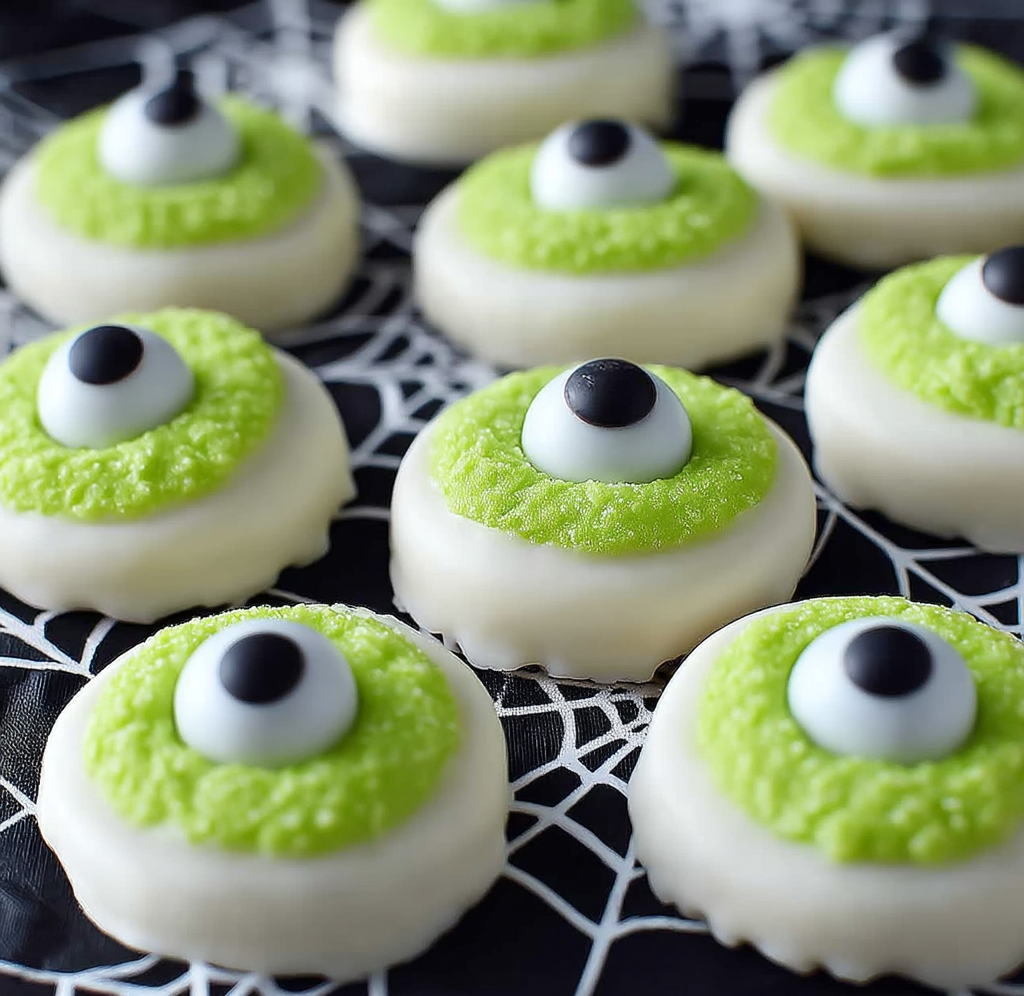
Looking for a spooky and fun Halloween treat that’s easy to make and impresses everyone? Cake Eyeballs are the perfect choice! These creepy, delicious bites transform classic cake mix into adorable edible eyeballs coated in smooth white chocolate and decorated with colorful gel icing. They’re perfect for Halloween parties, classroom treats, or simply adding a fun twist to your holiday dessert table.
What makes Cake Eyeballs so appealing is their combination of soft, moist cake interior with a sweet, crisp chocolate coating on the outside. You can customize them with any cake flavor you like—red velvet for a bloody effect or yellow cake for a classic look. Decorating with gel icing allows endless creativity, from spooky veins to vibrant iris colors. For a guide on working with cake pops, this tutorial on cake pop basics is a great resource. Also, if you want to know more about tempering chocolate for smooth coatings, check out this chocolate tempering guide.
This recipe requires no fancy tools, just a box of cake mix, frosting, white chocolate disks, and your favorite decorations. It’s beginner-friendly, fun for kids to help with, and perfect for any Halloween event. Plus, they’re portable and easy to share—great for gifting or potlucks.
2. Basic Recipe: Ingredients and Instructions
Print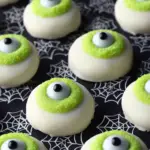
Halloween Cake Eyeballs Recipe
Description
Make spooky Cake Eyeballs with cake mix, frosting, and white chocolate for an easy and fun Halloween dessert.
Ingredients
-
1 (18.25-ounce) box red velvet or yellow cake mix (plus ingredients called for on box)
-
1 (12-ounce) can frosting (any flavor)
-
12 ounces white chocolate melting disks
-
Assorted gel icing, for decorating
Instructions
- Bake the Cake
Prepare and bake the cake according to the package directions. Let it cool completely. - Crumble the Cake
In a large bowl, crumble the cooled cake into fine crumbs using your hands or a fork. - Mix in Frosting
Add about half of the frosting to the cake crumbs and mix well. Add more frosting if needed until the mixture sticks together but is not overly wet. - Form Cake Balls
Roll the mixture into 1-inch balls and place them on a baking sheet lined with parchment paper. Refrigerate for at least 1 hour to firm up. - Melt the White Chocolate
In a microwave-safe bowl, melt the white chocolate disks in 30-second intervals, stirring until smooth. - Coat the Cake Balls
Using a fork or dipping tool, dip each cake ball into the melted white chocolate to fully coat. Tap off excess and place back on parchment paper. - Decorate with Gel Icing
Before the chocolate sets, decorate the eyeballs with gel icing to create pupils, veins, or spooky designs. - Allow to Set
Let the coated cake eyeballs set completely at room temperature or speed up with refrigeration. - Serve or Store
Enjoy immediately or store in an airtight container in the fridge.
Notes
If white chocolate thickens, add a teaspoon of vegetable oil to smooth it out.
Work quickly while coating before chocolate hardens.
Store cake eyeballs refrigerated for freshness.
Keywords: Cake Eyeballs
3. Advanced Techniques
Choosing the Best Cake Flavor
Red velvet is ideal for a bloody, spooky effect, while yellow cake offers a more neutral palette. For extra moistness, add an additional egg or substitute oil for butter in the cake mix.
Getting the Right Frosting-to-Cake Ratio
Too much frosting makes the cake balls too soft and sticky; too little makes them crumbly. Start with half the frosting, add more if needed, until the mixture holds together without being mushy.
Perfecting the Chocolate Coating
Melt white chocolate slowly to prevent scorching. For an extra smooth finish, temper the chocolate using a temperature-controlled method. This gives a shiny, firm shell that snaps nicely.
Creative Gel Icing Designs
Use gel icing to draw realistic iris and veins, or spooky monster eyes with different colors. Experiment with layering colors and using fine tips or toothpicks for details.
Storing Cake Eyeballs for Maximum Freshness
Keep them refrigerated in a single layer to prevent sticking. For longer storage, freeze individually wrapped eyeballs and thaw before serving.
See more advanced recipes at cookingwhite.com
4. Storage, Shelf Life, and Maintenance Tips
Refrigeration
Store cake eyeballs in an airtight container in the fridge for up to 5 days to maintain freshness and texture.
Freezing
Wrap cake eyeballs individually in plastic wrap and place in a freezer-safe container. Freeze for up to 1 month. Thaw in the fridge before serving.
Avoiding Chocolate Bloom
Prevent moisture buildup by storing in a cool, dry place. Avoid temperature fluctuations that cause the white chocolate to develop a white, powdery bloom.
Transport Tips
Place eyeballs in a single layer in a sturdy container with parchment paper to avoid damage. Keep cool during transport.
Refreshing Chocolate Coating
If chocolate loses its shine, lightly warm the eyeballs in a warm, dry oven (200°F/90°C) for a few minutes to restore gloss.
5. Dietary Adaptations and Substitutions
Gluten-Free Version
Use a gluten-free cake mix and ensure frosting and chocolate are certified gluten-free.
Dairy-Free Adaptation
Choose dairy-free cake mix, frosting, and dairy-free white chocolate alternatives made from coconut or soy.
Vegan Option
Use vegan cake mixes, plant-based frosting, and vegan white chocolate melts. Adjust baking time as needed.
Sugar-Free Version
Use sugar-free cake mix and frosting. Substitute white chocolate with sugar-free candy melts or coating.
Nut-Free Adjustments
Ensure all ingredients and decorations are nut-free and processed in nut-free facilities.
6. FAQs About the Recipe
Can I use homemade cake instead of boxed mix?
Absolutely! Any moist cake works well. Just crumble and proceed as usual.
What if the cake balls fall apart?
Add more frosting to bind them or chill the mixture longer before shaping.
How long do cake eyeballs last?
Refrigerated, they last about 5 days. For longer storage, freeze as described.
Can I use regular chocolate instead of white chocolate?
Yes, but the spooky eyeball effect is best with white chocolate for a clean “eyeball” look.
How do I prevent eyeballs from sticking together?
Store in a single layer or separate layers with parchment paper in an airtight container.
7. Conclusion & Final Thoughts
Cake Eyeballs are a fantastic Halloween treat that combines creativity, ease, and deliciousness in every bite. Whether you opt for classic red velvet to create a “bloody” effect or yellow cake for a versatile base, these eyeballs will impress guests and bring festive fun to your table.
The best part about this recipe is how simple it is, requiring just a few pantry staples and some decorating flair. Perfect for family activities or quick last-minute party treats, Cake Eyeballs strike the perfect balance between spooky and sweet. With their creamy centers and crisp chocolate shells, they deliver texture and flavor that make them more than just a gimmick — they’re genuinely tasty.
So, next Halloween, consider making Cake Eyeballs to add a little creepy charm to your desserts. They’re sure to be a hit with kids and adults alike and a memorable addition to your holiday repertoire!