Introduction
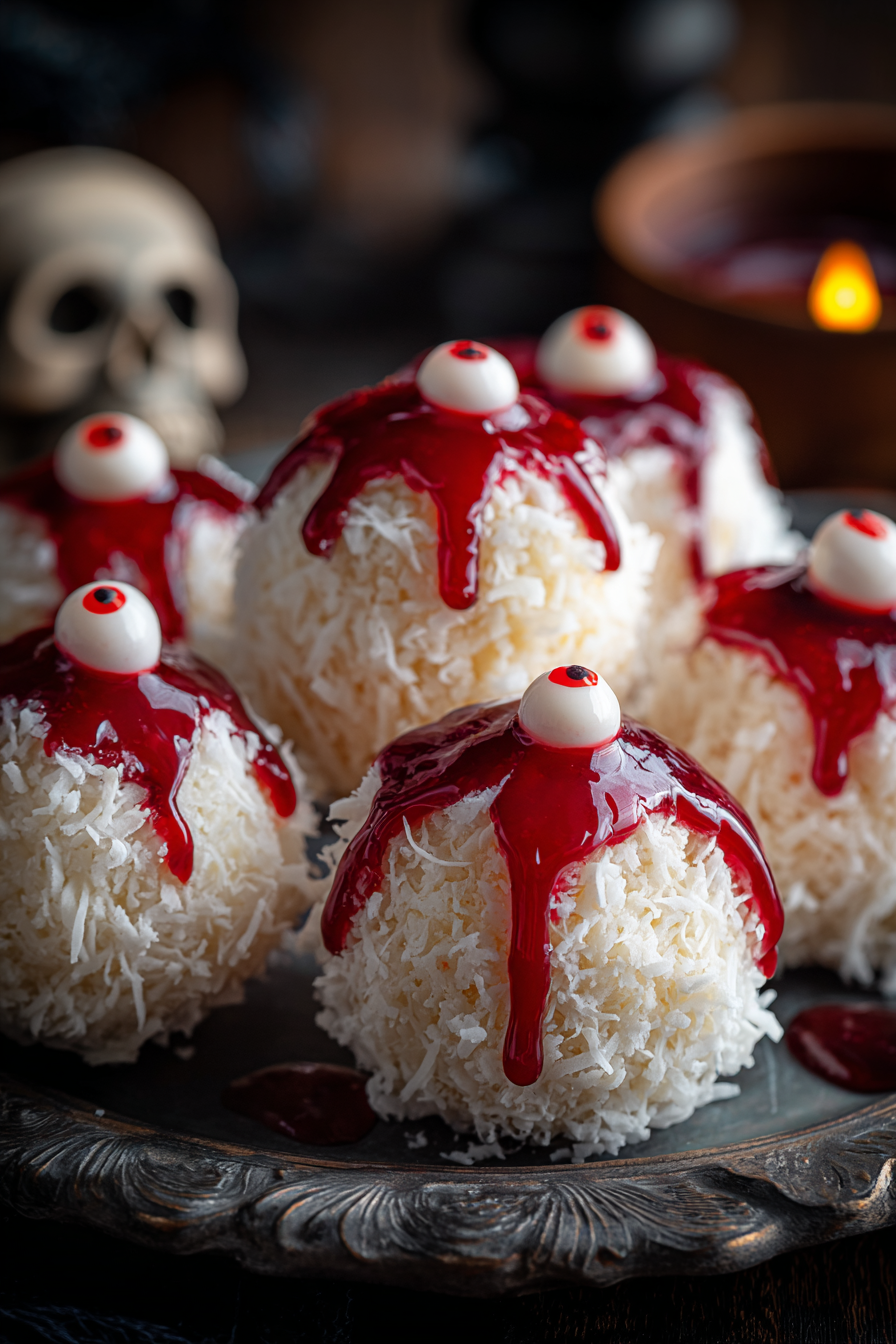
If you’re searching for a Halloween treat that’s spooky, sweet, and irresistibly good, these Halloween Coconut Kiss of Death Bites are your new favorite indulgence. Each bite-sized treat is loaded with shredded coconut, creamy condensed milk, and a rich chocolate coating, hiding a deadly-sweet surprise inside—a Hershey’s Kiss! The combination of chewy, chocolatey, and creamy textures makes these morsels a hauntingly addictive addition to your Halloween dessert table.
Perfect for parties, bake sales, or a themed movie night, these Coconut Kiss of Death Bites are as easy to make as they are delicious. With their eerie name and sinfully good flavor, they’ll disappear faster than a ghost in the night!
My Recipe Story
This recipe was born out of my love for classic coconut macaroons and my obsession with Halloween-themed desserts. Every October, I look for creative ways to turn familiar favorites into frightful delights. The idea came one year while making macaroons for a Halloween party—I decided to hide a chocolate kiss inside each bite and coat them in dark chocolate for a “kiss of death” effect.
They were an instant hit! Guests loved the surprise inside and the fun, eerie presentation. I’ve since perfected the recipe to achieve the ideal balance of coconut sweetness, chewy texture, and rich chocolate coating. Now, these Coconut Kiss of Death Bites have become an annual tradition—a recipe that combines sweetness, spookiness, and a little playful mystery in every bite.
💡 Why You’ll Love This Recipe
- Perfect for Halloween parties and spooky dessert tables.
- Simple ingredients and easy-to-follow steps make it beginner-friendly.
- Each bite hides a delightful chocolate surprise inside.
- No fancy equipment required—just mix, shape, bake, and dip.
- Customizable with different chocolates or food coloring for a festive touch.
Ingredient Breakdown
The ingredient list for these Halloween Coconut Kiss of Death Bites is short, simple, and pantry-friendly. You’ll only need a handful of items, but together they create a sweet and spooky treat that’s sure to impress.
Shredded Sweetened Coconut: This forms the base of your bites, providing chewiness, texture, and tropical sweetness. The coconut binds perfectly with the condensed milk to hold its shape when baked.
Powdered Sugar: Adds a smooth sweetness without grittiness, balancing the richness of the condensed milk and chocolate.
Sweetened Condensed Milk: This sticky, luscious ingredient brings everything together. It acts as a binder and sweetener, giving the bites a moist and chewy texture.
Hershey’s Kisses (or any milk chocolate kisses): The secret “kiss of death” inside every bite! Once you take a bite, the soft chocolate center contrasts beautifully with the chewy coconut shell.
Dark or Semi-Sweet Chocolate: Used for dipping, it adds a rich coating that seals in flavor and gives these bites their hauntingly dark, glossy look.
Optional decorations: Red gel icing, candy eyeballs, or edible glitter can turn these treats into truly frightful delights!
Equipment You’ll Need
- Mixing bowls (medium and small)
- Baking sheet
- Silicone baking mat or parchment paper
- Microwave-safe bowl or double boiler (for melting chocolate)
- Fork or dipping tool
- Cooling rack
- Spoon or cookie scoop
Step-by-Step Directions
Step 1: Prepare the coconut mixture.
In a medium bowl, combine 2 cups of shredded sweetened coconut, 1 cup of powdered sugar, and ½ cup of sweetened condensed milk. Stir until the mixture is thick, sticky, and evenly combined. It should be moldable but not too wet. If the mixture feels too loose, add a few extra tablespoons of coconut until it firms up.
Step 2: Shape and fill.
Line your baking sheet with parchment paper. Scoop about 1 tablespoon of the coconut mixture into your hand, flatten it slightly, and place one Hershey’s Kiss in the center. Carefully mold the coconut around the chocolate, forming a small ball or oval shape. Repeat with the remaining mixture and kisses. Place them on the prepared sheet and refrigerate for 15–20 minutes to firm up.
Step 3: Preheat and bake.
Preheat your oven to 325°F (165°C). Bake the coconut bites for 10–12 minutes or until the edges are lightly golden. Be careful not to overbake; you want them chewy, not crunchy. Remove from the oven and allow them to cool completely on a wire rack before dipping in chocolate.
Step 4: Melt the chocolate.
In a microwave-safe bowl, melt your dark or semi-sweet chocolate in 30-second intervals, stirring between each, until smooth. You can also melt it using a double boiler over simmering water for a more controlled temperature.
Step 5: Dip and decorate.
Using a fork or dipping tool, lower each cooled bite into the melted chocolate, coating it fully. Let excess chocolate drip off, then place the coated bites back onto the parchment-lined tray. While the chocolate is still wet, decorate with red gel icing for a “bloody” effect or candy eyes for a spooky twist. Chill for 20 minutes to set the coating.
Step 6: Serve and scare!
Once the chocolate is firm, transfer the bites to a serving platter. For added effect, serve them in a black cauldron or on a tray sprinkled with red candy dust. Each bite reveals the hidden chocolate kiss within—a deadly delicious surprise perfect for Halloween night.

Variations & Substitutions
If you’d like to put your own twist on this spooky recipe, there are endless ways to customize it! Try substituting the milk chocolate kisses with dark chocolate, caramel-filled, or even white chocolate versions for different flavor profiles. You can also add a few drops of red or black food coloring to the coconut mixture for a creepy, Halloween-inspired hue.
For a tropical version, mix a few drops of rum extract or almond extract into the batter. Want extra crunch? Stir in crushed almonds or mini chocolate chips. You can also skip the dipping and simply drizzle chocolate over the top for a faster version that’s still hauntingly good.
💡 Expert Tips & Troubleshooting
- Chill the coconut mixture before shaping to prevent sticky hands and maintain shape during baking.
- If your bites fall apart, add a tablespoon more condensed milk to help bind the ingredients.
- Use high-quality chocolate for dipping—it makes a noticeable difference in taste and texture.
- Decorate while the chocolate is still wet to ensure toppings stick properly.
- Let them cool completely before coating to prevent melted centers or cracked shells.
Storage, Freezing & Make-Ahead
These Halloween Coconut Kiss of Death Bites store beautifully, making them ideal for advance party prep. Store leftovers in an airtight container at room temperature for up to 3 days, or refrigerate for up to a week for maximum freshness. The chocolate coating helps seal in moisture, keeping them chewy and rich.
To freeze, arrange the bites in a single layer on a baking sheet and freeze until solid. Then transfer them to a freezer-safe container or zip-top bag. They’ll last up to 2 months. When ready to serve, thaw them at room temperature for about 30 minutes. For best results, dip and decorate them after thawing to preserve the chocolate’s glossy finish.
Serving Ideas & Pairings
These Coconut Kiss of Death Bites are versatile and festive, making them perfect for many occasions beyond Halloween. Serve them on a dessert platter with chocolate truffles, caramel apples, and monster cupcakes for a frightfully fun spread. They also pair well with a warm cup of coffee, hot cocoa, or pumpkin spice latte.
For adult gatherings, consider pairing them with a dark rum cocktail or espresso martini—the rich chocolate and coconut flavors complement these drinks perfectly. You can also package them in small treat bags for trick-or-treat favors or party giveaways. However you serve them, they’re guaranteed to be a conversation starter!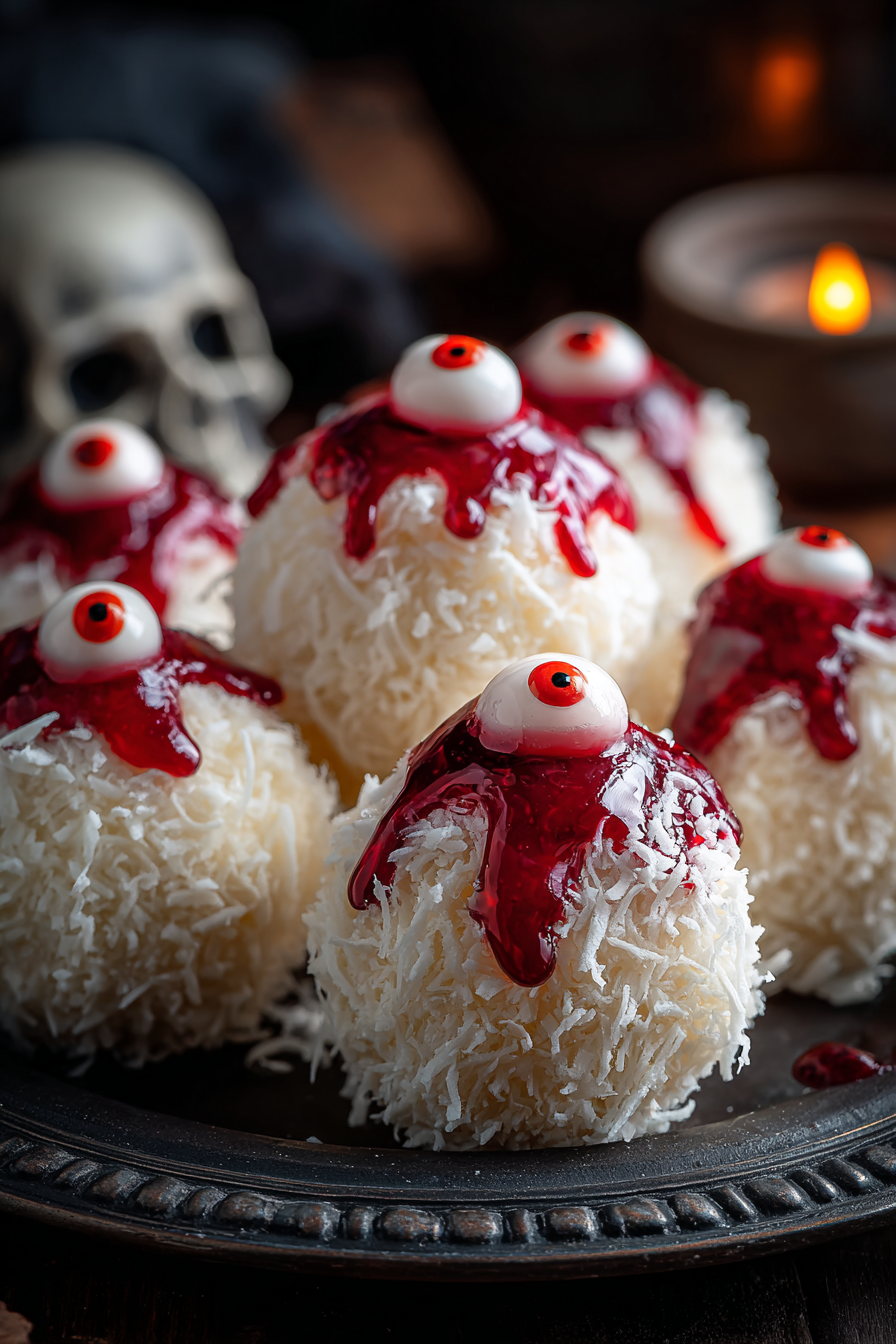
FAQ
Can I make these bites without baking?
Yes! Simply skip the baking step and chill the shaped coconut bites before dipping them in chocolate. They’ll be slightly softer but still delicious.
Can I use unsweetened coconut?
You can, but you may need to increase the powdered sugar slightly to balance the flavor. Sweetened coconut gives a better chewy texture and sweetness.
How can I make these vegan?
Replace the sweetened condensed milk with coconut condensed milk and use dairy-free chocolate and vegan-friendly kisses.
Do I need to refrigerate them after dipping in chocolate?
Not necessarily, but chilling them helps the chocolate harden quickly and gives a professional, glossy finish.
Can I add coloring to make them more Halloween-themed?
Absolutely! Add a few drops of black, orange, or red gel food coloring to the coconut mixture or drizzle colored white chocolate on top for a spooky effect.
Final Thoughts
These Halloween Coconut Kiss of Death Bites are the perfect combination of creepy and crave-worthy—a treat that delights both kids and adults. With their chewy coconut centers, chocolate-coated shells, and surprise chocolate core, they’re a fun twist on a classic treat that never fails to impress. Whether you’re hosting a Halloween bash or simply want to treat yourself to something sinfully sweet, this recipe is guaranteed to bring smiles (and maybe a few playful screams) to your table.
Print
Halloween Coconut Kiss of Death Bites
- Total Time: 40 minutes
- Yield: 24 bites
- Diet: Vegetarian
Description
These spooky bite-sized treats combine chewy coconut, rich chocolate, and a surprise candy center. Perfect for Halloween parties or dessert tables.
Ingredients
• 2 cups shredded sweetened coconut
• 1 cup powdered sugar
• ½ cup sweetened condensed milk
• 24 Hershey’s Kisses, unwrapped
• 8 oz dark or semi-sweet chocolate, melted
• Red gel icing or candy eyes (optional for decoration)
Instructions
- In a mixing bowl, combine shredded coconut, powdered sugar, and condensed milk until thick and sticky.
- Scoop 1 tablespoon of the mixture, flatten it slightly, and place a Hershey’s Kiss in the center.
- Shape the coconut mixture around the chocolate to form a ball. Repeat with remaining mixture.
- Chill the balls on a parchment-lined baking sheet for 15–20 minutes.
- Preheat oven to 325°F (165°C) and bake for 10–12 minutes, until lightly golden.
- Let cool completely, then dip each bite in melted chocolate and place back on parchment to set.
- Decorate with red gel icing or candy eyes for a spooky finish. Chill until firm before serving.
Notes
For a no-bake version, skip baking and chill the shaped bites before dipping in chocolate. Store in an airtight container for up to 1 week or freeze for up to 2 months.
- Prep Time: 25 minutes
- Cook Time: 12 minutes
- Category: Dessert
- Method: Baking
- Cuisine: American