Introduction
There’s something undeniably fun about turning a classic dish into a seasonal showstopper—and these Halloween Deviled Eggs do exactly that. They’re creamy, tangy, and delicious like traditional deviled eggs, but with a spooky makeover that makes them perfect for any Halloween celebration. Whether you’re hosting a party, attending a potluck, or just want to add some frightful fun to your dinner table, these little ghoulish bites are guaranteed to be a hit.
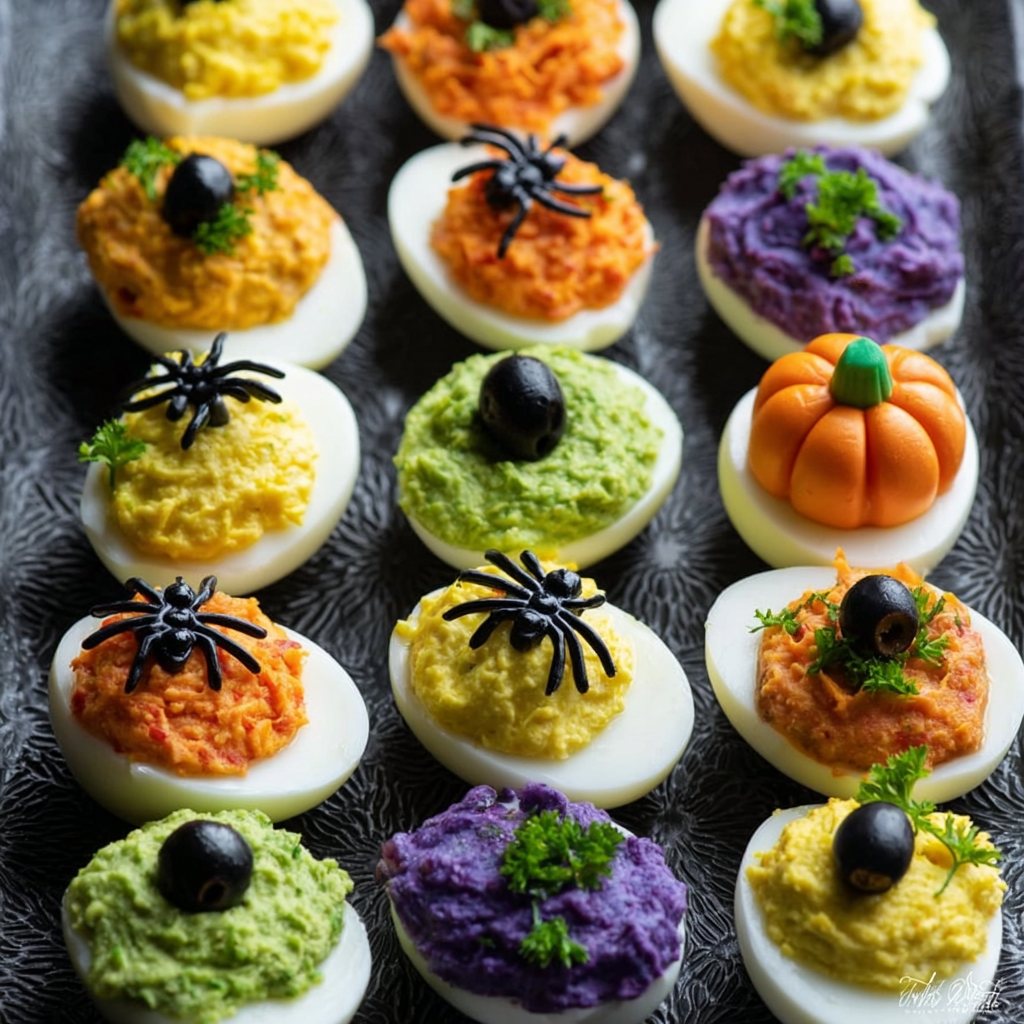
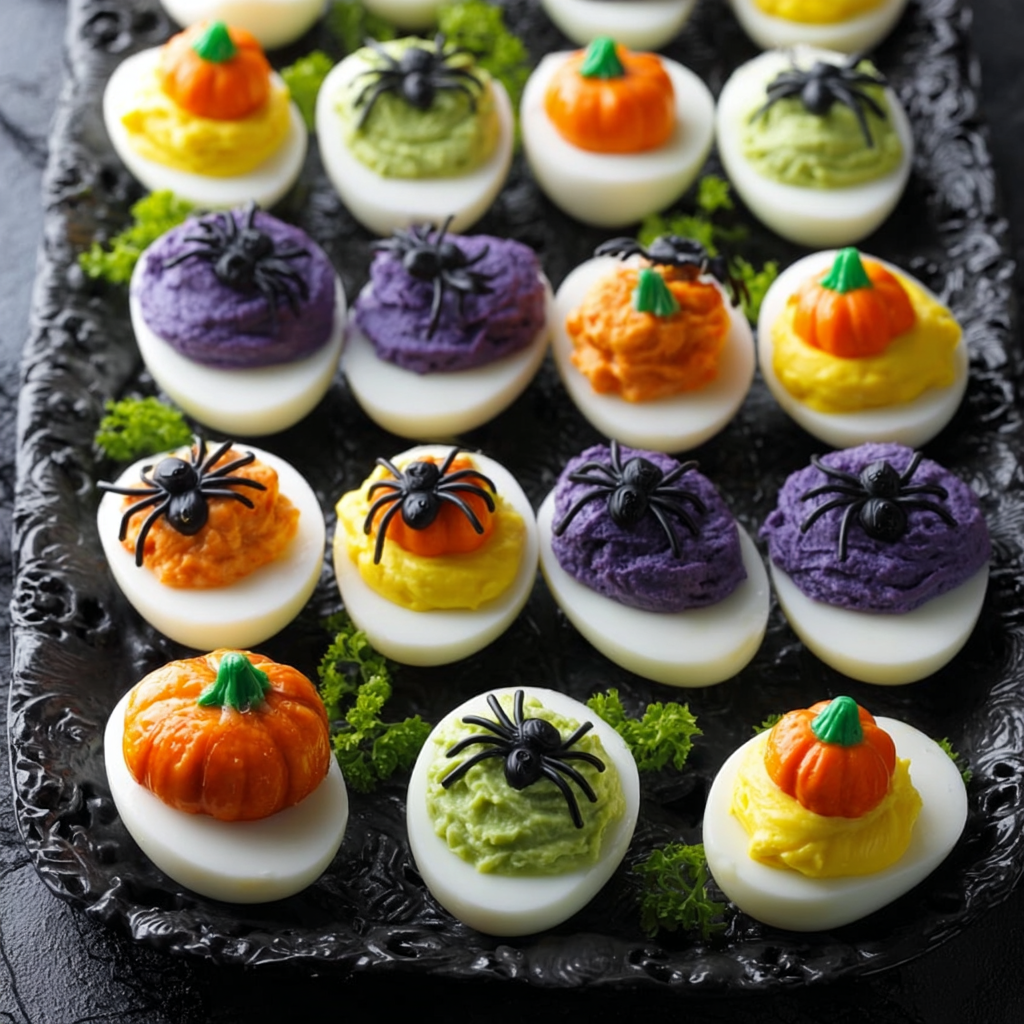
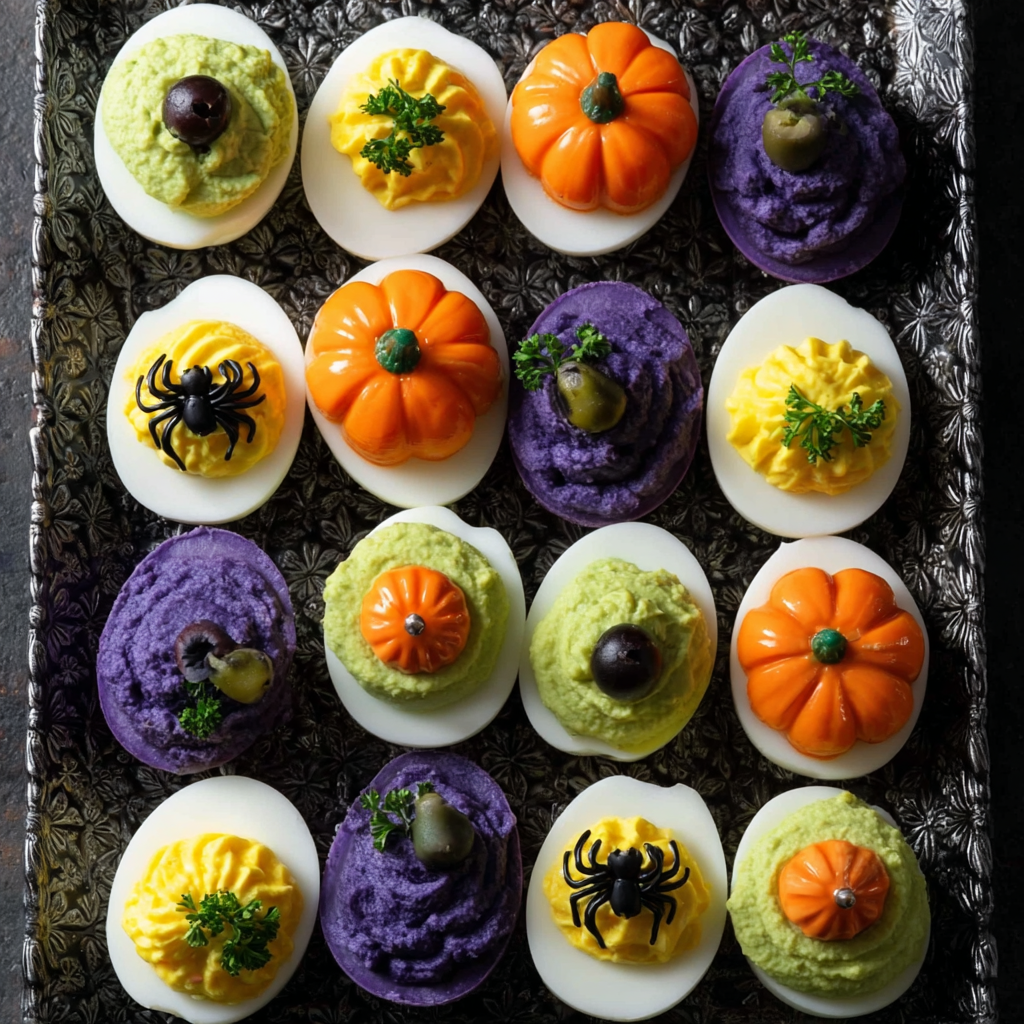
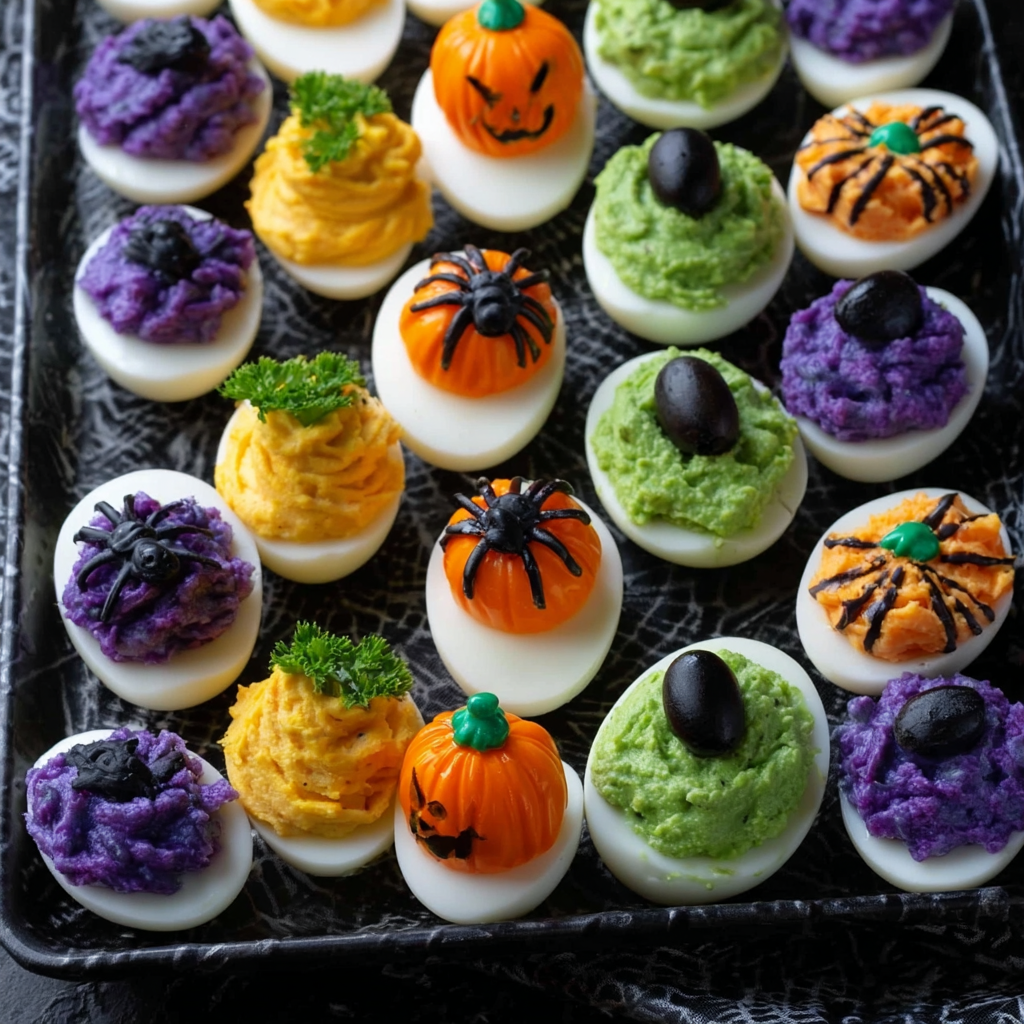
This recipe transforms one base filling into three fun Halloween characters—Pumpkin Deviled Eggs, Mummy Deviled Eggs, and Spider Deviled Eggs—each with its own unique personality and look. The pumpkins are colored a festive orange and topped with a little chive “stem,” the mummies are wrapped with thin stripes of mayonnaise and topped with eerie caper “eyes,” and the spiders are made with cleverly cut black olives. The best part? You can make them all from a single batch of filling, so you get variety without extra effort.
I’ve been making deviled eggs for years, but this Halloween version has become a tradition. It’s the perfect mix of festive and familiar—everyone loves the creamy filling, and kids are especially drawn to the playful designs. These eggs also travel well, making them a practical choice for Halloween potlucks or neighborhood gatherings.
If you want to master the perfect hard-boiled egg first, check out this guide from Simply Recipes or this foolproof method from Serious Eats. Once you’ve got your eggs ready, let’s turn them into a spooky (and delicious) Halloween platter!
Recipe Card
Print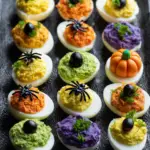
Halloween Deviled Eggs Recipe – Spooky, Fun, and Easy Party Appetizer
Description
These Halloween Deviled Eggs are a festive twist on the classic appetizer. Made with creamy yolk filling and decorated as pumpkins, mummies, and spiders, they’re perfect for parties and spooky celebrations.
Ingredients
Base Deviled Egg Mixture
- 6 hard-boiled eggs (see link for our Perfect Hard Boiled Eggs Recipe)
- 2 tablespoons mayonnaise (we like Best Foods brand)
- 1½ teaspoons mustard
- ⅛ teaspoon sugar
- ½ teaspoon white vinegar
- Salt and pepper to taste
For Mummy Deviled Eggs
- Capers (for the eyes)
- Extra mayonnaise (for “bandage” stripes)
For Pumpkin Deviled Eggs
- Red and yellow food coloring (or orange food coloring)
- Chives (for the stem)
For Spider Deviled Eggs
- Large black olives
Instructions
- Prepare the eggs:
Boil the eggs, let them cool, and peel them carefully. Slice each egg in half lengthwise and remove the yolks. Place yolks in a small mixing bowl. - Make the filling:
Mash the yolks with a fork until smooth. Add mayonnaise, mustard, sugar, vinegar, and salt and pepper. Stir until creamy and well-blended. - Divide the mixture:
If making multiple designs, divide the filling into separate bowls for each type (Pumpkin, Mummy, Spider). - For Pumpkin Deviled Eggs:
Add a few drops of red and yellow food coloring to one portion of filling until you get a pumpkin-orange shade. Spoon or pipe the mixture into egg whites. Use a fork to make vertical lines for a pumpkin texture, then add a small chive piece as the stem. - For Mummy Deviled Eggs:
Fill the egg whites with the plain yellow mixture. Using a piping bag or sandwich bag with a small corner snipped off, pipe thin “bandage” stripes of mayonnaise across the top. Add two capers for eyes peeking through the wrappings. - For Spider Deviled Eggs:
Fill the egg whites with the plain yellow mixture. Cut olives in half—use one half for the spider body and slice the other half into thin strips for legs. Arrange them on top of the filling to resemble a spider. - Serve or chill:
Arrange all your Halloween Deviled Eggs on a platter. Serve immediately, or cover and refrigerate until ready to serve.
Notes
Active prep time: ~20 minutes
You can make the filling ahead and refrigerate it (covered) for up to 24 hours. Assemble and decorate the eggs just before serving for the freshest appearance. Use gel-based food coloring for vibrant pumpkin tones without thinning the filling.
Advanced Techniques
Creating Smooth and Creamy Yolk Filling
The secret to beautiful Halloween Deviled Eggs starts with the filling. Always mash the yolks while they’re still slightly warm—they’ll blend more easily with the mayo and mustard. For an ultra-smooth texture, push the mixture through a fine-mesh sieve before piping. This removes lumps and gives a silky, professional finish that’s perfect for clean decoration work.
Piping for Precision and Presentation
Instead of spooning the filling, use a piping bag fitted with a round or star tip. It allows for more control and makes your pumpkins and mummies look neater. You can even use a zip-top bag with the corner snipped off for quick cleanup. If you’re hosting a large party, this method will save you time and make your platter look picture-perfect.
Coloring Techniques for Vibrant Pumpkins
To achieve the perfect pumpkin-orange hue, start with a small drop each of red and yellow food coloring, then mix gradually. Too much red can make it pinkish, while too much yellow dulls the tone. For a natural alternative, add a small pinch of paprika or turmeric powder—it not only colors beautifully but adds a subtle flavor twist.
Balancing the Flavors
Classic deviled egg filling is deliciously tangy, but when you’re making festive variations, it’s fun to adjust the balance. Add a touch of smoked paprika for a Halloween smoky vibe or a pinch of curry powder for warmth. I love adding a few drops of hot sauce for extra kick—it plays well with the richness of the yolks.
Crafting Spooky Designs That Stay Intact
When decorating, keep in mind that olives and capers can shift easily on soft filling. To secure them, press lightly with a toothpick or dab a tiny bit of filling beneath each piece to act as “glue.” If you’re transporting the eggs, chill them first—cold filling is firmer and holds toppings better.
Storage, Shelf Life, and Maintenance Tips
Storing Halloween Deviled Eggs Before a Party
Store assembled deviled eggs in an airtight container in the refrigerator for up to 2 days. Use parchment paper between layers to prevent smudging decorations. Always keep them chilled until just before serving—they’re best enjoyed cool.
Preventing Moisture on the Egg Whites
Deviled eggs tend to “sweat” in the fridge. To minimize condensation, line your storage container with paper towels. They’ll absorb excess moisture and keep the egg whites firm and fresh.
Making Them Ahead Without Decorations
If you’re prepping ahead, make the filling and egg whites separately, store them in airtight containers, and combine just before serving. This ensures the designs (especially mummies and spiders) stay crisp and intact.
Refreshing Leftover Eggs
If your eggs have been refrigerated for more than a day, they may look slightly dry. A quick trick: add a few drops of milk or cream to the filling, stir well, and pipe fresh before serving. The moisture revives both texture and flavor beautifully.
Transporting Without Smudging Decorations
Place the eggs in a deviled egg carrier or shallow tray lined with lettuce leaves to prevent sliding. For long trips, chill the eggs thoroughly and transport with an ice pack underneath. Avoid covering them too tightly—condensation can ruin the decorations.
Dietary Adaptations and Substitutions
Making Keto or Low-Carb Halloween Deviled Eggs
These eggs are already low-carb, but for keto perfection, use sugar-free mayonnaise and Dijon mustard. Skip the sugar entirely (it’s optional anyway). Each serving will have fewer than 1 gram of net carbs—perfect for keto Halloween snacking!
Dairy-Free Halloween Deviled Eggs
Most deviled egg recipes are naturally dairy-free, but double-check your mayo brand to ensure it’s milk-free. Brands like Hellmann’s Vegan Mayo or Sir Kensington’s Vegan Mayo work perfectly for a smooth, tangy finish.
Vegan “Deviled” Egg Adaptation
If you’re plant-based, you can create a clever vegan version using halved baby potatoes or tofu rounds as the “egg white” base. Fill with a mashed chickpea or avocado mixture seasoned with mustard and turmeric for that classic yellow look. Decorate just like the original!
Reducing Cholesterol
To lighten things up, replace half the egg yolks with mashed avocado. It adds creaminess, nutrients, and a beautiful color while reducing cholesterol. The flavor pairs wonderfully with Halloween’s savory theme.
Allergen-Friendly Substitutions
For those with egg allergies but who still want the spooky aesthetic, use small halved tomatoes or white mushrooms as a substitute base. Fill them with hummus or mashed potatoes and decorate the same way—it’s a fun twist that everyone can enjoy.
FAQs About Halloween Deviled Eggs
Can I Use Pre-Boiled Store-Bought Eggs?
Yes, but choose high-quality ones—some pre-boiled eggs have a rubbery texture. If you’re short on time, they’re a convenient option, just rinse and dry them before slicing to remove the brine taste.
How Do I Keep the Yolks from Crumbling?
Older eggs peel easier, but fresher eggs make smoother yolks. If the yolks crumble, blend them with the mayo and mustard using a mini food processor for a creamy, lump-free filling.
Can I Add Other Decorations?
Definitely! Try tiny pieces of red bell pepper for fangs, sesame seeds for eyes, or edible glitter for a magical Halloween twist. Just be sure all decorations are edible and secure them gently on the filling.
Are These Suitable for Outdoor Parties?
Yes, but be cautious with temperature. Deviled eggs can spoil if left out for more than two hours (or one hour if it’s warm). Keep them on a chilled platter with ice underneath if serving outdoors.
How Can I Make Them Spicier?
Add a dash of cayenne pepper or hot sauce to the filling, or sprinkle smoked paprika over the top for a warm, spooky touch. For “fiery pumpkins,” try a bit of sriracha mixed into the yolks—it gives an orange tint and a nice heat.
Conclusion & Final Thoughts
There’s no better way to bring Halloween magic to your table than with these Halloween Deviled Eggs. They’re the perfect combination of cute and creepy, delicious and playful. What makes them truly special is how easy they are to personalize—each little egg becomes a blank canvas for your imagination. Whether you’re hosting a kids’ party or an adults-only spooky soirée, these eggs are guaranteed conversation starters.
Beyond the novelty, they deliver on taste: creamy, tangy, and perfectly seasoned. The visual appeal draws people in, but it’s the flavor that keeps them coming back for seconds. And because they’re made with simple, affordable ingredients, you can whip them up anytime without stress. I love serving them alongside other themed bites like “witches’ fingers” or “monster popcorn” for a cohesive Halloween spread.
In the end, Halloween Deviled Eggs aren’t just food—they’re edible art. They remind us that cooking can be creative, joyful, and full of whimsy. Whether you go for pumpkins, spiders, or mummies, you’ll find yourself smiling with every little detail you add. So grab your piping bag, your imagination, and maybe a few extra olives—it’s time to make your Halloween table frightfully fun and devilishly delicious!