Introduction
When Halloween season rolls around, we’re all on the lookout for festive treats that are both easy to make and exciting to serve. That’s where these Halloween Graveyard Dirt Cups come in. They’re fun, creamy, and deliciously spooky, making them the perfect no-bake dessert for parties, school events, or just a cozy family night at home. With crushed Oreo “dirt,” silky chocolate pudding, and edible tombstones, they’re as much an activity as they are a dessert. Best of all, these cups can be prepared in advance, making them stress-free for busy hosts. Let’s dig right into how you can make your own edible graveyards!
My recipe story
I first made these Halloween Graveyard Dirt Cups for a neighborhood Halloween block party. I was running short on time, and I needed something quick, festive, and easy to transport. I remembered my childhood love for dirt pudding cups at birthday parties and thought, why not turn them into a spooky treat? The first batch was a hit—kids loved scooping through the cookie “dirt,” while adults admired how fun and nostalgic they felt. Since then, I’ve made them a yearly tradition, often letting kids decorate their own cups with gummy worms, candy bones, or even personalized cookie tombstones. It’s become a family favorite that never fails to bring smiles and a few playful chills!
💡 Why You’ll Love This Recipe
- No baking required—just mix, layer, and chill.
- Perfect for Halloween parties, school treats, or themed dinners.
- Kid-friendly and fun to decorate with gummy worms and candy gravestones.
- Easy to prepare ahead of time, so you can focus on hosting.
- Customizable—add whipped cream, candy pumpkins, or sprinkles to make it your own.
Ingredient breakdown
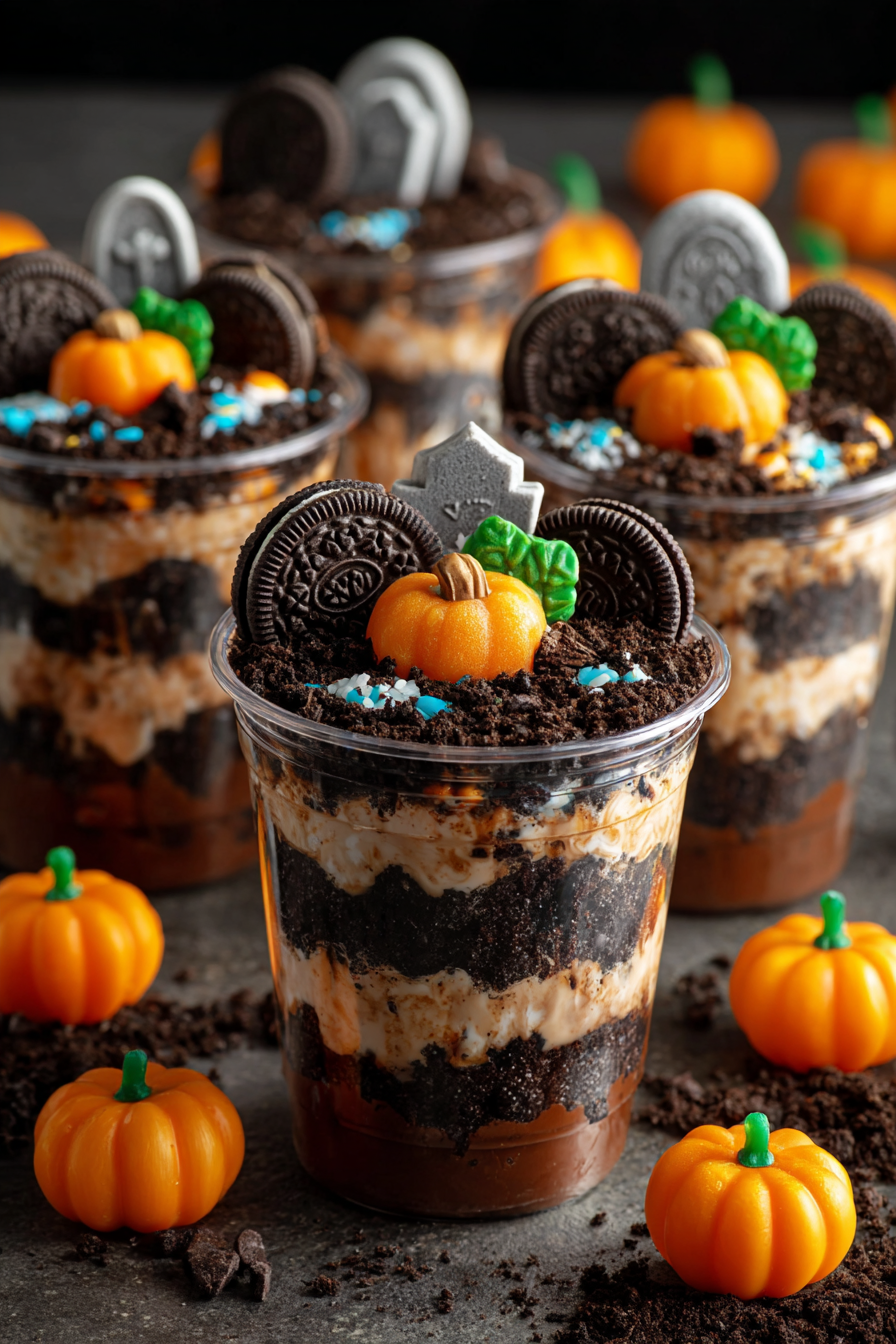
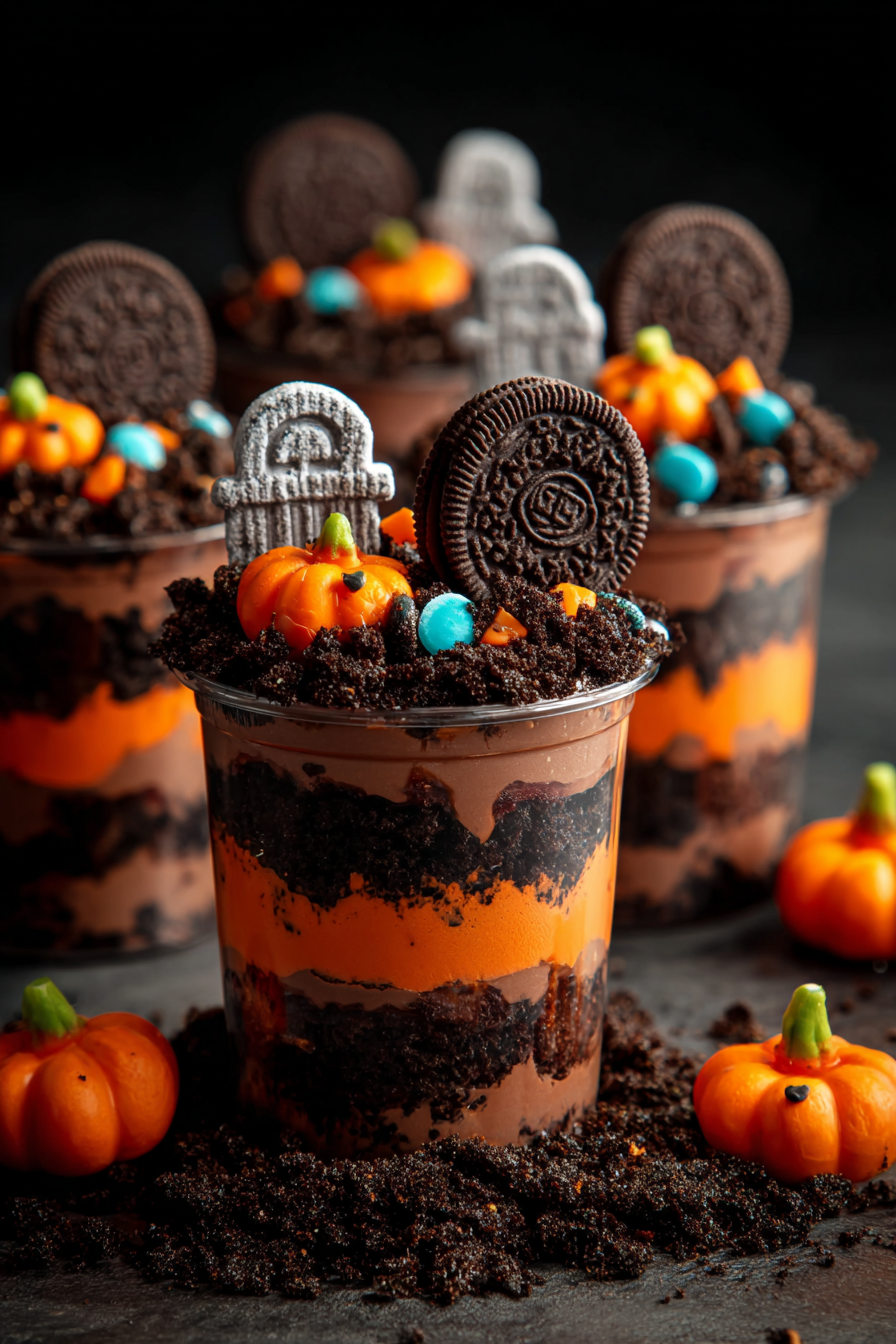
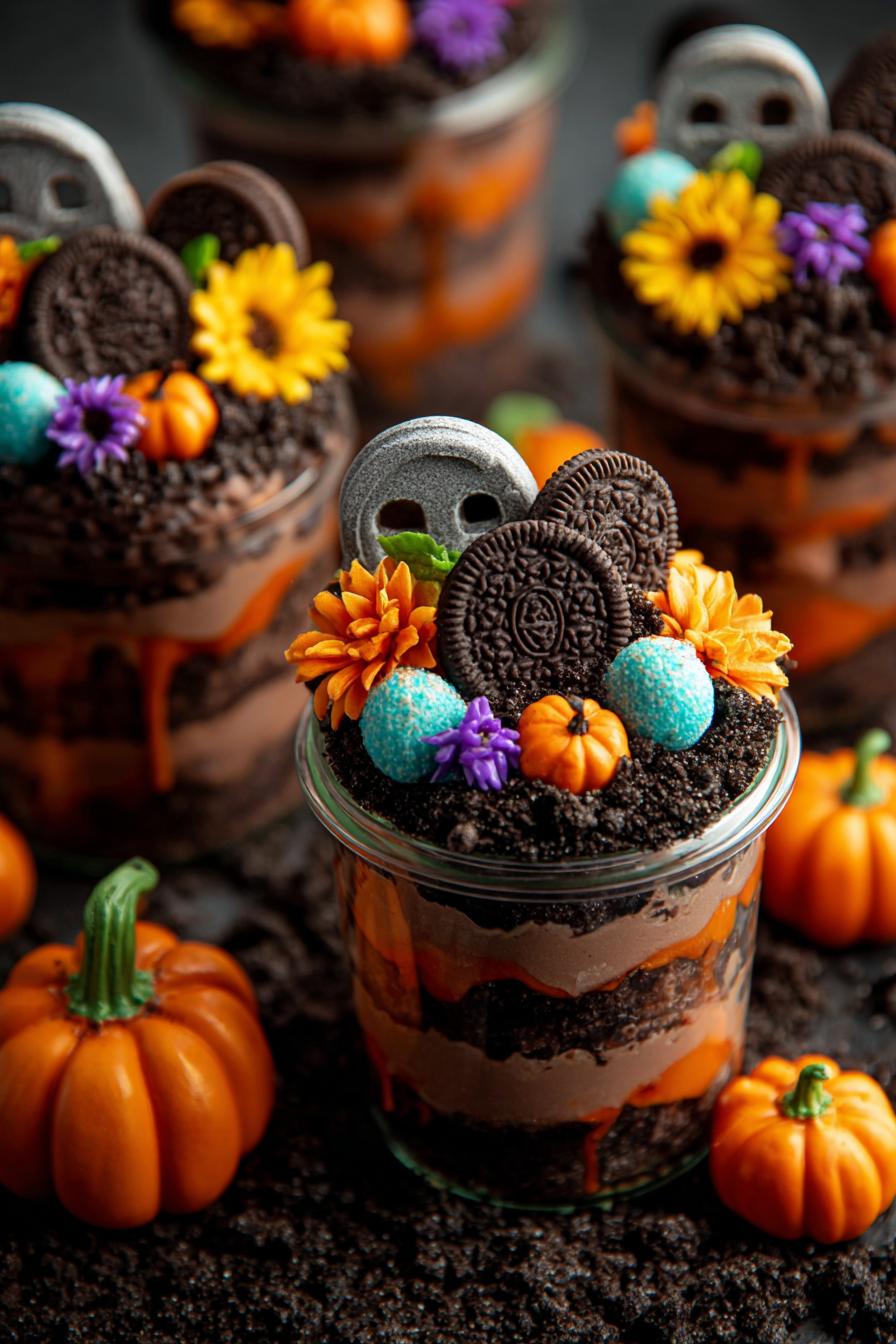
The beauty of Halloween Graveyard Dirt Cups lies in their simplicity. You only need a handful of ingredients, most of which you may already have in your pantry. The main components are Oreo cookies, instant chocolate pudding, milk, and a few optional but fun toppings like gummy worms and cookies for tombstones.
Oreos form the “dirt” layer, and crushing them into fine crumbs creates a realistic soil-like texture. The chocolate pudding provides a rich, creamy base, making every spoonful indulgent. Cold milk helps the pudding set quickly while maintaining its smooth consistency. Decorations are where the creativity shines—graham crackers, Milano cookies, or any rectangular cookie can be transformed into edible gravestones with a bit of icing. Add candy pumpkins, bone-shaped sprinkles, or marshmallow ghosts for an extra spooky touch.
Equipment you’ll need
- Large mixing bowl
- Whisk or electric mixer
- Food processor or zip-top bag with rolling pin (for crushing Oreos)
- Measuring cups
- Serving cups or clear plastic dessert cups
- Spoon or spatula
Step-by-step directions
Step 1: Crush the Oreos
Place your Oreo cookies in a food processor and pulse until fine crumbs form. If you don’t have a processor, place them in a zip-top bag and crush with a rolling pin. The crumbs should resemble soil, adding a realistic touch to your graveyard cups.
Step 2: Prepare the pudding
In a large mixing bowl, whisk together the instant chocolate pudding mix and cold milk until smooth and thickened. This should take about 2–3 minutes. Allow the pudding to set in the refrigerator for about 5 minutes while you prepare the other ingredients.
Step 3: Assemble the layers
Start with a spoonful of Oreo crumbs at the bottom of each cup. Next, add a layer of pudding, then more cookie crumbs. Continue layering until your cups are filled, finishing with a generous topping of cookie “dirt.”
Step 4: Decorate your graveyard
Insert cookie tombstones by writing “RIP” with melted chocolate or black icing on Milano or graham crackers. Add gummy worms crawling out of the “dirt” and sprinkle on candy pumpkins or bones. This is the fun part where you can get creative with your spooky scene!
Step 5: Chill and serve
Refrigerate the assembled cups for at least 1 hour before serving to allow the flavors to meld and the pudding to firm up. Serve cold and watch everyone’s faces light up when they dig in.
Variations & substitutions
You can swap Oreos with gluten-free chocolate cookies for a dietary-friendly version. For a lighter dessert, use sugar-free pudding mix and reduced-fat milk. If you prefer vanilla flavor, substitute chocolate pudding with vanilla and dye it orange with food coloring for a more festive vibe. For an adult twist, add a splash of coffee liqueur to the pudding layer. You can even make a large trifle instead of individual cups if serving a crowd.
💡 Expert Tips & Troubleshooting
- Chill the pudding before layering to ensure it holds its shape in the cups.
- Make sure to crush Oreos finely—large chunks may make layering uneven.
- If serving outdoors, keep cups in a cooler to prevent the pudding from melting.
- Decorate just before serving if using candies that may bleed color.
- Use clear cups for the best visual effect of layered “dirt” and pudding.
Storage, freezing & make-ahead
These dirt cups can be made a day in advance and stored in the refrigerator, covered with plastic wrap or lids, for up to 2 days. If you want to prepare decorations ahead, keep the tombstones and toppings separate until ready to serve. Freezing is not recommended, as pudding and cookies may lose their texture after thawing. For make-ahead efficiency, prepare the pudding and cookie crumbs separately, then assemble just before serving.
Serving ideas & pairings
These spooky cups shine at Halloween parties, but they also pair well with other fall treats. Serve alongside caramel apples, pumpkin bars, or a warm apple cider for a cozy dessert spread. For kids, pair with a glass of milk, and for adults, serve with coffee or even a spiced pumpkin latte. They’re also great as part of a dessert buffet, where guests can grab their own cup and enjoy.
FAQ
Can I make these dirt cups without Oreos?
Yes, you can use any chocolate sandwich cookies or even gluten-free alternatives.
How long do these cups last in the fridge?
They last about 2 days before the cookie crumbs lose their crunch.
Can I use homemade pudding instead of instant?
Absolutely! Just ensure it’s cooled before layering to avoid melting the cookies.
What size cups work best?
Clear 8-ounce plastic cups are ideal, but you can use small mason jars for a more rustic look.
Can I make a large version instead of individual cups?
Yes, assemble the layers in a trifle dish for a show-stopping centerpiece dessert.
Final thoughts
Halloween Graveyard Dirt Cups are the ultimate no-bake spooky dessert that combines nostalgia, creativity, and delicious flavors. They’re fun to make, easy to customize, and guaranteed to be a conversation starter at any Halloween event. Whether you’re making them for kids, adults, or both, these cups deliver the perfect balance of whimsy and taste. Add them to your Halloween dessert lineup, and you’ll have a treat that’s as delightful as it is haunting. Happy Halloween and happy haunting in your kitchen!
Print
Halloween Graveyard Dirt Cups
- Total Time: 20 minutes
- Yield: 10–12 cups
- Diet: Vegetarian
Description
A spooky no-bake dessert made with layers of Oreo “dirt,” creamy chocolate pudding, and candy decorations. Perfect for Halloween parties and family fun!
Ingredients
- 1 (14-ounce) package Oreo cookies, crushed into crumbs
- 2 (3.9-ounce) boxes instant chocolate pudding mix
- 4 cups cold milk
- 1 cup whipped topping (optional, for extra creaminess)
- Gummy worms, candy pumpkins, or bone-shaped candies for decoration
- Milano cookies or graham crackers for tombstones
- Black icing or melted chocolate for writing on tombstones
Instructions
- Crush Oreo cookies into fine crumbs using a food processor or by placing them in a zip-top bag and rolling with a rolling pin.
- In a large bowl, whisk together pudding mix and cold milk until smooth and slightly thickened. Chill for 5 minutes.
- Layer Oreo crumbs in the bottom of clear cups, then add a layer of pudding. Repeat the layers until cups are filled, finishing with a cookie crumb “dirt” layer on top.
- Write “RIP” or spooky designs on cookies with icing, then insert them into each cup as tombstones.
- Decorate with gummy worms, candy pumpkins, or other Halloween candies. Chill for at least 1 hour before serving.
Notes
Best served the same day for the crunchiest cookie texture, though they can be refrigerated for up to 2 days. Use clear cups or mason jars for the best presentation. Kids love customizing their own decorations!
- Prep Time: 20 minutes
- Cook Time: 0 minutes
- Category: Dessert
- Method: No-Bake
- Cuisine: American