Introduction
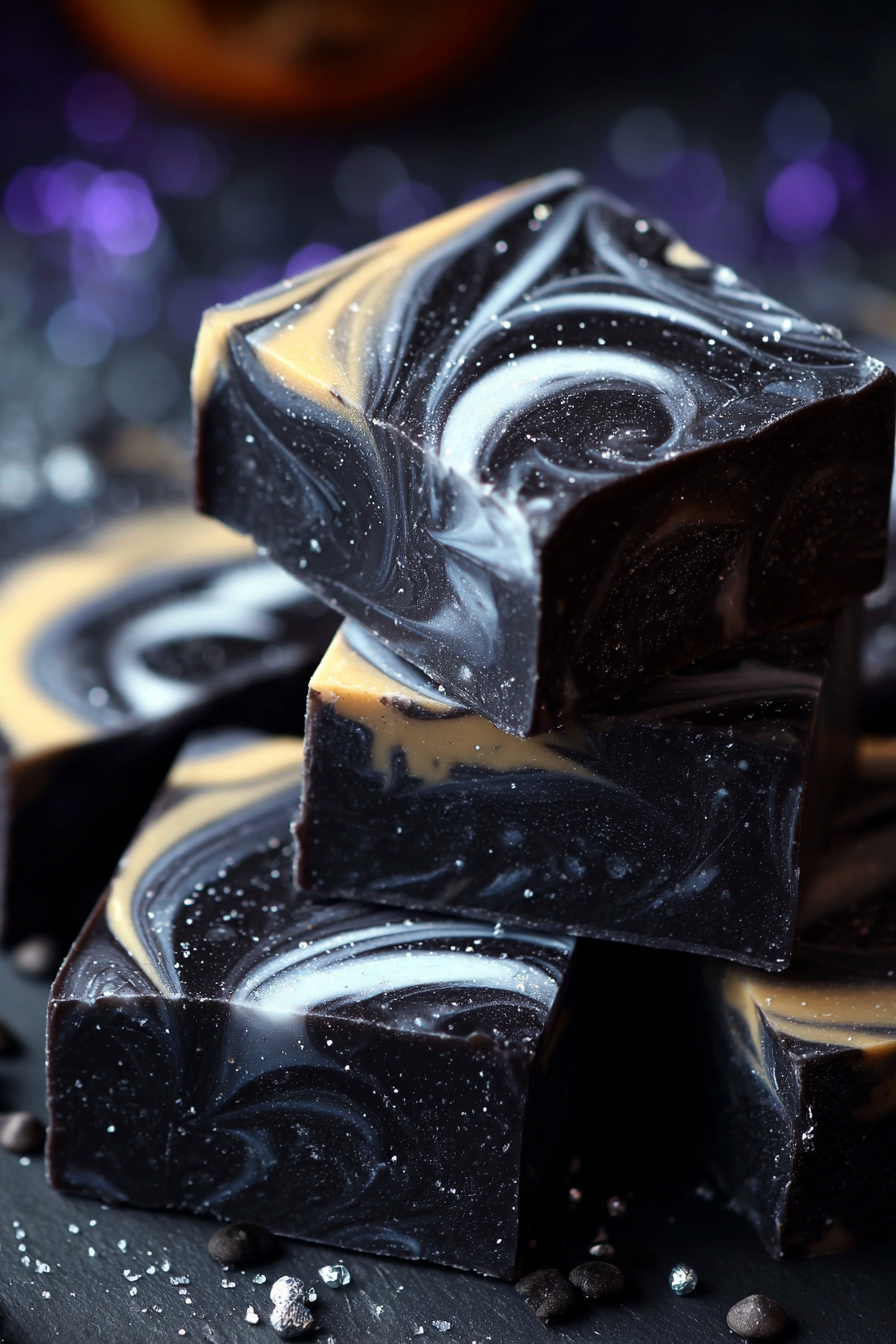
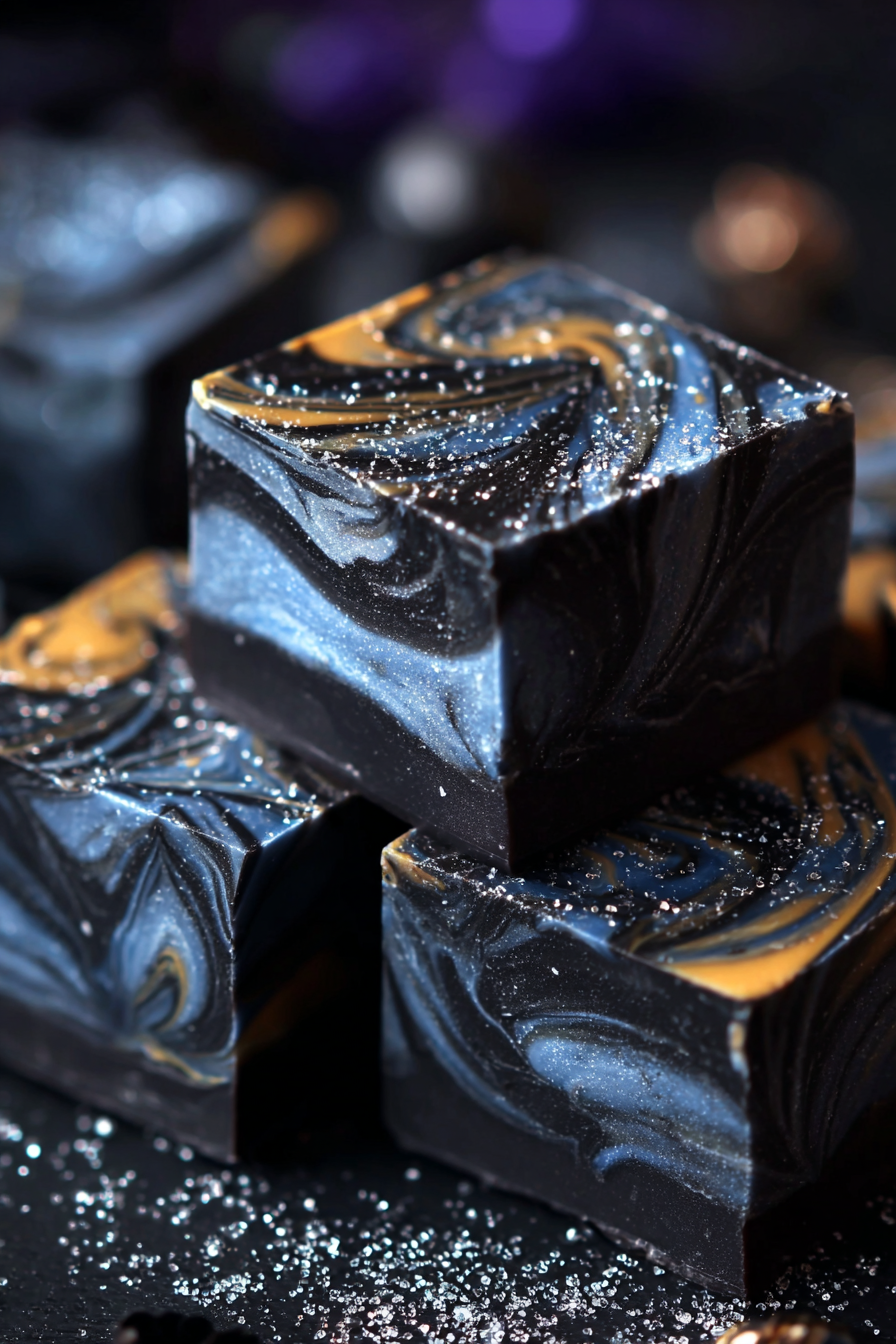
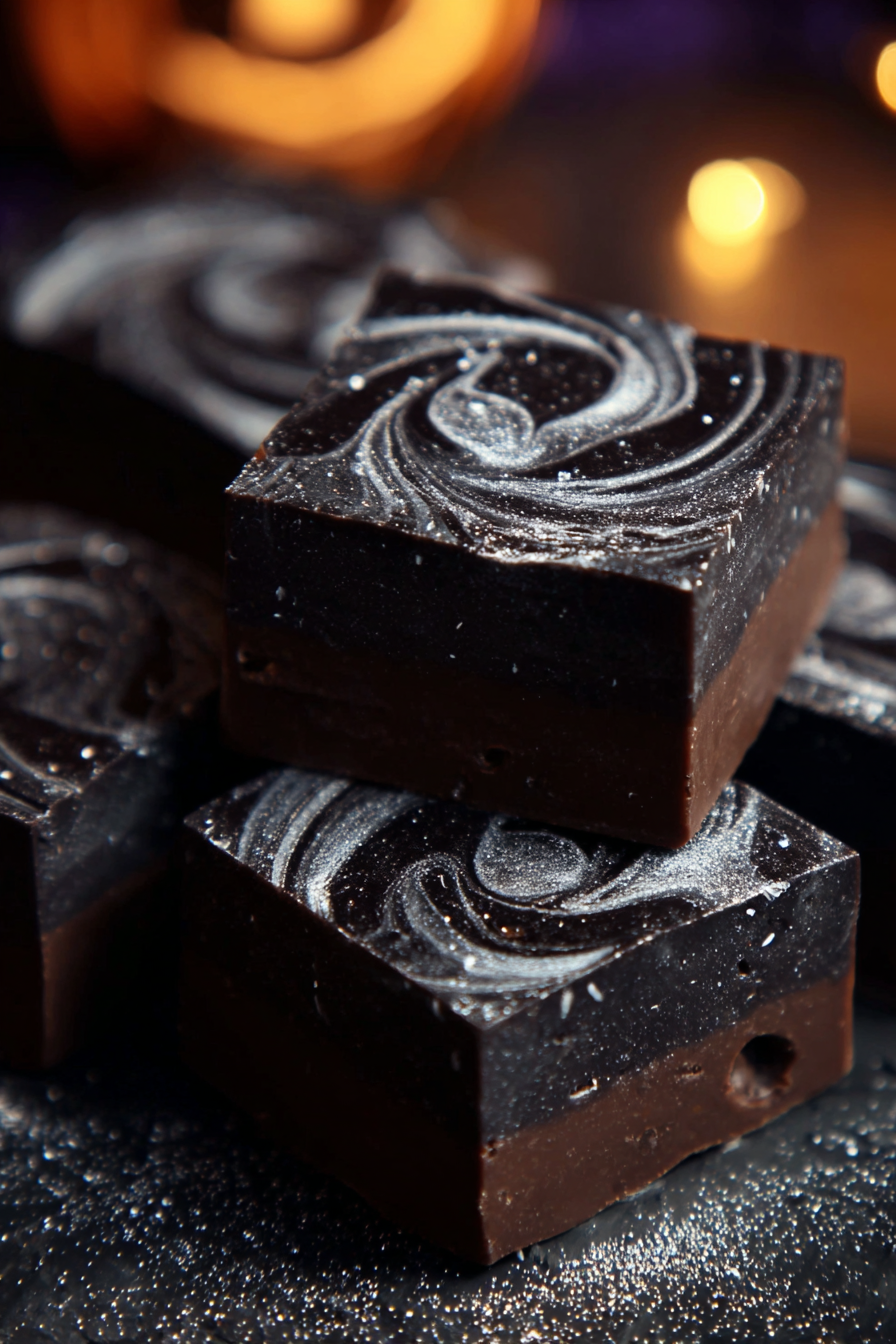
Halloween is the season for playful scares, spooky decorations, and indulgent treats that bring the whole family together. While caramel apples and candy corn often take center stage, there’s something truly irresistible about a rich, homemade fudge that captures the mysterious, dark allure of the holiday. This Halloween Midnight Moon Fudge is more than just a dessert—it’s a mood. With a deep, luxurious chocolate base (enhanced by black cocoa chips if you want extra depth), this recipe creates a bite that feels both sophisticated and delightfully fun. Whether you’re hosting a party, sending treats to school, or enjoying a cozy Halloween night at home, this fudge recipe guarantees smiles all around.
My recipe story
This recipe was born out of my love for creating desserts that aren’t just tasty, but also set the mood for a celebration. One chilly October evening, I was inspired by the silhouette of a glowing moon against the night sky, and I wanted to capture that feeling in dessert form. Dark chocolate became my canvas, and sweetened condensed milk my magical potion, transforming everyday ingredients into something hauntingly delicious. Over the years, I’ve made this fudge for Halloween parties, family gatherings, and even as homemade gifts wrapped in festive boxes. Each time, it’s been a huge hit—guests often asking, “Can I get the recipe?” This is one of those treats that look fancy but is secretly simple, which is my favorite kind of kitchen magic.
💡 Why You’ll Love This Recipe
- Only three main ingredients make this recipe foolproof and beginner-friendly.
- Dark, luxurious chocolate flavor that feels perfect for Halloween night.
- No special candy thermometer needed—just melt, stir, and set.
- Perfect for gifting, potlucks, or dessert tables at spooky gatherings.
- Customizable with mix-ins like nuts, marshmallows, or edible glitter for extra flair.
Ingredient breakdown
At first glance, this recipe might seem too simple to yield something extraordinary, but trust me—each ingredient has a role to play in creating this rich, indulgent fudge. Let’s break them down.
Dark Chocolate Chips: The star of the show. Dark chocolate provides a rich, bittersweet flavor that balances beautifully with the sweetness of the condensed milk. You can use standard dark chocolate chips or elevate the flavor with black cocoa chips, which add an almost gothic depth perfect for Halloween.
Sweetened Condensed Milk: This is the magic glue that holds the fudge together. It gives the mixture its creaminess, sweetness, and luxurious texture. The sugar content balances the bitterness of the chocolate while also helping the fudge set properly.
Butter: Just two tablespoons are enough to enhance the flavor, add silkiness, and create that glossy finish we all love in homemade fudge. It prevents the fudge from becoming dry or crumbly, ensuring a melt-in-your-mouth experience.
Optional additions like sea salt, sprinkles, edible glitter, or candy eyes can turn this fudge into an unforgettable Halloween centerpiece while still being incredibly easy to make.
Equipment you’ll need
- Medium saucepan
- Heatproof spatula or wooden spoon
- 8×8-inch baking pan
- Parchment paper or aluminum foil
- Sharp knife for cutting squares
Step-by-step directions
Step 1: Prepare your pan. Line an 8×8-inch baking dish with parchment paper or foil, leaving some overhang on the sides for easy lifting later. Lightly butter or spray the lining to prevent sticking. This step ensures your fudge will release easily and cut cleanly once it’s set.
Step 2: Melt the butter and chocolate. In a medium saucepan over low heat, add the butter and chocolate chips. Stir continuously with a heatproof spatula until the chocolate is smooth and glossy. Take care not to overheat—slow and steady melting prevents the chocolate from seizing or burning.
Step 3: Add the condensed milk. Pour in the can of sweetened condensed milk and continue stirring until everything is fully combined. The mixture will thicken slightly and take on a silky texture. This step is where the magic happens, transforming melted chocolate into a smooth fudge base.
Step 4: Pour and smooth. Transfer the fudge mixture into your prepared pan. Spread it evenly with a spatula, making sure it reaches the corners. At this stage, you can sprinkle on Halloween-themed decorations, edible glitter, or a pinch of sea salt for extra flair.
Step 5: Chill and set. Place the pan in the refrigerator for at least 2–3 hours, or until the fudge is firm enough to cut. Once fully chilled, use the parchment overhang to lift the fudge from the pan and place it on a cutting board.
Step 6: Slice and serve. Using a sharp knife, cut the fudge into bite-sized squares. Wipe the knife clean between cuts for neat edges. Arrange the squares on a festive Halloween platter and enjoy the indulgence.
Variations & substitutions
One of the joys of fudge is how easily customizable it can be. Try these fun twists to suit your tastes:
- Nutty delight: Add chopped walnuts, pecans, or almonds for crunch.
- Cookies & cream: Stir in crushed chocolate sandwich cookies for extra texture.
- Halloween sparkle: Mix in edible glitter, sprinkles, or candy eyes to make it festive.
- Mint twist: Add a few drops of peppermint extract for a refreshing kick.
- Dairy-free: Use vegan butter and sweetened condensed coconut milk for a plant-based version.
💡 Expert Tips & Troubleshooting
- Avoid overheating: Always melt chocolate slowly over low heat to prevent seizing.
- Use parchment: It makes lifting and cutting the fudge much easier.
- Clean cuts: Wipe the knife between slices for professional-looking squares.
- Don’t rush chilling: Allow enough time for the fudge to set properly; rushing can lead to a soft texture.
Storage, freezing & make-ahead
This fudge stores beautifully, making it perfect for planning ahead. Keep leftovers in an airtight container at room temperature for up to 1 week. For longer storage, refrigerate for up to 3 weeks or freeze for up to 3 months. To freeze, wrap the fudge tightly in plastic wrap, then place it in a freezer-safe bag or container. Thaw in the refrigerator overnight before serving.
Serving ideas & pairings
This Midnight Moon Fudge is versatile and pairs beautifully with a variety of occasions and flavors:
- Serve on a Halloween dessert platter alongside caramel apples and pumpkin cookies.
- Pair with coffee, espresso, or spiced chai for an indulgent afternoon treat.
- Include in holiday gift boxes or trick-or-treat bags for an elevated homemade touch.
- Serve with fresh berries or orange slices to balance the richness with brightness.
- Enjoy as a midnight snack while watching your favorite spooky movie marathon.
FAQ
Can I use milk chocolate instead of dark chocolate?
Yes, but the fudge will be sweeter and less rich. For balance, consider using half milk and half dark chocolate chips.
Why is my fudge grainy?
This usually happens when chocolate is overheated. Always melt over low heat and stir constantly.
Can I make this recipe in the microwave?
Yes! Use a microwave-safe bowl, melt the butter and chocolate in 20–30 second intervals, stirring each time until smooth. Then add condensed milk and proceed.
How long does it take to set?
On average, 2–3 hours in the refrigerator. For best results, let it chill overnight before cutting.
Can I double the recipe?
Absolutely! Just use a 9×13-inch pan instead of an 8×8 pan. The fudge will still set beautifully.
Final thoughts
This Halloween Midnight Moon Fudge is a celebration of rich flavors, festive fun, and effortless preparation. With only a few ingredients and simple steps, you can create a dessert that looks and tastes like it took hours of work. Whether you’re sharing it with friends, giving it as a gift, or enjoying it as a personal treat, it’s sure to become a seasonal favorite. So light your jack-o’-lanterns, put on a cozy sweater, and let this fudge be the sweet centerpiece of your Halloween festivities.
Print
Halloween Midnight Moon Fudge
- Total Time: 2 hours 20 minutes (includes chilling)
- Yield: About 36 squares 1x
- Diet: Vegetarian
Description
A rich and velvety dark chocolate fudge with a spooky Halloween twist. Easy to make, decadent, and perfect for parties or gifting.
Ingredients
- 3 cups dark chocolate chips (or black cocoa chips for deeper flavor)
- 1 can (14 oz) sweetened condensed milk
- 2 tablespoons butter
Instructions
- Line an 8×8-inch pan with parchment paper, leaving overhang for easy lifting. Lightly grease the paper.
- In a saucepan over low heat, melt the butter and chocolate chips, stirring constantly until smooth and glossy.
- Stir in the sweetened condensed milk until fully combined and silky.
- Pour the mixture into the prepared pan and spread evenly with a spatula.
- Chill in the refrigerator for 2–3 hours, or until set.
- Lift out the fudge, slice into squares, and serve or store.
Notes
Store fudge in an airtight container at room temperature for up to 1 week, or refrigerate for 3 weeks. For longer storage, freeze up to 3 months. Add festive sprinkles, candy eyes, or edible glitter for a Halloween flair.
- Prep Time: 10 minutes
- Cook Time: 10 minutes
- Category: Dessert
- Method: Stovetop
- Cuisine: American