Introduction to the Recipe
If you’re short on time but still want to deliver a creepy-cute treat for Halloween, these Halloween Monster Cookies are your answer. Made with a box of vanilla cake mix, a splash of food coloring, and a dollop of creativity, they’re ridiculously easy to make and always a hit with kids and adults alike. These cookies come out soft, chewy, and eye-popping—literally—with the help of frosting and a monster-worthy decorating style.
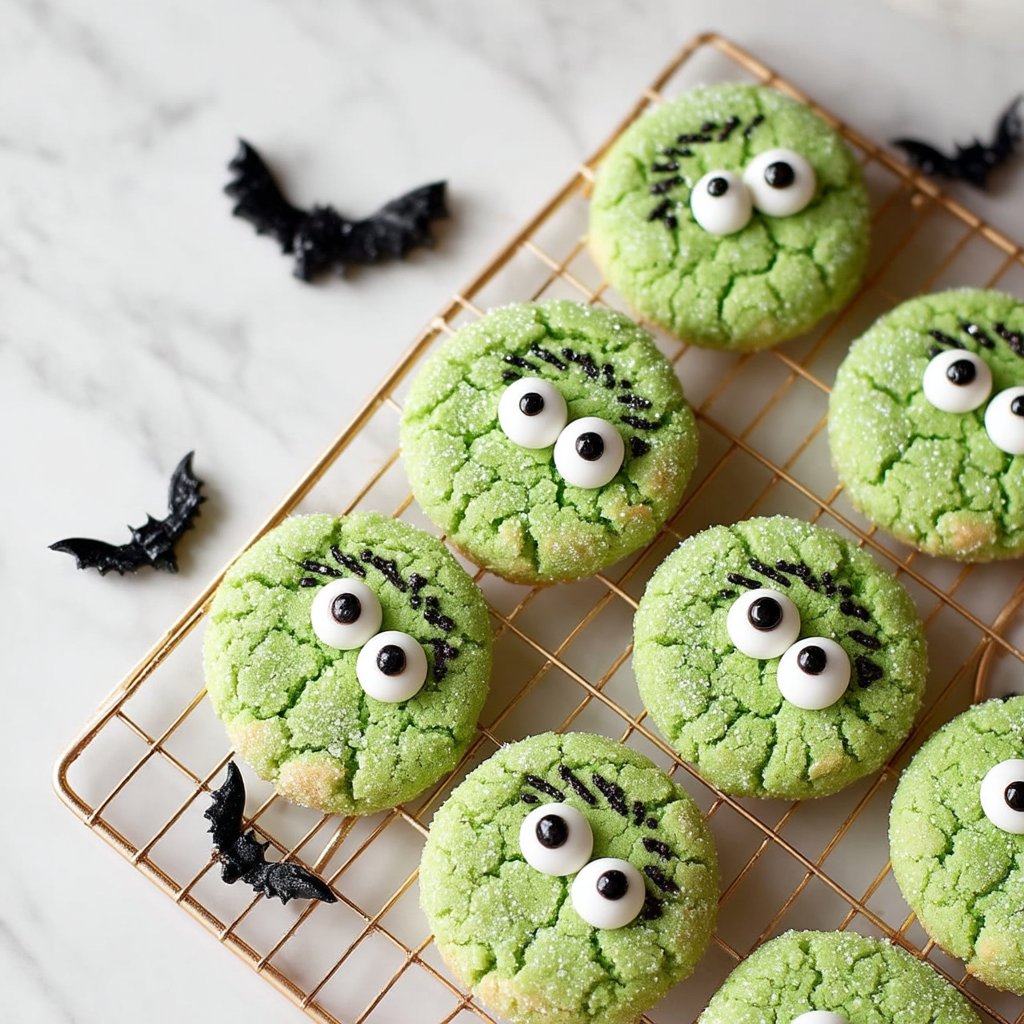
These cookies are ideal for Halloween parties, classroom events, or just a festive baking session at home. With just a few pantry staples—cake mix, eggs, oil, and sugar—you can whip up a big batch in no time. The green gel food coloring gives them their signature slime-monster look, while a swirl of white and black frosting transforms them into little edible creatures.
And let’s not forget the best part: the decorating. Each cookie becomes a canvas for your own monster design. Add frosting eyeballs, wild swirls, or spiky patterns—there are no rules, only weird and wonderful results. It’s a great activity for kids, and you don’t need piping skills to pull it off.
Looking for more kid-friendly Halloween treats? Check out these fun Halloween baking ideas or easy spooky cookies. But first, let’s bring these Halloween Monster Cookies to life!
Basic Recipe: Ingredients and Instructions
Print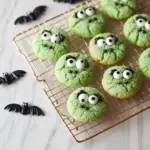
Halloween Monster Cookies with Cake Mix
Description
Make spooky-sweet Halloween Monster Cookies with cake mix, frosting, and food coloring. Quick, fun, and perfect for all ages!
Ingredients
- 3 cups vanilla cake mix (about one standard box)
- 1/3 cup vegetable oil
- 2 eggs
- ½ tsp green gel food coloring
- ¼ cup granulated sugar
- ¼ cup powdered sugar
- ½ cup white frosting
- Black decorating frosting (gel or buttercream)
Instructions
- Preheat oven to 350°F (175°C) and line a baking sheet with parchment paper.
- Mix the dough: In a large bowl, combine cake mix, oil, eggs, and green food coloring. Stir until a soft dough forms.
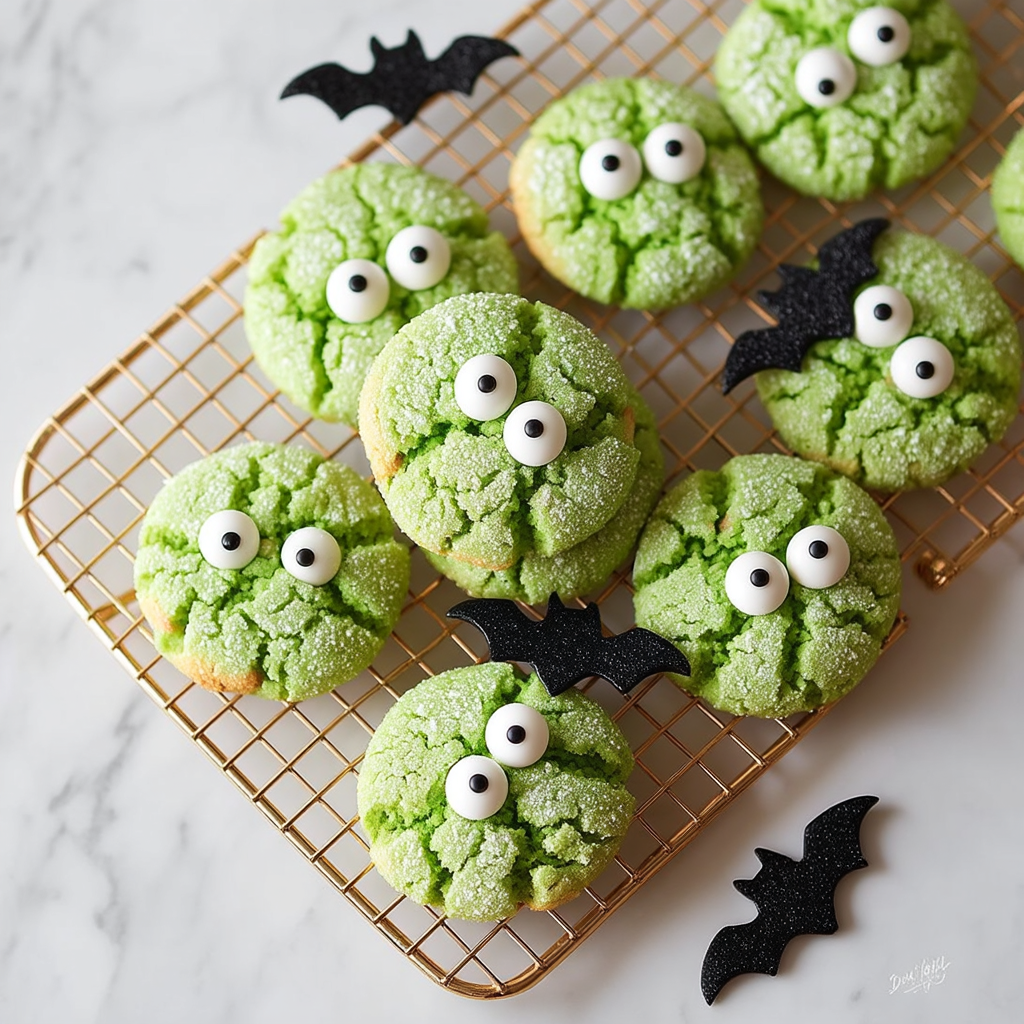
- Roll the dough: Scoop tablespoon-sized balls of dough. Roll each ball first in granulated sugar, then in powdered sugar for a crinkle effect.
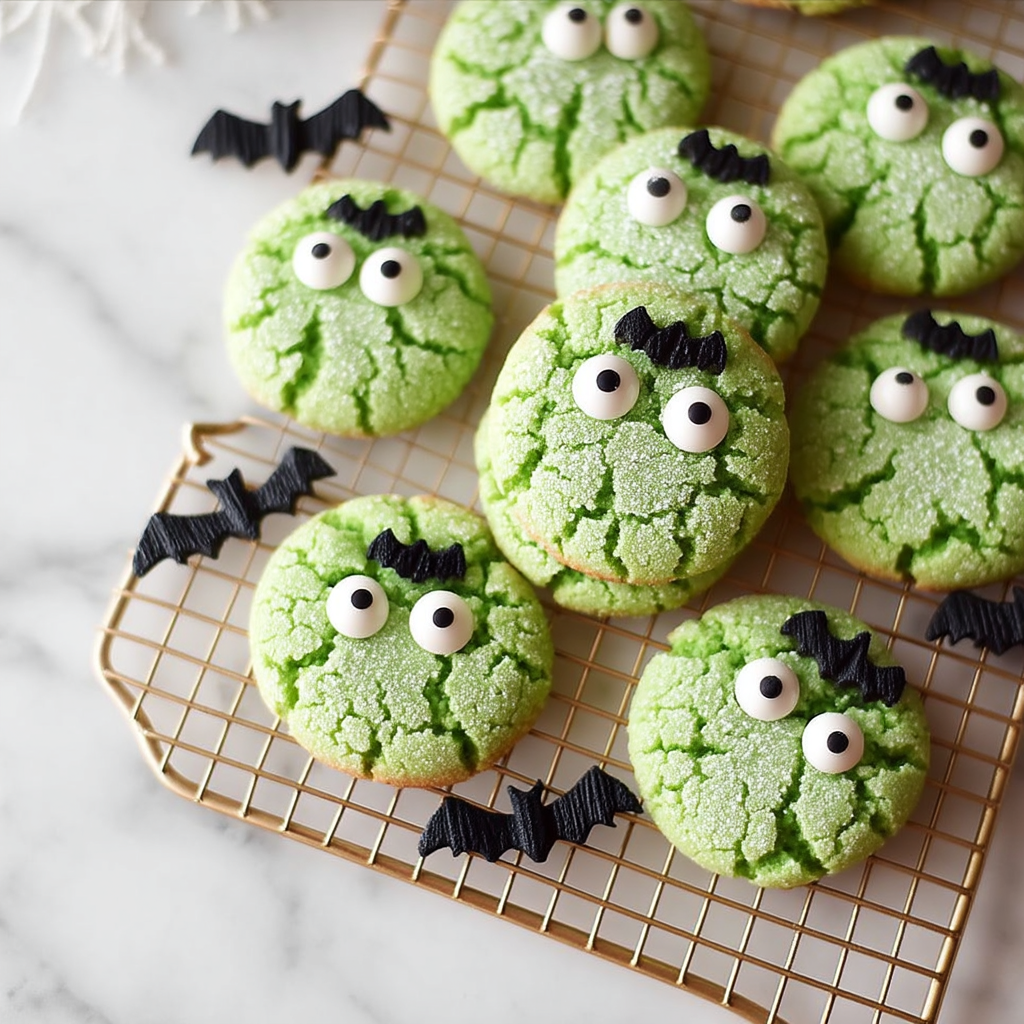
- Bake: Place on the baking sheet about 2 inches apart. Bake for 8–10 minutes, until edges are set and tops are cracked. Let cool.
- Decorate: Once cooled, add white frosting dots or swirls on each cookie, then use black frosting to create eyes, mouths, or monster features.
Notes
Chill dough for 15 minutes before baking if it’s too sticky.
Use candy eyeballs for a shortcut monster face.
Add a pinch of salt to balance the sweetness if desired.
Advanced Techniques
Color Variety with Multiple Monsters
Split the dough into separate bowls before adding color, and tint each batch with a different gel food coloring—purple, orange, blue—for a full monster lineup. Kids love picking their favorite!
Pipe Creative Monster Faces
Use piping bags fitted with small round tips to add detailed expressions—like snarls, fangs, or crooked grins. White frosting can be used for teeth, and black gel for outlines or pupils.
Swirl Frosting for Tie-Dye Monsters
Load white and black frosting side-by-side in a piping bag to create a tie-dye effect. When piped, it’ll swirl into spooky, unpredictable patterns for each monster’s face.
Add Texture with Mix-Ins
Mix in crushed pretzels, toffee bits, or mini chocolate chips before baking for added crunch. These add flavor and can act as creepy textures on your monster’s “skin.”
Make Sandwich Monsters
Turn these into cookie sandwiches! Pipe frosting between two baked cookies, then decorate the top one. They become monster “whoopie pies” that are perfect for dessert tables.

Storage, Shelf Life, and Maintenance Tips
Room Temperature Storage
Store the cookies in an airtight container at room temperature for up to 4 days. Separate layers with parchment to avoid frosting smears.
Fridge Storage
If you’ve used buttercream or want to extend freshness, store in the fridge for up to 7 days. Let cookies come to room temp before serving for best texture.
Freezer Tips
Freeze unbaked cookie dough balls rolled in sugar for up to 2 months. Bake from frozen, adding 1–2 extra minutes. You can also freeze baked (undecorated) cookies and frost later.
Preventing Cracks
If your cookies are cracking too much or spreading unevenly, chill the dough longer or reduce oven temperature by 5–10 degrees.
Transporting to Events
To safely bring cookies to school or a party, place them in a flat box with parchment between layers. Add frosting decorations once you arrive if you’re worried about smudging.
Dietary Adaptations and Substitutions
Gluten-Free Version
Use a gluten-free vanilla cake mix that includes xanthan gum for structure. Follow the same instructions and be sure to check the sugar and frosting brands for gluten-free labels.
Dairy-Free Adaptation
Choose dairy-free cake mix and frosting brands. Check ingredients carefully—many white frostings are dairy-based, but there are great vegan options available.
Egg-Free Option
Use two flax eggs (2 tbsp ground flaxseed + 6 tbsp water) to replace the eggs. Let the mixture sit for 5–10 minutes before adding.
Low-Sugar Variation
Try a sugar-free cake mix and use monk fruit sweetener or erythritol for rolling. Choose low-sugar frosting alternatives or skip frosting entirely and use dye-free sprinkles.
Natural Food Coloring Swaps
Use matcha powder, spirulina, or beetroot powder instead of synthetic food coloring for all-natural options. These still create bold colors without artificial dyes.
FAQs About the Recipe
Can I use any cake mix flavor?
Yes! While vanilla works great for vibrant coloring, you can use chocolate, red velvet, or even lemon. Just keep in mind how the color will look after baking.
Do I need to chill the dough?
It helps. Chilling for 15–30 minutes keeps the cookies from spreading too much and gives a better crinkle effect. It also makes rolling easier.
What’s the best frosting for monster faces?
Store-bought white frosting is easiest for beginners. For details, use black decorating gel or pipe your own with a stiff black buttercream or vegan royal icing.
Can I use this for a classroom party?
Absolutely. These cookies are nut-free and easy to make allergy-conscious. Bake ahead, decorate onsite if needed, and they’ll be the hit of the party.
How do I get really vibrant green cookies?
Use gel food coloring rather than liquid. Gel is more concentrated, so it doesn’t affect dough consistency and gives brighter results. Add a bit at a time until the color pops.
Conclusion & Final Thoughts
Halloween Monster Cookies are one of those rare treats that combine ease, creativity, and big Halloween energy. With just a handful of ingredients and a splash of color, you can create a plateful of edible monsters that are perfect for any spooky celebration.
They’re easy enough for beginners, fun for kids to help decorate, and endlessly customizable—from wild colors to scary (or silly) faces. Whether you’re throwing a party, baking for a class, or just want something fun for October afternoons, these cookies deliver.
So grab a box of cake mix, some frosting, and get those monster-making hands ready. These Halloween Monster Cookies are ready to rise from the oven and haunt your dessert table—in the sweetest way possible.