Introduction
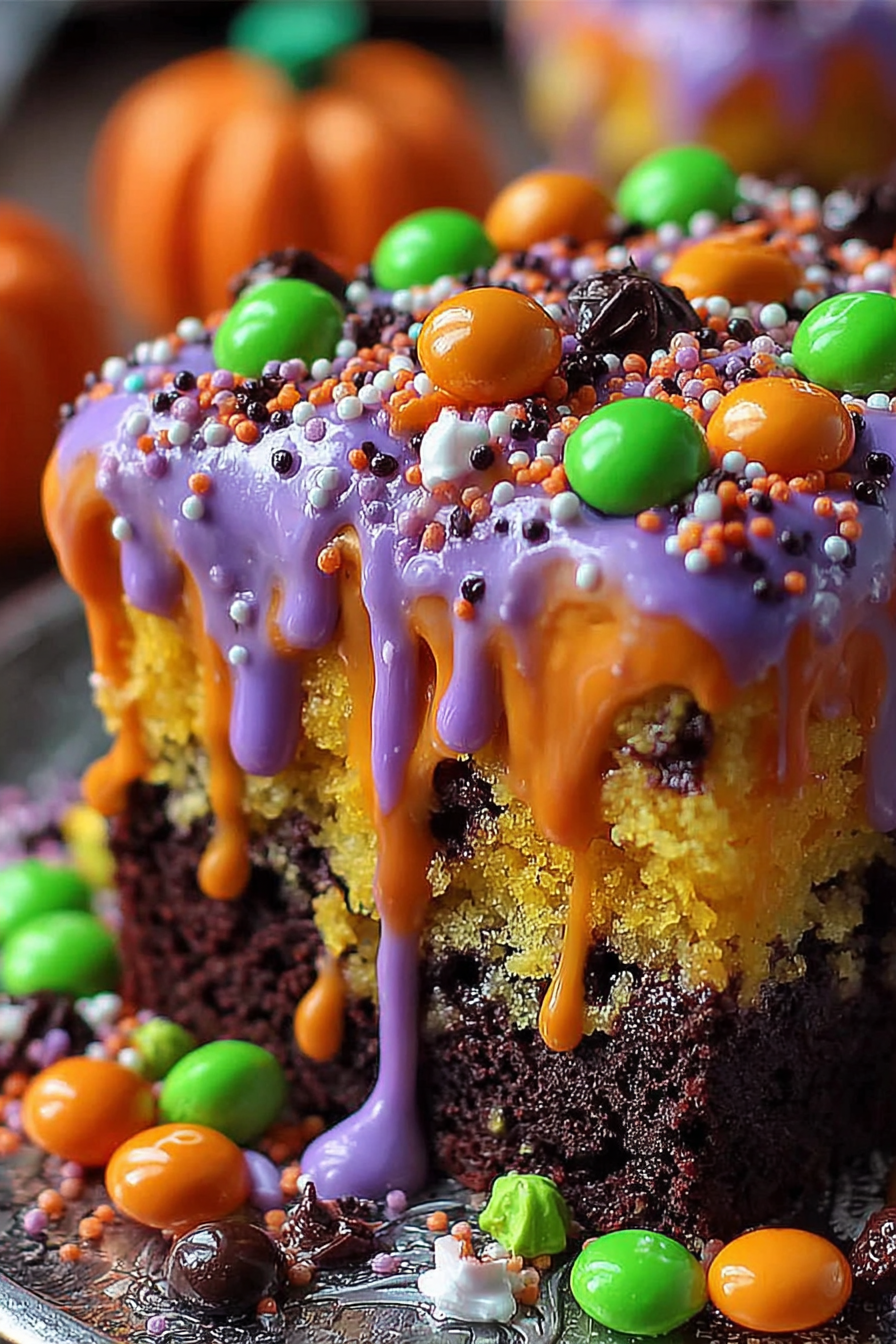
If you’re looking for a festive and crowd-pleasing dessert to celebrate Halloween, this Halloween Poke Cake is exactly what you need. It’s a moist, chocolate cake filled with colorful pudding “stripes” and topped with whipped cream and spooky decorations. This dessert is simple to make, easy to customize, and guaranteed to impress kids and adults alike at your Halloween party. With its fun presentation and delicious flavor, it’s a recipe that deserves a spot on your seasonal baking list.
My recipe story
Halloween has always been one of my favorite holidays, not only for the costumes and decorations but also for the themed treats. Growing up, I loved when my mom made fun desserts with vibrant colors and playful designs. This poke cake is inspired by those nostalgic memories. The first time I made it for a Halloween party, it was gone within minutes. The pudding-filled stripes inside the cake surprised everyone, and the whipped topping decorated with Halloween sprinkles made it look festive without much effort. Since then, it has become a tradition to make this cake every October, and it never fails to delight family and friends.
💡 Why You’ll Love This Recipe
- It’s incredibly easy to make with a simple boxed cake mix base.
- Perfectly festive with colorful pudding stripes and spooky toppings.
- Kid-friendly and fun to decorate as a family activity.
- Moist, rich, and indulgent without being overly complicated.
- Ideal for Halloween parties, potlucks, or as a classroom treat.
Ingredient breakdown
This Halloween poke cake uses simple, easy-to-find ingredients, many of which you may already have in your pantry. The base is a boxed chocolate cake mix, which keeps preparation stress-free and ensures the cake is soft and fluffy. Following the directions on the box, you’ll add eggs, oil, and water—classic components for creating a rich cake texture.
The “poke” aspect comes in with instant pudding mix, which is prepared and poured into the poked holes of the cake. Orange and purple food coloring transform the pudding into a festive surprise inside each slice. For the topping, whipped topping or homemade whipped cream creates a fluffy layer that balances the richness of the cake. Finally, sprinkles, candy eyeballs, and themed Halloween candies add the perfect decorative touch, making the cake both spooky and fun.
One of the best parts about this cake is its flexibility. You can switch up the cake flavor, pudding type, or decorations to suit your preferences. It’s as much a creative project as it is a delicious dessert, making it a hit for bakers of all skill levels.
Equipment you’ll need
- 9×13-inch baking pan
- Large mixing bowl
- Hand mixer or stand mixer
- Wooden spoon or skewer (for poking holes)
- Measuring cups and spoons
- Spatula
- Refrigerator space for chilling
Step-by-step directions
- Prepare the cake base: Preheat your oven according to the cake mix package directions. In a large mixing bowl, combine the chocolate cake mix with the eggs, oil, and water as instructed on the box. Beat with a hand mixer until smooth, then pour the batter into a greased 9×13-inch pan. Bake until a toothpick inserted in the center comes out clean.
- Cool and poke holes: Once baked, allow the cake to cool for about 15 minutes. Using the handle of a wooden spoon or a skewer, poke evenly spaced holes all over the cake, making sure to go about halfway down. These holes will hold the pudding and create colorful stripes inside the cake.
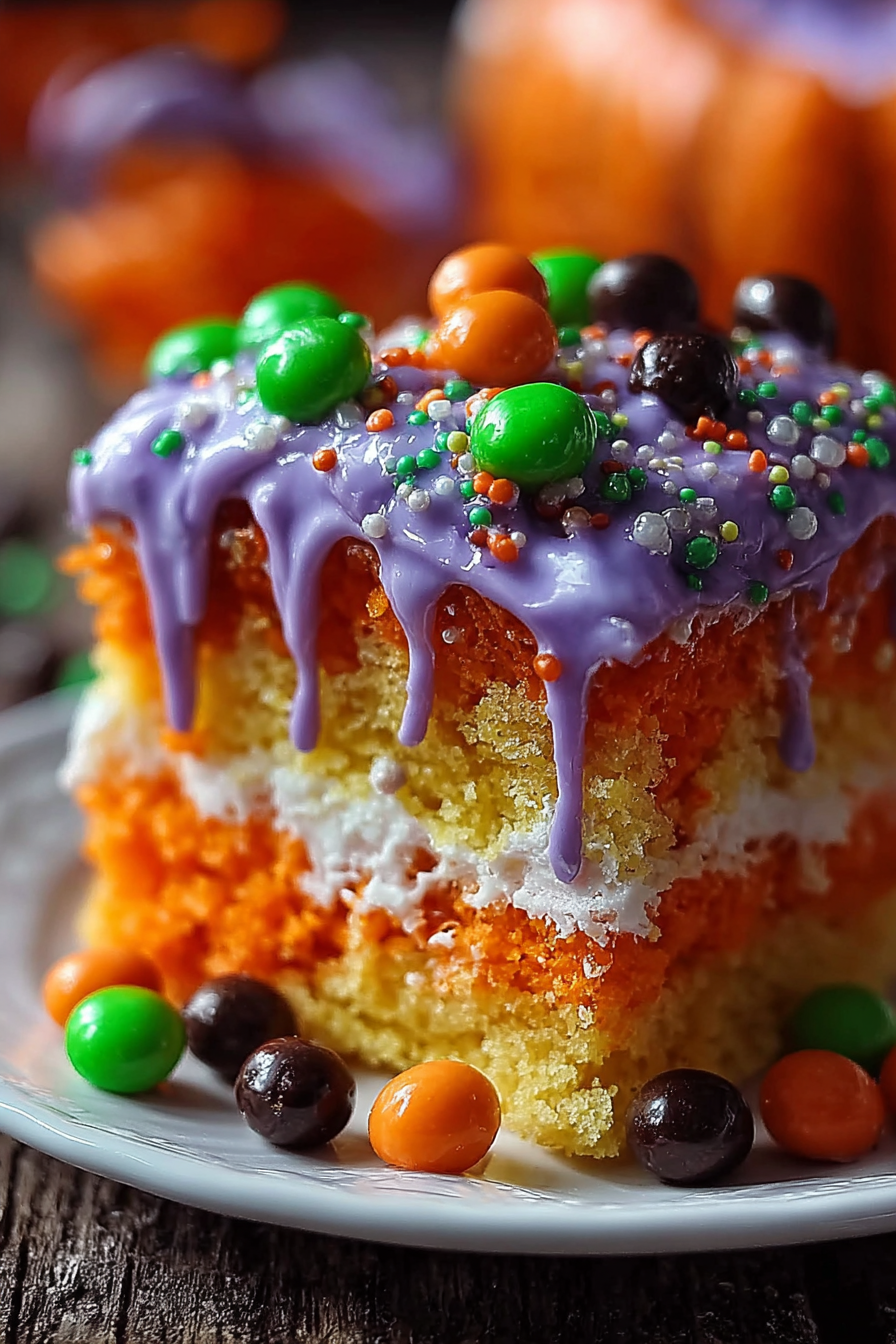
- Make the pudding filling: In two separate bowls, prepare instant pudding according to package directions. Add orange food coloring to one bowl and purple food coloring to the other, stirring until the colors are vibrant and evenly distributed. The brighter the pudding, the more festive your cake will look when sliced.
- Fill the cake: Carefully spoon the colored pudding into the holes, alternating between orange and purple for a spooky striped effect. Spread any extra pudding across the top of the cake to ensure even coverage. Refrigerate the cake for at least 30 minutes so the pudding sets inside the holes.
- Add the topping: Once chilled, spread a generous layer of whipped topping or whipped cream over the entire surface of the cake. Smooth it out with a spatula to create an even base for decorations. This creamy layer adds lightness and balances the richness of the chocolate cake.
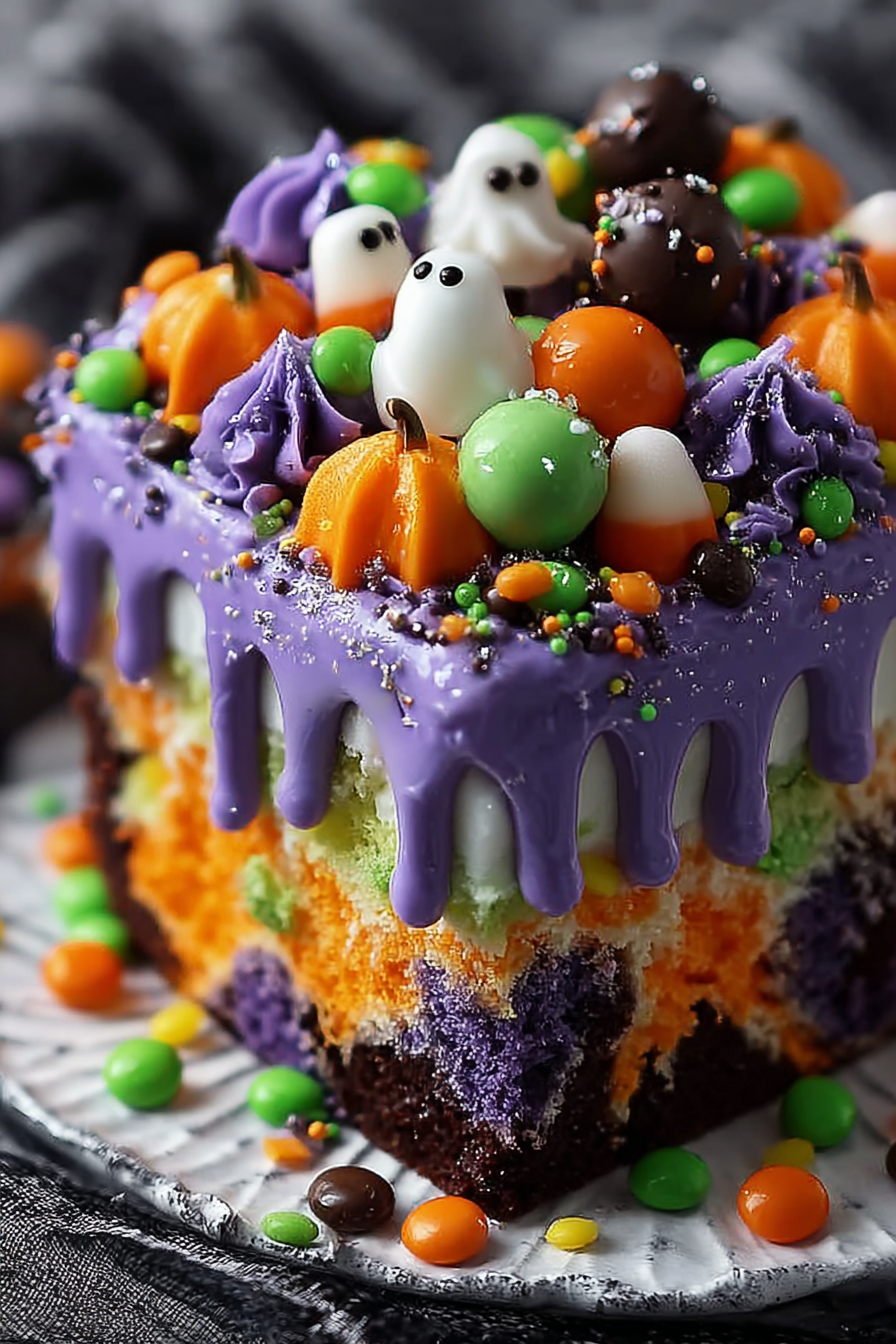
- Decorate: Sprinkle Halloween sprinkles, candy eyeballs, gummy worms, or any festive candy of your choice on top of the whipped topping. You can even drizzle chocolate syrup or orange-colored candy melts for extra flair. Let your creativity shine here—this step is where the cake really becomes the centerpiece of your Halloween table.
- Chill and serve: Place the decorated cake back in the refrigerator for at least an hour before serving. This helps the flavors meld together and ensures the pudding is fully set. Slice and enjoy the spooky surprise of colorful pudding stripes inside each piece.
Variations & substitutions
If chocolate isn’t your preference, swap in vanilla, spice, or even pumpkin-flavored cake mix for a seasonal twist. Instead of pudding, you can use flavored gelatin for a more dramatic and colorful filling. For a lighter option, try sugar-free pudding or reduced-fat whipped topping. Decorations are endlessly customizable—you can go creepy with candy spiders or keep it playful with candy corn. Vegan bakers can use a dairy-free cake mix, plant-based milk, and coconut whipped cream for a fully plant-based version of this festive dessert.
💡 Expert Tips & Troubleshooting
- Make sure the cake is cooled slightly before poking holes—too hot and the cake may tear, too cold and the holes may not form well.
- Use a spoon or piping bag to neatly fill holes with pudding and avoid a messy look.
- Chill the cake before adding whipped topping so it doesn’t melt into the warm cake.
- If you want cleaner slices, refrigerate the finished cake for at least two hours before cutting.
- Decorate just before serving if using gummy candies to prevent them from becoming sticky or melting.
Storage, freezing & make-ahead
This cake stores beautifully in the refrigerator for up to 4 days. Cover the pan tightly with plastic wrap or foil to keep it fresh and prevent it from absorbing fridge odors. Freezing is also possible—wrap the cake (without decorations) tightly in plastic wrap and then foil, and freeze for up to 2 months. Thaw overnight in the fridge, then add whipped topping and decorations before serving. For make-ahead prep, you can bake the cake and add the pudding a day in advance, then decorate just before your party to keep everything looking fresh and vibrant.
Serving ideas & pairings
This Halloween poke cake is delicious on its own, but pairing it with themed drinks or sides makes it extra festive. Serve with a pumpkin spice latte, apple cider, or even a spooky punch for kids. For adults, a glass of mulled wine pairs nicely with the chocolatey richness. If you want to offer variety, place it alongside other Halloween-themed desserts like candy apples, caramel popcorn, or monster cupcakes for a complete dessert spread that wows your guests.
FAQ
Can I use homemade cake instead of boxed mix?
Yes! Any chocolate cake recipe will work. Just make sure the cake is baked in a 9×13-inch pan so it has enough surface for poking and filling.
Do I have to use pudding?
No, gelatin or even fruit purée can be used as a filling, though pudding gives the best creamy texture.
Can this be made gluten-free?
Yes, simply substitute a gluten-free chocolate cake mix and check that all your other ingredients are gluten-free.
How far in advance can I make this cake?
You can make it up to 2 days ahead. Store it in the fridge and decorate it closer to serving for the best look.
Can I use whipped cream instead of whipped topping?
Absolutely! Homemade whipped cream adds a fresh flavor, though it may soften more quickly, so keep the cake chilled until serving.
Final thoughts
This Halloween Poke Cake is a dessert that blends ease, creativity, and flavor into one irresistible treat. It’s a simple recipe that looks impressive, making it the perfect addition to your Halloween festivities. Whether you’re hosting a party, sending treats to school, or just surprising your family, this cake delivers spooky charm and delicious taste. Give it a try this season, and watch it disappear slice by slice—it might just become your new Halloween tradition.
Print
Halloween Poke Cake
- Total Time: 1 hour 50 minutes (including chilling)
- Yield: 12 servings 1x
- Diet: Vegetarian
Description
spooky, fun, and festive chocolate poke cake filled with colorful pudding and topped with whipped cream and candy. Perfect for Halloween parties
Ingredients
-
1 box chocolate cake mix
-
3 large eggs (or as directed on cake mix box)
-
1/2 cup vegetable oil (or as directed on cake mix box)
-
1 cup water (or as directed on cake mix box)
-
2 boxes instant vanilla pudding mix (3.4 oz each)
-
4 cups cold milk
-
Orange and purple food coloring
-
1 tub whipped topping (8 oz)
-
Halloween sprinkles and candy decorations
Instructions
-
Preheat oven and prepare chocolate cake according to package directions. Bake in a greased 9×13-inch pan until a toothpick comes out clean.
-
Let the cake cool for 15 minutes. Using the handle of a wooden spoon, poke holes evenly across the cake.
-
In two bowls, prepare the pudding mixes with milk. Tint one orange and one purple with food coloring.
-
Spoon the colored pudding into the holes, alternating colors for a striped effect. Spread remaining pudding over the surface.
-
Refrigerate for 30 minutes to allow pudding to set.
-
Spread whipped topping evenly over the chilled cake.
-
Decorate with Halloween sprinkles, candy eyeballs, or festive candies. Chill for 1 hour before slicing and serving.
Notes
Store leftovers covered in the refrigerator for up to 4 days. For a cleaner slice, chill the cake for 2 hours before cutting.
- Prep Time: 20 minutes
- Cook Time: 30 minutes
- Category: Dessert
- Method: Baking
- Cuisine: American