Introduction
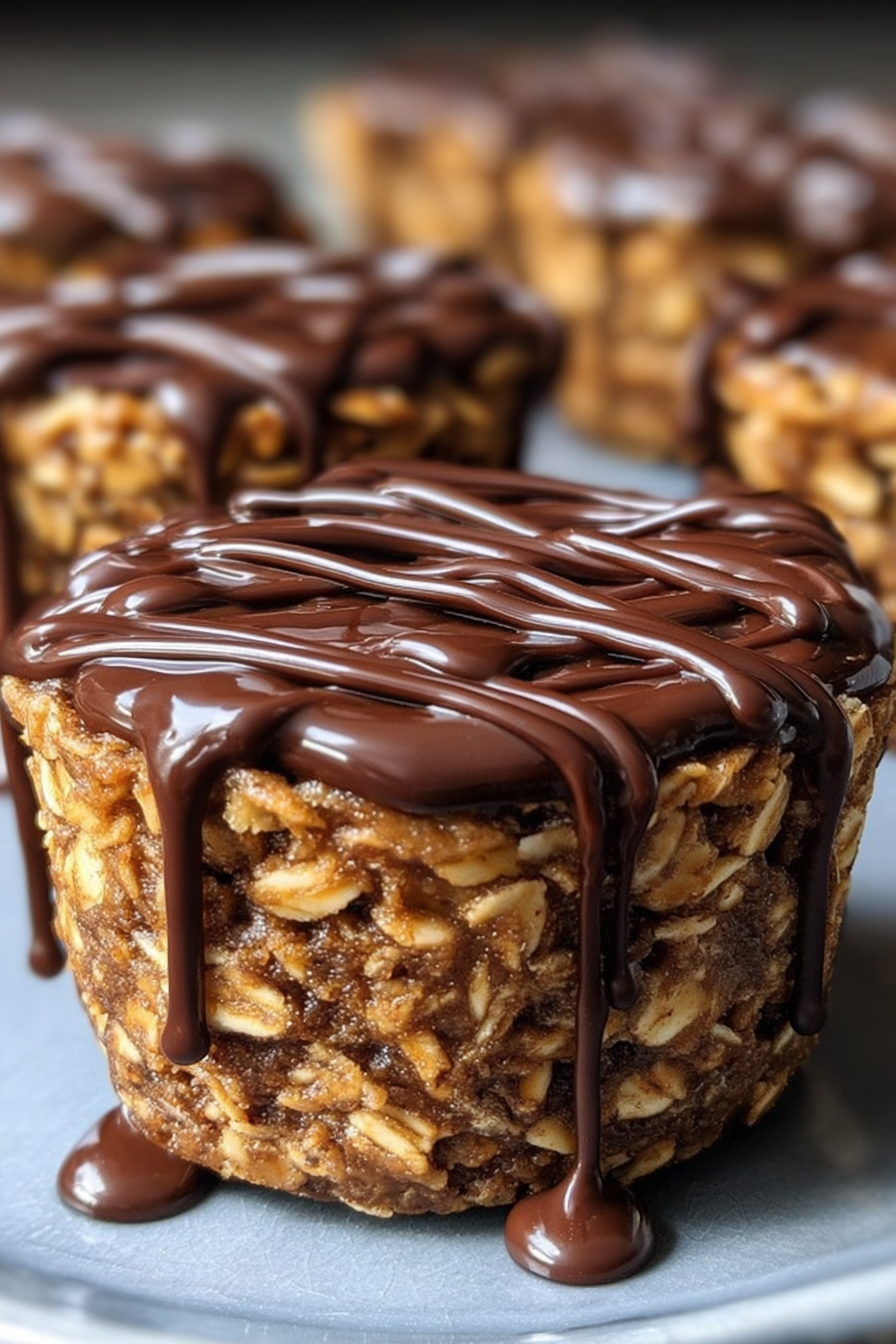
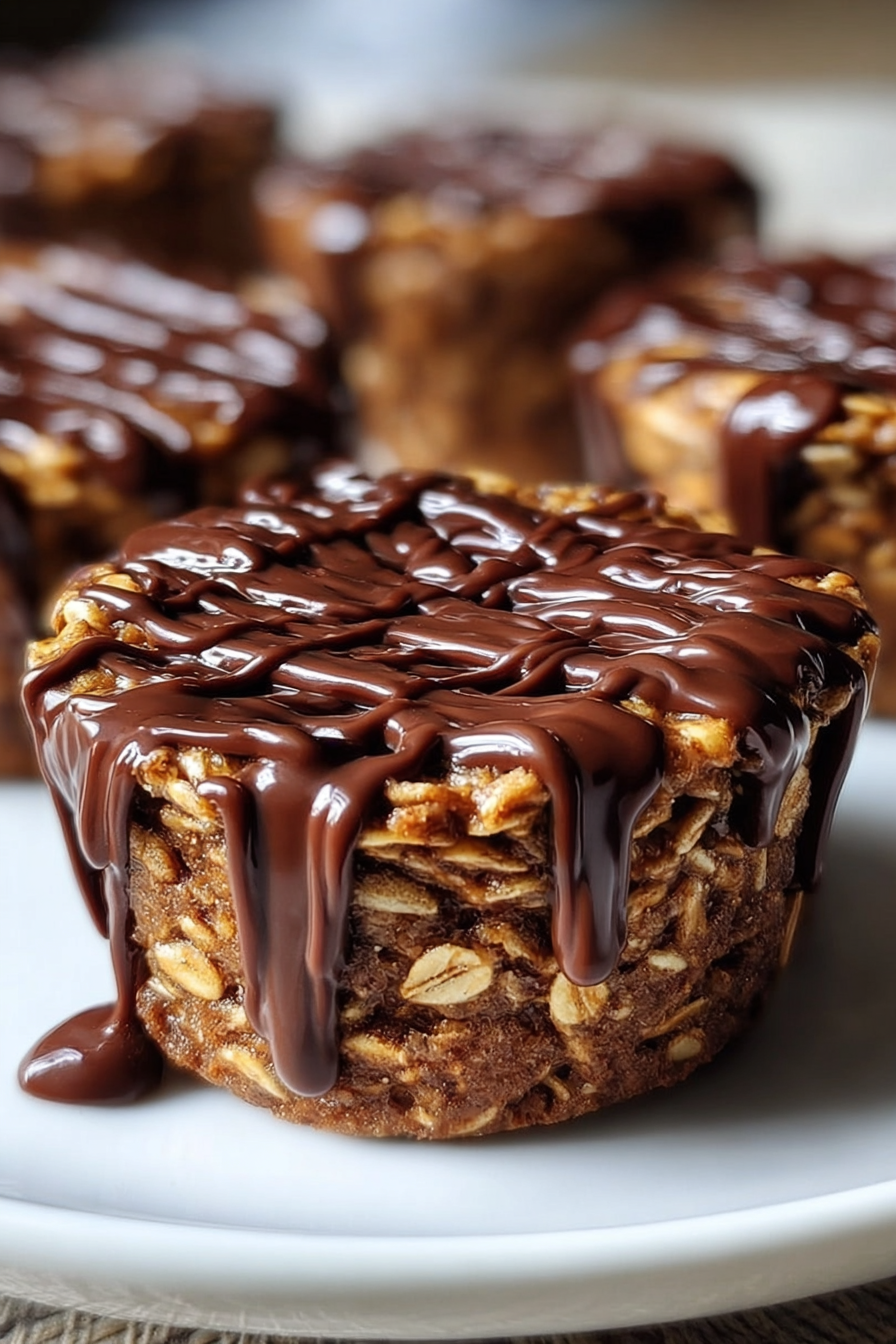
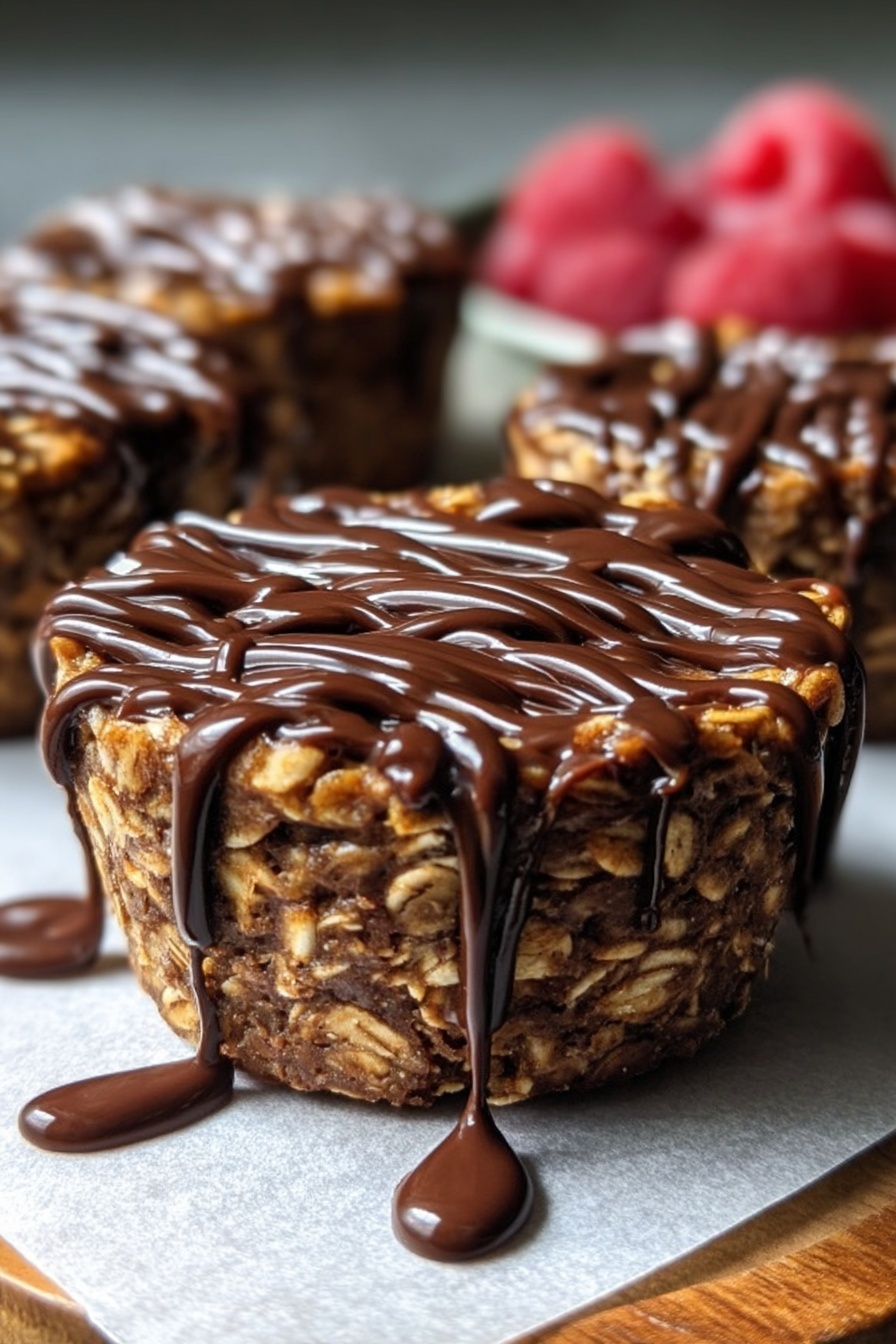
If you’re looking for a wholesome dessert that’s both indulgent and nourishing, these Healthy No-Bake Peanut Butter Oatmeal Brownie Cups are the perfect solution. They bring together the nutty richness of peanut butter, the chewy goodness of oats, and the decadence of cocoa powder—all without ever needing to turn on your oven. Whether you’re someone who loves healthy snacks, needs an energy-boosting treat, or just craves something chocolatey, this recipe will become a staple in your kitchen.
These no-bake brownie cups are quick to make, freezer-friendly, and filled with natural ingredients. Perfect for busy families, college students, or anyone who enjoys meal prepping snacks ahead of time, this recipe is the ultimate combination of convenience and flavor.
My recipe story
I first created these no-bake brownie cups during one of those weeks when I craved something sweet but didn’t want to spend hours baking. I had oats, peanut butter, and cocoa powder in my pantry, and I thought, “Why not mix them together into something delicious?” The result was better than I imagined—rich, fudgy, and satisfying without being overly sweet.
Over time, I refined the recipe to balance the flavors and texture perfectly. Now, these brownie cups are a go-to snack in my household. They’re versatile enough for after-school treats, late-night cravings, or even as a quick breakfast-on-the-go. Sharing this recipe feels like sharing a little piece of my kitchen creativity with you, and I’m confident you’ll love it just as much.
💡 Why You’ll Love This Recipe
- No oven required—just mix, press, and chill.
- Made with wholesome ingredients like oats, peanut butter, and cocoa.
- Perfectly portioned into cups for easy snacking.
- Customizable with add-ins like nuts, seeds, or dried fruit.
- Keeps well in the fridge or freezer for meal prep convenience.
Ingredient breakdown
The beauty of this recipe lies in its simplicity. Each ingredient plays a vital role in creating the perfect balance of texture, flavor, and nutrition. Let’s break down the star players:
Rolled Oats: Oats provide structure, fiber, and a satisfying chewiness. They’re also great for keeping you fuller for longer, making these brownie cups more than just a sweet indulgence—they’re a snack with substance. For the best texture, use old-fashioned rolled oats rather than quick oats.
Peanut Butter: The peanut butter brings richness, creaminess, and a boost of healthy fats and protein. It’s the “glue” that holds everything together while adding a nutty flavor that pairs beautifully with chocolate. Use natural peanut butter for a less processed option, or regular creamy peanut butter for a smoother finish.
Honey or Maple Syrup: These natural sweeteners add just the right amount of sweetness and help bind the oats and cocoa powder. Honey gives a subtle floral note, while maple syrup adds warmth and depth. Both work wonderfully, so use whichever you prefer.
Cocoa Powder: Cocoa powder is what transforms this snack into a brownie-inspired treat. Rich and chocolatey, it balances the nutty and sweet flavors while delivering antioxidants and an indulgent aroma. Opt for unsweetened cocoa powder for the best flavor balance.
Equipment you’ll need
- Mixing bowl
- Spatula or wooden spoon
- Measuring cups and spoons
- Muffin tin or silicone cupcake molds
- Refrigerator or freezer for chilling
Step-by-step directions
Step 1: Prepare your muffin tin. Line a muffin tin with paper liners or lightly grease silicone molds. This prevents sticking and makes it easier to remove your brownie cups once chilled.
Step 2: Mix the dry ingredients. In a large mixing bowl, combine the rolled oats and cocoa powder. Stir until evenly distributed, ensuring the cocoa coats the oats for even flavor in every bite.
Step 3: Add the wet ingredients. Stir in the peanut butter and honey (or maple syrup). Use a spatula to fold everything together until the mixture becomes thick, sticky, and uniform. It should be slightly tacky but not overly wet.
Step 4: Press into molds. Scoop the mixture into the prepared muffin tin, dividing it evenly among the cups. Press down firmly with the back of a spoon to create a compact base that will hold together once chilled.
Step 5: Chill until firm. Place the muffin tin in the refrigerator for at least 1–2 hours or in the freezer for 30 minutes. The cooling process allows the peanut butter and sweetener to firm up, holding the oats together securely.
Step 6: Serve and enjoy. Once firm, remove the brownie cups from the molds. Enjoy them straight from the fridge for a chewy bite or let them soften slightly at room temperature for a fudgier texture.
Variations & substitutions
This recipe is incredibly versatile, so you can make it your own with a few creative tweaks:
- Nut-Free Option: Swap peanut butter with sunflower seed butter or tahini for an allergy-friendly version.
- Extra Protein: Add a scoop of your favorite protein powder to the mixture for a post-workout snack.
- Flavor Boost: Stir in vanilla extract, cinnamon, or espresso powder for added depth.
- Mix-ins: Fold in mini chocolate chips, chopped nuts, or dried fruit for added texture and flavor.
- Sweetener Swap: Use agave syrup or date syrup instead of honey or maple for a different flavor profile.
💡 Expert Tips & Troubleshooting
- If your mixture feels too dry, add an extra tablespoon of peanut butter or sweetener.
- Too sticky? Stir in a small handful of oats until the texture balances out.
- For cleaner removal, use silicone molds instead of paper liners—they pop right out.
- To enhance the chocolate flavor, sift your cocoa powder before mixing to prevent clumps.
Storage, freezing & make-ahead
These brownie cups are perfect for prepping ahead of time. Store them in an airtight container in the refrigerator for up to 7 days. For longer storage, freeze them in a single layer on a baking sheet before transferring to a freezer-safe bag or container. They’ll last up to 3 months frozen and can be enjoyed straight from the freezer or thawed for a softer bite.
If you’re making them for a party or event, you can prepare them up to 2 days in advance and keep them chilled until serving. This makes them a stress-free dessert option that still feels special.
Serving ideas & pairings
These brownie cups are delicious on their own, but you can easily dress them up:
- Top with a drizzle of melted dark chocolate and a sprinkle of sea salt for extra indulgence.
- Pair with a glass of cold milk or almond milk for a nostalgic treat.
- Serve alongside fresh berries for a refreshing contrast.
- Enjoy with a cup of coffee or tea for a cozy afternoon snack.
- Add a dollop of Greek yogurt for a protein-packed breakfast option.
FAQ
Can I use quick oats instead of rolled oats? Yes, but the texture will be softer and less chewy. Rolled oats provide the best balance of firmness and bite.
What type of peanut butter works best? Creamy peanut butter, either natural or regular, works best. Chunky peanut butter can also be used if you enjoy added texture.
Can I make these vegan? Absolutely! Simply use maple syrup instead of honey, and you’ll have a fully vegan-friendly recipe.
Do I need to refrigerate them? Yes, refrigeration helps the cups hold their shape. They can be stored at room temperature for a few hours but are best kept chilled.
How can I make them sweeter? If you prefer a sweeter dessert, increase the honey or maple syrup slightly, or stir in a handful of mini chocolate chips.
Final thoughts
Healthy No-Bake Peanut Butter Oatmeal Brownie Cups are proof that dessert doesn’t have to be complicated to be delicious. With just a few pantry staples, you can whip up a batch of these fudgy, nutty treats in under 20 minutes (plus chill time). They’re a wonderful example of how wholesome ingredients can create something indulgent, satisfying, and nourishing at the same time.
Print
Healthy No-Bake Peanut Butter Oatmeal Brownie Cups
- Total Time: 1 hour 15 minutes (includes chilling)
- Yield: 8 brownie cups
- Diet: Gluten Free
Description
Rich, fudgy brownie cups made with oats, peanut butter, and cocoa—no oven required. A wholesome, quick, and satisfying sweet treat.
Ingredients
- 1 cup rolled oats
- ½ cup creamy peanut butter
- ¼ cup honey or maple syrup
- ¼ cup unsweetened cocoa powder
Instructions
- Line a muffin tin with paper liners or prepare silicone molds for easy removal.
- In a bowl, combine rolled oats and cocoa powder until evenly mixed.
- Add peanut butter and honey (or maple syrup), then stir until the mixture is thick and sticky.
- Divide mixture into the muffin tin, pressing firmly into each cup to form solid bases.
- Chill in the refrigerator for 1–2 hours, or freeze for 30 minutes, until firm.
- Remove from molds and enjoy straight from the fridge or slightly softened at room temperature.
Notes
Store in an airtight container in the refrigerator for up to 7 days or freeze for up to 3 months. Try adding chocolate chips, nuts, or dried fruit for variety.
- Prep Time: 15 minutes
- Cook Time: 0 minutes
- Category: Dessert
- Method: No-Bake
- Cuisine: American