Introduction
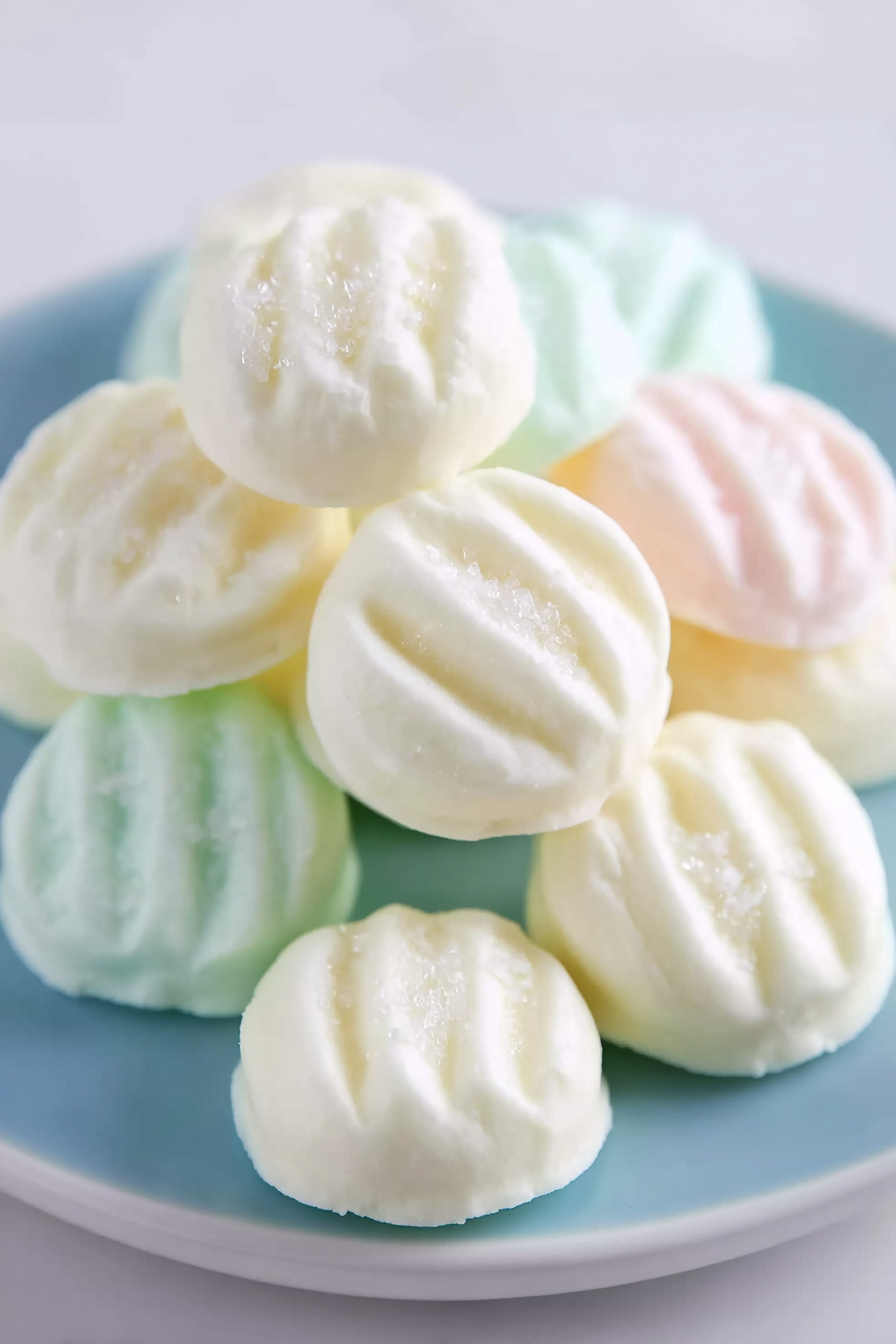
If you’ve ever attended a wedding, baby shower, or holiday party and enjoyed those creamy, pastel-colored mints that simply dissolve on your tongue, you’ll be thrilled to know how easy they are to make at home. Homemade Cream Cheese Mints are a classic confection that combines rich cream cheese, butter, powdered sugar, and a refreshing hint of mint extract. These treats are not only nostalgic but also customizable in color and shape, making them the perfect addition to any celebration or dessert platter.
This recipe transforms basic pantry staples into bite-sized sweetness that’s both elegant and delicious. Whether you’re preparing them as gifts, serving them at a party, or making them just because you crave a melt-in-your-mouth delight, these mints never disappoint. Let’s dive into the details so you can create your very own batch of Cream Cheese Mints with confidence.
My recipe story
I first discovered Cream Cheese Mints at my cousin’s wedding, where trays of them sat beautifully arranged in pastel colors. I remember being curious—how could something so simple-looking have such an irresistible taste and texture? One bite, and I was hooked. The creamy, cool mint flavor was unlike anything else, and I found myself sneaking back for seconds (and maybe thirds).
Years later, I decided to recreate those same mints in my own kitchen. To my surprise, they were much easier than I expected! With just a handful of ingredients and a little patience, I had recreated that nostalgic treat. Now, I make them every year for holiday cookie trays and family gatherings. They’ve become a tradition that friends and family eagerly anticipate—and a recipe I’m thrilled to share with you today.
💡 Why You’ll Love This Recipe
- Only 4 simple ingredients are required—most of which you probably already have at home.
- No baking needed, making them perfect for beginners or quick preparation.
- Customizable colors and shapes for any holiday or occasion.
- Melt-in-your-mouth texture that’s creamy, smooth, and refreshing.
- Perfect for gifts, party favors, or adding to dessert trays.
Ingredient breakdown
What makes Cream Cheese Mints so special is the balance of just four ingredients that come together to create a smooth, rich, and refreshing candy. Let’s look at each one more closely.
Cream Cheese: This is the star of the recipe. It provides a creamy base that ensures the mints melt in your mouth. Be sure to use full-fat cream cheese for the best texture and flavor—reduced-fat versions may result in a softer, less stable candy.
Butter: Butter adds richness and enhances the overall flavor. It also helps the mixture hold together while giving the mints a silky smoothness. Make sure your butter is softened to blend evenly with the cream cheese.
Powdered Sugar: Also known as confectioners’ sugar, this ingredient sweetens the mints while giving them structure. The sugar absorbs the moisture from the cream cheese and butter, transforming the mixture into a pliable dough. You’ll need around 4 cups for this recipe.
Mint Extract: Just half a teaspoon infuses the candies with a refreshing flavor that cuts through the richness of the cream cheese and butter. You can use peppermint, spearmint, or any mint variation depending on your taste preference.
Equipment you’ll need
- Mixing bowls
- Hand mixer or stand mixer
- Measuring cups and spoons
- Rubber spatula
- Baking sheets
- Parchment paper
- Fork (for shaping)
- Food coloring (optional)
- Candy molds (optional for decorative shapes)
Step-by-step directions
Step 1: Prepare the cream cheese and butter. In a mixing bowl, combine 4 ounces of softened cream cheese with 1 tablespoon of softened butter. Beat them together using a hand mixer until smooth and creamy. This step is important because a smooth base ensures there are no lumps in your mints.
Step 2: Add the mint extract. Once the cream cheese and butter are fully blended, mix in ½ teaspoon of mint extract. Be careful not to add too much—mint extract is potent, and a little goes a long way. Adjust slightly to your taste if desired.
Step 3: Incorporate powdered sugar. Slowly add powdered sugar, about one cup at a time, while mixing on low speed. Continue adding until you’ve reached 4 cups in total. The mixture will transform from creamy to dough-like as the sugar absorbs moisture. Scrape down the sides as needed to ensure everything blends evenly.
Step 4: Add color (optional). If you’d like to make colorful mints, divide the dough into separate bowls and add a few drops of food coloring to each. Knead the color in gently with a spatula or your hands until evenly distributed.
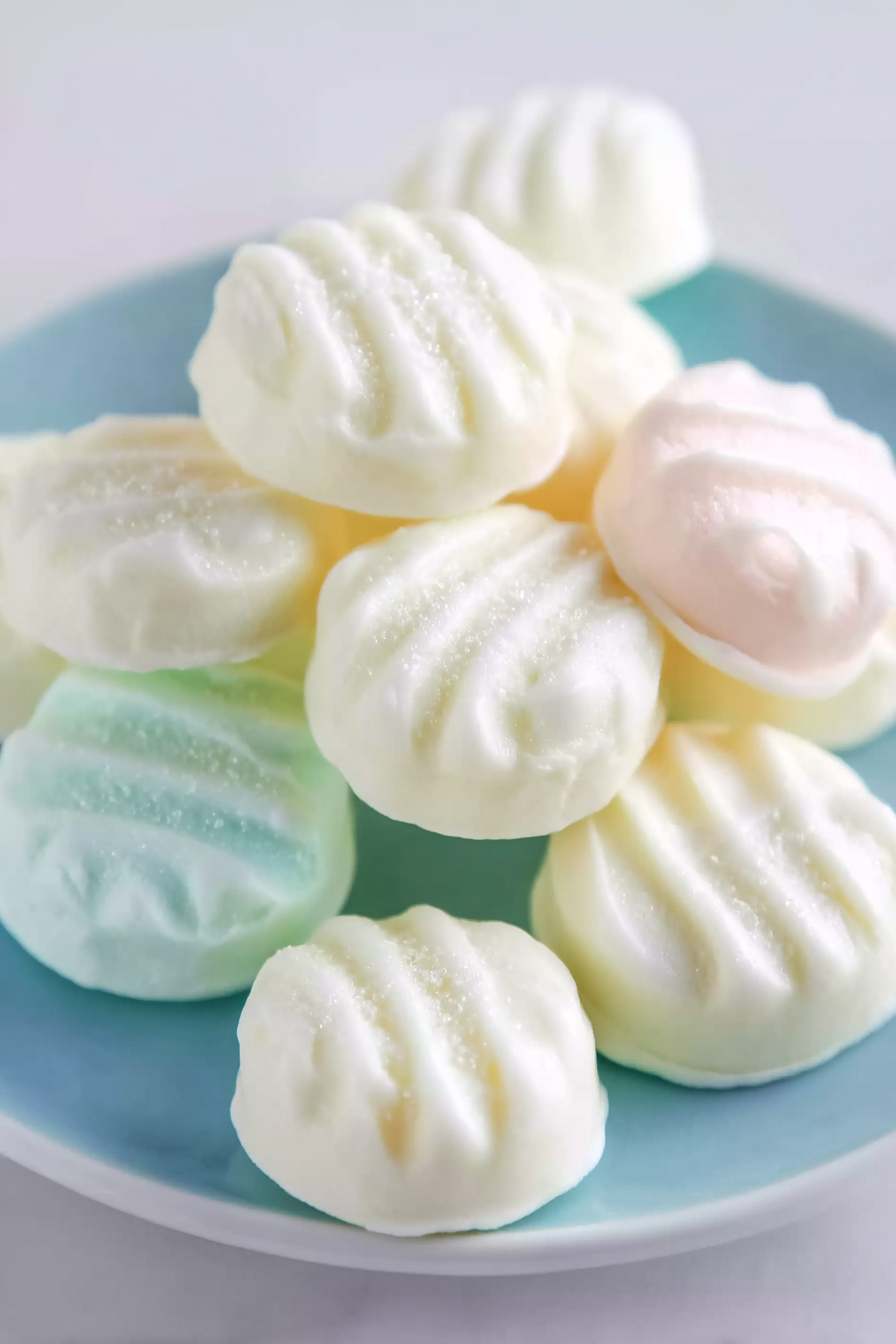
Step 5: Shape the mints. Scoop small amounts of the dough (about a teaspoon each), roll them into balls, and place them onto a parchment-lined baking sheet. Flatten each ball slightly with a fork to create a classic crisscross pattern, or press into candy molds for decorative shapes.
Step 6: Let them set. Allow the mints to air-dry on the baking sheet for several hours or overnight. This helps them firm up and develop their signature melt-in-your-mouth texture. Once dried, transfer them to an airtight container for storage.
Variations & substitutions
One of the joys of this recipe is its flexibility. Here are a few fun ways to customize your mints:
- Flavor twists: Swap mint extract for vanilla, almond, or lemon extract for a unique flavor profile.
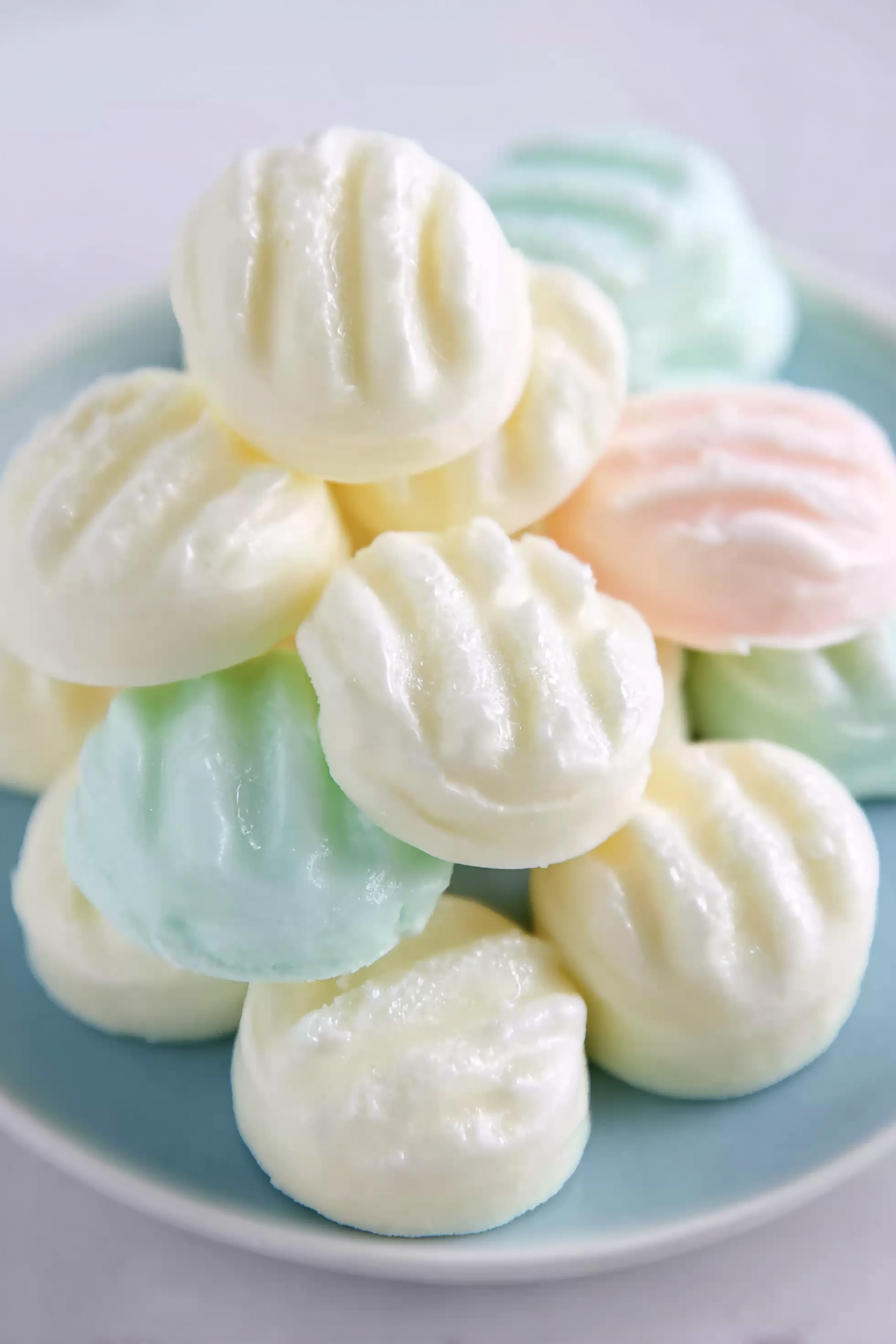
- Holiday colors: Use red and green food coloring for Christmas, pastel shades for Easter, or pink and blue for baby showers.
- Shapes: Use silicone candy molds to create hearts, stars, or flowers for themed parties.
- Texture variation: Roll mints in granulated sugar before setting for a sweet, sparkling finish.
💡 Expert Tips & Troubleshooting
- If your mixture feels too sticky, add a little more powdered sugar until it becomes manageable.
- For consistent shapes, use a small cookie scoop to portion out the dough.
- To avoid overly strong flavor, measure the mint extract carefully—too much can overwhelm the candy.
- Allow plenty of drying time so the mints set properly and don’t stick together in storage.
Storage, freezing & make-ahead
Homemade Cream Cheese Mints can be stored in an airtight container at room temperature for up to 2 weeks. For longer storage, refrigerate them for up to 1 month. If you want to prepare them even further in advance, they freeze beautifully—just layer them in an airtight container with parchment paper between the layers and freeze for up to 3 months. When ready to serve, let them thaw at room temperature for 15–20 minutes.
Serving ideas & pairings
These mints are versatile and can be enjoyed in countless ways:
- Arrange on dessert trays alongside cookies and truffles at parties.
- Package them in small tins or cellophane bags for homemade gifts.
- Use them as edible decorations on cakes and cupcakes.
- Pair with a cup of hot chocolate, coffee, or tea for a refreshing contrast.
- Serve at weddings, showers, or holiday gatherings for a nostalgic treat.
FAQ
Can I use low-fat cream cheese?
It’s best to use full-fat cream cheese for this recipe, as low-fat versions may result in a softer, less stable dough.
How long do the mints need to dry?
Allow at least 6–8 hours, or preferably overnight, for the mints to firm up properly.
Can I freeze Cream Cheese Mints?
Yes, they freeze very well. Store them in layers with parchment paper in an airtight container for up to 3 months.
What type of mint extract should I use?
Peppermint extract is the most common choice, but spearmint or wintergreen extract also works beautifully.
Can I make these without food coloring?
Absolutely! The mints will still taste delicious in their natural white color.
Final thoughts
Homemade Cream Cheese Mints are a timeless, versatile, and easy-to-make treat that brings joy to every occasion. With just a few ingredients, you can create a batch of these creamy, refreshing candies that melt in your mouth and leave everyone asking for the recipe. Whether you’re making them for the holidays, a wedding, or simply because you want a sweet bite, these mints are sure to become a cherished favorite in your recipe collection. Try them once, and you’ll find yourself making them again and again for years to come.
Print
HOMEMADE CREAM CHEESE MINTS
- Total Time: 20 minutes plus drying time
- Yield: About 60 mints
- Diet: Vegetarian
Description
Creamy, melt-in-your-mouth mints made with cream cheese, butter, powdered sugar, and mint extract. Perfect for parties, holidays, or gifting.
Ingredients
- 4 ounces cream cheese, softened
- 1 tablespoon butter, softened
- 4 cups powdered sugar
- ½ teaspoon mint extract
- Food coloring (optional)
Instructions
- Beat cream cheese and butter together in a bowl until smooth and creamy.
- Mix in the mint extract until well combined.
- Gradually add powdered sugar, one cup at a time, until a soft dough forms.
- Divide the dough if desired and knead in food coloring.
- Roll into small balls, place on a parchment-lined tray, and flatten with a fork.
- Let the mints dry at room temperature for at least 6–8 hours or overnight before serving.
Notes
Store in an airtight container at room temperature for up to 2 weeks or freeze for up to 3 months. Great for weddings, baby showers, and holiday trays.
- Prep Time: 20 minutes
- Cook Time: 0 minutes
- Category: Dessert
- Method: No-Bake
- Cuisine: American