1. Introduction to the Recipe
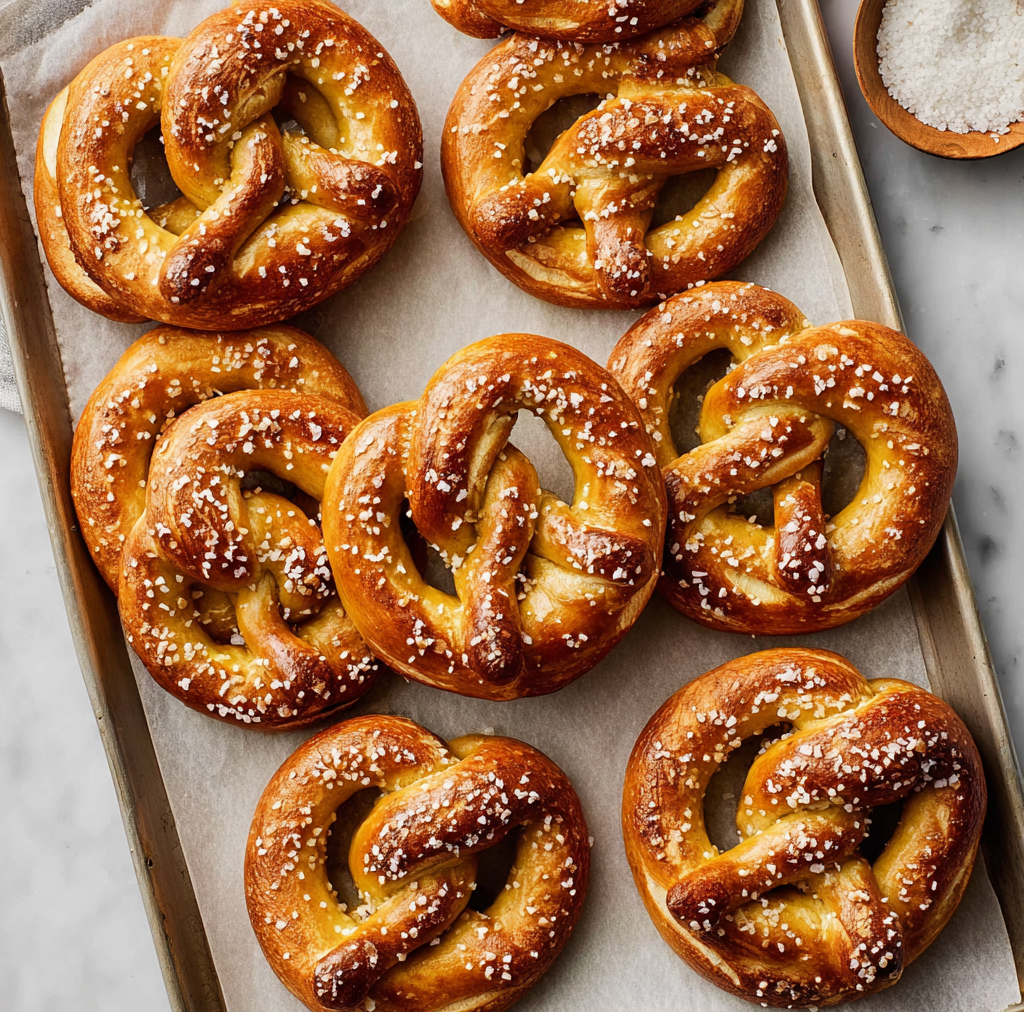
Few things rival the comforting aroma and pillowy texture of homemade soft pretzels. Whether you’re making them for a weekend snack, a cozy movie night, or a party appetizer, these golden-brown, bakery-style treats offer a delightful blend of chewiness, subtle sweetness, and salty goodness. With a crisp crust from the baking soda bath and a soft interior thanks to simple pantry staples like flour, butter, and yeast, this recipe captures the essence of a true pretzel shop experience—without needing to leave your kitchen.
Making homemade soft pretzels is surprisingly easy, even if you’ve never worked with yeast before. The dough is simple and forgiving, requiring just a brief rise. The magic lies in a quick dunk into an alkaline baking soda bath before baking, which gives pretzels their iconic crust and flavor. Topped with coarse sea salt or your choice of seasonings, they’re endlessly customizable and ready in under two hours from start to finish.
For those new to breadmaking, check out this beginner’s guide to baking with yeast for more confidence. You might also enjoy these soft pretzel bites for a fun party twist.
With only a few basic ingredients and a little time, you’ll master the art of chewy, golden homemade soft pretzels—a snack that’s sure to impress and satisfy.
2. Basic Recipe: Ingredients and Instructions
Print
Homemade Soft Pretzels Recipe
Description
Enjoy soft, chewy homemade soft pretzels with a golden crust. Easy recipe, bakery-quality results, perfect for snacks or parties.
Ingredients
-
2 and 1/4 teaspoons (7g) instant or active dry yeast (1 standard packet)
-
1 tablespoon brown sugar or granulated sugar
-
1 and 1/2 cups (360ml) warm water (lukewarm, about 100°F/38°C)
-
1 tablespoon (14g) unsalted butter, melted and slightly cool
-
1 teaspoon salt
-
3 and 3/4 to 4 cups (469–500g) all-purpose flour (spooned & leveled)
-
Coarse salt or coarse sea salt for topping
For the Baking Soda Bath
-
1/2 cup (120g) baking soda
-
9 cups (2.13L) water
Instructions
1. Activate the Yeast
In a large bowl, combine the warm water and sugar. Stir until dissolved, then sprinkle in the yeast. Let it sit for 5 minutes until foamy.
2. Mix the Dough
Add the melted butter and salt to the yeast mixture. Gradually add 3.5 cups of flour, mixing with a wooden spoon or dough hook until a shaggy dough forms.
3. Knead the Dough
Knead by hand or with a stand mixer fitted with a dough hook for about 5–7 minutes, adding more flour as needed, until the dough is soft and slightly tacky but not sticky.
4. First Rise
Shape the dough into a ball and place it in a lightly greased bowl. Cover and let it rise in a warm place for 45 minutes to 1 hour, or until doubled in size.
5. Preheat Oven and Prepare Soda Bath
Preheat your oven to 450°F (230°C). Line two baking sheets with parchment paper. In a large pot, bring 9 cups of water to a boil. Slowly add the baking soda (do this carefully—it will bubble up).
6. Shape the Pretzels
Punch down the dough and divide into 8 equal portions. Roll each piece into a 20–22 inch rope. Shape into pretzels by forming a U, twisting the ends twice, and pressing them into the bottom.
7. Soda Bath
Carefully drop each pretzel into the boiling baking soda water for 20–30 seconds. Remove with a slotted spatula and place on prepared baking sheets.
8. Bake the Pretzels
Sprinkle with coarse salt. Bake for 12–15 minutes or until deeply golden brown. Cool on wire racks for 5 minutes before serving.
Notes
For extra glossy pretzels, brush with egg wash before baking.
Don’t skip the baking soda bath—it’s essential for texture and flavor.
Use a kitchen scale for accuracy when measuring flour.
Customize with toppings like sesame seeds, garlic powder, or cinnamon sugar.
Keywords: Homemade Soft Pretzels
3. Advanced Techniques
1. Mastering the Dough Texture
The ideal pretzel dough should feel soft, stretchy, and just slightly tacky. To reach this consistency, it’s important to add flour gradually and avoid over-flouring, which leads to dense pretzels. Start with the minimum flour and add more only if the dough sticks to your hands excessively. The dough’s elasticity ensures it holds its shape during shaping and boiling. Using bread flour instead of all-purpose can also improve chewiness due to the higher protein content, giving a bakery-style finish.
2. Enhancing the Crust with an Egg Wash
While the baking soda bath gives pretzels their traditional brown crust, brushing the tops with an egg wash before baking takes it to another level. It adds shine and a richer golden hue. To make it, whisk one egg yolk with a tablespoon of water and lightly brush onto each pretzel just before baking. This is especially effective when making soft pretzel rolls or bites that you want to look extra appetizing.
3. Cold Fermentation for Deeper Flavor
Letting the dough rise in the fridge overnight (up to 24 hours) instead of room temperature creates a deeper, more complex flavor. Cold fermentation allows enzymes to break down sugars slowly, developing rich, nutty notes that mimic artisan bakery flavors. Simply mix the dough, cover, and refrigerate. Bring it to room temperature for about 30 minutes before shaping and proceeding with the recipe.
4. Creative Stuffed Pretzels
For a more indulgent twist, stuff your pretzels before boiling them. Fillings like cheddar, cream cheese, or even Nutella can be sealed inside rolled dough before shaping. Make sure to pinch the seams tightly and avoid overfilling. When boiling, reduce the time slightly to prevent breakage. These are perfect for party snacks or gameday treats.
5. Freezing Pretzel Dough for Later
Pretzel dough freezes exceptionally well. After the first rise, shape the pretzels and place them on a tray to flash-freeze. Once solid, store in an airtight bag in the freezer for up to 2 months. To use, thaw overnight in the fridge, bring to room temp, and proceed with the baking soda bath and baking steps.
See more advanced recipes at cookingwhite.com
4. Storage, Shelf Life, and Maintenance Tips
1. Storing at Room Temperature
Freshly baked pretzels can be stored in a paper bag or loosely wrapped in foil at room temperature for up to 2 days. Avoid plastic bags—they trap moisture and can make the crust soggy. For best results, reheat in a 350°F (175°C) oven for 5–8 minutes before serving.
2. Refrigerating for Short-Term Use
If you plan to eat pretzels within 3–4 days, store them in an airtight container in the refrigerator. Wrap individually in foil or parchment to prevent them from drying out. Reheat briefly in the oven to restore the soft, chewy texture.
3. Freezing Baked Pretzels
Freeze fully baked and cooled pretzels in a single layer, then transfer to a freezer-safe bag. They’ll keep well for up to 3 months. To reheat, bake directly from frozen at 350°F (175°C) for about 10–12 minutes or until warmed through.
4. Reviving Stale Pretzels
To refresh pretzels that have gone slightly stale, sprinkle lightly with water and wrap in foil. Warm in a 300°F (150°C) oven for 10–15 minutes. The steam softens the interior while reactivating the crust.
5. Prepping Ahead for Parties
Make and shape the pretzels a day ahead and refrigerate before boiling. This allows you to prep in advance and simply finish them fresh before guests arrive. Let dough come to room temperature before the soda bath.
5. Dietary Adaptations and Substitutions
1. Vegan Soft Pretzels
To make homemade soft pretzels vegan, simply substitute the butter with a plant-based alternative like vegan margarine or coconut oil. Skip the egg wash or use a mix of plant-based milk and maple syrup for shine. All other ingredients are naturally vegan.
2. Gluten-Free Adaptation
Use a high-quality gluten-free all-purpose flour blend (with xanthan gum) in place of regular flour. Be prepared for a softer dough—chill it before shaping to make handling easier. Gluten-free pretzels may not be as chewy, but still deliver great flavor.
3. Sugar-Free Variation
Replace the tablespoon of sugar with a sugar substitute like
erythritol or monk fruit sweetener. Just make sure your yeast is compatible with sugar substitutes. This option is great for diabetic or low-sugar diets.
4. Dairy-Free Substitution
Use olive oil or dairy-free margarine in place of butter. If using an egg wash, opt for almond or oat milk with a touch of maple syrup for browning. This ensures your pretzels remain golden and rich without any dairy.
5. Low-Sodium Option
To reduce sodium, lower the amount of salt in the dough and omit or reduce the coarse salt topping. You can add herbs or garlic powder to the dough for flavor without increasing salt content.
6. FAQs About the Recipe
1. Why do pretzels need a baking soda bath?
The alkaline baking soda bath raises the pH of the dough’s surface, creating that deep brown crust and distinctive flavor. It also gives pretzels their chewy texture. Skipping it will result in pale, bread-like pretzels—not the traditional kind.
2. Can I use regular table salt instead of coarse salt?
Technically yes, but coarse salt is recommended because it sticks better and doesn’t dissolve during baking. Table salt may melt or overwhelm the flavor. If using fine salt, sprinkle very lightly.
3. My dough isn’t rising—what went wrong?
Check the water temperature; if it’s too hot, it can kill the yeast. Also ensure your yeast is fresh (check the expiration date). Let the dough rise in a warm, draft-free place like an oven with the light on.
4. How do I make pretzel bites instead of full pretzels?
After shaping the dough ropes, cut them into 1-inch pieces and proceed with the baking soda bath. Bake for 10–12 minutes or until golden brown. These are perfect with cheese dip or mustard.
5. Can I double the recipe?
Absolutely. Double all ingredients but maintain the same boiling and baking times. Use two baking sheets and rotate them halfway through baking for even browning.
7. Conclusion & Final Thoughts
There’s something incredibly satisfying about pulling a batch of golden, soft pretzels from the oven—especially when you’ve made them yourself. These homemade soft pretzels strike the perfect balance between chewy and tender, with just the right amount of salty crunch. They’re easy enough for beginners but rewarding enough for seasoned bakers looking for a classic project.
Whether you’re shaping them into traditional twists, making mini bites for dipping, or experimenting with fillings, the basic dough is a reliable and forgiving base for creativity. With simple pantry ingredients, the entire process is approachable, budget-friendly, and kid-approved.
Homemade snacks often bring more joy and flavor than store-bought alternatives, and pretzels are no exception. Their nostalgic aroma, hands-on prep, and bakery-level finish make them ideal for game days, family movie nights, or satisfying an afternoon carb craving.
This recipe is not only a go-to for soft pretzel lovers but a fun, therapeutic activity that’s as enjoyable to make as it is to eat. So roll up your sleeves, heat up that baking soda bath, and get ready to enjoy warm, buttery, homemade soft pretzels straight from your own oven.