Introduction to the Recipe
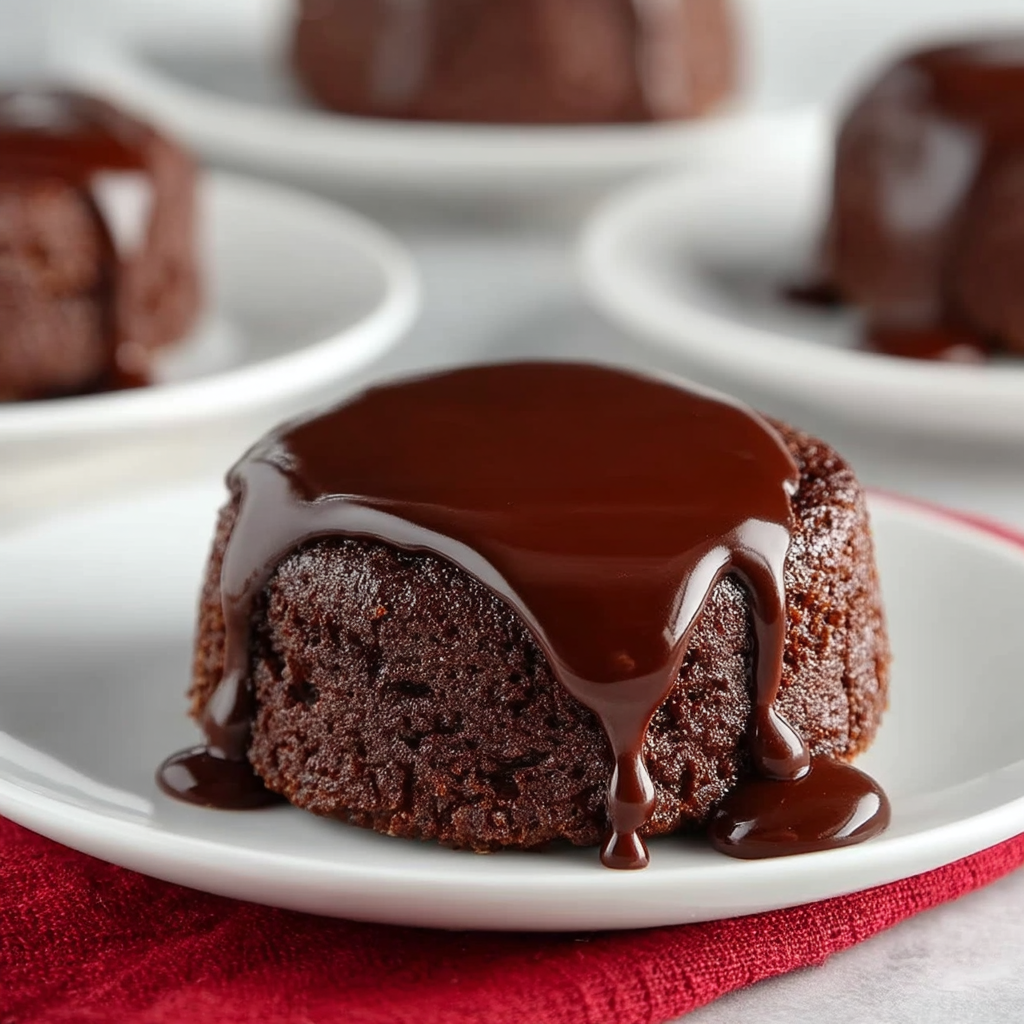
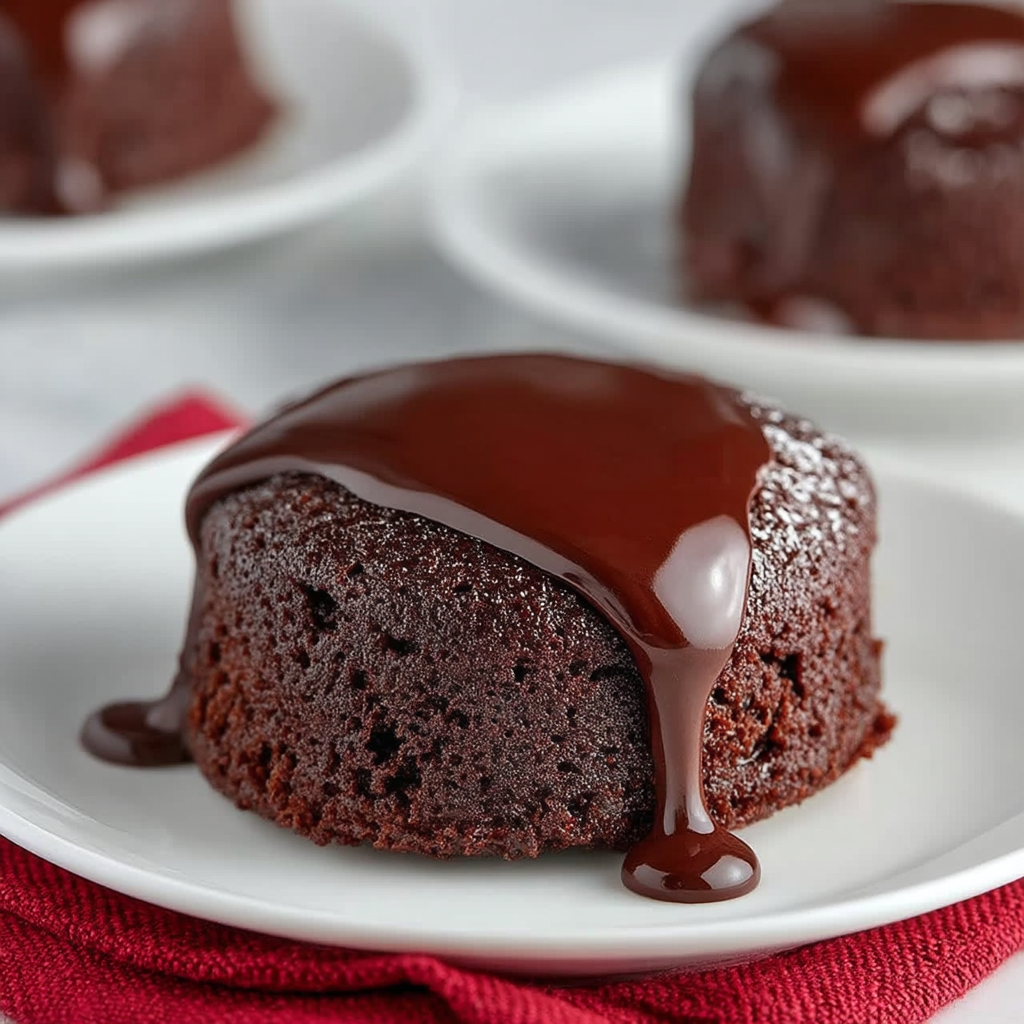
If you’re a fan of desserts that ooze with chocolate and deliver pure indulgence, this Iceberg Chocolate Lava Cake is a show‑stopper. Imagine cutting through a tender, cake‑like shell to reveal a molten chocolate core that pours out—rich, warm, and irresistible. This recipe uses semi‑sweet baking chocolate, butter, and eggs to create that perfect balance between a set exterior and a gooey interior, with optional chocolate ganache icing for extra decadence.
What sets this dessert apart is its simplicity paired with the dramatic lava effect. Because the ingredients are minimal (eggs at room temperature, real chocolate, butter), every component shines. The textures contrast: the soft cake, the molten center, and if you use the ganache, the glossy finish. It’s perfect for special occasions—anniversaries, dinner parties—or any time you need a dessert that feels luxurious yet is straightforward to make.
For inspiration or comparison, you might enjoy this tips guide for getting lava cakes with perfect molten centers or how professional chefs use ganache centers to ensure molten cores every time. These help you understand how timing, quality of chocolate, and temperature all play big roles.
In this article, I’ll walk through the ingredients and instructions, give you advanced techniques to nail the lava effect, storage tips and shelf life info, dietary adaptations, FAQs to solve common problems, and a conclusion that captures what makes Iceberg Chocolate Lava Cake a dessert you’ll want to return to.
Basic Recipe: Ingredients and Instructions
Print
Iceberg Chocolate Lava Cake
Description
Indulge in Iceberg Chocolate Lava Cake, rich molten chocolate with soft cake shell—pure chocolate bliss in every spoonful.
Ingredients
- 6 large eggs, room temperature
- 12 ounces semi‑sweet baking chocolate, coarsely chopped
- ¾ cup butter, cut into chunks
- Optional: Chocolate Ganache Icing (for topping)
Instructions
- Preheat and prepare
Preheat your oven to about 425°F (≈ 220°C). Butter ramekins well (or the baking molds you are using), and either dust them with cocoa powder or lightly flour them so the cakes release cleanly. - Melt chocolate and butter
In a double boiler (or a heatproof bowl over simmering water), melt the chopped semi‑sweet chocolate and butter together, stirring gently until smooth. Remove from heat and let it cool slightly. - Beat the eggs
In a separate bowl, whisk the eggs until they are well combined, perhaps slightly frothy. If using sugar or sweetener (if your chocolate isn’t sweet enough), you could add that here, though this recipe relies mostly on semi‑sweet chocolate for sweetness. - Combine chocolate and eggs
Slowly pour the melted chocolate‑butter mixture into the beaten eggs, stirring continuously to prevent cooking the eggs. Mix until fully blended and smooth. - Fill the ramekins
Divide the mixture among the prepared ramekins, leaving a little room at the top (don’t overfill). The amount will depend on your ramekin size—standard 6‑oz ramekins work well. - Bake
Place ramekins on baking tray and bake for about 10‑12 minutes, or until the edges are set but the center still jiggles slightly when shaken. Baking times vary by oven and ramekin size, so watch carefully. - Optional: Add ganache icing
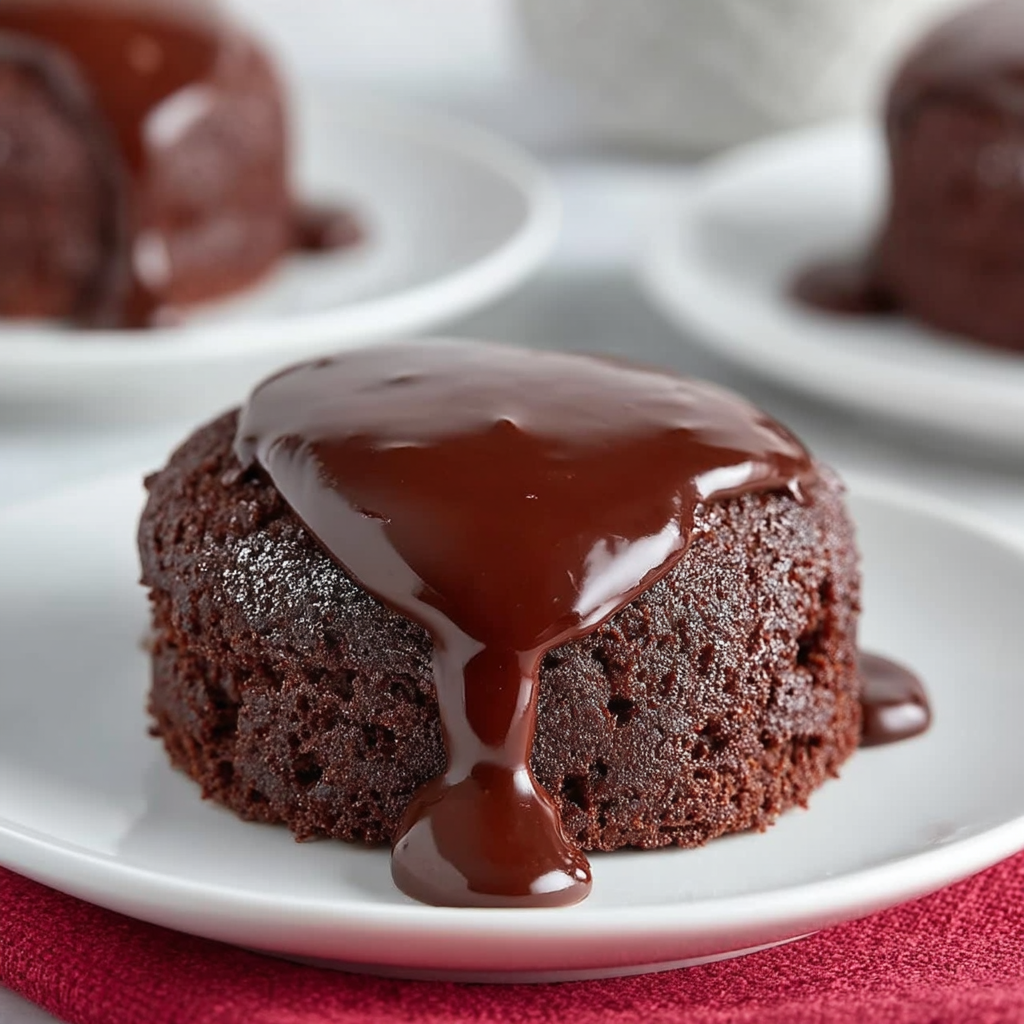
If using, spoon the chocolate ganache icing over the top after baking or just before serving. It adds gloss, richness, and a dramatic finish. - Serve
Let the cakes rest 1 minute after removing from oven, then carefully run a knife around edges to loosen and invert onto plates (or serve in ramekins). Serve warm—best with vanilla ice cream, whipped cream, or berries for contrast.
Notes
Use eggs at room temperature—they incorporate more evenly and help with texture.
Choose good quality semi‑sweet chocolate (not baking chips if possible) so flavor and melt are rich.
Don’t overbake—you want a soft center. Edges firm, center slightly jiggly is your cue.
Greasing and dusting ramekins well prevents sticking and helps inverting look good.
Let rest briefly before unmolding—the outer set while interior still molten.
Keywords: Iceberg Chocolate Lava Cake
Advanced Techniques
Perfect Molten Center Mechanisms
To get that signature lava center, timing is everything. Keep a close eye when baking. As soon as the edges are well set but the center moves when you jiggle it gently (shake the ramekin), remove from oven. Carryover cooking will finish the center just enough while keeping it molten. Also preheating the ramekins (by placing them in the oven for few minutes) can help the batter start cooking immediately along edges, creating the contrast between exterior and inner lava.
Chocolate Quality and Flavor Depth
Using high‑quality semi‑sweet chocolate (60‑70% cocoa) enhances flavor dramatically. If available, use couverture or good baking chocolate rather than chips (chips sometimes have stabilizers and don’t melt as cleanly). You can also mix in a bit of bittersweet or dark chocolate for depth, or even add a small amount of espresso powder to intensify chocolate notes. Avoid chocolate with overly low cocoa or too much filler, as it can weaken the molten effect.
Bain‑Marie vs. Direct Heat for Melting
Melting chocolate and butter together via double boiler (bain‑marie) gives you control and avoids scorching. If using microwave, do it in short bursts (e.g. 20‑30 seconds), stirring in between. You want a smooth, shiny melt. Be careful not to get water into the chocolate—that causes seizing. Smooth melted mixture ensures smoother batter and better texture.
Optimizing Ramekins and Molds
Choose ramekins or molds of even size with straight sides if possible; material like ceramic works well. Grease thoroughly and dust with cocoa powder to avoid sticking. Don’t overfill—fill only about ¾ full so there’s room for lift without overflow. If molds are too small or shallow, the cake may cook through too quickly. Uniform size ensures consistent bake, especially if doing multiple at once.
Using Ganache or Frozen Centers
If you want a more dramatic molten core, you can place a small frozen piece of ganache in the center of batter before baking. As the cake bakes, this frozen core melts, ensuring molten center even if outer portion gets more heat. Alternatively, after baking, spoon warm ganache over top or into center. Having a ganache icing also adds gloss and richness. The frozen‑ganache trick is a popular way to replicate restaurant‑style lava.
See more advanced recipes at cookingwhite.com
Storage, Shelf Life, and Maintenance Tips
Refrigeration: Leftover Cakes
Because the molten center is warm and moist, leftovers will firm up and lose some of the lava effect. Store cooled cakes in airtight containers in the refrigerator. They can keep 1‑2 days. Reheat in a warm oven or microwave (briefly) to restore some softness—though center won’t be as liquid as freshly baked.
Freezing: Batter or Full Cakes
You can prepare the batter, fill ramekins, then freeze them (wrapped tightly) prior to baking. When ready, bake from frozen—add a minute or two to bake time. Avoid freezing baked cake with molten center, as thawing alters texture and center likely won’t be lava anymore. For longer storage (up to ~1 month), freezing the batter or uncooked filled ramekins works best.
Room Temperature: Serving & Holding
Serve immediately after baking and optional topping. Holding at room temperature for more than 30‑60 minutes causes the molten core to set too much and the exterior to go soggy. If holding briefly, keep in warm oven (low temperature) to maintain texture without overcooking.
Moisture & Crust Maintenance
To maintain a pleasant outer cake shell (slightly crisp or firm), avoid covering hot cakes immediately after baking. Steam from covering can make crust soft. Let air circulate or loosely tent with foil. Also dusting ramekins with cocoa rather than flour helps avoid floury taste or white residue crust.
Presentation & Timing
Molten effect is best when warm. Serve right after unmolding (or if serving in ramekin, straight from oven). Dust with powdered sugar, add a fresh scoop of ice cream, or pour ganache icing at last minute to enhance visual appeal. If using icing, serve immediately so icing still glossy. Timing with guests or serving matters: over time molten fades, so plan so you bake just before serving.
Dietary Adaptations and Substitutions
Vegan / Plant‑Based Version
To make this Iceberg Chocolate Lava Cake vegan, substitute eggs with aquafaba or vegan egg replacer that sets similarly (though results may vary). Use vegan butter or coconut oil in place of butter, and use vegan semi‑sweet chocolate. The molten center might be softer or less stable, so consider using a frozen vegan ganache core to help. Serve with dairy‑free ice cream.
Gluten‑Free Adaptation
This basic recipe has no flour mentioned, so it’s already flourless if you skip any flour additions. Just ensure your chocolate and ganache (if used) are gluten‑free. Use ramekins that are clean and use equipment without cross‑contamination. The texture tends to be fudgy rather than cake‑like without flour.
Lower Sugar / Less Sweet Adjustment
If semi‑sweet chocolate is quite sweet for your taste, use dark chocolate with higher cocoa percentage (70% or more). Reduce or omit added sugar (if you decide to add sugar). For ganache icing, make it less sweet (mix dark chocolate with less sugar or use bittersweet). Serve with unsweetened whipped cream or sour cream on side to balance sweetness.
Dairy‑Free / Butter Substitution
Replace butter with a plant‑based butter or a firm coconut oil. Be mindful that butter contributes flavor and richness, so the substitute should be of good quality. Using non‑dairy cream for ganache icing also works. The texture may change—coconut oil melts differently, so timing may need tweaking.
Adding Flavor Variations
To adapt flavor, you can add a pinch of sea salt or flaky salt on top to contrast richness. Mix in flavor extracts such as vanilla or almond into the chocolate‑butter melt. Orange zest or a splash of liqueur (e.g. Grand Marnier, Kahlua) can add complexity. If you like fruit, serve with raspberries, strawberries, or a coulis for brightness.
FAQs About the Recipe
Why isn’t my center molten / why does it bake all the way through?
Common reasons: over‑baking, oven temperature too high, ramekins too small (so heat cooks through too fast), cold batter or ingredients. Ensure edges are set but center jiggles. Sometimes using a frozen ganache insert helps. Also let batter rest a little before baking to room temperature. Sources show that starting with chilled batter or batter straightaway matters.
How do I tell when it’s the right time to take the cakes out of the oven?
You’re aiming for edges that are set and firm, while the center slightly jiggles when you gently shake the ramekin. Top may look matte or just slightly domed. If you insert a knife near the edge and it comes out clean but the center is still soft, that’s a good sign. Don’t wait until the center feels fully set.
Can I prepare these ahead of time and bake when needed?
Yes. You can fill the ramekins with batter in advance and refrigerate (or freeze) until you are ready to bake. If refrigerated, bake directly (room temp helps) but may need slightly more time. If frozen, add a few extra minutes in the oven. Also, you can prepare ganache icing in advance.
What kind of chocolate works best?
Choose a high‑quality semi‑sweet or dark chocolate (60‑70% cocoa) with good melting properties. Avoid low‑quality chocolates with fillers. Chocolate that melts smoothly and tastes rich will give you that luscious molten interior. The quality matters greatly for flavor and texture.
How to prevent the cakes from sticking in ramekins or falling apart when unmolding?
Grease the ramekins well (butter or oil) and dust with cocoa powder (or flour). Ensure even coating. After baking, let the cake rest for about 1 minute so edges firm slightly before unmolding. Run a thin knife around edge, invert carefully. For extra insurance, using ramekins with handles or ones that are nonstick helps.
Conclusion & Final Thoughts
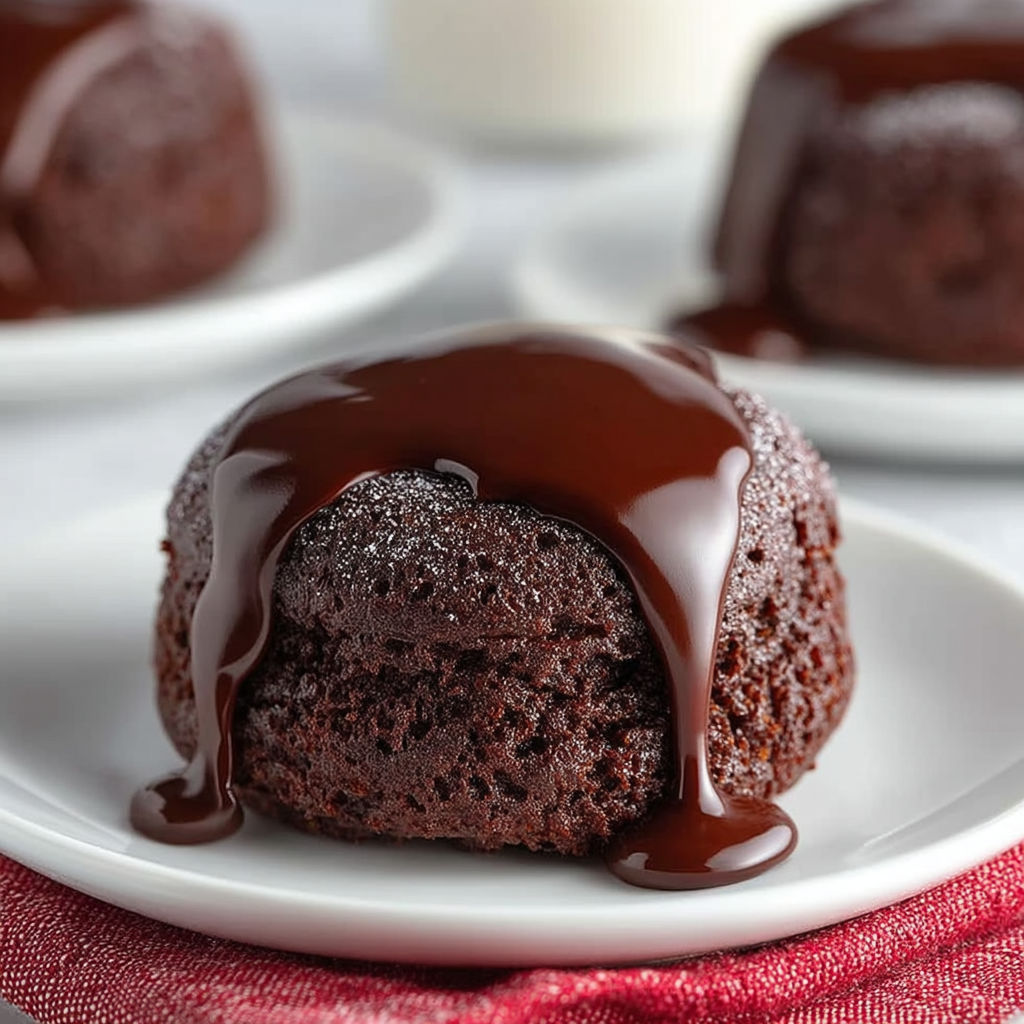
Iceberg Chocolate Lava Cake delivers one of baking’s greatest joys: the moment you cut into it and warm molten chocolate flows out, contrasting with the tender cake shell. It’s a dessert that feels sophisticated, indulgent, and utterly comforting all at once. Because it uses relatively few ingredients—eggs, good semi‑sweet chocolate, butter, and optional icing—each one needs to be of decent quality. The simplicity is part of the magic.
What makes this cake especially good is the balance: a properly set exterior that gives structure and contrast, and an interior just soft enough to pour. When done well, the interplay of textures and temperatures (warm cake, often cold or room‑temperature garnish) elevates the whole experience. It’s perfect for romantic dinners, special celebrations, or any time you want to impress without having to make dozens of components.
With the techniques above—melting carefully, using room‑temperature eggs, greasing ramekins well, watching baking times—you can reliably get that lava effect. Ganache icing adds luxury and richness if you want to dress it up. Dietary tweaks make it flexible for different preferences (vegan, dairy‑free, etc.), and storage tips let you prep ahead or save parts.
If you ever doubt whether it’s worth the effort, remember: a dessert that warms from the inside out—with molten, chocolatey core—always feels like it was made with care and brings joy. Iceberg Chocolate Lava Cake is that dessert. Enjoy every spoonful, every molten gush, and every bite that reminds you why chocolate is magic.