Introduction
There are few things as timeless and comforting as a batch of warm peanut butter cookies. These cookies carry with them not just flavor, but also history—this recipe is famously connected to President Jimmy Carter’s grandmother, who was known for her simple yet unforgettable peanut butter cookies. With only four ingredients, this recipe is proof that you don’t need a long list of items to create something that delights both the palate and the heart.
Whether you are a seasoned baker or a beginner stepping into the world of home baking for the first time, this recipe is one you’ll cherish. It captures the essence of old-fashioned baking: resourcefulness, flavor, and the joy of sharing cookies straight from the oven with loved ones.
My recipe story
This recipe has traveled through generations, passed down in handwritten notes and fond memories. Jimmy Carter, America’s 39th president, grew up in Plains, Georgia, where peanuts were a way of life—both as a livelihood and a culinary staple. His grandmother’s peanut butter cookies became legendary not only for their connection to peanut farming but also for their irresistibly simple taste.
I personally discovered this recipe while searching for historical American desserts, and what struck me most was its minimalism. Just four ingredients—peanut butter, sugar, an egg, and vanilla extract—combine to create a cookie that is chewy, slightly crisp on the outside, and bursting with peanut butter flavor. It’s a recipe that proves less is more, and it carries with it a sense of nostalgia that connects us to the past.
💡 Why You’ll Love This Recipe
- Only four ingredients are needed—perfect for when your pantry is running low.
- No flour required, making this a naturally gluten-free cookie recipe.
- Quick and easy—ready from start to finish in under 20 minutes.
- A nostalgic, old-fashioned recipe with ties to American history.
- Perfectly chewy with just the right amount of sweetness and peanut butter richness.
Ingredient breakdown
One of the most remarkable aspects of this recipe is its simplicity. Just four ingredients come together in perfect harmony to create cookies that taste far more complex than their preparation suggests.
Peanut Butter: The star of the show. Use a classic creamy peanut butter for the smoothest texture. Natural peanut butters (with oil separation) can work, but they may create a crumblier cookie, so stir them well before using.
Sugar: Granulated sugar provides sweetness and helps give the cookie its chewy structure. If you prefer, you can experiment with brown sugar for a deeper molasses note, but the original recipe keeps it classic with white sugar.
Egg: Just one egg binds everything together, ensuring the cookies hold their shape. It also adds richness and helps achieve that chewy texture.
Vanilla Extract: A splash of vanilla elevates the flavor, balancing the peanut butter and sugar with a warm, aromatic note.
Equipment you’ll need
- Mixing bowl
- Wooden spoon or spatula
- Baking sheet
- Parchment paper or silicone baking mat
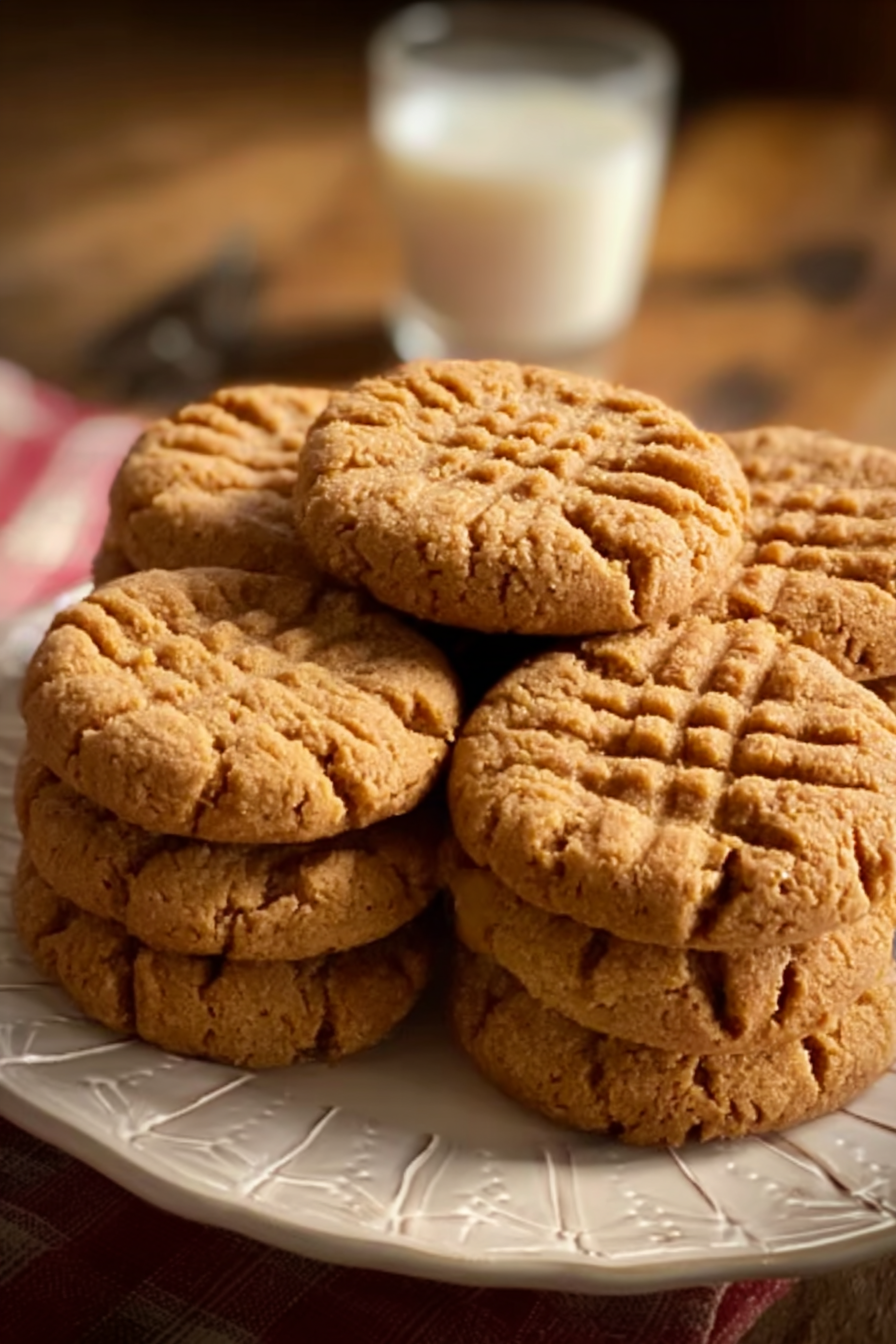
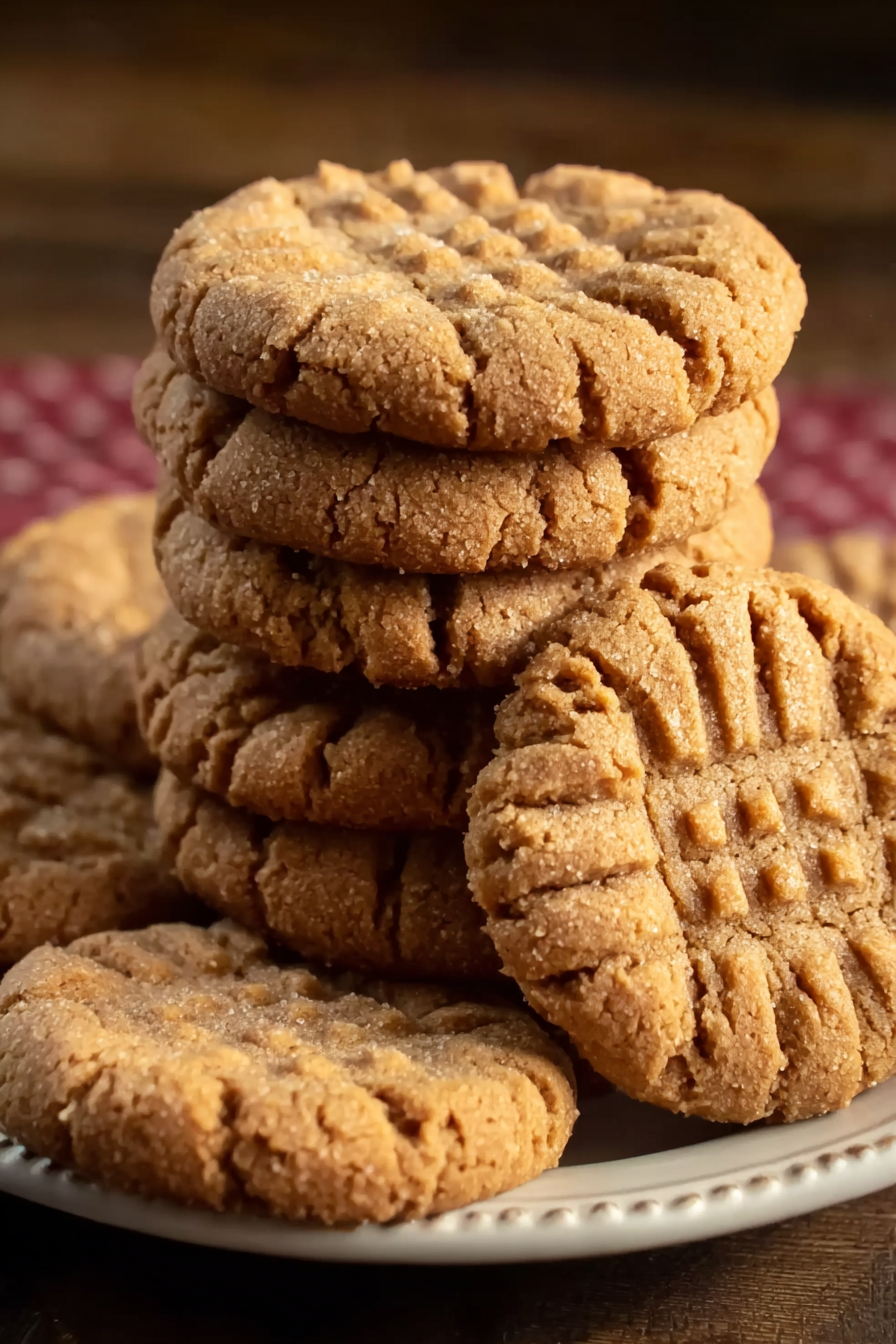
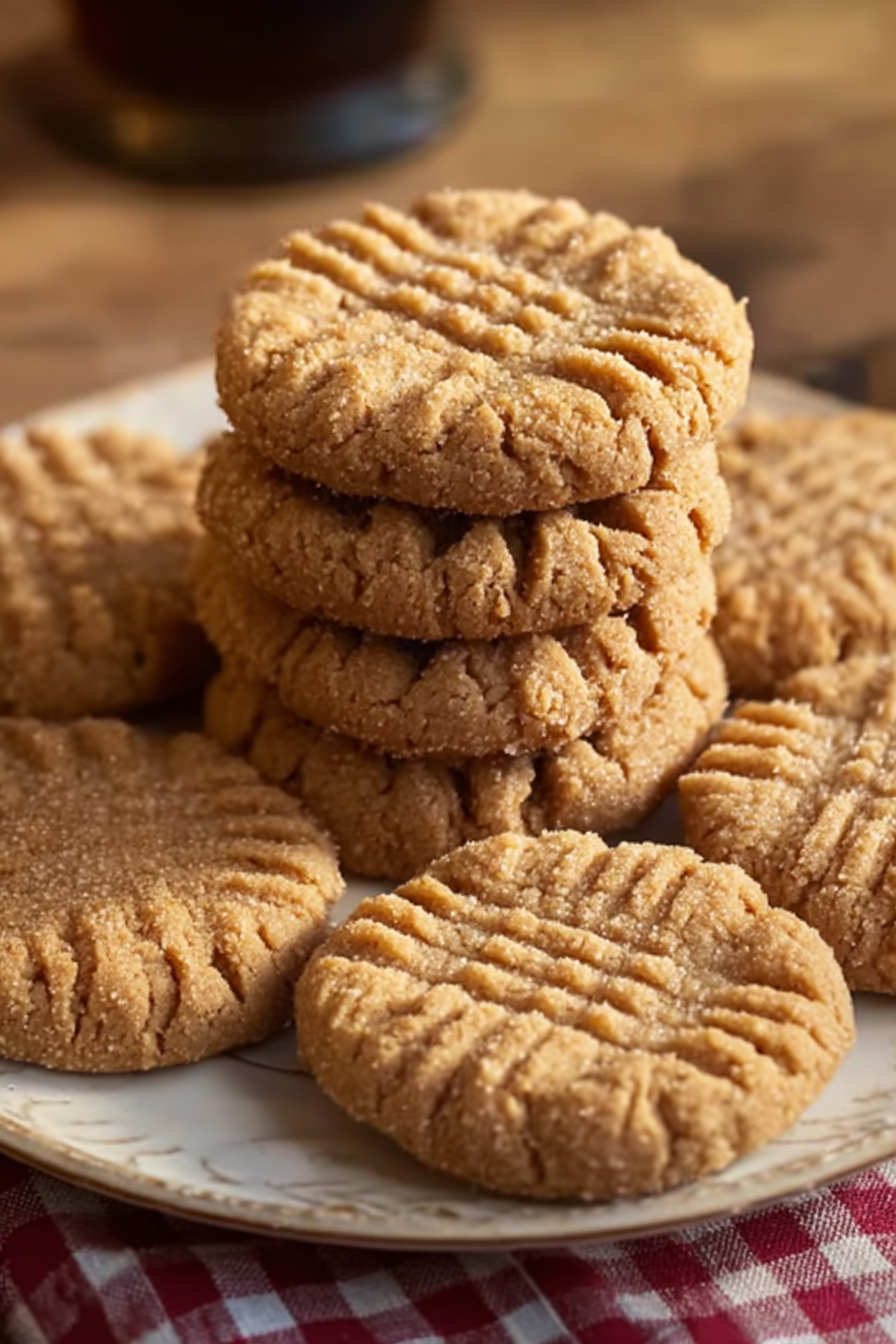
- Fork (for the classic criss-cross pattern)
- Measuring cups and spoons
Step-by-step directions
- Preheat your oven: Begin by preheating your oven to 350°F (175°C). This ensures that your cookies will bake evenly and develop that perfect golden finish. Prepare a baking sheet lined with parchment paper or a silicone baking mat to prevent sticking and make cleanup easy.
- Mix the ingredients: In a large mixing bowl, combine the peanut butter, sugar, egg, and vanilla extract. Stir until the mixture is smooth and uniform. The dough will be thick, but this is exactly what you want—it helps the cookies maintain their shape during baking.
- Form the cookies: Scoop tablespoon-sized portions of dough and roll them into balls. Place them evenly spaced on the prepared baking sheet, leaving room for them to spread slightly during baking. Once arranged, take a fork and gently press a criss-cross pattern on top of each ball, flattening them slightly.
- Bake: Place the baking sheet in the oven and bake for 10–12 minutes. The cookies should be lightly golden around the edges but still soft in the center. Remember that they will continue to firm up as they cool, so avoid overbaking.
- Cool and enjoy: Allow the cookies to cool on the baking sheet for about 5 minutes before transferring them to a wire rack. Once cooled, they’re ready to enjoy—or to be stored for later snacking.
Variations & substitutions
This recipe is incredibly versatile, and with a few tweaks, you can create unique versions tailored to your taste:
- Chocolate lovers: Stir in a handful of chocolate chips or dip the baked cookies halfway into melted chocolate.
- Crunchy texture: Use crunchy peanut butter instead of creamy for added bites of nutty goodness.
- Sugar swap: Try using coconut sugar or a sugar substitute for a slightly healthier twist.
- Peanut allergy alternative: Almond butter or sunflower seed butter can be substituted for peanut butter with great results.
- Spiced version: Add a pinch of cinnamon or nutmeg to the dough for a warm, aromatic kick.
💡 Expert Tips & Troubleshooting
- If your dough feels too sticky, chill it in the refrigerator for 15 minutes before rolling.
- Don’t overbake—the cookies may look soft when you pull them out, but they firm up as they cool.
- For perfectly uniform cookies, use a cookie scoop instead of eyeballing portions.
- If using natural peanut butter, make sure it’s well stirred to prevent oily separation in the dough.
- Always let the cookies cool on the baking sheet briefly before transferring to prevent crumbling.
Storage, freezing & make-ahead
These cookies store beautifully, making them an excellent option for planning ahead. Once cooled, store them in an airtight container at room temperature for up to five days. If you’d like to keep them fresh longer, they can be frozen for up to three months—simply place them in a freezer-safe bag or container, separating layers with parchment paper to prevent sticking.
You can also prepare the dough ahead of time. Roll it into balls, place them on a baking sheet, and freeze until firm. Transfer the dough balls to a freezer bag, and when you’re ready to bake, just add an extra minute or two to the baking time without thawing.
Serving ideas & pairings
Peanut butter cookies are delicious all on their own, but they also pair wonderfully with other treats and beverages:
- Enjoy with a cold glass of milk or almond milk for a classic pairing.
- Serve alongside vanilla ice cream for a warm-and-cold contrast.
- Crush them up and use as a topping for yogurt or pudding.
- Sandwich two cookies with chocolate ganache or cream cheese frosting for an indulgent twist.
- Pair with coffee or tea for a simple yet satisfying afternoon snack.
FAQ
Can I use natural peanut butter in this recipe?
Yes, but make sure to stir it very well. Natural peanut butter can sometimes cause the cookies to be more crumbly.
Can I double the recipe?
Absolutely! This recipe scales perfectly—just double or triple the ingredients and bake in batches.
Do I need to chill the dough?
No chilling is required, but if your dough feels sticky, a short chill can make it easier to roll.
Why do I need to press the fork pattern on top?
The criss-cross pattern helps flatten the cookie for even baking and is also a classic peanut butter cookie hallmark.
How do I know when the cookies are done?
Look for lightly golden edges with a soft center. They will firm up as they cool.
Final thoughts
Jimmy Carter’s grandmother’s peanut butter cookies are more than just a recipe—they are a slice of history, a reminder that simple ingredients can create extraordinary flavors. Whether you’re baking them as a nod to tradition or simply to satisfy a cookie craving, these treats are sure to become a staple in your kitchen. Share them with friends, family, or enjoy them quietly with a warm drink—they’re proof that the best recipes often come from the heart and stand the test of time.
Print
Jimmy Carter’s Grandmother’s Peanut Butter Cookies
- Total Time: 15 minutes
- Yield: 18 cookies 1x
- Diet: Gluten Free
Description
A simple, nostalgic cookie recipe made with just four pantry staples. Soft, chewy, and full of peanut butter flavor.
Ingredients
- 1 cup creamy peanut butter
- 1 cup granulated sugar
- 1 large egg
- 1 teaspoon vanilla extract
Instructions
- Preheat the oven to 350°F (175°C) and line a baking sheet with parchment paper.
- In a bowl, mix peanut butter, sugar, egg, and vanilla until smooth.
- Roll tablespoon-sized dough balls and place them on the baking sheet.
- Flatten each ball with a fork, creating a criss-cross pattern.
- Bake for 10–12 minutes, until edges are set and lightly golden.
- Cool on the baking sheet for 5 minutes before transferring to a wire rack.
Notes
Store in an airtight container at room temperature for up to 5 days. Freeze baked cookies for up to 3 months. Delicious with a glass of milk or paired with ice cream.
- Prep Time: 5 minutes
- Cook Time: 10 minutes
- Category: Dessert
- Method: Baking
- Cuisine: American