1. Introduction to the Recipe
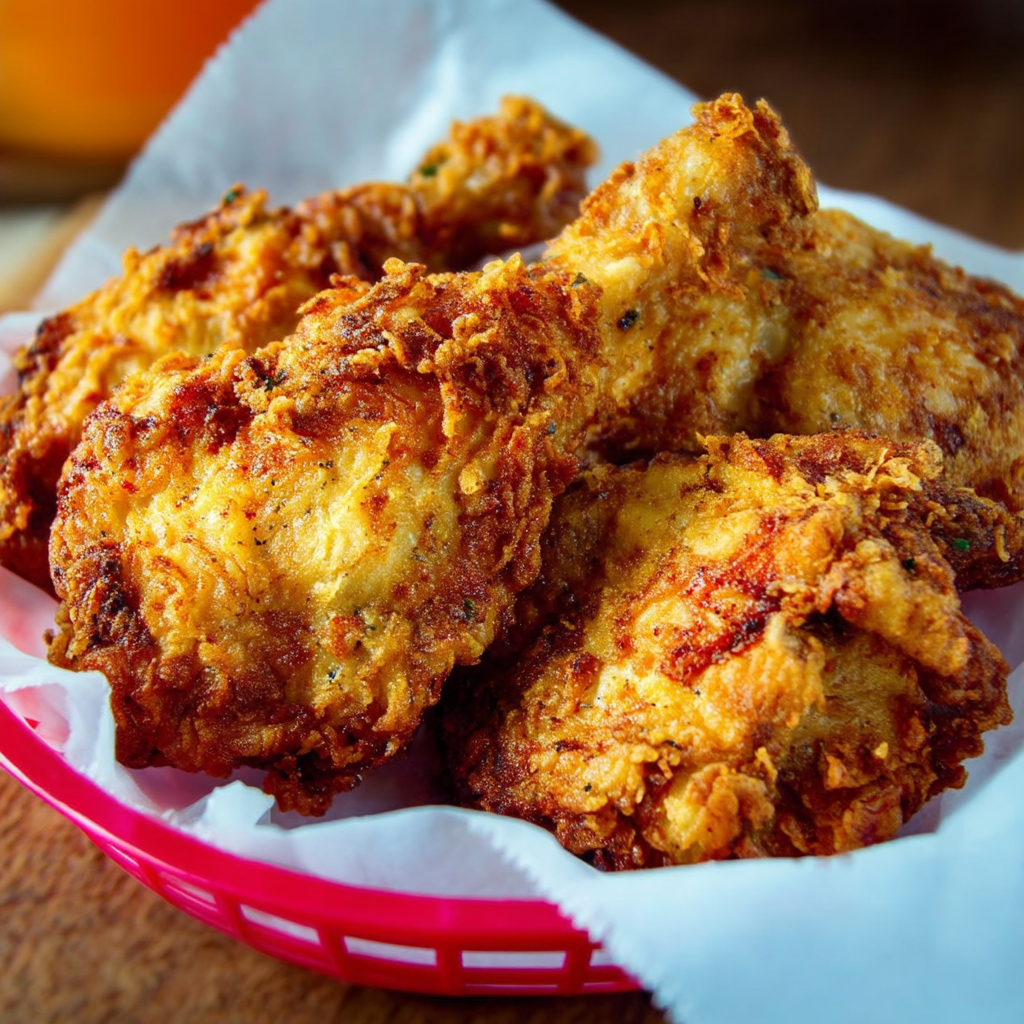
The iconic KFC chicken has been a beloved favorite for generations, known for its crispy, golden crust and juicy, tender meat. While the fast-food chain keeps its secret recipe under wraps, you can easily recreate a similar version at home with a few simple ingredients and techniques. This KFC-style fried chicken recipe is your key to unlocking that familiar, mouthwatering flavor and texture. With a blend of herbs and spices like paprika, garlic salt, and white pepper, you can enjoy crispy fried chicken any time, without ever needing to leave your home. The addition of buttermilk and a well-seasoned flour coating makes the chicken even more flavorful, and the frying technique ensures that the crispy exterior is perfectly complemented by the juicy, tender meat inside.
Whether you’re craving a Sunday family dinner or want to impress friends at your next gathering, this recipe is a sure-fire winner. If you’re a fan of the classic fried chicken taste and love trying new ways to perfect your cooking, this recipe is a must-try. Buttermilk adds an extra layer of flavor and tenderness to the chicken, while the signature blend of herbs and spices delivers a crispy coating that’s hard to beat. For more tips on frying chicken, check out this guide on how to fry chicken perfectly every time and this article on the secret to crispy fried foods.
2. Basic Recipe: Ingredients and Instructions
Print
Classic KFC-Style Fried Chicken Recipe
Description
Learn how to make crispy and flavorful KFC-style fried chicken at home using this secret-inspired recipe with a unique spice blend.
Ingredients
-
2 cups all-purpose flour
-
2/3 tablespoon salt
-
1/2 tablespoon dried thyme leaves
-
1/2 tablespoon dried basil leaves
-
1/3 tablespoon dried oregano leaves
-
1 tablespoon celery salt
-
1 tablespoon ground black pepper
-
1 tablespoon dried mustard
-
3 tablespoons paprika (original recipe calls for 4 tablespoons)
-
2 tablespoons garlic salt
-
1 tablespoon ground ginger
-
3 tablespoons ground white pepper
-
2 teaspoons Accent Seasoning (optional, you can skip it if you prefer)
-
1 cup buttermilk
-
1 large egg
-
1 chicken, cut into 10 pieces (2 wings, 2 legs, 2 thighs, and 2 breasts, each cut in half)
-
Vegetable oil for frying
Instructions
-
Prepare the Chicken: In a large bowl, whisk together the buttermilk and egg. Submerge the chicken pieces into the buttermilk mixture, ensuring they are fully coated. Let them marinate for at least 30 minutes (or up to 2 hours) in the fridge. This will help tenderize the meat and infuse it with flavor.
-
Make the Coating: In a separate large bowl, combine all the dry ingredients—flour, salt, thyme, basil, oregano, celery salt, black pepper, mustard, paprika, garlic salt, ginger, white pepper, and Accent seasoning (if using). Whisk everything together until it’s well mixed.
-
Dredge the Chicken: Once the chicken has marinated, remove each piece from the buttermilk mixture and dredge it in the seasoned flour mixture. Press the flour mixture onto the chicken, ensuring an even coating. Shake off any excess flour.
-
Heat the Oil: Pour vegetable oil into a deep skillet or fryer, about 2-3 inches deep. Heat the oil over medium-high heat until it reaches 350°F (175°C). To test if the oil is ready, drop a small piece of the flour mixture into the oil; if it bubbles and floats to the top, the oil is hot enough.
-
Fry the Chicken: Carefully place the coated chicken pieces into the hot oil, ensuring not to overcrowd the pan. Fry in batches if necessary. Cook the chicken for 10-12 minutes, or until golden brown and crispy. Use a meat thermometer to ensure the internal temperature has reached 165°F (74°C).
-
Drain and Serve: Once the chicken is cooked, remove it from the oil and place it on a wire rack or paper towels to drain excess oil. Serve hot with your favorite sides.
Notes
For an extra crispy coating, you can double-dip the chicken by dipping it back into the buttermilk mixture and flour mixture a second time before frying.
Use a thermometer to ensure the oil temperature stays constant at 350°F; if the oil is too hot, the chicken will burn, and if it’s too cold, the chicken will absorb too much oil and become greasy.
3. Advanced Techniques
1. Double Dipping for Extra Crispiness
If you’re after an even crunchier, thicker coating, double-dipping is the way to go. After dipping the chicken in the buttermilk mixture, coat it in the flour mixture, then dip it back into the buttermilk and again into the flour. This creates a thicker crust that’s sure to be extra crispy and golden brown.
2. Marinating Overnight for Tender Chicken
While marinating the chicken for 30 minutes will add flavor, marinating overnight in the buttermilk mixture allows the flavors to really penetrate the meat. The buttermilk not only flavors the chicken but also tenderizes it, ensuring each bite is juicy and succulent.
3. Frying at the Right Temperature
Maintaining the oil temperature at a consistent 350°F (175°C) is crucial for achieving crispy fried chicken. If the oil is too hot, the coating will burn before the chicken is cooked through. If the oil is too cold, the chicken will soak up too much oil and become greasy. Use a thermometer to monitor the temperature closely.
4. Using Cast-Iron Skillets for Even Heat Distribution
A cast-iron skillet is an excellent choice for frying chicken because it distributes heat evenly, which results in a consistent frying temperature. This method ensures the chicken cooks evenly, with a crispy exterior and tender interior. If you don’t have a cast-iron skillet, any heavy-bottomed pan will work.
5. Resting the Chicken After Frying
After frying, let the chicken rest on a wire rack instead of paper towels. This allows air to circulate around the chicken and prevents the crust from becoming soggy. Resting the chicken for a few minutes also helps retain its juices, keeping it tender and flavorful.
See more advanced recipes at cookingwhite.com
4. Storage, Shelf Life, and Maintenance Tips
1. Storing Leftover Fried Chicken
To store leftover fried chicken, place it in an airtight container and refrigerate it within two hours of cooking. It will stay fresh for up to 3-4 days. Be sure to let the chicken cool down before storing to prevent excess moisture buildup inside the container.
2. Reheating Fried Chicken
For the best results when reheating, place the fried chicken on a wire rack in the oven at 375°F (190°C) for about 10-15 minutes. This will help restore the crispiness. Avoid reheating in the microwave, as it can make the crust soggy.
3. Freezing Fried Chicken
If you have a large batch of fried chicken, you can freeze it for up to 3 months. Place the chicken pieces on a baking sheet in a single layer and freeze until solid. Then, transfer the pieces to a freezer-safe bag or container. When you’re ready to eat, reheat in the oven for the best texture.
4. Maintaining Oil Quality
If you’re frying a large amount of chicken, make sure to strain and reuse the oil. Let the oil cool completely, then strain out any food particles through a fine mesh sieve. Store the oil in an airtight container, and it can be reused up to 2-3 times before it starts to degrade.
5. Keeping the Chicken Crispy for Longer
To keep your fried chicken crispy for a longer time, avoid storing it in an airtight container while it’s still hot. Instead, store it loosely covered or on a wire rack to allow airflow. This helps maintain the crispy texture of the chicken.
5. Dietary Adaptations and Substitutions
1. Gluten-Free Version
If you’re looking to make this recipe gluten-free, simply substitute the all-purpose flour with a gluten-free flour blend or rice flour. Ensure that all the other seasonings are gluten-free, and you’ll still enjoy a crispy, flavorful fried chicken.
2. Dairy-Free Option
For a dairy-free version, you can replace buttermilk with a non-dairy alternative like almond milk mixed with a tablespoon of lemon juice or vinegar. This will mimic the tangy effect of buttermilk while keeping the dish dairy-free.
3. Low-Sodium Adaptation
To make this recipe lower in sodium, reduce or eliminate the added salt and celery salt. You can also use a salt-free seasoning blend instead of the store-bought versions that typically contain a lot of sodium.
4. Vegan Fried Chicken
To make a vegan version of this recipe, swap out the chicken for a plant-based chicken substitute and use non-dairy milk and egg replacer for the buttermilk and egg. The seasoning blend and frying technique remain the same for a crispy vegan alternative.
5. Keto-Friendly Fried Chicken
To make this recipe keto-friendly, replace the all-purpose flour with almond flour or a keto flour blend. You can also skip the sugar found in some store-bought seasonings and use a sugar-free alternative for the coating.
6. FAQs About the Recipe
1. Can I use boneless chicken for this recipe?
Yes, boneless chicken can be used, but be aware that it may cook faster than bone-in chicken. Keep an eye on the cooking time to avoid overcooking.
2. How can I make the chicken less greasy?
Ensure that the oil temperature stays at a consistent 350°F (175°C) and avoid overcrowding the pan. Overcrowding can lower the oil temperature, making the chicken absorb more oil.
3. Why is my fried chicken not crispy?
If your fried chicken is not crispy, it could be due to the oil temperature being too low, not enough flour coating, or resting the chicken in a way that traps moisture. Double-dipping the chicken can also help achieve extra crispiness.
4. Can I make the coating spicier?
Absolutely! You can adjust the level of spice by adding cayenne pepper, chili powder, or hot sauce to the seasoning mix. If you want a milder version, reduce the amount of black pepper or paprika.
5. How can I avoid overcooking the chicken?
To avoid overcooking, always use a meat thermometer to check the internal temperature of the chicken. It should reach 165°F (74°C). Additionally, frying in batches prevents overcrowding and ensures the chicken cooks evenly.
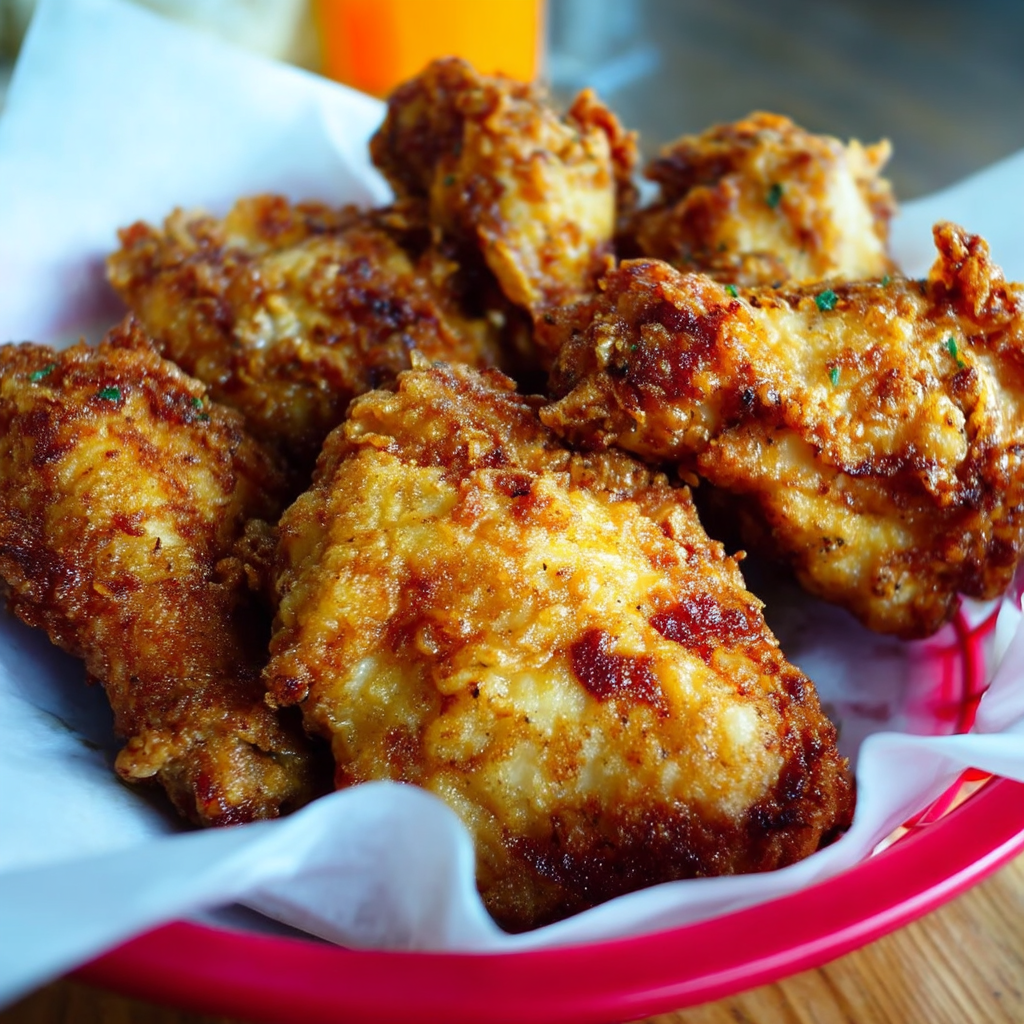
7. Conclusion & Final Thoughts
This homemade KFC-style fried chicken recipe brings the famous crispy, flavorful chicken from the fast-food joint right into your kitchen. With the right blend of spices, marination, and frying techniques, you can create a crispy exterior and juicy interior that’s simply irresistible. Whether you’re making it for a family dinner, a casual gathering, or just because you’re craving comfort food, this recipe is sure to satisfy. The perfect combination of spices, the option for dietary adaptations, and the tips for achieving the ultimate crispy crust make this fried chicken recipe a go-to for any occasion. Enjoy the process and savor every crispy, tender bite—because when it comes to fried chicken, there’s no such thing as too much flavor!