Introduction
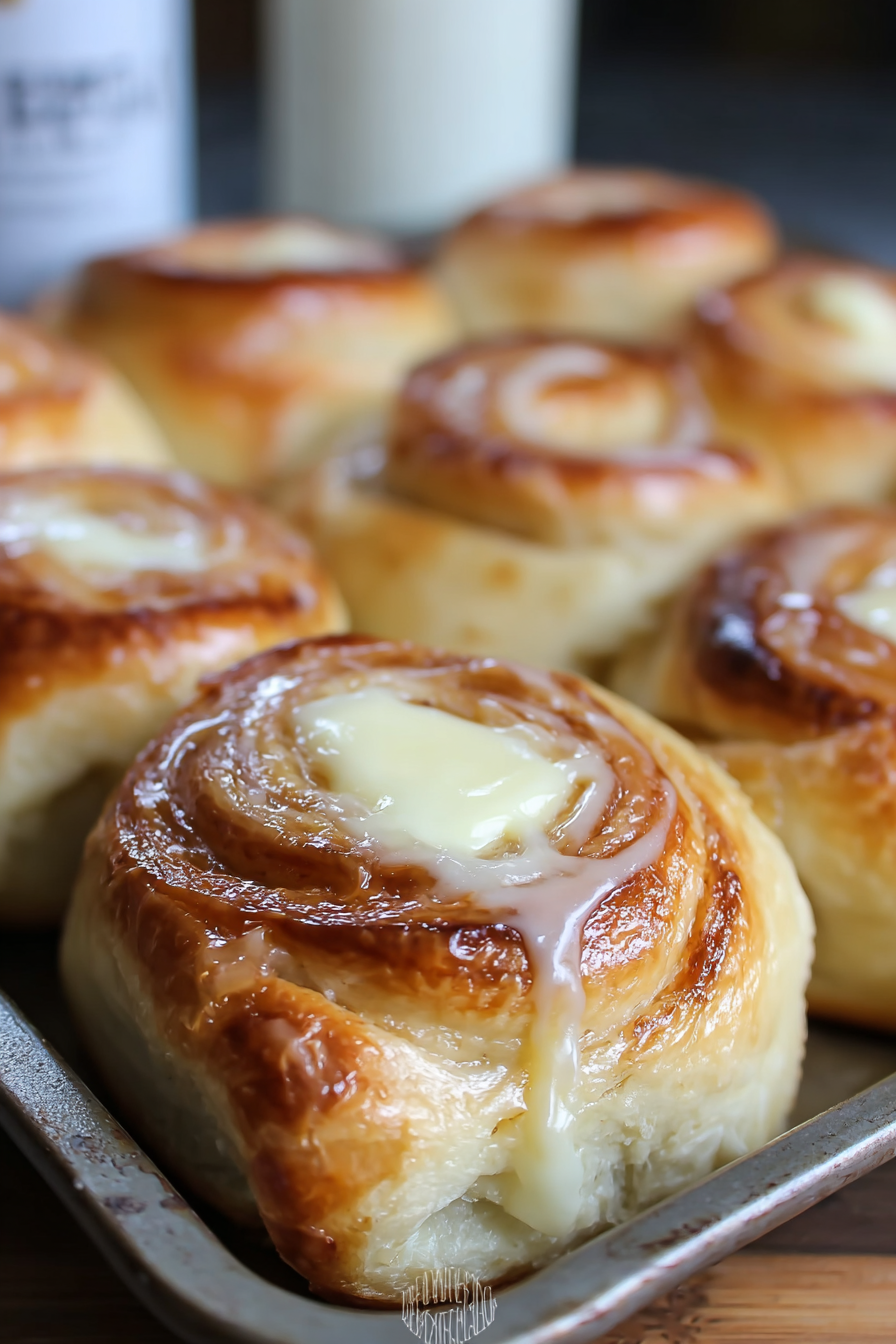
If you love the sweetness of King’s Hawaiian Rolls and the creaminess of cheesecake, this recipe will make your taste buds dance. These King’s Hawaiian Cheesecake Danishes are a clever twist on a classic pastry, turning soft dinner rolls into handheld delights filled with velvety cream cheese filling. They’re perfect for busy mornings, brunch spreads, or a quick dessert to impress guests. With minimal effort and maximum flavor, this recipe proves that you don’t need a pastry chef’s skills to create a decadent treat at home.
My recipe story
This recipe was inspired by my love for simple desserts that look and taste much more complicated than they actually are. I remember the first time I made these danishes for a Sunday brunch—it was a last-minute decision, and I had a package of King’s Hawaiian Sweet Rolls sitting in the pantry. Instead of serving them plain, I decided to hollow out the centers, add a creamy cheesecake filling, and bake them until golden. The result? A tray of mini cheesecakes that disappeared in minutes. Since then, these danishes have become a family favorite, making appearances at holidays, potlucks, and even weekday breakfasts when we need a little pick-me-up.
💡 Why You’ll Love This Recipe
- Made with only a handful of ingredients, yet delivers bakery-worthy flavor.
- Perfect for both casual breakfasts and special gatherings.
- Portable, bite-sized servings that are easy to grab and enjoy.
- Customizable with endless topping options—fruits, glazes, or chocolate.
- Ready in under 30 minutes, making it a stress-free treat anytime.
Ingredient breakdown
The beauty of this recipe lies in its simplicity. You only need a few staple ingredients to create an indulgent pastry that tastes like it came from a bakery. The star of the show is King’s Hawaiian Sweet Rolls. Their soft, slightly sweet texture provides the perfect base for the cheesecake filling. Unlike traditional pastry dough that requires rolling and folding, these rolls are ready to go, saving you time while still delivering that soft, pillowy bite.
The filling is made with cream cheese, sugar, and vanilla extract—classic cheesecake elements that create a smooth, sweet, and tangy center. The cream cheese should be softened to room temperature so it blends easily into a silky mixture. Granulated sugar adds sweetness, while vanilla extract gives a fragrant, warm depth that balances the richness of the filling. A dusting of powdered sugar or a drizzle of glaze can be added after baking for extra flair.
Optional toppings like fruit preserves, chocolate chips, or caramel sauce can transform this recipe into countless variations, making it versatile enough for any occasion. Whether you keep it classic or dress it up, the ingredients work harmoniously to deliver a treat that’s both comforting and elegant.
Equipment you’ll need
- Baking sheet or dish
- Mixing bowls
- Hand mixer or stand mixer
- Measuring cups and spoons
- Small spoon or cookie scoop (to fill the rolls)
- Knife (to hollow out the rolls)
- Cooling rack
Step-by-step directions
Step 1: Prepare the rolls. Preheat your oven to 350°F (175°C). Take the package of King’s Hawaiian Sweet Rolls and carefully separate them, keeping each roll intact. Using a sharp knife, cut a small circle into the top of each roll and gently hollow out a little of the bread to create space for the filling. Be careful not to cut all the way through the roll—just enough to form a well.
Step 2: Make the cheesecake filling. In a mixing bowl, add softened cream cheese, granulated sugar, and vanilla extract. Using a hand mixer or stand mixer, beat the mixture until smooth and creamy, about 2–3 minutes. The filling should be thick but spreadable, with no lumps of cream cheese remaining. Taste and adjust sweetness if desired.
Step 3: Fill the rolls. Using a spoon or cookie scoop, carefully spoon the cream cheese mixture into the hollowed-out wells of each roll. Fill generously, letting the filling dome slightly above the surface. This ensures each bite is rich and creamy. Wipe away any excess filling from the edges for a neat presentation.
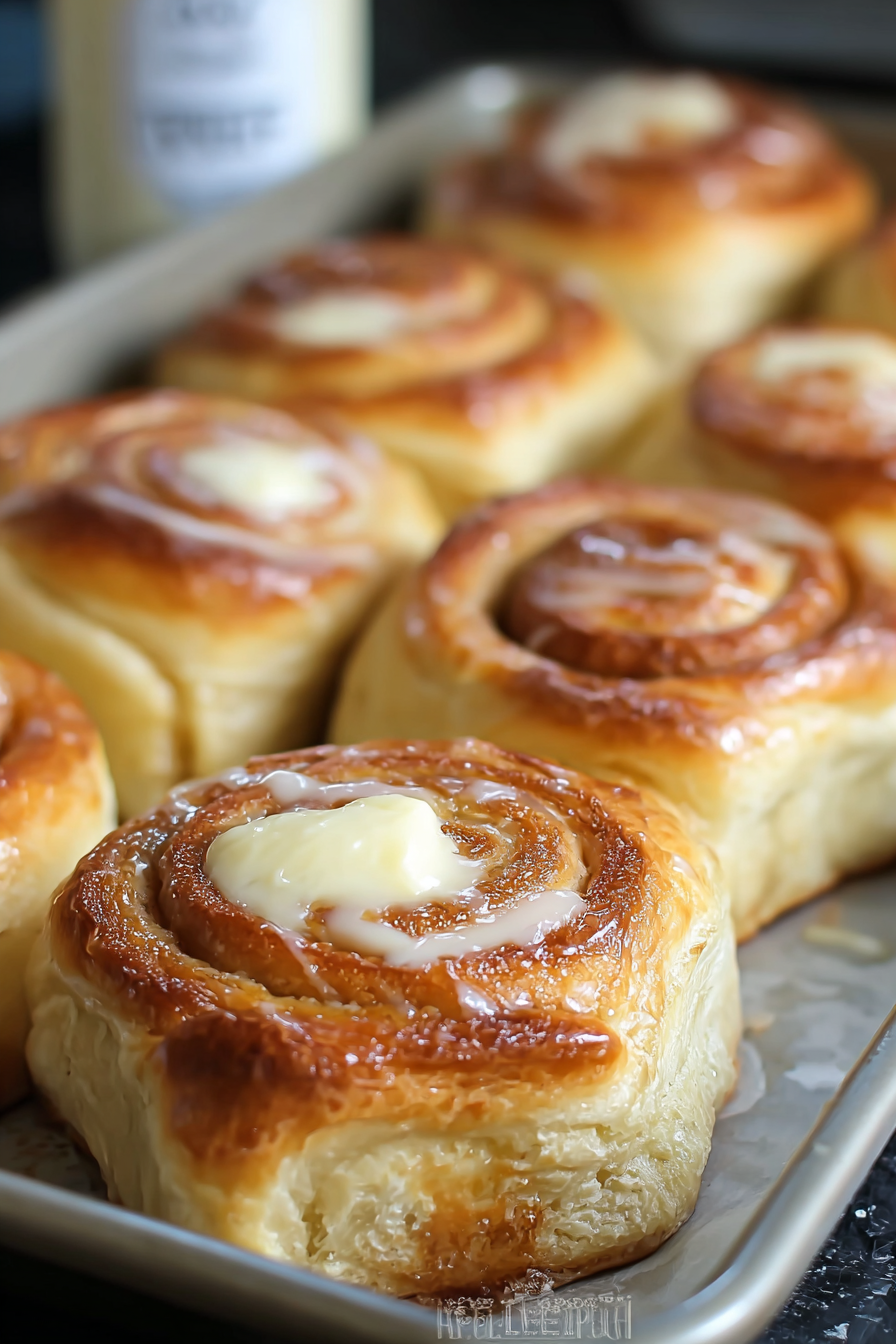
Step 4: Bake the danishes. Arrange the filled rolls on a baking sheet lined with parchment paper or lightly greased. Place in the preheated oven and bake for 12–15 minutes, or until the rolls are lightly golden and the filling is set but still creamy. Avoid overbaking, as this can cause the filling to dry out.
Step 5: Cool and serve. Once baked, remove the danishes from the oven and allow them to cool on a wire rack for at least 10 minutes. Dust with powdered sugar, drizzle with glaze, or top with fruit preserves for a finishing touch. Serve warm or at room temperature and enjoy the delightful blend of fluffy bread and creamy cheesecake filling.
Variations & substitutions
This recipe is highly adaptable, allowing you to switch flavors and toppings to suit your taste or occasion. Swap the vanilla extract for almond or lemon extract for a different flavor profile. Add fruit preserves like raspberry, strawberry, or apricot before baking for a fruity cheesecake twist. Chocolate lovers can fold mini chocolate chips into the filling or drizzle melted chocolate on top after baking. For a holiday version, sprinkle cinnamon sugar over the filling or add a spoonful of pumpkin puree with pumpkin spice. If you need a lighter option, use reduced-fat cream cheese or a sugar substitute without compromising flavor.
💡 Expert Tips & Troubleshooting
- Make sure the cream cheese is fully softened to avoid lumps in the filling.
- If the rolls brown too quickly, cover them loosely with foil while baking.
- Do not overbake—the filling should be set but still creamy in the center.
- For a cleaner presentation, wipe any excess filling from the edges before baking.
- Serve them slightly warm for the best flavor and texture.
Storage, freezing & make-ahead
These danishes are best enjoyed fresh, but they can easily be stored for later. Place leftovers in an airtight container and refrigerate for up to 3 days. To serve, reheat gently in the microwave or oven to restore their soft texture. For freezing, wrap each cooled danish tightly in plastic wrap and place in a freezer-safe bag. Freeze for up to 2 months. Thaw overnight in the refrigerator, then warm in the oven before serving. You can also prepare the rolls and filling in advance, store them separately, and assemble right before baking for a make-ahead option.
Serving ideas & pairings
These danishes pair wonderfully with a variety of drinks and dishes. Serve them with freshly brewed coffee or tea for a cozy breakfast. At brunch, pair them with savory options like quiche, scrambled eggs, or smoked salmon to balance the sweetness. For dessert, serve alongside fresh berries and a glass of sparkling wine for an elegant touch. You can also make them part of a holiday spread with hot cocoa, mulled cider, or even eggnog. Their versatility makes them a star at any table, no matter the occasion.
FAQ
Can I use another type of roll instead of King’s Hawaiian?
Yes, but King’s Hawaiian rolls provide the best balance of sweetness and softness. Brioche rolls or dinner rolls can also work.
Can I add fruit to the filling?
Absolutely. You can swirl in fruit preserves before baking or add fresh fruit toppings afterward for a burst of flavor.
Do these need to be refrigerated?
Yes, because of the cream cheese filling, store leftovers in the refrigerator in an airtight container.
How do I make these less sweet?
Reduce the sugar in the filling slightly, or serve them without powdered sugar or glaze on top.
Can I double the recipe?
Definitely! Simply double the ingredients and use two packs of King’s Hawaiian rolls. Perfect for parties or large gatherings.
Final thoughts
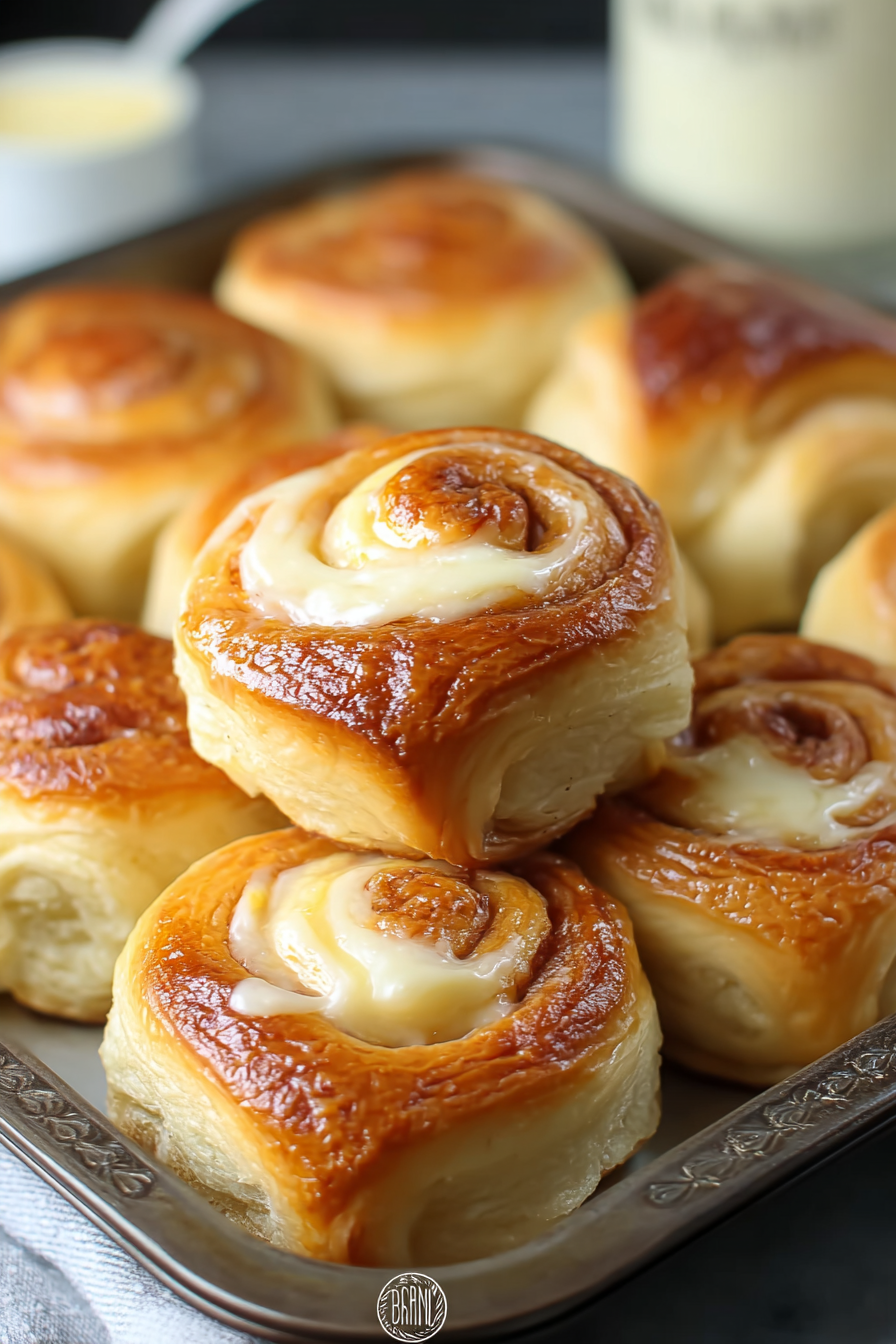
King’s Hawaiian Cheesecake Danishes are proof that you don’t need fancy ingredients or complicated steps to create something truly special. With their pillowy bread, creamy cheesecake filling, and endless topping options, they’re versatile, crowd-pleasing, and absolutely delicious. Whether you’re serving them for breakfast, brunch, or dessert, these little gems are guaranteed to impress. Keep this recipe handy—you’ll find yourself making it again and again whenever you need a sweet, satisfying treat with minimal effort and maximum flavor.
Print
King’s Hawaiian Cheesecake Danish
- Total Time: 25 minutes
- Yield: 12 danishes
- Diet: Vegetarian
Description
Soft Hawaiian rolls filled with creamy cheesecake filling and baked to golden perfection. A quick, delicious treat for breakfast, brunch, or dessert.
Ingredients
- 1 package King’s Hawaiian Sweet Rolls (12 count)
- 8 oz cream cheese, softened
- 1/4 cup granulated sugar
- 1 teaspoon vanilla extract
- Powdered sugar or glaze, for topping (optional)
Instructions
- Preheat oven to 350°F (175°C). Separate the rolls and cut a small well into the top of each one.
- In a bowl, beat cream cheese, sugar, and vanilla until smooth and creamy.
- Spoon the filling into the hollowed rolls, letting it mound slightly above the surface.
- Place filled rolls on a parchment-lined baking sheet. Bake for 12–15 minutes until golden and set.
- Cool for 10 minutes, then dust with powdered sugar or drizzle with glaze before serving.
Notes
Best enjoyed fresh, but leftovers can be refrigerated in an airtight container for up to 3 days. Reheat briefly in the oven for the best texture.
- Prep Time: 10 minutes
- Cook Time: 15 minutes
- Category: Dessert
- Method: Baking
- Cuisine: American